
Kuinka monta valaisinta tarvitset sisäkuvauksiin?
Struggling with grainy indoor footage or flat, uninspired shadows? Buying lighting gear without a mathematical plan often leads to wasted budgets and inconsistent image quality. In our two decades outfitting studios, we’ve found that calculating your exact light count and output requirements solves this problem entirely.
The Baseline: Choosing Your Light Quantity
Before calculating wattage or evaluating modifiers, you need to establish the visual style of your production. We’ve seen this go wrong when creators invest heavily in a single high-output light, only to realize their multi-person interview requires a completely different approach. Your production style dictates your starting quantity.
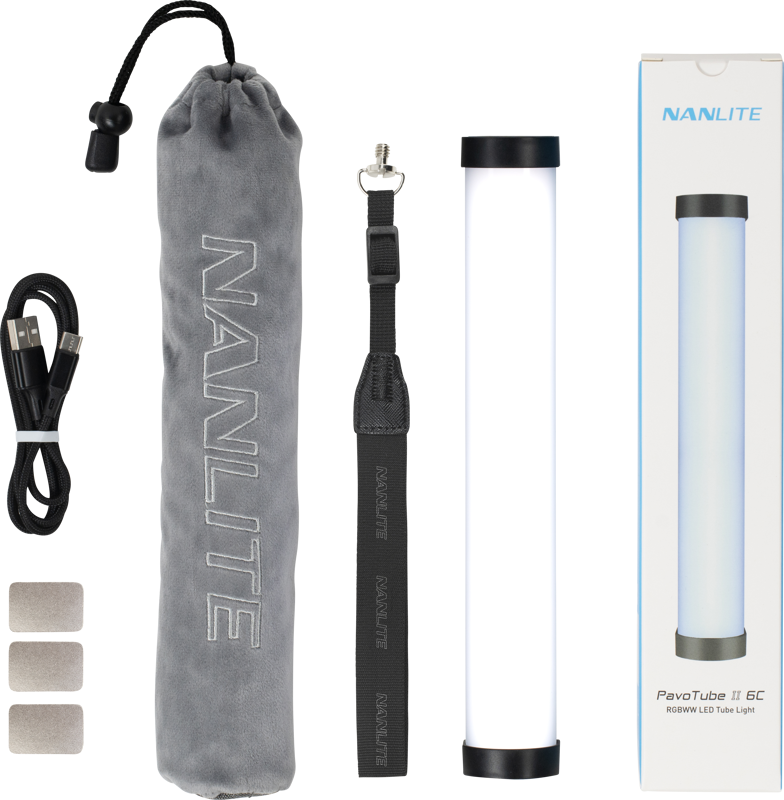
A one-light setup is the baseline for simplicity and speed. When shooting webinars, solo YouTube tutorials, or quick corporate updates, a single diffused source placed directly in front of the subject provides even, flattering illumination. For these scenarios, tube and ring lights or a single compact point-source light handle the job beautifully without requiring a complex footprint.
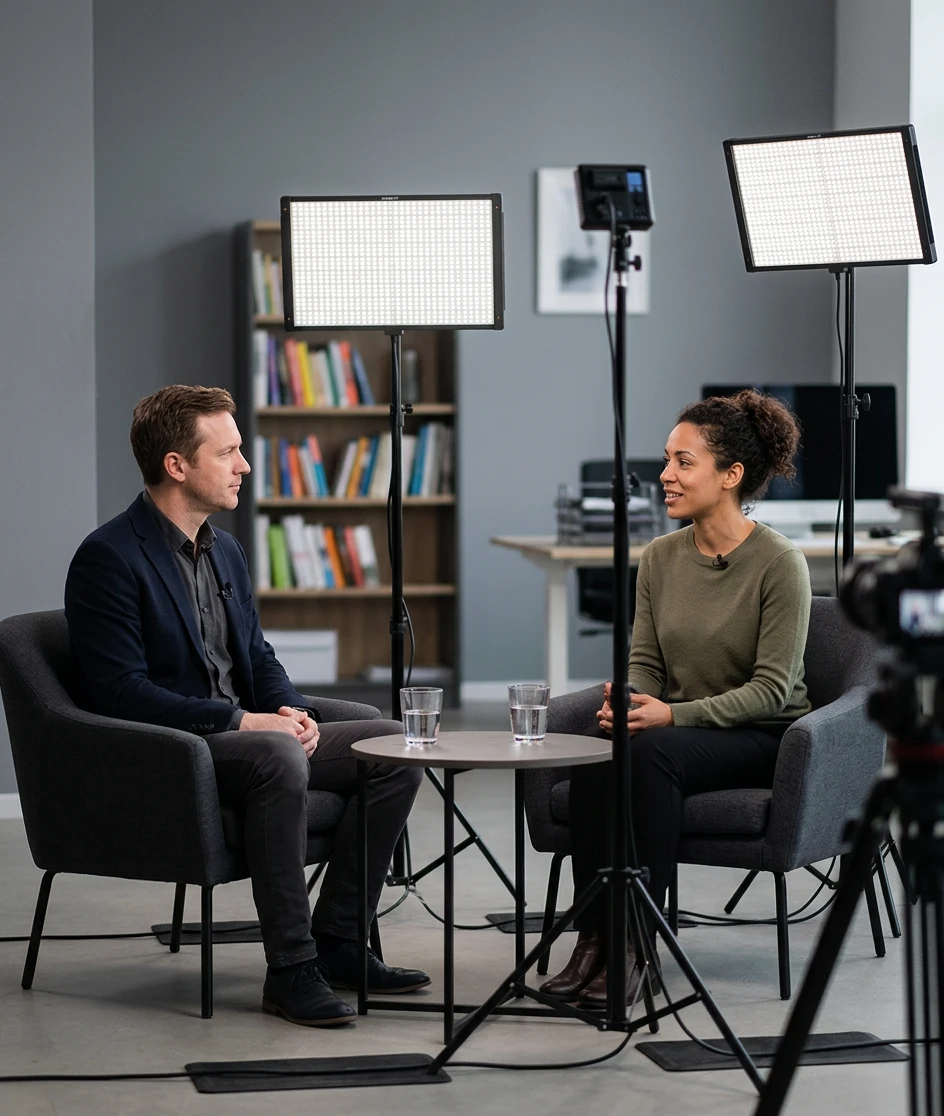
Stepping up to a two-light setup offers a natural, less-stylized look ideal for talking-head videos. This involves a primary key light positioned roughly 45 degrees to the side of the face and a secondary fill light placed near the camera lens on a frontal axis to balance harsh shadows. If you want the gold standard for professional video, you will need a three-point lighting setup. This adds a dedicated backlight to separate your subject from the background, introducing critical depth and dimension to your scene.
Factoring in Room Size and Subject Distance
Once you know how many sources you need, you must evaluate your physical space. Indoor environments impose strict limitations, primarily through ceiling height and wall proximity. If your studio has standard seven- to eight-foot ceilings, you will struggle to position a massive overhead softbox. In these lower spaces, you need flush or recessed fixtures with a minimum of seven feet of clearance from the floor to keep the equipment out of your frame. You can even use a simple room size formula to gauge overhead fixture dimensions: add your room length and width in feet, and convert that number to inches for your ideal fixture diameter. For example, a 12-by-10-foot room easily supports a 22-inch overhead modifier.
Distance is the silent killer of light output. The core principle you must account for is the Inverse Square Law, which dictates how light intensity drops as it travels. Distance is measured directly from the actual light bulb or LED chip, not the edge of your softbox or umbrella fabric.
If you move your light twice as far from your subject, it does not become half as bright – it becomes one-quarter as bright, resulting in a dramatic drop of -2 EV. Moving it three times as far reduces the brightness to one-ninth, or -3.17 EV.
This mathematical drop-off means that lighting a multi-person shoot across a wide room requires significantly more baseline power than a tight desk setup. If you are shooting across a large space, versatile spot lights allow you to push a concentrated beam further before attaching diffusion.
-
 COB- ja Fresnel-valot
AMARAN Ray 120c
€ 239.00€ 296.36 (sis. alv.) -
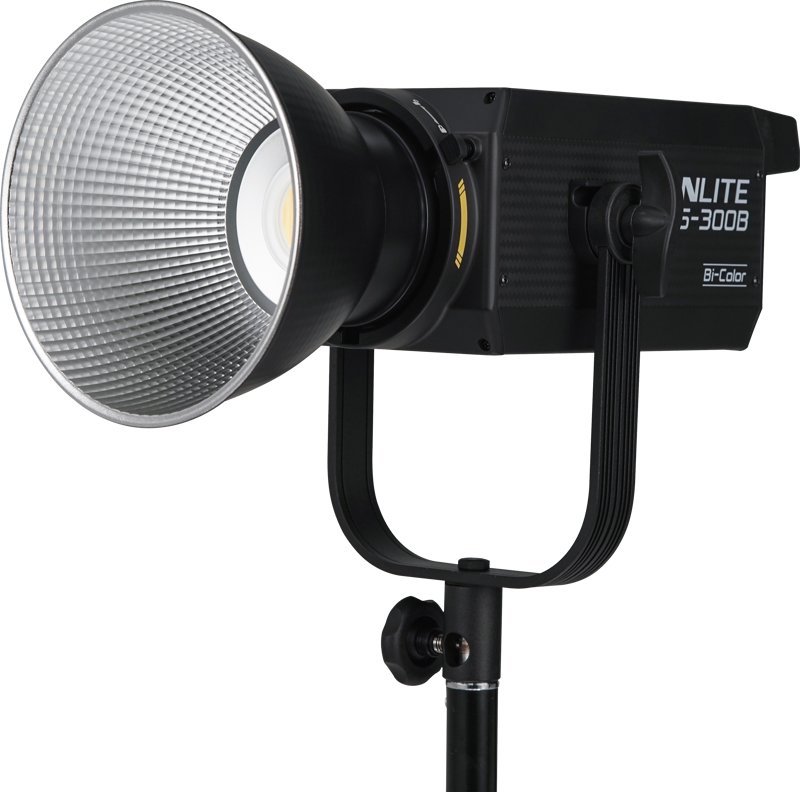
 COB- ja Fresnel-valot
NANLITE FS-300B LED Bi-color Spot Light
€ 199.92€ 247.90 (sis. alv.) -
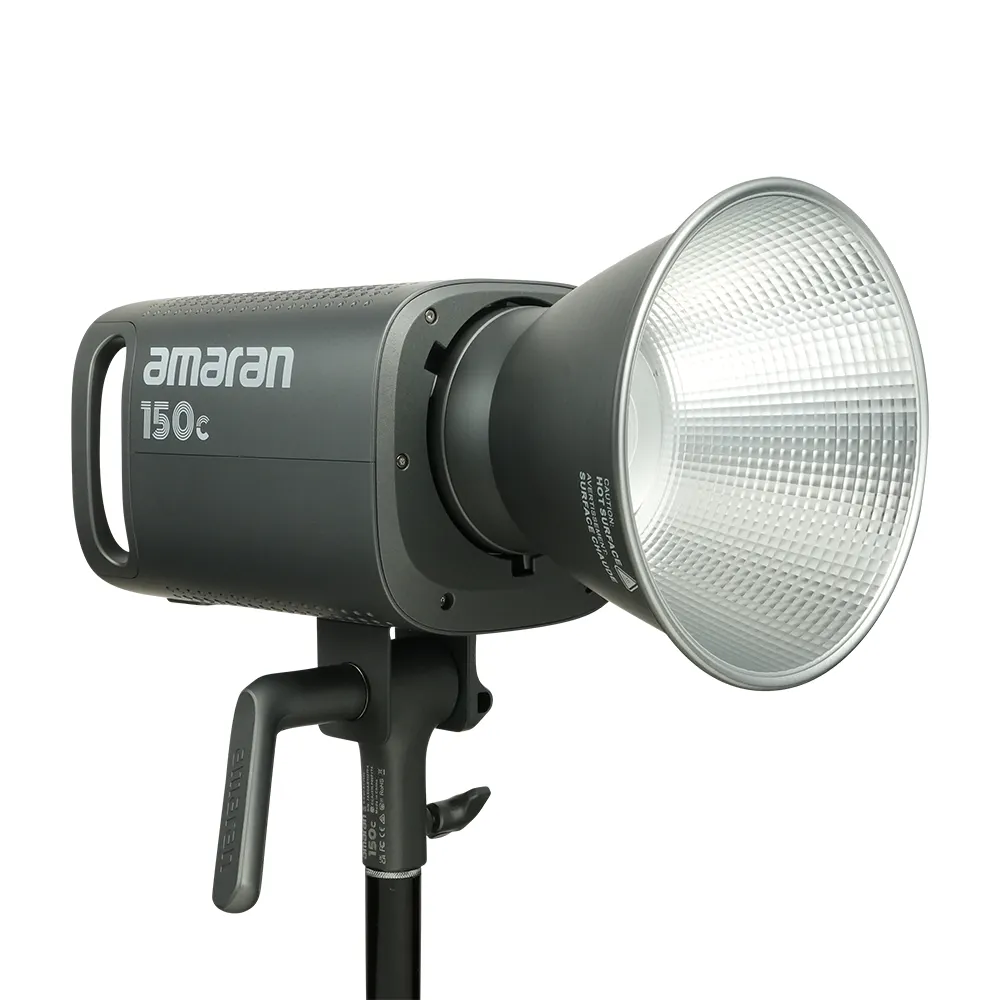
-21%COB- ja Fresnel-valot
AMARAN 150c full-color Bowens-mount point-source LED light, GREY
Alkuperäinen hinta oli: € 359.00.€ 284.00Nykyinen hinta on: € 284.00.€ 352.16 (sis. alv.)VARASTOSSA
Determining the Right Power Output
Wattage tells you how much energy a fixture consumes, but lumens measure the actual brightness. For example, replacing a standard 100-watt incandescent studio bulb requires an LED equivalent pushing roughly 1,600 lumens. Your ultimate technical goal when lighting an indoor set is to provide enough illumination to drop your camera’s ISO down to the 100–200 range, ensuring a clean, noise-free image.
You also have to account for modifier loss. Softboxes, lanterns, and diffusion gels absorb a significant portion of your light through constant power steps, independent of the Inverse Square Law distance changes. A common mistake is buying a light that is only just bright enough on bare-bulb settings, leaving you severely underpowered the moment you add a modifier to soften harsh shadows. We recommend purchasing fixtures with overhead capacity, allowing you to run them at lower, cooler temperatures while leaving room for heavy diffusion.
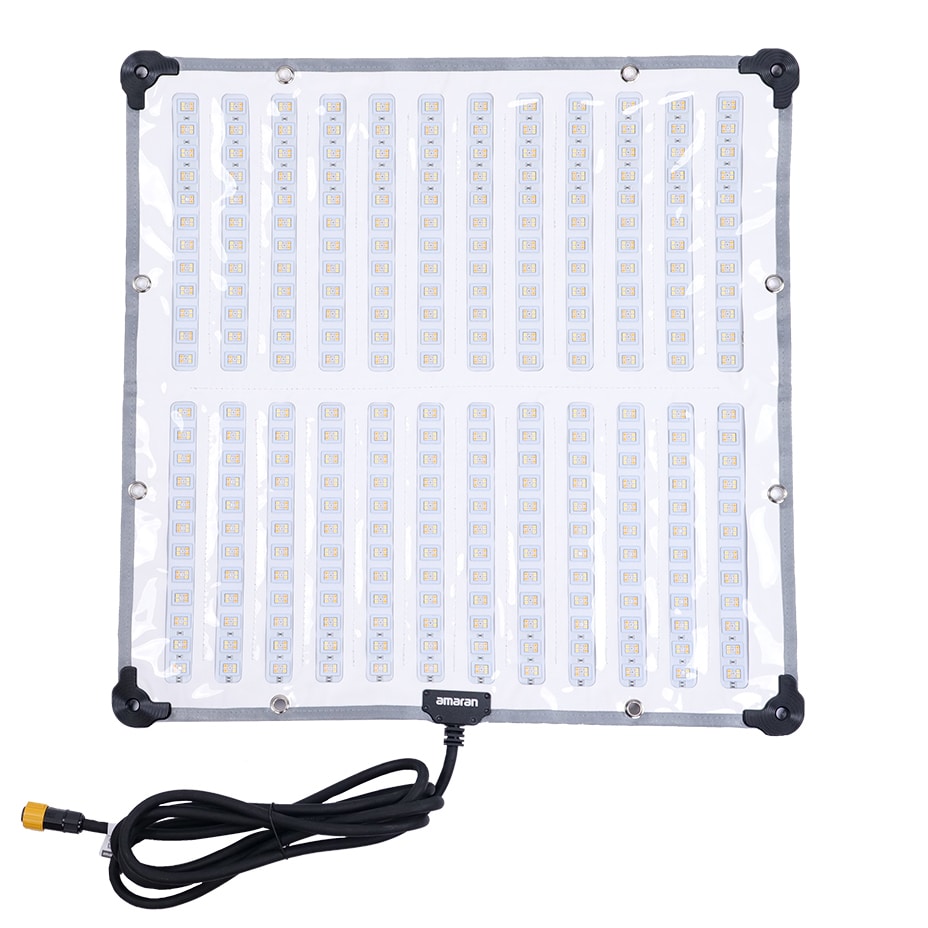
For broad, consistent output across a studio space, high-quality LED panels offer excellent spread and flexibility. Ensure your fixtures maintain a consistent color temperature across the entire set. We advise dialing in a 5000K to 5600K range for a neutral, daylight-balanced corporate look. Maintaining this exact temperature on every light prevents the unprofessional appearance of mismatched color casts on your subject’s face.
-
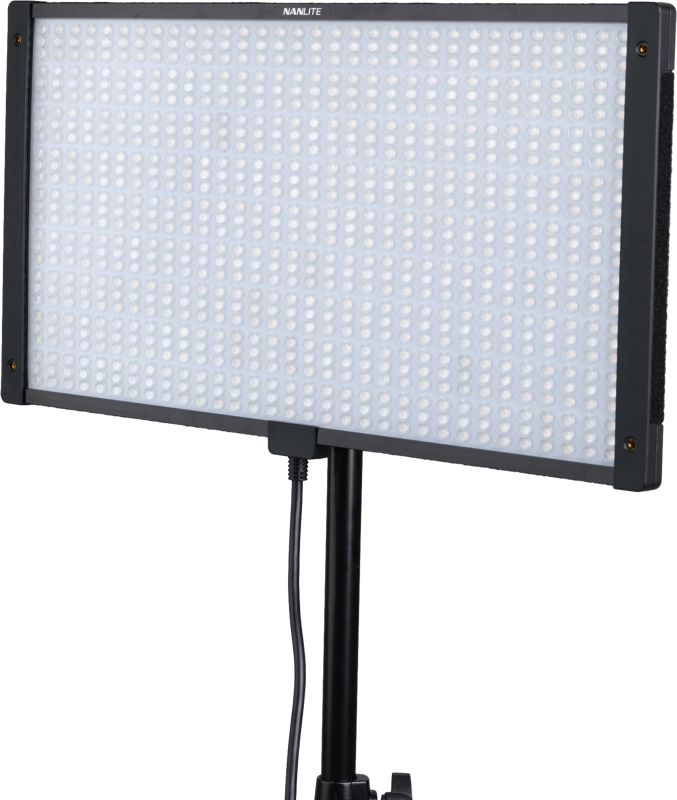
 LED-paneelit
NANLITE PavoSlim 120C RGBWW LED Panel
€ 631.92€ 783.58 (sis. alv.) -
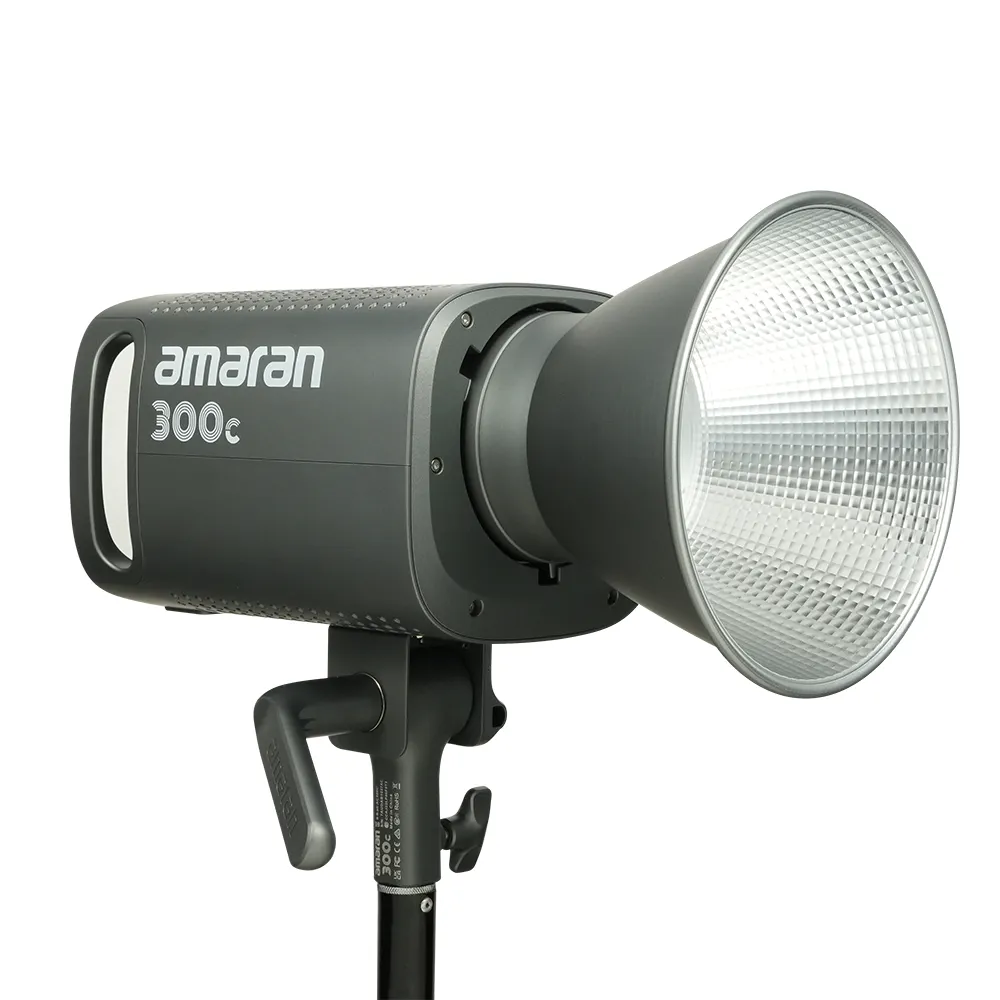
-21%COB- ja Fresnel-valot
AMARAN 300c full-color Bowens-mount point-source LED light, GREY
Alkuperäinen hinta oli: € 569.00.€ 450.00Nykyinen hinta on: € 450.00.€ 558.00 (sis. alv.)VARASTOSSA -
 LED-paneelit
AMARAN F22c RGB flexible light
€ 849.00€ 1 052.76 (sis. alv.)
Adding Depth with Practical Light Sources
After securing your key and fill lights, the final layer of your setup involves practical and accent lighting. Direct lighting often causes the background to appear unnaturally dark due to the rapid distance fall-off we see with the Inverse Square Law. To combat this and separate your subject from the environment, you need dedicated background lights.
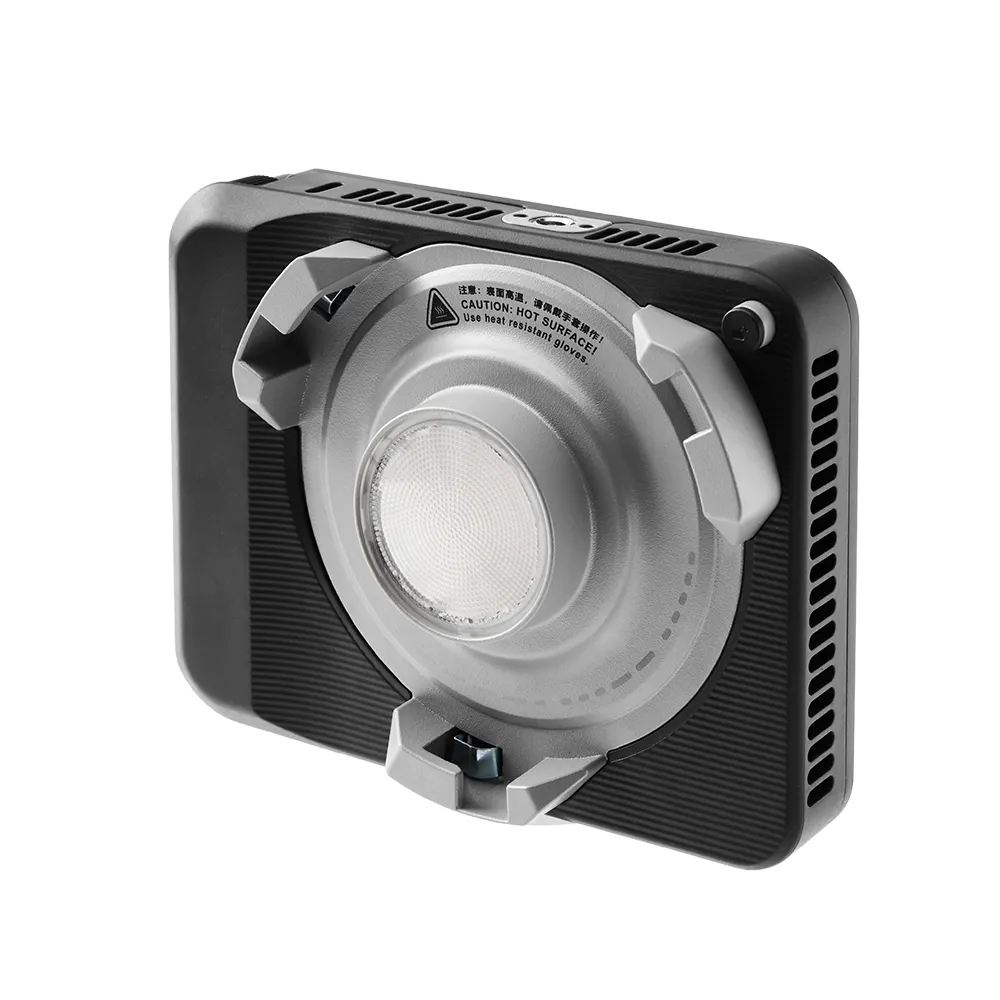
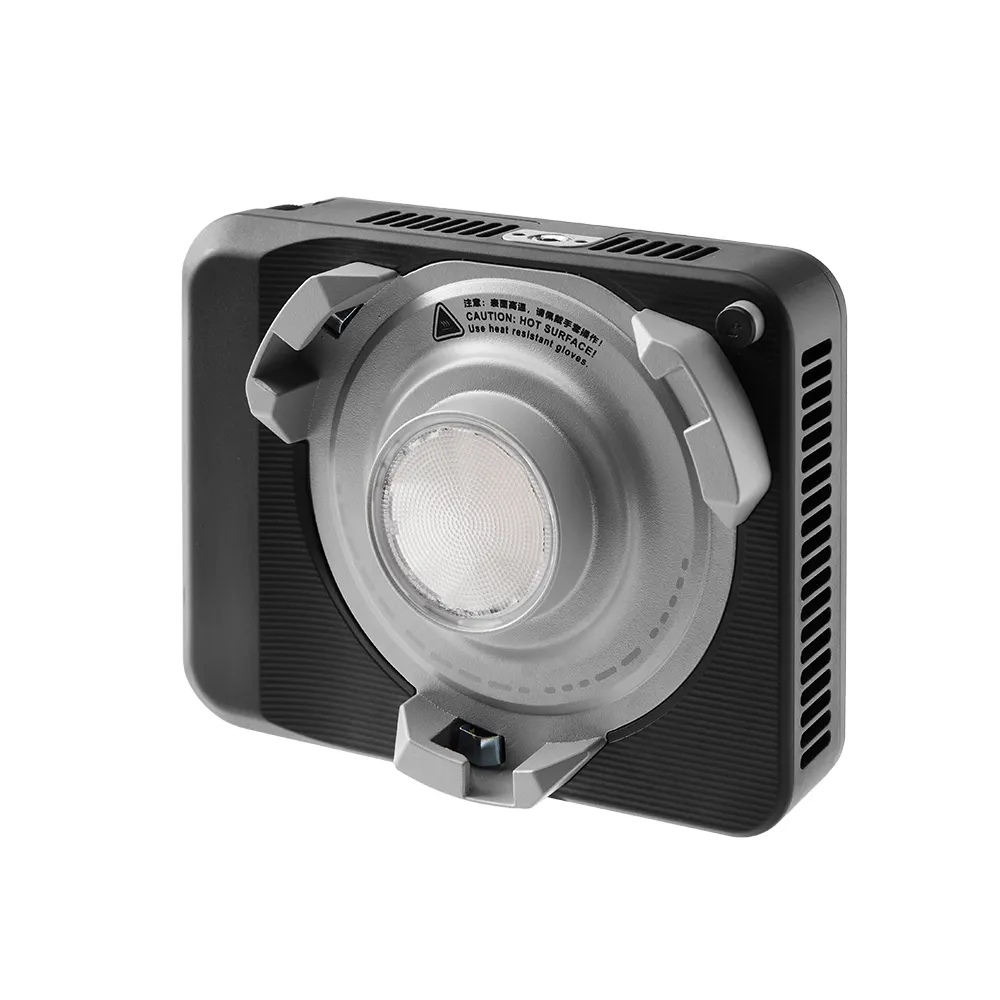
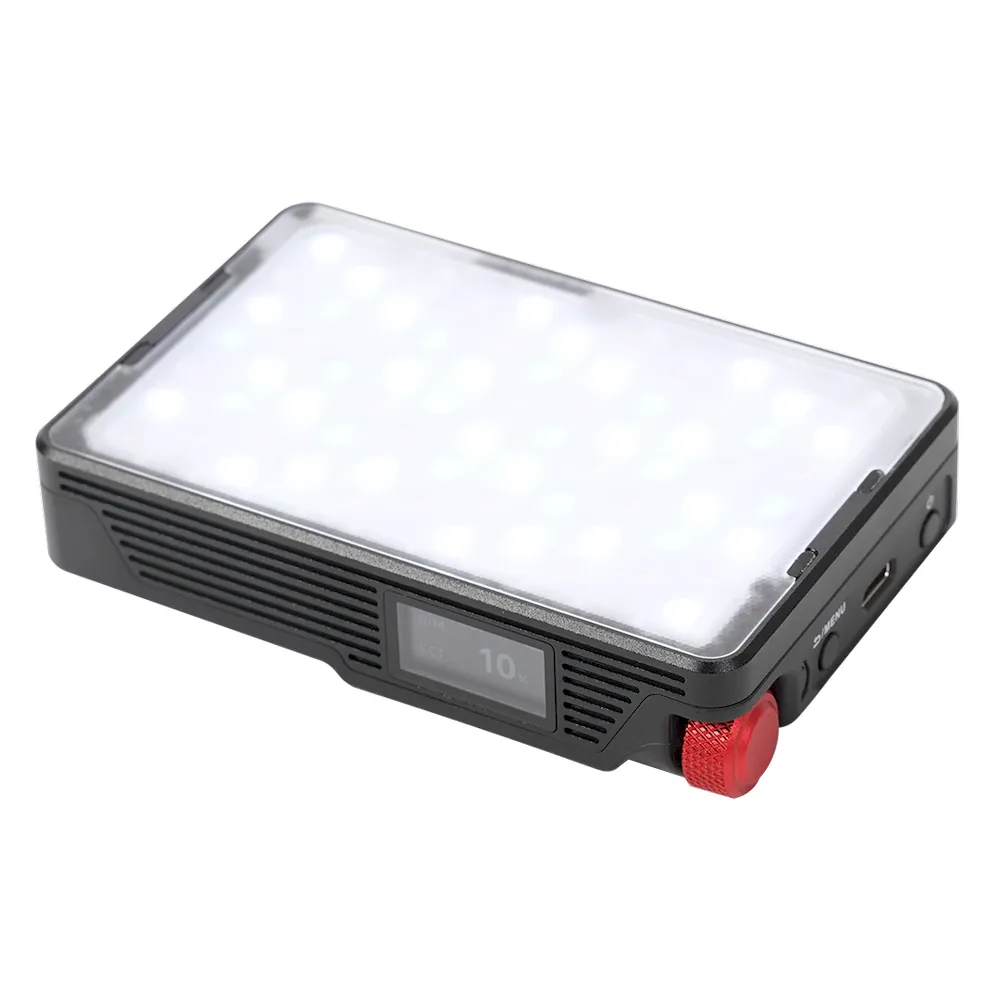
This is where compact, easily hidden fixtures shine. You can tuck mini LED lights behind monitors, under desks, or on bookshelves to cast subtle gradients against the wall. This instantly breaks up flat walls and dramatically increases the perceived production value of the video.
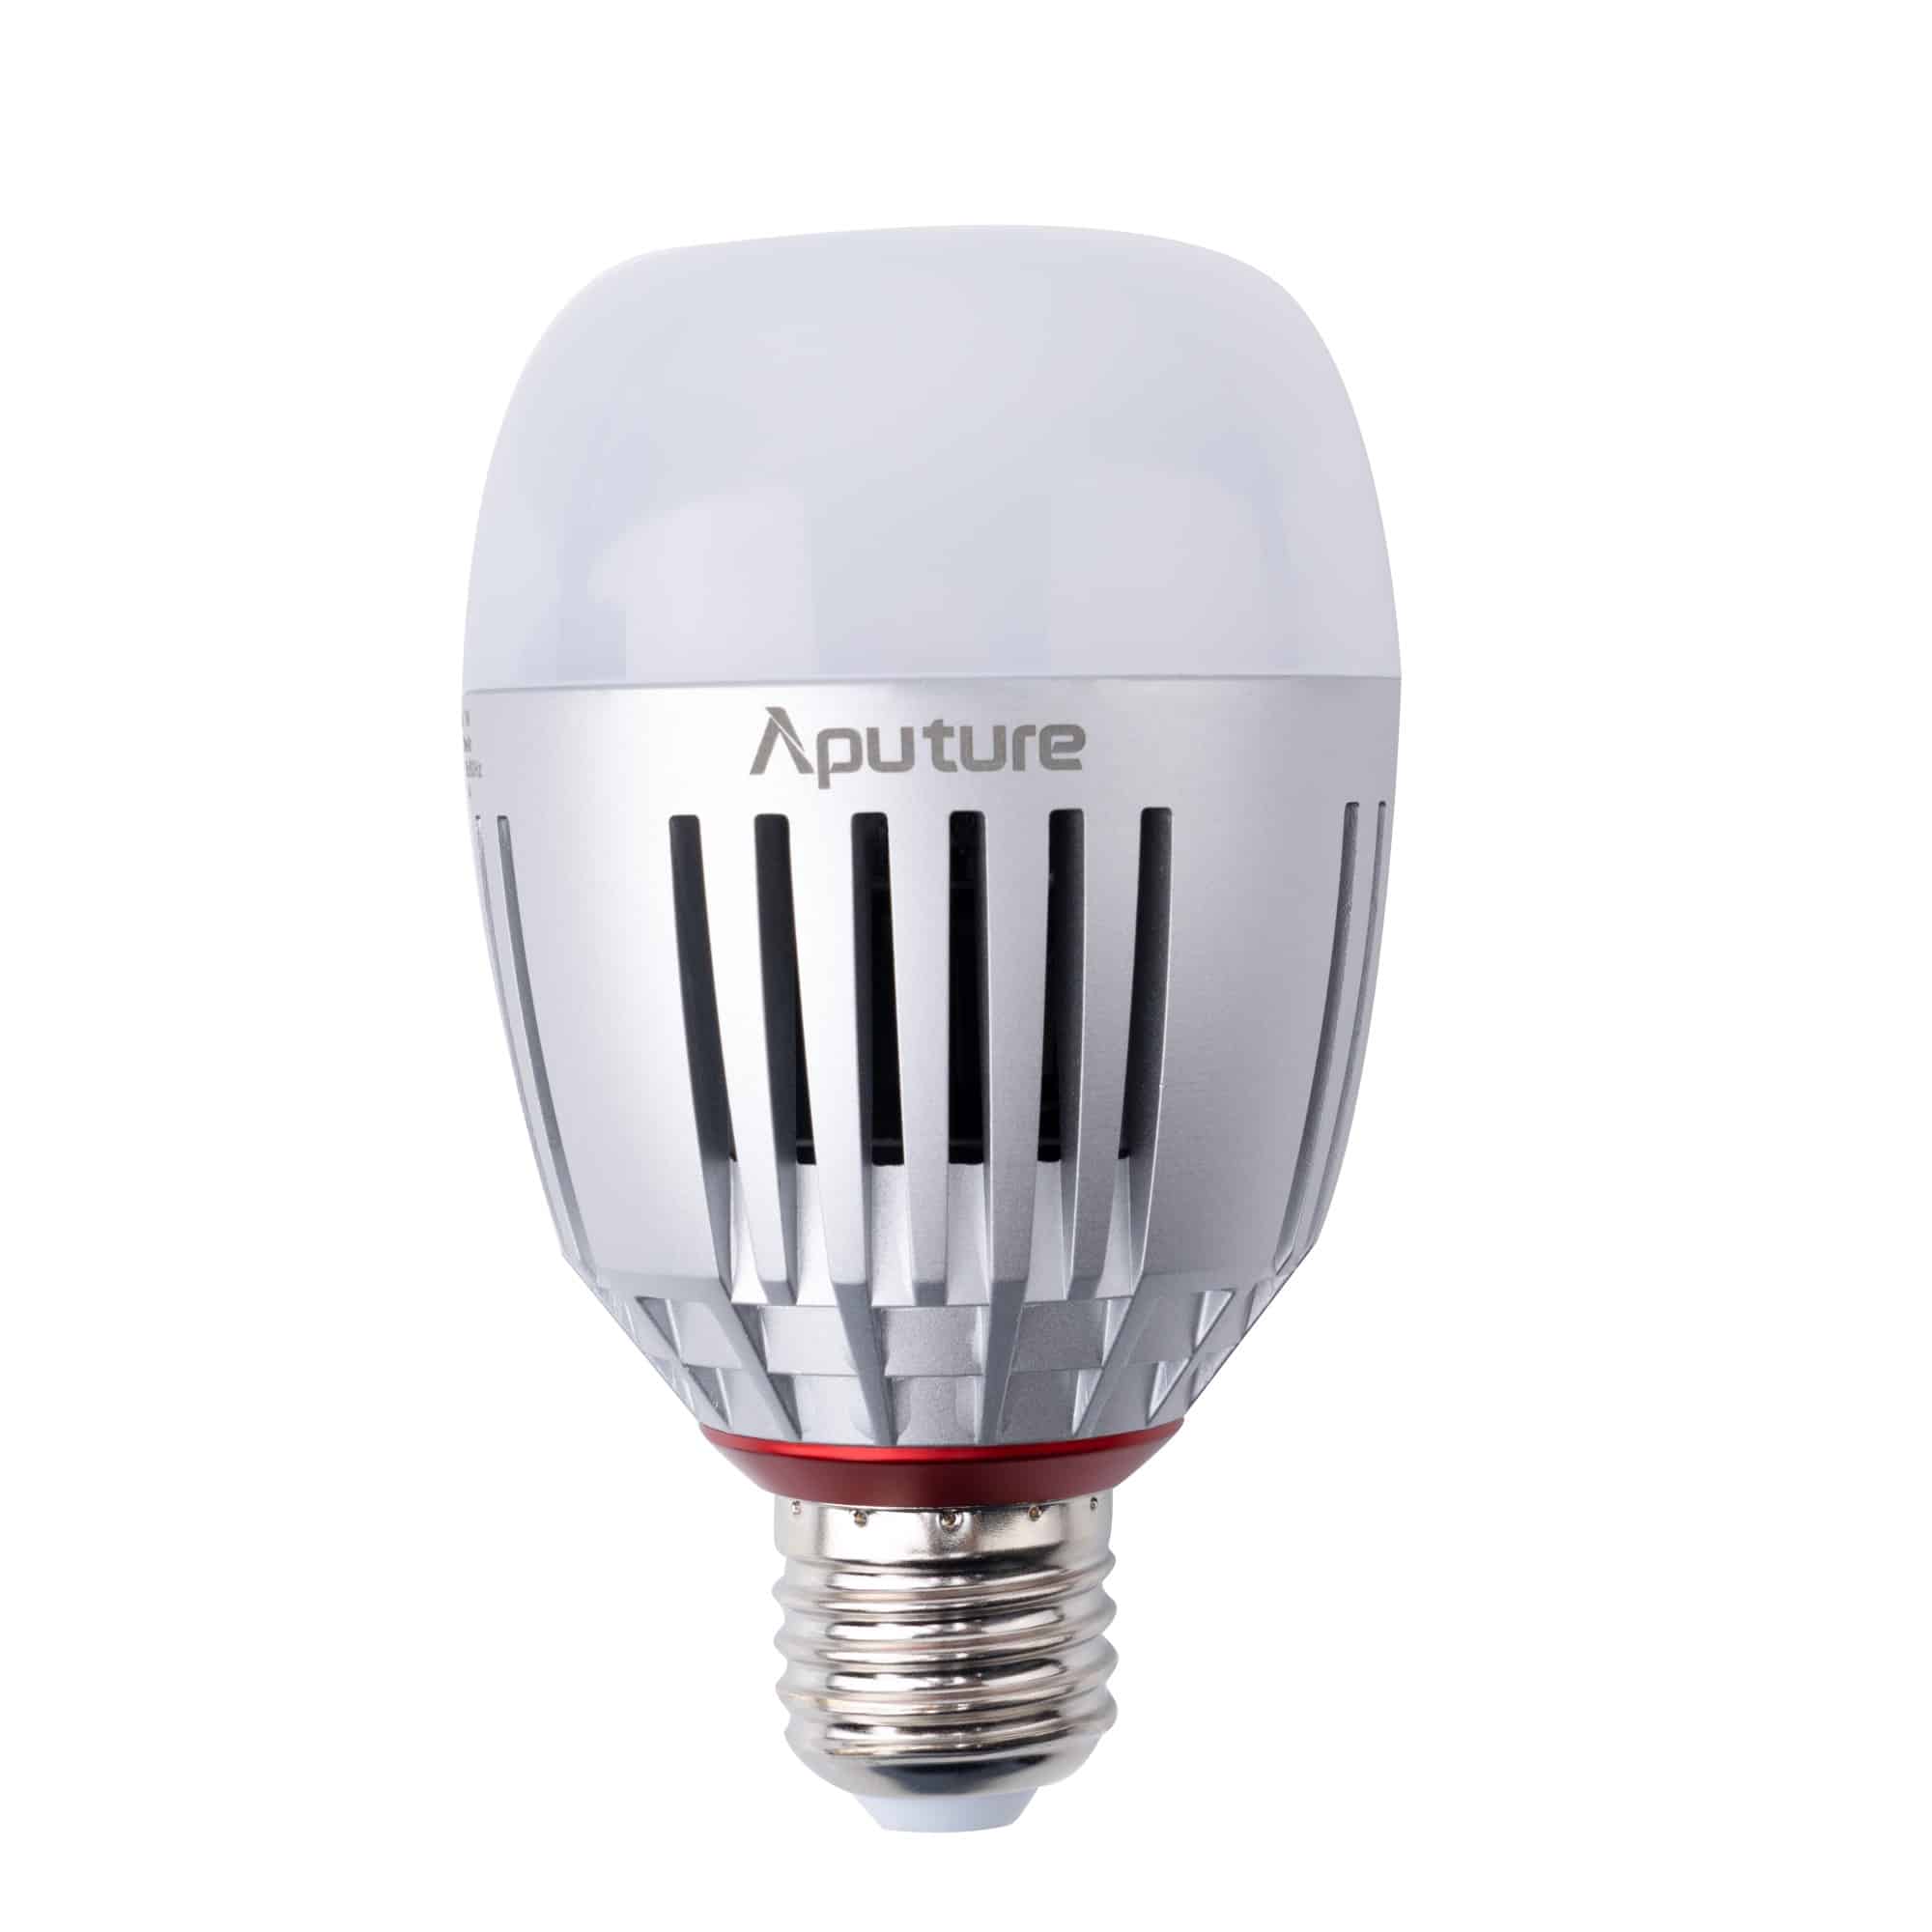
Smart bulbs serve as another excellent tool for interior shoots. By swapping out standard incandescent bulbs in desk lamps or floor fixtures with RGBWW alternatives, you gain complete dimming and color control over your practical set design directly from your phone. This lets you dial in the exact aesthetic you need without running additional heavy cables across the room.
Key Takeaways
- Start with the end in mind: A single diffused light works well for quick webinars, but professional commercial video demands a three-point setup with a key, fill, and backlight to manage shadows.
- Respect the Inverse Square Law: Doubling the distance between your light and your subject reduces the brightness to one-quarter. Always position your fixtures strategically before simply increasing the power.
- Buy for the modifier, not the bare bulb: Softboxes and diffusion fabrics cut your light output significantly. Purchase fixtures with enough overhead to keep your camera’s ISO between 100 and 200 after modifiers are applied.
- Match your color temperatures: Mixing different color temperatures across your key and fill lights creates muddy skin tones. Stick to a neutral 5000K to 5600K range for standard corporate shoots.
Ready to stop guessing and start building a reliable studio setup? Browse our comprehensive selection of professional lighting fixtures online, or reach out to our technical support team for a custom layout plan backed by over 20 years of AV integration experience.


