
How to Simulate Natural Daylight on Video Sets
Losing your sunlight mid-shoot is a cinematic nightmare. Recreating realistic daylight indoors requires more than blasting a bright lamp through a window. In our two decades of outfitting professional sets, we have learned that mastering simulated sunlight means matching its precise physical characteristics: direction, hardness, and color temperature.
Understanding the Physics of Sunlight
Before you can simulate sunlight, you must understand how it behaves in nature. Direct sunlight is inherently a hard light source. Because it travels millions of miles before reaching your subject, the rays are virtually parallel, producing hard-edged shadows and high-contrast environments.
Standard daylight rests at approximately 5,600K. While this fluctuates from the cooler tones of midday to the warmer, lower-angled light of golden hour – where warm key light meets cool-colored shadows – 5,600K remains the industry baseline. Starting at this temperature ensures a neutral, natural-looking base for your cameras before you introduce creative color grades.
However, natural daylight is rarely a single light source. The sky itself acts as a massive reflector, bouncing soft ambient light into the shadows. This interplay between the harsh, directional “key” of the sun and the soft, enveloping “fill” of the sky dictates the visual depth of your scene. Interestingly, day interior scenes maintain identical exposure levels to night setups, but the ratio of light to dark values differs significantly.
Establishing Your Primary Sun Source
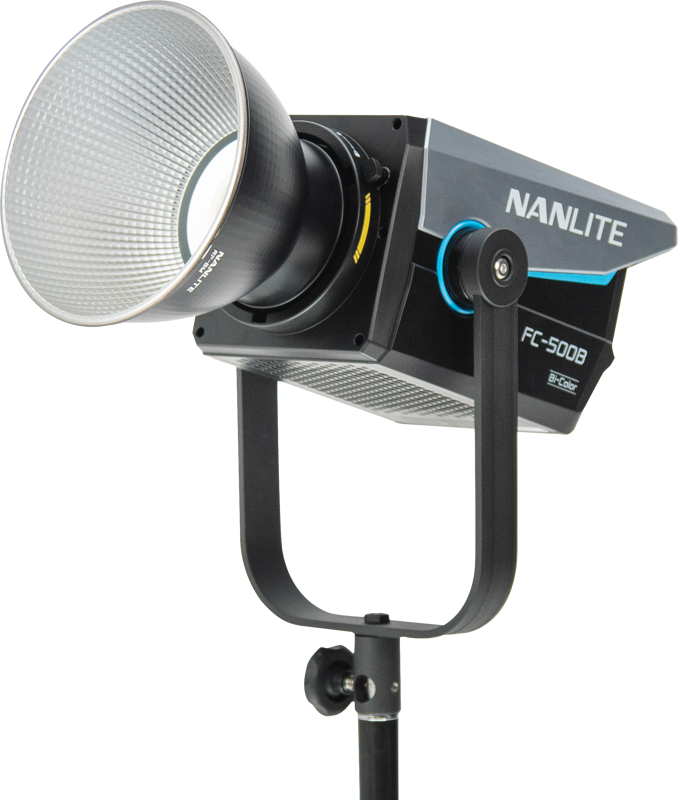
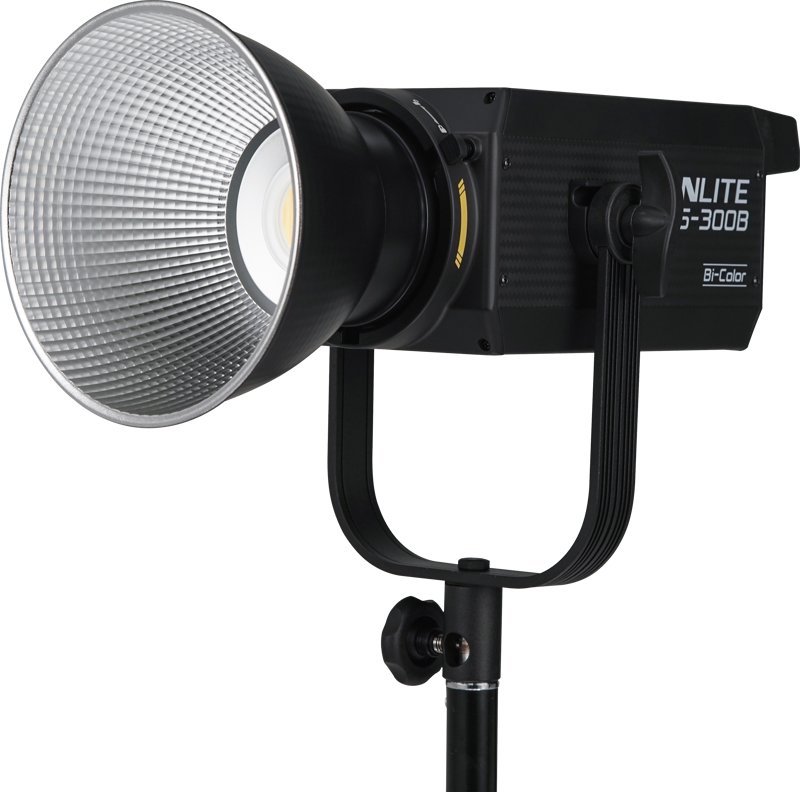
To replicate the sun’s intense, directional rays, you need fixtures capable of producing high output from a single point. Historically, HMI Fresnels and PARs set the standard because their point-source design delivers unmatched punch and sharp daylight geometry. Today, modern spot lights and high-wattage LED alternatives offer comparable output without the massive power draw and heavy ballasts of traditional units.
When positioning your primary key light, distance is your most valuable asset. Pushing a powerful fixture through a window from far away ensures the light falloff is gradual and the shadows remain sharp, closely mimicking true sun streaks. For large-scale setups, 1200W-class daylight and bi-color fixtures deliver the volume of light required to compete with natural ambient levels. Cinematographer Stephen H. Burum, ASC, famously demonstrated that pushing strong Fresnel spots through windows creates distinct venetian-blind patterns, establishing that every fixture on a day interior must serve a specific function: casting a shadow, creating separation, or providing fill.
For tighter spaces or specific directional pushes, mid-tier tunable COB lights provide the high-fidelity color and beam control needed to create realistic window patterns without overloading location circuits.
-
 Spot lights
APUTURE Storm 700x
€ 1 690.00€ 2 095.60 (incl. VAT) -
 Spot lights
NANLUX Evoke 1200 Spot Light
€ 2 687.92€ 3 333.02 (incl. VAT) -
 Spot lights
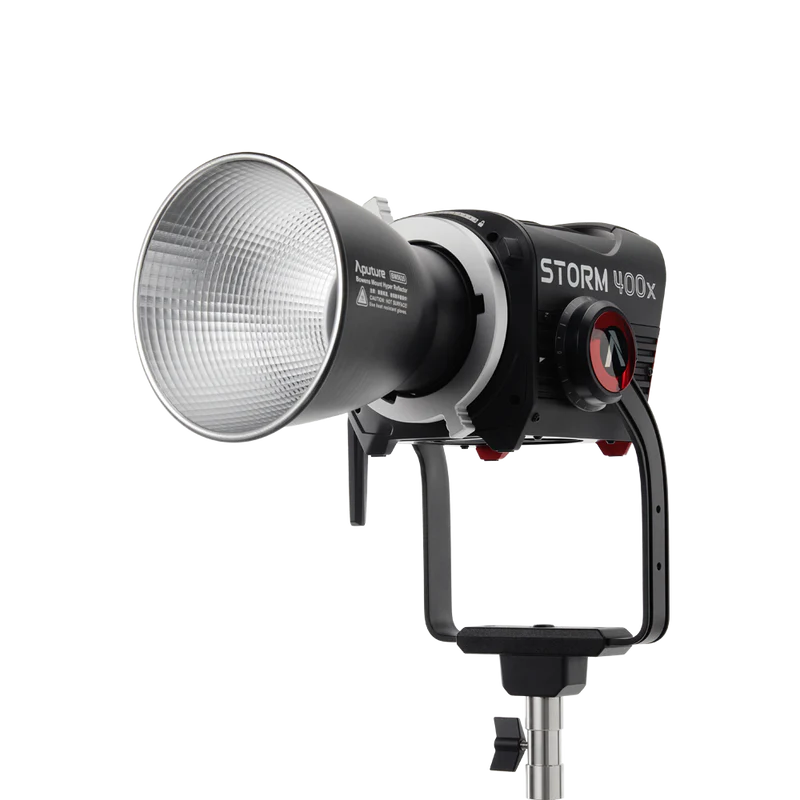
APUTURE Storm 400x
€ 1 050.00€ 1 302.00 (incl. VAT) -
 Spot lights
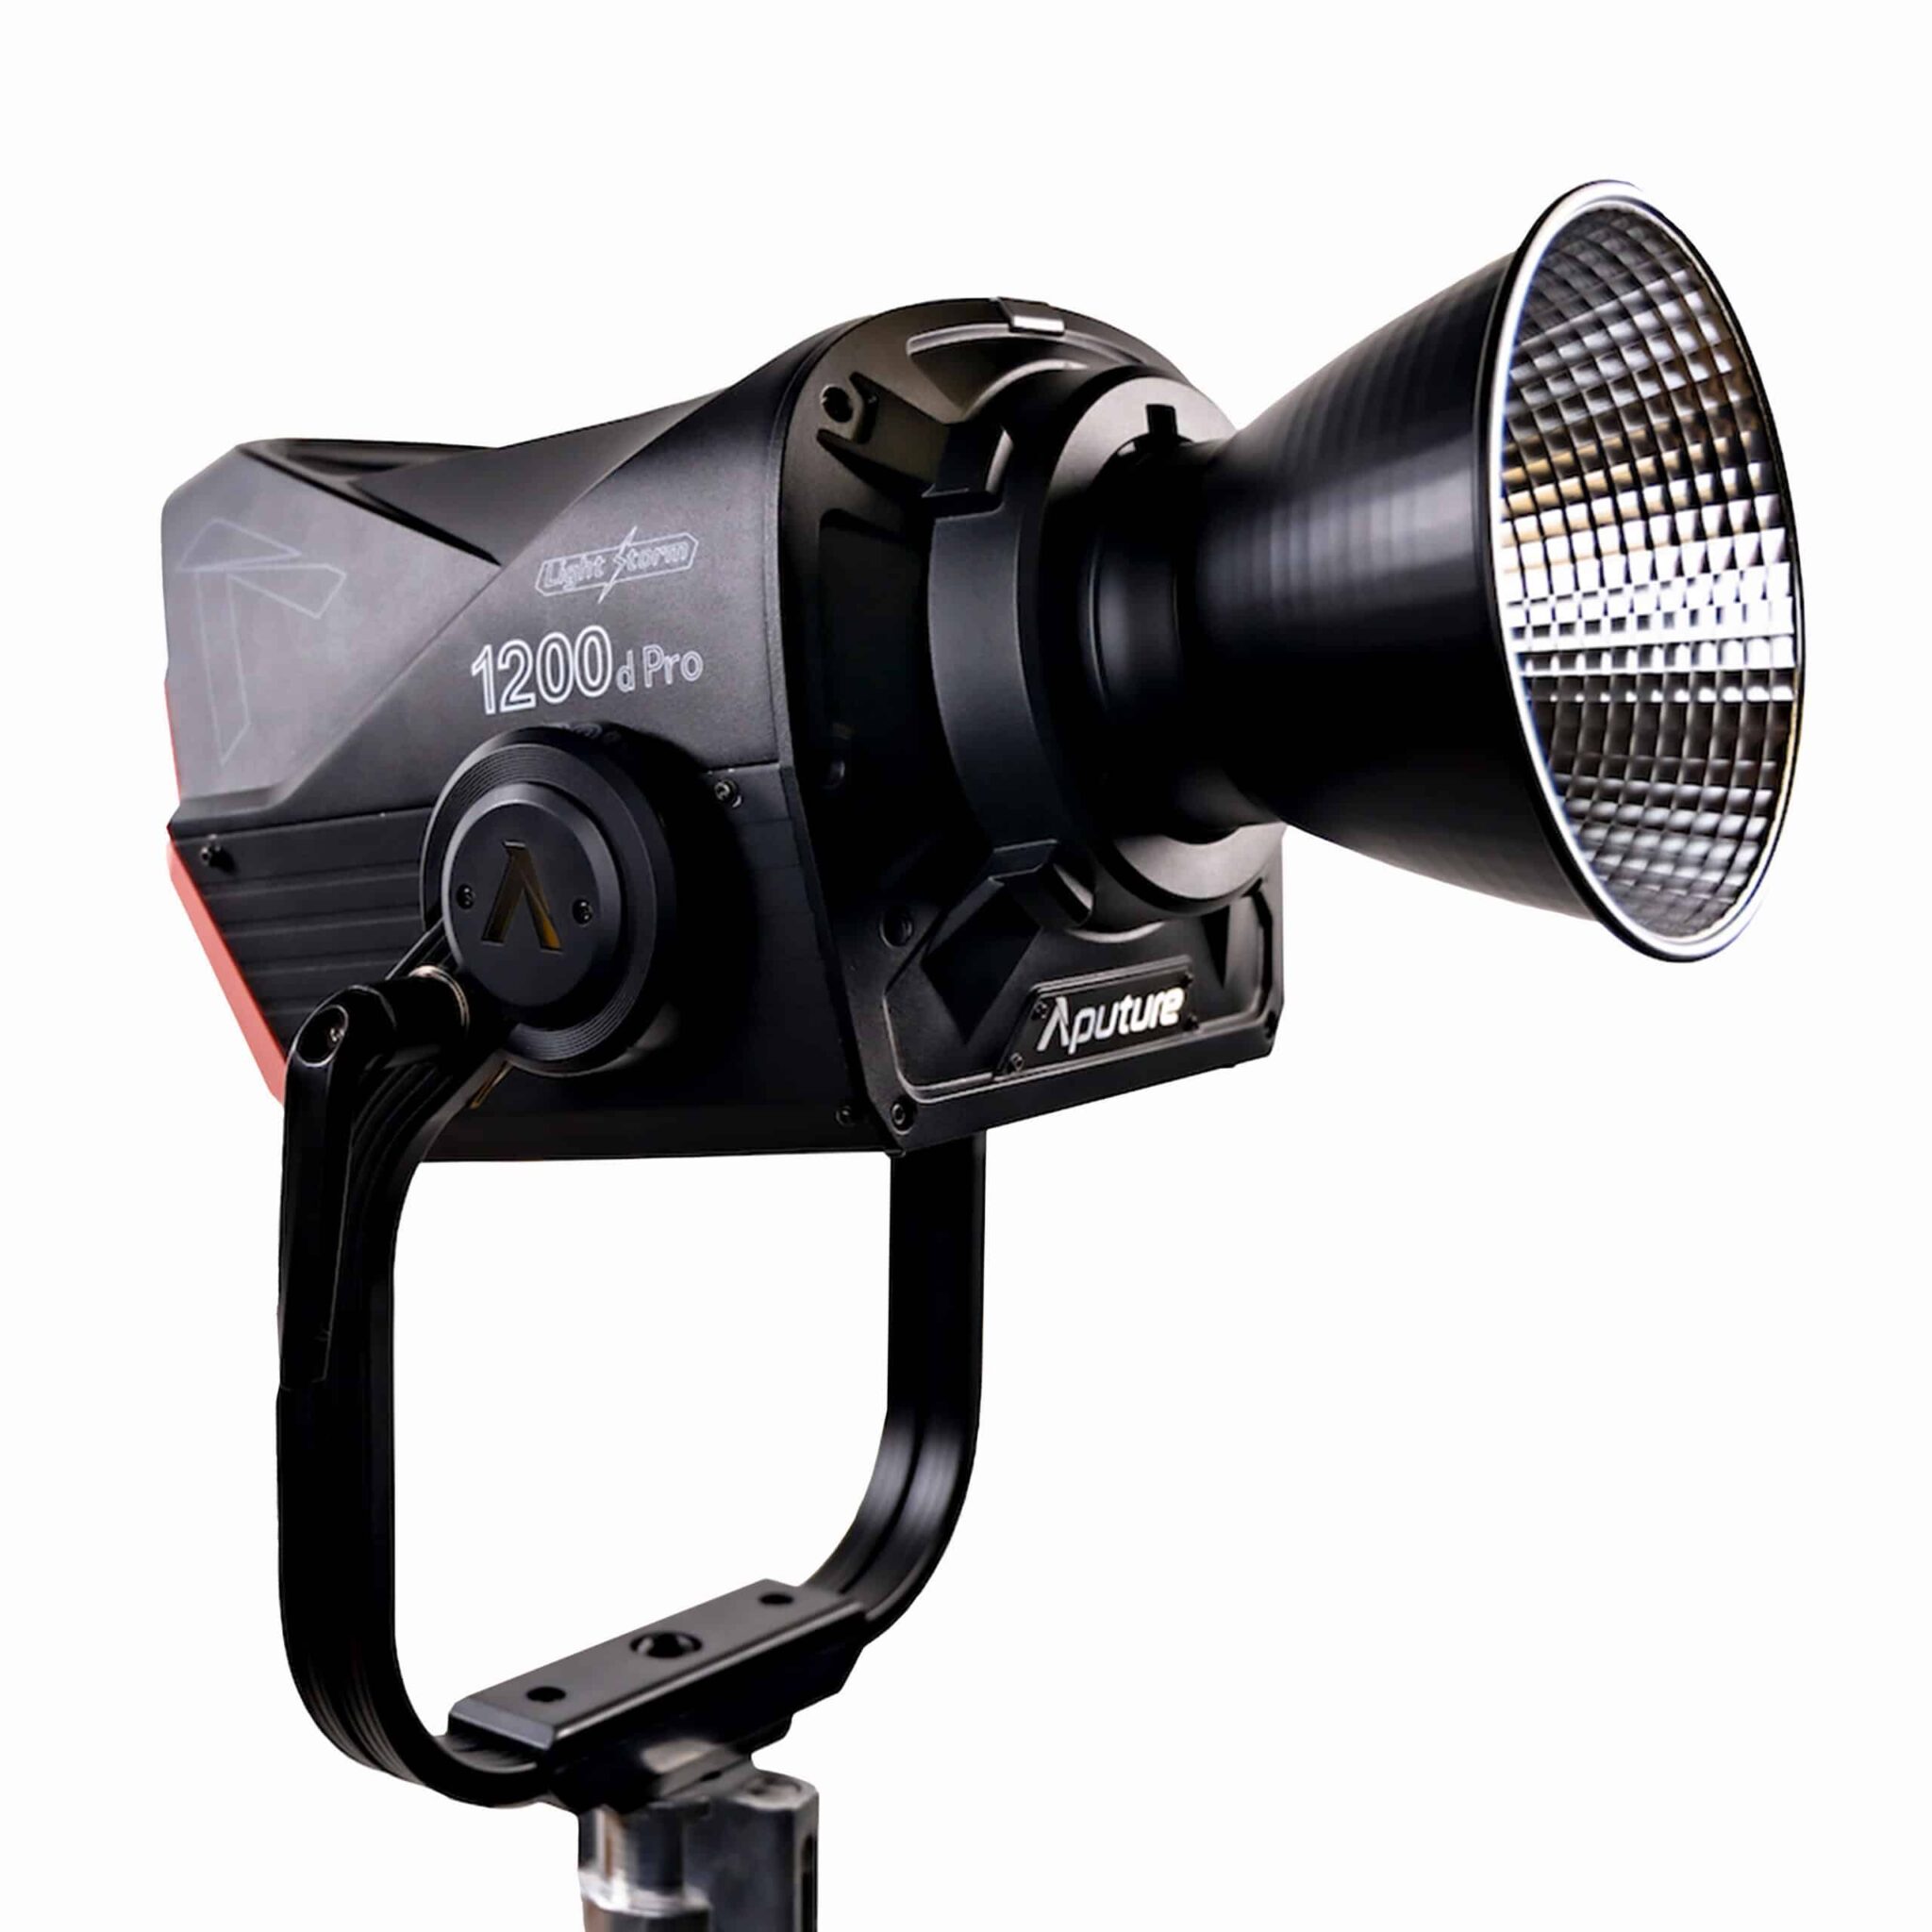
APUTURE Light Storm 1200D PRO daylight-balanced point-source LED
€ 2 480.00€ 3 075.20 (incl. VAT) -
-23%Spot lights
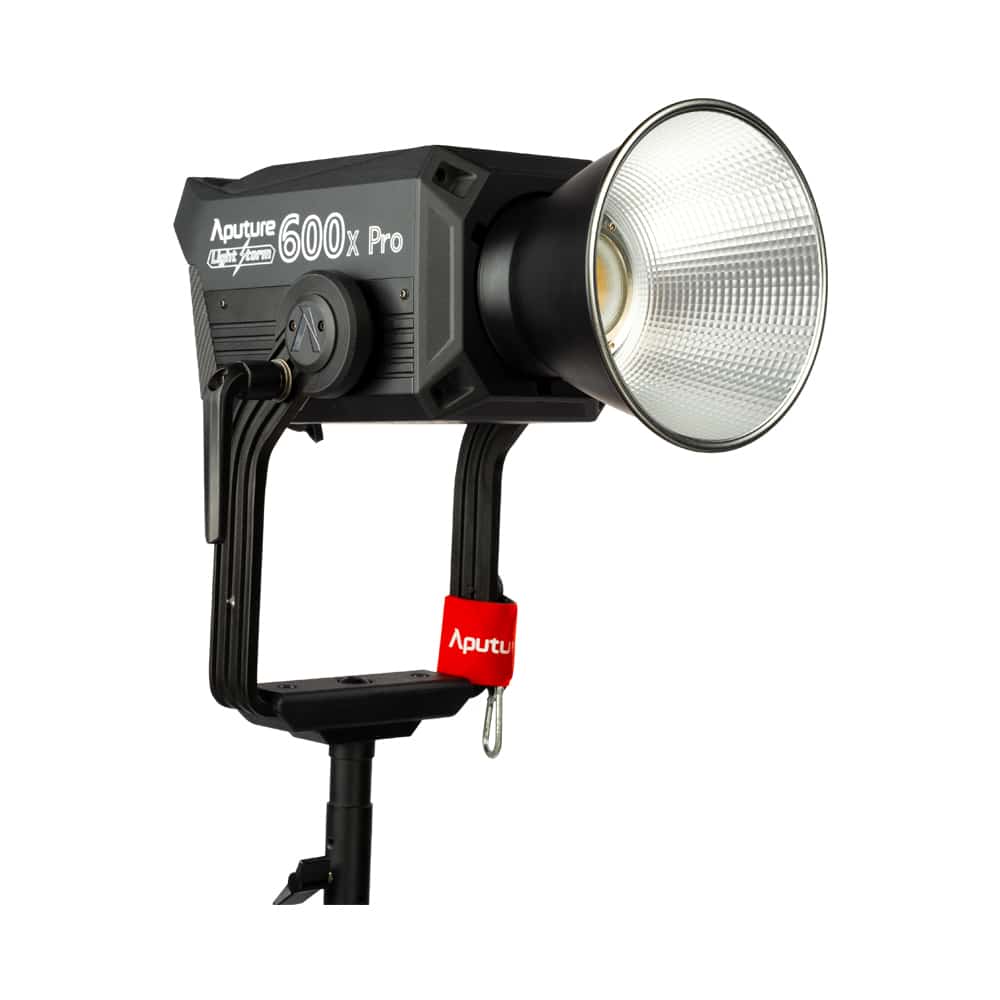
APUTURE Light Storm 600X PRO 600W bi-color point-source LED
Original price was: € 1 900.00.€ 1 455.00Current price is: € 1 455.00.€ 1 804.20 (incl. VAT)


Creating Ambient Fill and Skylight Effects
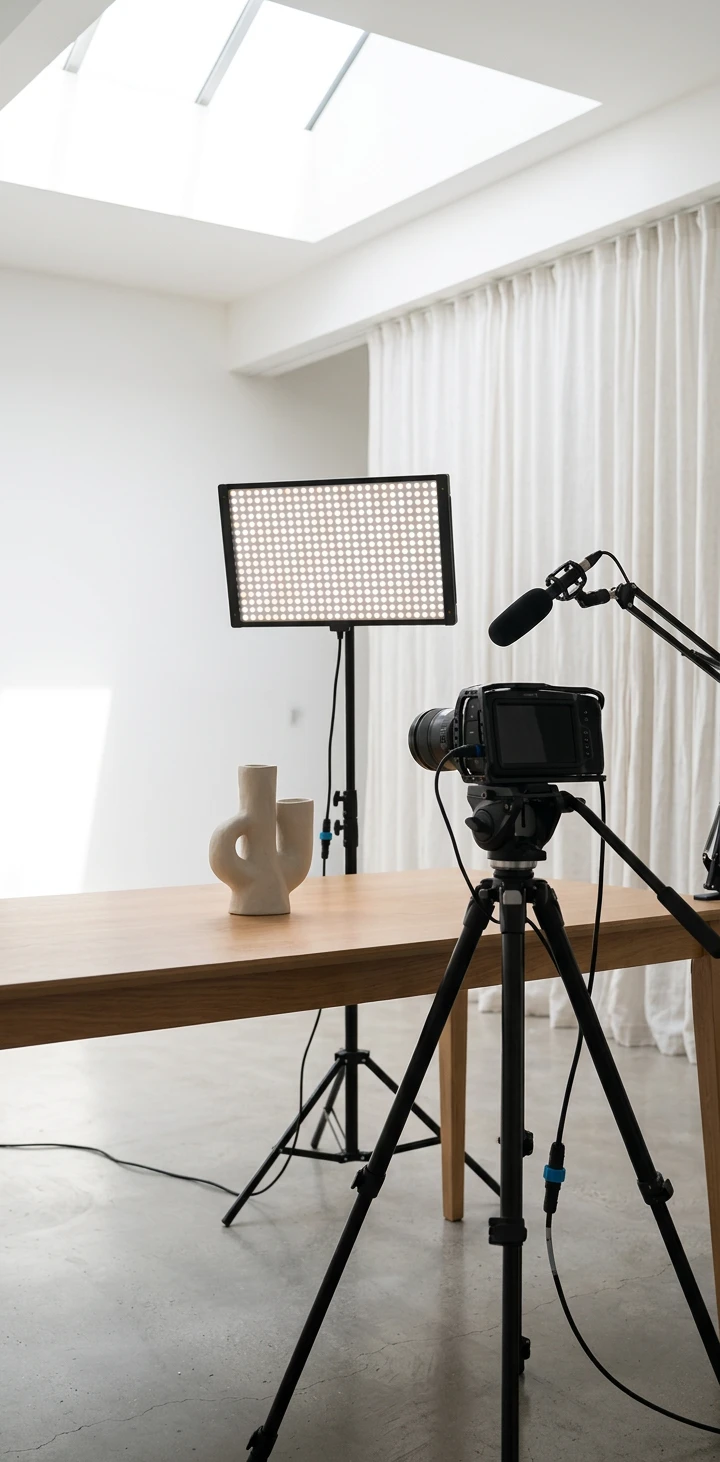
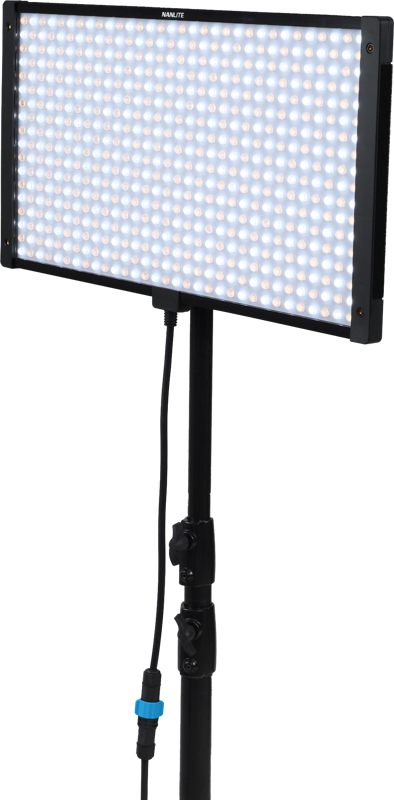
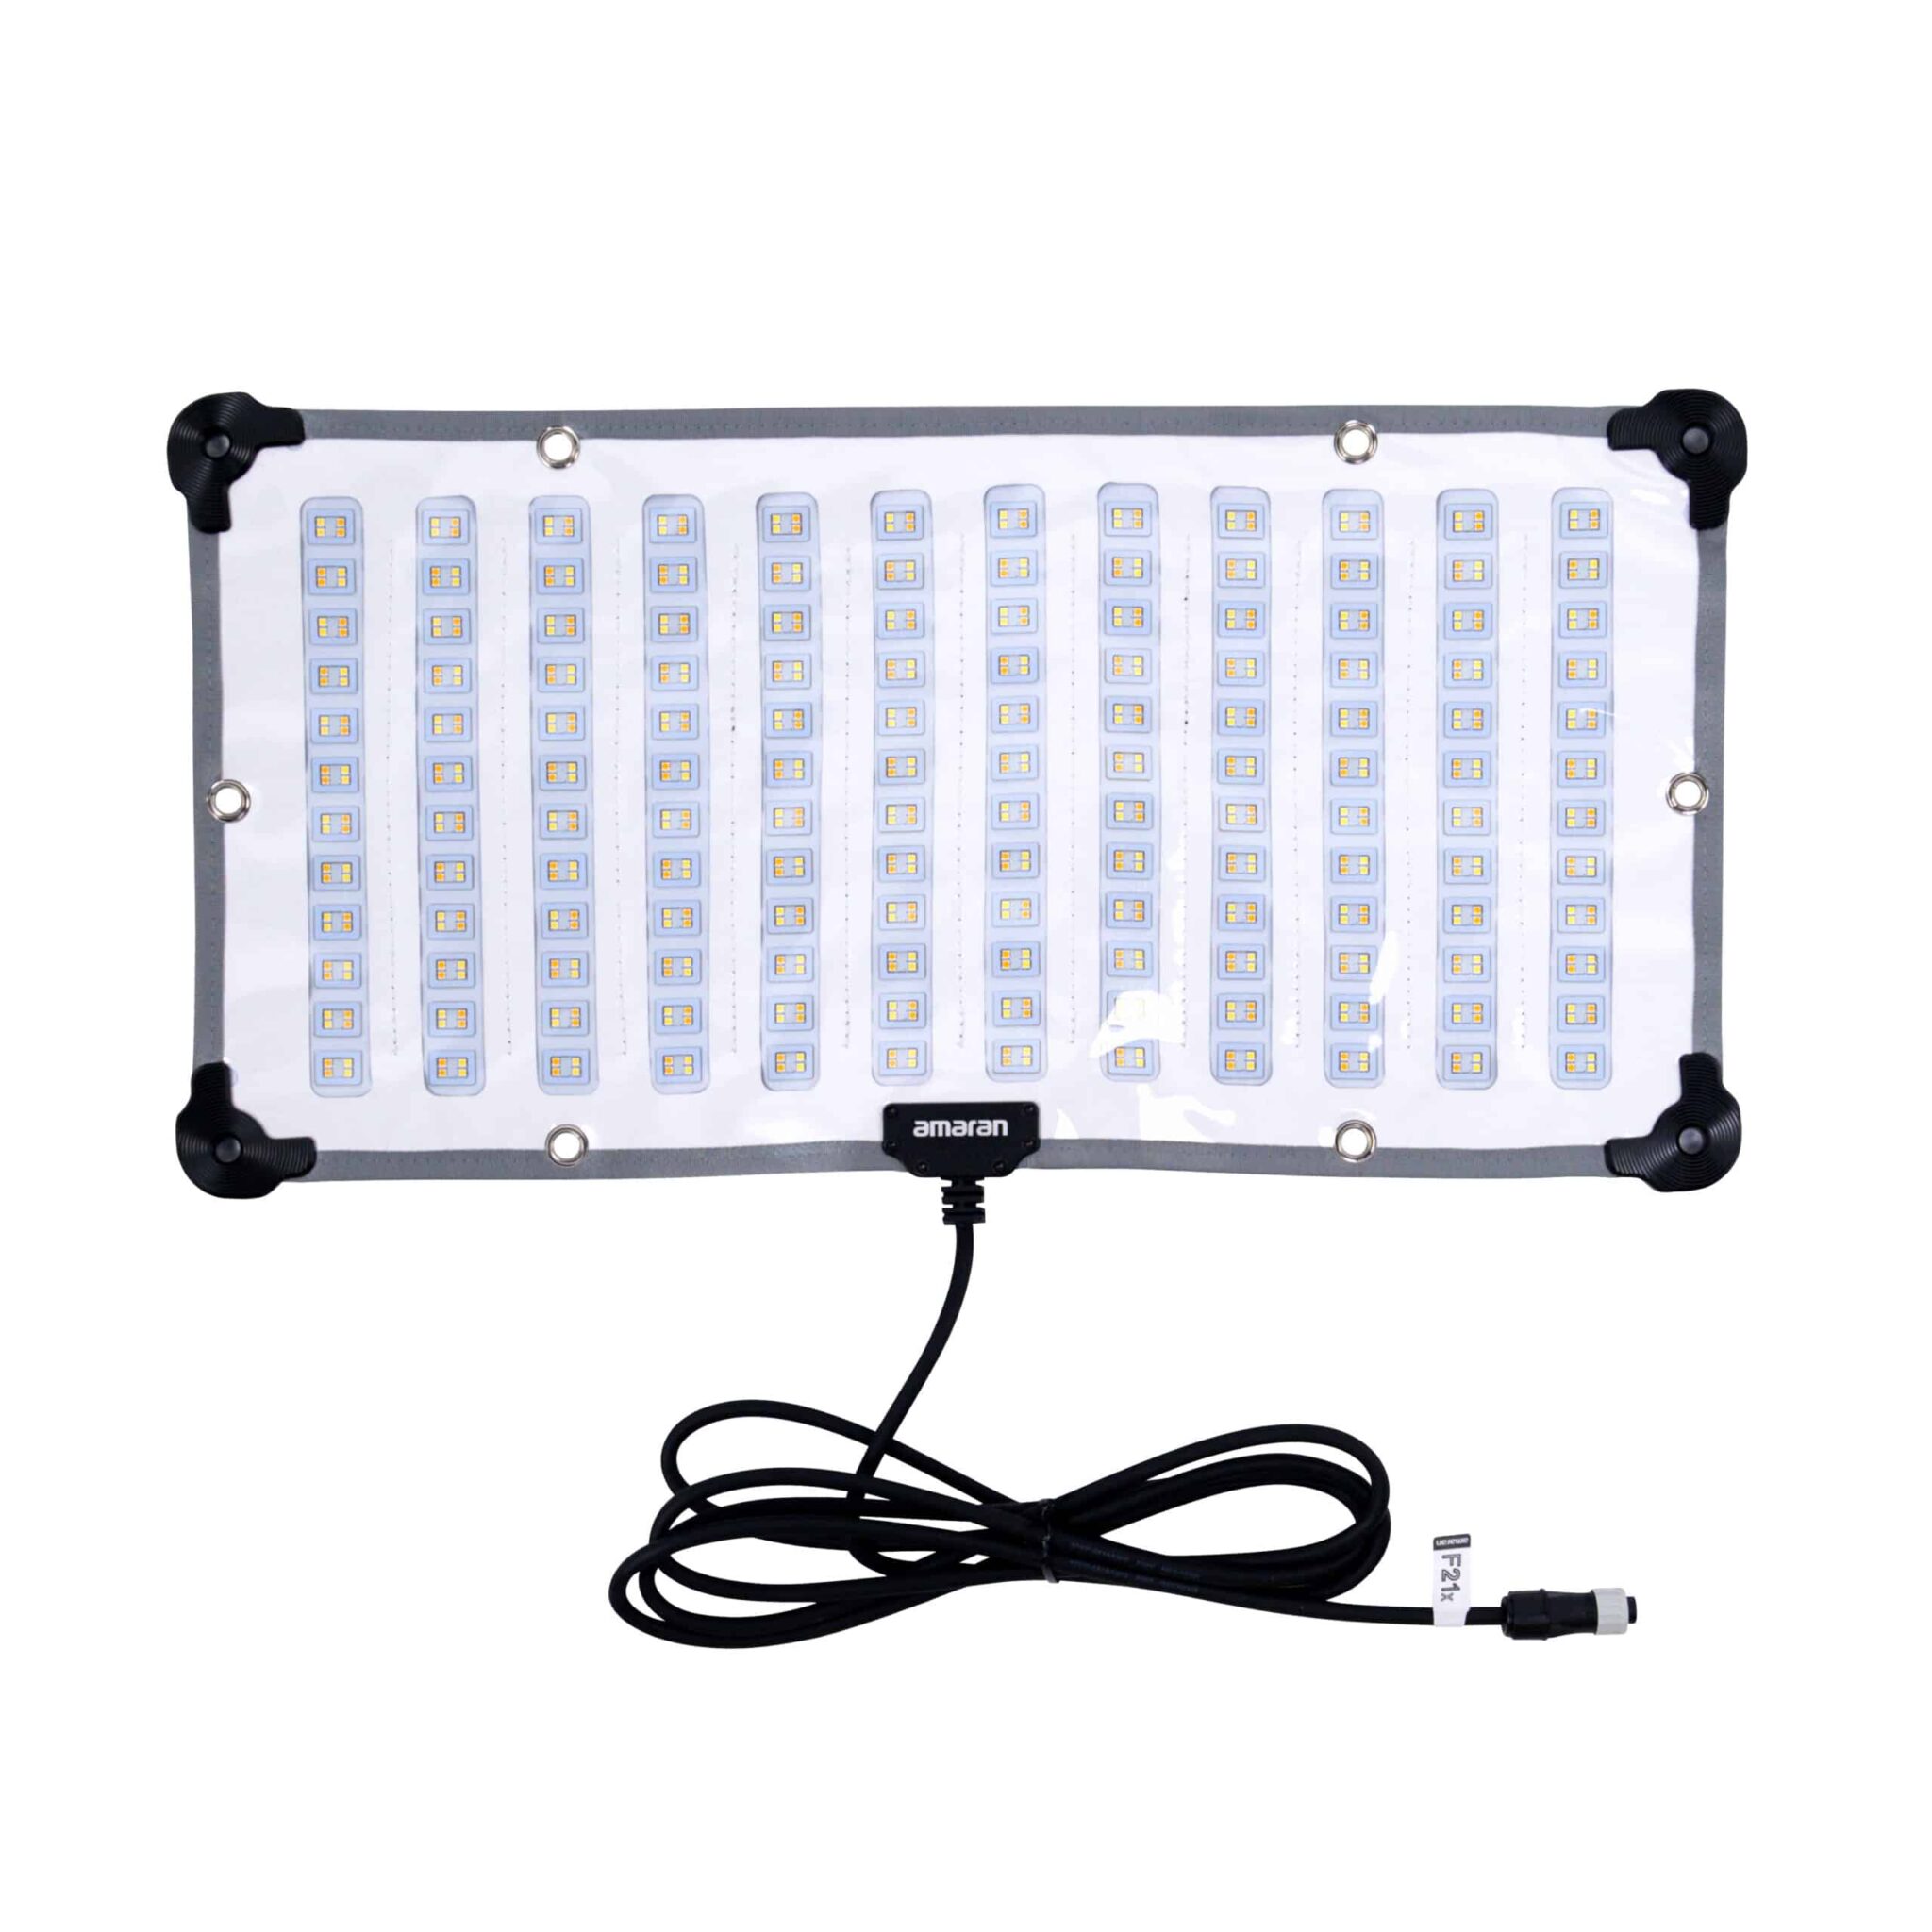
Sunlight does not exist in a vacuum. To prevent your shadows from becoming unnaturally deep and pitch-black, you must introduce ambient fill light. The goal is to raise the overall exposure of the darker areas in your frame without erasing shadow detail or flattening the image. Broad, soft sources are ideal for this task. Array-based fixtures like LED panels and flexible light mats emulate the soft, scattered light of an overcast sky or environmental bounce.
A critical aspect of set lighting is establishing a proper key-to-fill ratio. According to guidance from the American Society of Cinematographers, a bright, modeled day interior often relies on a measured ratio of 8:1 to maintain a natural, three-dimensional look. By managing this ratio, you control the mood and contrast without sacrificing the depth of the scene.
Place your soft fill lights close to the camera axis or bounce them off white surfaces. This technique lifts the ambient exposure uniformly and prevents the creation of visible secondary shadows, which immediately break the illusion of a single sun. Professional cinematographers, such as Rodney Charters, ASC, frequently pair hard directional sunlight with slim LED panels to provide this crucial, seamless ambient fill.
Shaping the Light with Modifiers and Negative Fill
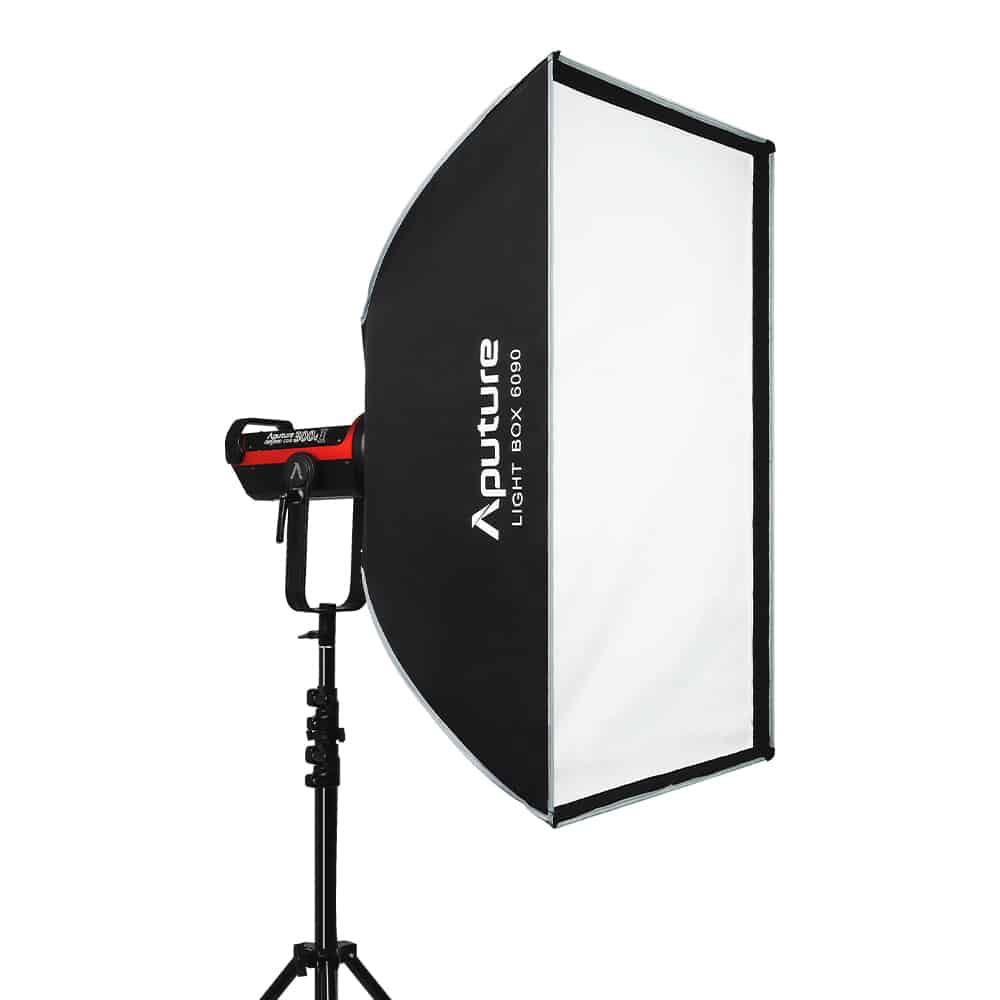
Direct, harsh sunlight is not always the correct aesthetic. When your scene calls for an overcast day or soft morning glow, you must alter the quality of your point-source lights using light modifiers. Attaching a large softbox to a high-output LED transforms it from a sharp key into a broad, wrapping source that inherits the fixture’s daylight color temperature while softening the spill.
| Fixture Type | Visual Effect | Ideal Application |
|---|---|---|
| High-Output Spotlight | Hard, sharp shadows, high contrast | Pushing through windows for direct sun |
| Spotlight + Softbox | Directional but softened | Overcast or indirect daylight simulation |
| LED Panel / Flexible Mat | Soft, broad, diffused light | Ambient skylight and shadow fill |
Interestingly, simulating natural light often involves taking light away rather than adding it. Working professionals frequently note that using negative fill – large black flags or fabric positioned off-camera – is more effective than adding light when controlling daylight. Negative fill absorbs unwanted spill and deepens shadows on the unlit side of your subject, ensuring your lighting retains necessary contrast.
Managing environmental reflectance is equally important. Set walls should ideally be kept at or below a 25% reflective value; if walls are too bright, actors will appear underlit even at the correct exposure. For flexible, everyday daylight simulation on corporate or content creation sets, compact bi-color fixtures paired with reliable softboxes offer an excellent balance of beam control and output.
Strategic Placement and Motivated Source Logic
Audiences intuitively understand how natural light behaves. To make your artificial lighting believable, it must be “motivated.” This means placing your primary hard light so it appears to originate from a logical source within the environment, such as a window, skylight, or open door. Even if you conceal small practical lights within set pieces – a technique pioneered by Arthur C. Miller, ASC – the audience should subconsciously accept the lighting as a natural environmental element.
The height and angle of your motivated source dictate the perceived time of day. High, overhead angles suggest midday sun, while lowering the fixture and warming the color temperature implies late afternoon or early morning. Achieving these precise angles safely outside of set windows requires heavy-duty light stands and proper rigging to ensure stability.
Finally, you must actively prevent the most common mistake in daylight simulation: creating multiple shadows. The sun casts exactly one shadow per object. If you use multiple hard fixtures to light different parts of a room or to light close-ups, use backlights and rim lights from consistent angles to reinforce a single dominant light source direction. Flag their spill carefully so conflicting shadow patterns do not ruin the continuity of your sequence.
Key Takeaways
- Daylight is fundamentally a hard, point-source light at roughly 5,600K; replicate this using powerful, directional spotlights placed as far back as possible.
- Establish a motivated light source by pushing your key light through a window or logical opening to create natural shadow geometry.
- Lift shadows using soft LED panels or bounced light positioned near the camera axis to prevent conflicting secondary shadows.
- Utilize negative fill to subtract unwanted ambient light bounce, preserving the contrast and three-dimensional depth of your scene.
Lighting a believable day interior requires both technical precision and reliable equipment. Whether you are upgrading your studio’s grid or building a portable lighting package for location shoots, our team of experts is here to help. Browse our full range of professional lighting fixtures, or contact MediaGear today for tailored AV solutions and installation support.


