
How to Reduce Echo for Broadcast-Quality Audio
Poor audio ruins high-end visuals faster than a bad lens ever could. If your dialogue sounds like it was recorded inside a bathroom, viewers will click away. In our two decades supplying professional AV equipment, we’ve found that eliminating echo requires targeting physics, hardware, and post-production simultaneously.
The Physics of Reverb and Early Reflections
Before you attempt to fix muddy sound, you need to understand how acoustic energy interacts with your environment. When a person speaks, the microphone captures the direct sound from their mouth. Milliseconds later, it captures the residual sound waves bouncing off hard surfaces like glass, concrete, and bare drywall.
These early reflections – specifically those arriving within 50 milliseconds of the direct sound – smear the dialogue and severely reduce vocal clarity. In our experience, untreated small rooms and home offices amplify low-end frequency buildup, creating a resonance that makes voices sound hollow. To evaluate your room, audio engineers measure reverberation time (RT60), which tracks how long it takes for a sound to decay by 60 decibels.
| Environment Type | Target RT60 (Seconds) |
|---|---|
| Professional Studios & Podcasts | 0.2 – 0.4s |
| Offices & Conference Rooms | 0.4 – 0.6s |
| Classrooms & Lecture Halls | 0.5 – 0.7s |
If your recording space exceeds an RT60 of 0.6 seconds, speech intelligibility drops significantly. You must physically control the space before relying on hardware to do the heavy lifting.
Control the Environment with Acoustic Treatment
Your first line of defense against echo is physically stopping the sound waves from bouncing. Adding soft, absorptive materials directly targets the room’s acoustics. Focus your efforts on the first reflection points – the areas on the walls and ceiling directly between the speaker and the microphone.
You do not need to cover the entire room to see dramatic improvements. Achieving just 20% to 30% wall coverage with absorptive panels is usually enough to control mid-to-high frequency echo in a standard broadcast setup. For smaller spaces suffering from low-end buildup, placing bass traps in the corners will drastically reduce problematic reverberation tails.
If you regularly film in fixed locations, investing in dedicated acoustics hardware is a non-negotiable step for professional results. For run-and-gun creators operating in unpredictable spaces, utilizing portable isolation shields or heavy sound blankets hung just off-camera can shave 10 decibels or more off unwanted room reflections.
Strategic Microphone Selection and Placement
When evaluating equipment, the fundamental physics of how a microphone captures sound dictates its performance in the field. Rather than fighting a highly reflective room, you want your hardware to naturally complement the acoustic environment. Halving the distance between your talent and the microphone yields a 6 dB or greater rise in the direct-to-ambient sound ratio.
For typical talking-head setups, keep the microphone 6 to 12 inches from the speaker’s mouth and position it off-axis from adjacent flat walls. Dynamic microphones often excel in untreated rooms because of their lower sensitivity, effectively ignoring distant reflections. Condenser mics capture pristine detail – including the room’s reverb – making them better suited for fully treated studios. We detail these trade-offs extensively in our guide on selecting the best desk microphone for video.
When framing prevents getting a microphone close to the subject, highly directional shotgun microphones featuring tight supercardioid or hypercardioid polar patterns minimize off-axis pickup. They effectively ignore the echo bouncing off side walls, focusing purely on the talent.
If the acoustic environment is exceptionally harsh, wireless lavaliers become the industry standard. By pinning the capsule directly to the talent’s chest, you establish extreme physical proximity, maximizing the speech-to-noise ratio and bypassing the room’s acoustics almost entirely. This proximity advantage is a critical factor when evaluating a lavalier vs handheld microphone for your production. Capturing usable audio in chaotic spaces requires specific strategies, which we further explore in our guide on how to record audio in a noisy environment.
-
 Microphones
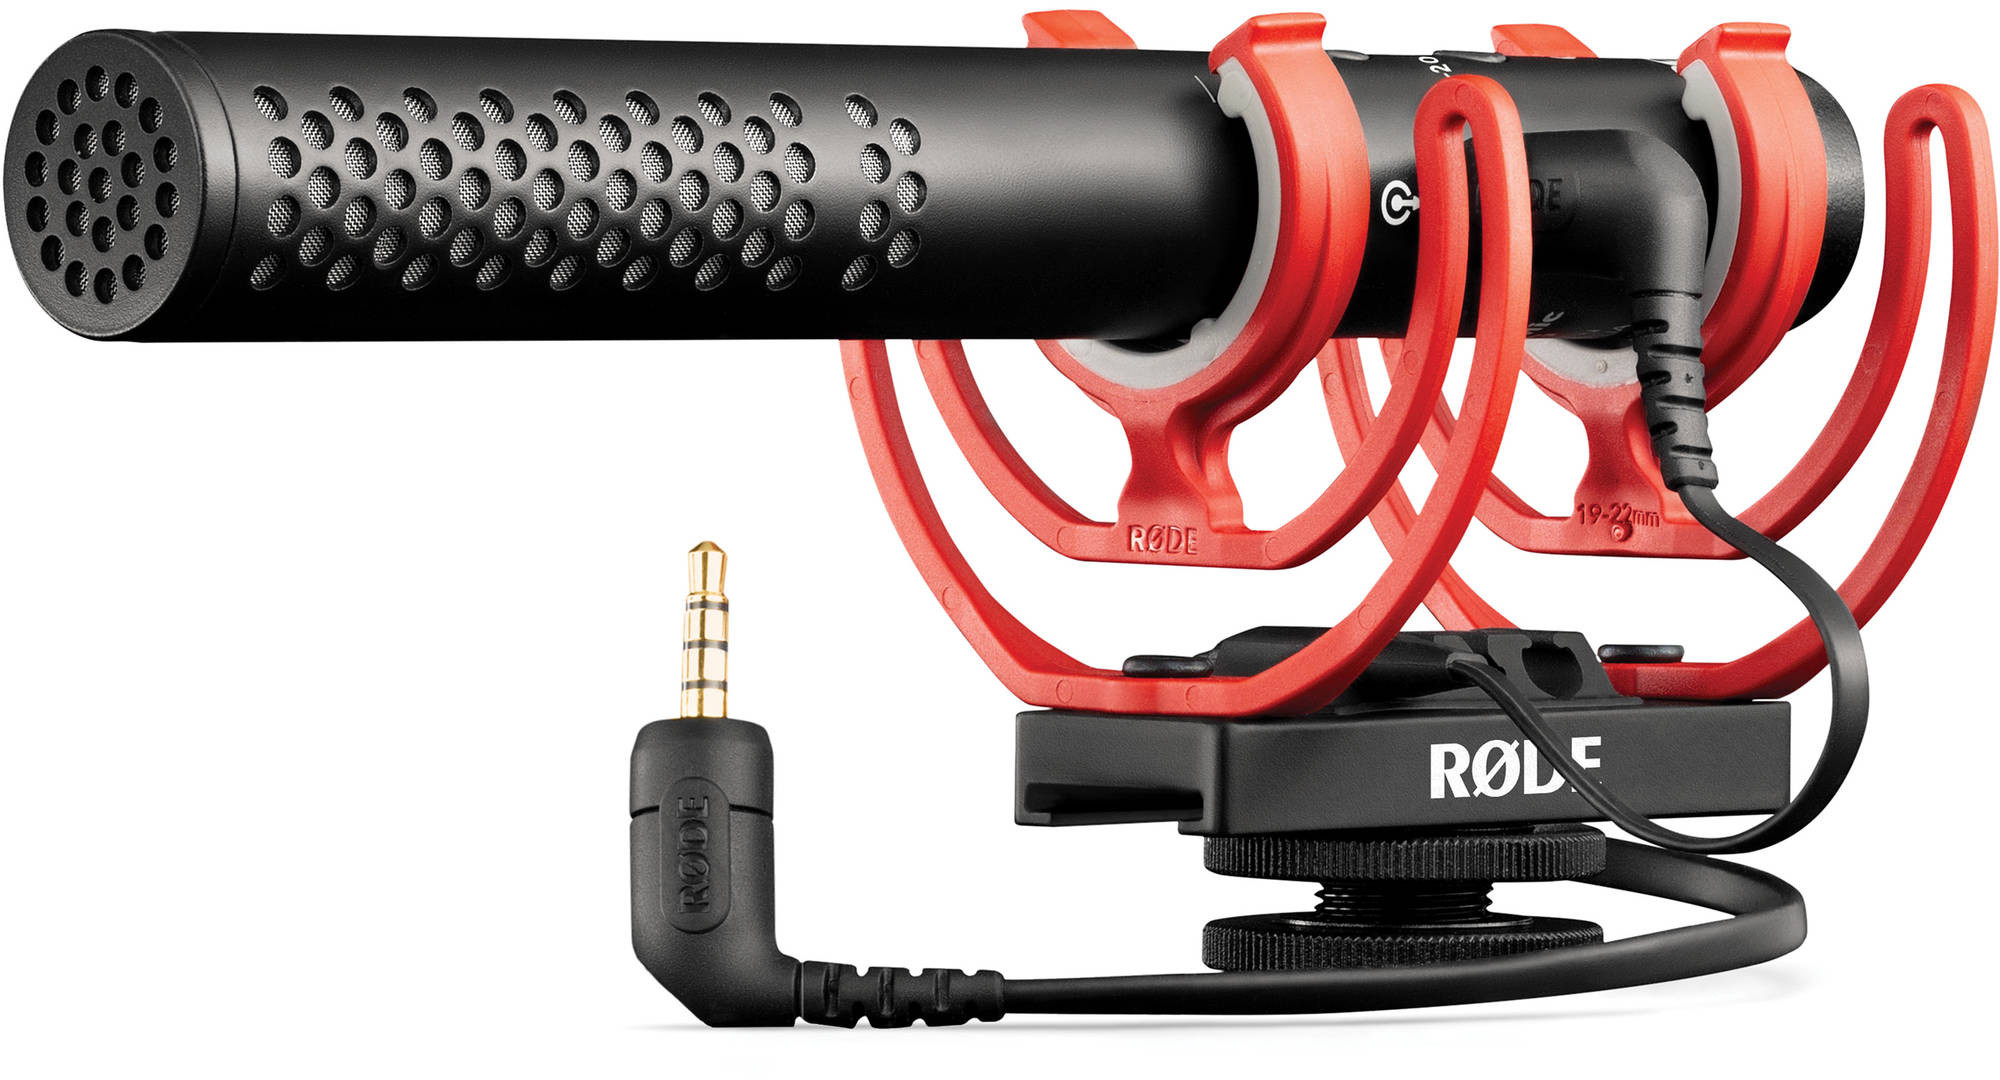
RODE wireless microphone Wireless Pro
€ 369.15€ 457.75 (incl. VAT) -
 Microphones
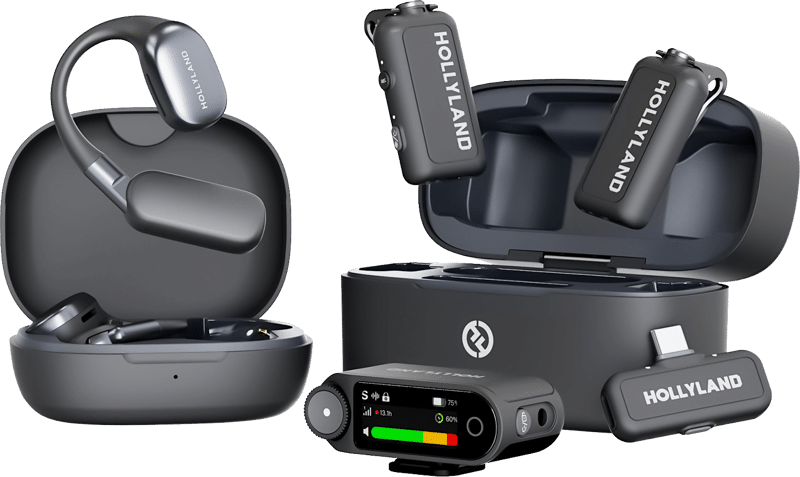
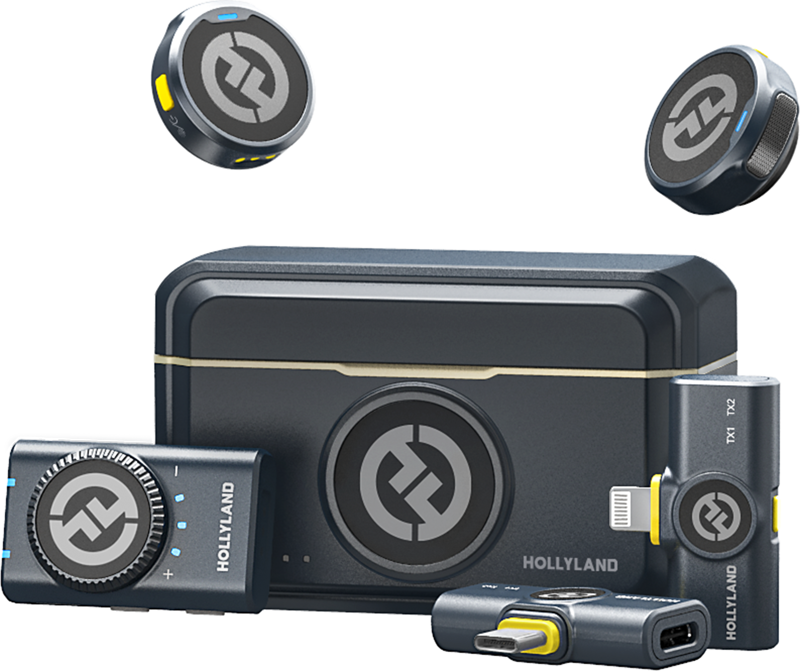
HOLLYLAND LARK MAX 2 Ultimate Combo with OWS Monitor Earphone + Camera RX + USB-C RX
€ 245.52€ 304.44 (incl. VAT)IN STOCK -
 Microphones
HOLLYLAND Lark M2 Combo – Wireless Lavalier Microphone (Duo, Shine Charcoal)
€ 91.92€ 113.98 (incl. VAT) -
 Microphones
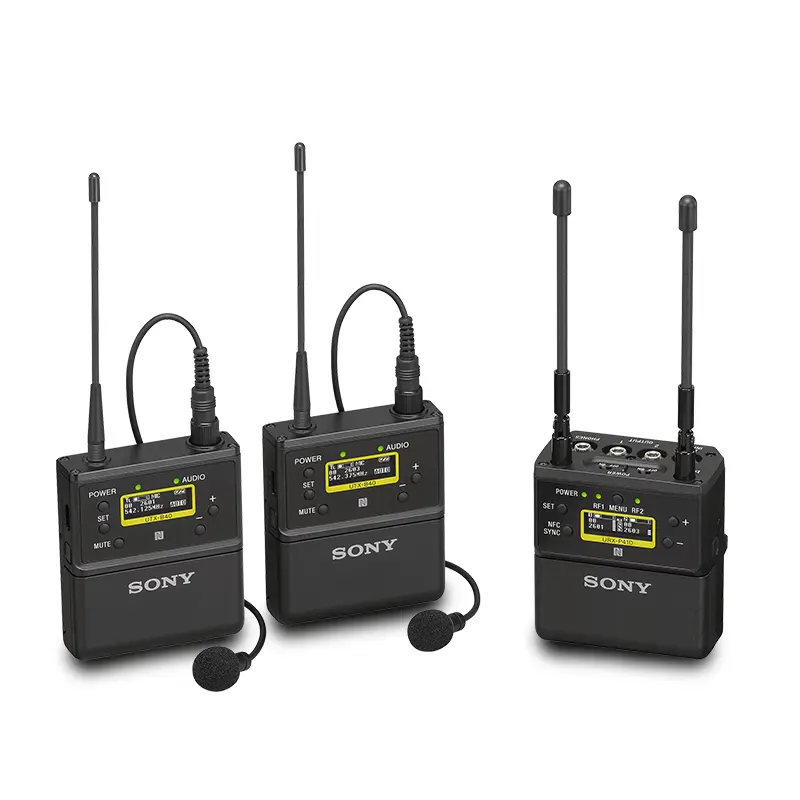
SONY UWP-D27 dual-channel receiver and transmitter kit
€ 1 447.00€ 1 794.28 (incl. VAT)IN STOCK
Pristine Gain Staging with Professional Recorders
Capturing a noisy room using a weak preamplifier forces you to heavily boost the gain. Pushing a standard camera’s internal preamps too hard introduces electronic hiss, which in turn amplifies the ambient room echo embedded in your track.
We always recommend bypassing the camera’s internal audio processing. Using dedicated audio recorders ensures you have access to high-gain, clean preamps. Modern ecosystems engineered by companies like Deity Microphones and Zoom utilize 32-bit float technology with dual A/D converters to capture a massive dynamic range. This architecture allows you to record without clipping and ensures that the quietest parts of the dialogue are captured cleanly, making any remaining echo much easier to manage in post-production.
When managing an interview or panel, rely on a multitrack field recorder. As we note in our breakdown on configuring a microphone for multiple speakers, isolating each voice to its own discrete track prevents phase cancellation and cross-bleed, which otherwise compounds the perception of room echo.
-
 Audio recorders
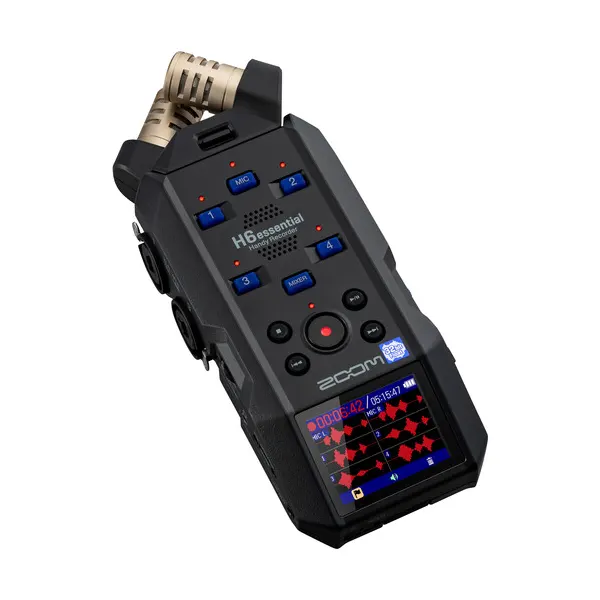
ZOOM H6essential Handy Recorder
€ 275.00€ 341.00 (incl. VAT) -
 Audio recorders
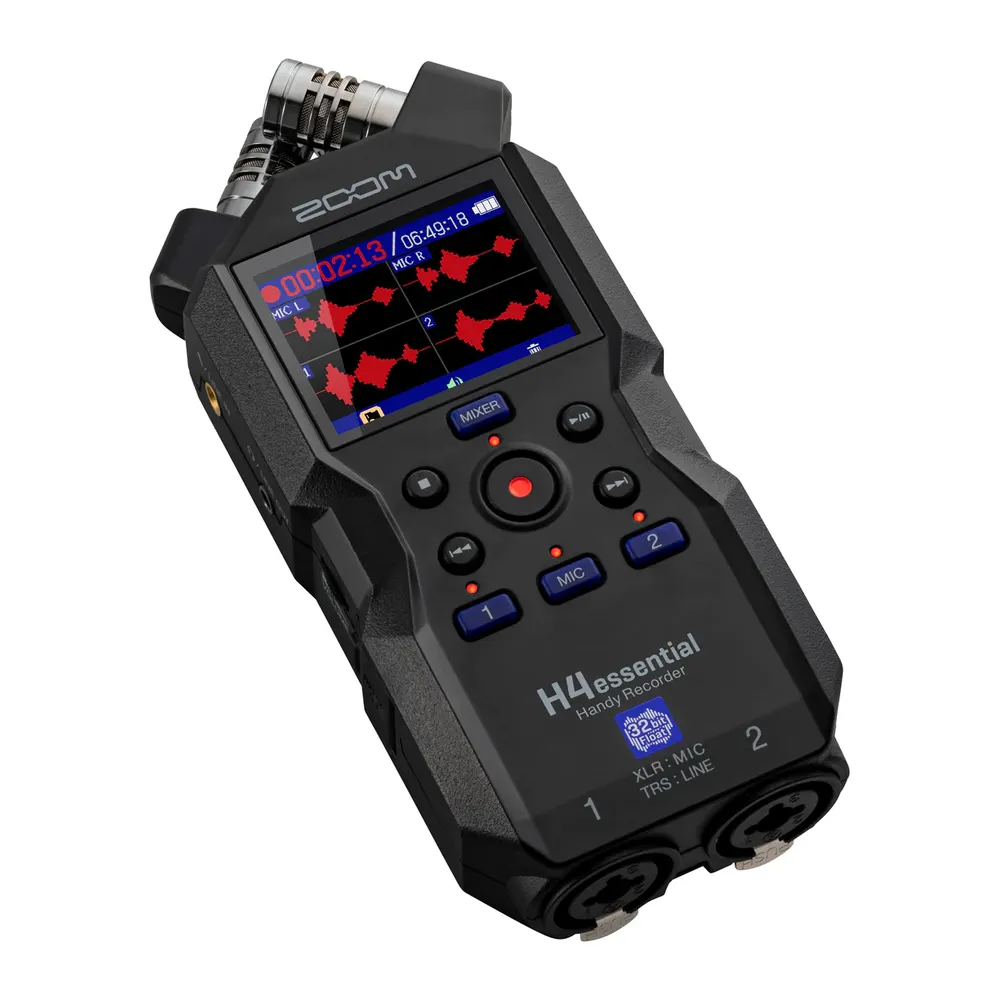
ZOOM H4essential Handy Recorder
€ 195.00€ 241.80 (incl. VAT)IN STOCK -
Audio recorders
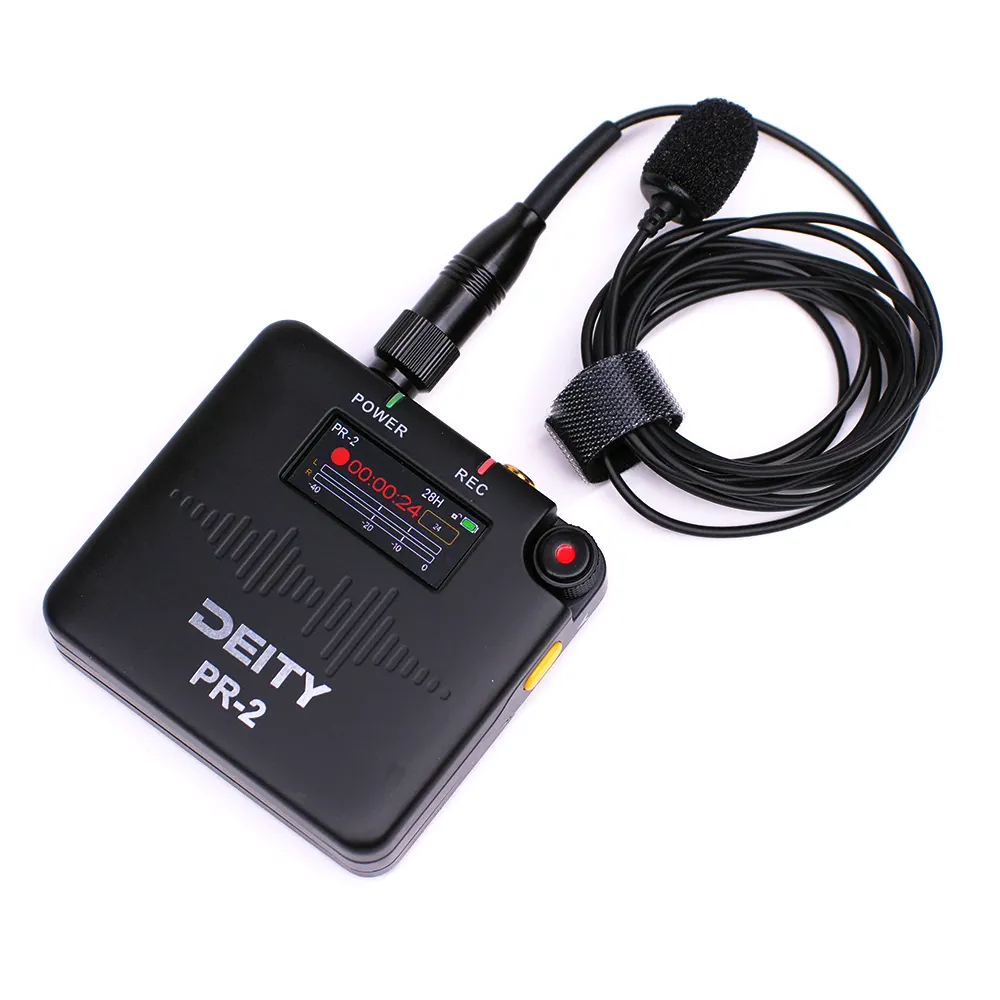
DEITY PR-2 Stereo Pocket Recorder with Lavalier Mic (Global)
€ 200.00€ 248.00 (incl. VAT)IN STOCK -
Audio recorders
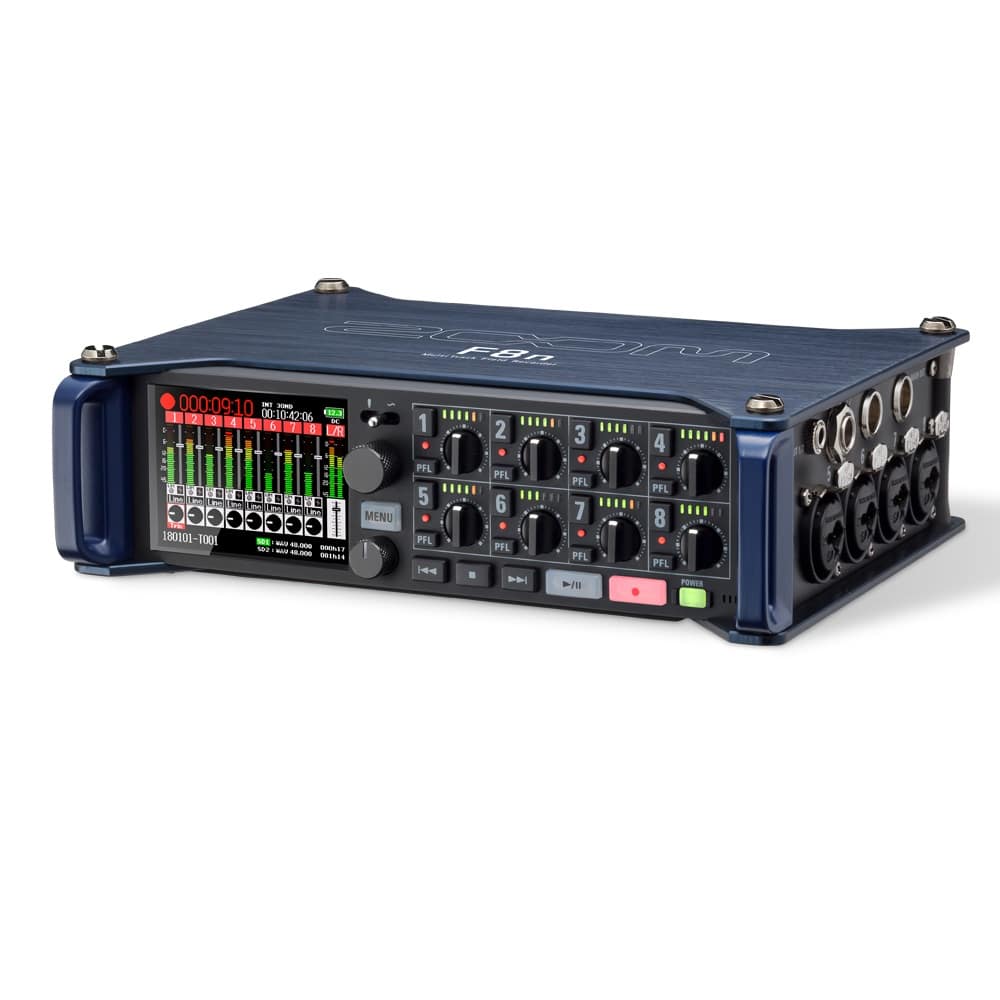
ZOOM F8n MultiTrack Field Recorder
€ 937.50€ 1 162.50 (incl. VAT)IN STOCK
Post-Production Interventions
Treating audio in post-production should always be your last resort. Software can salvage problematic audio, but heavily processed dialogue often sounds unnatural and distracting. If you must remove echo in your digital audio workstation (DAW), rely on a structured signal chain.
First, apply precise equalization (EQ). Room echo often manifests as a muddy buildup in the low-mid frequencies. Cutting the 200–500 Hz range slightly will remove the boxiness associated with small-room acoustics. Combine this targeted cut with a high-pass filter to eliminate low-end rumble before moving to dynamic processing. Next, consider applying a gentle noise gate to reduce the reverb tail bleed that happens in the silences between words. Be careful with your threshold settings; an aggressive gate will chop the transients off your dialogue, making the speaker sound robotic.
Finally, you can deploy spectral repair tools. Advanced software utilizing neural networks isolates and removes reverb tails effectively. However, pushing these AI tools too hard introduces metallic, underwater-sounding artifacts. According to ANSI/ASA S3.2 intelligibility standards, over-processed audio actually reduces listener word recognition, even if the background echo is technically eliminated. Clean audio at the source is always superior to a digital fix.
Key Takeaways
- Target an RT60 reverberation time of 0.2 to 0.4 seconds by applying absorptive acoustic panels to 20% to 30% of your room’s wall surface.
- Halve the physical distance between your talent and the microphone to immediately boost the direct-to-ambient sound ratio by at least 6 dB.
- Deploy directional shotgun microphones or chest-mounted lavaliers to reject off-axis room reflections in challenging, untreated spaces.
- Isolate your signal chain by recording externally using 32-bit float audio recorders with clean preamps to prevent noise floor amplification.
- Address lingering issues with post-production EQ (cutting 200–500 Hz), but rely on AI de-reverb tools sparingly to preserve natural speech intelligibility.
If you are struggling to capture broadcast-quality dialogue in difficult environments, explore our full range of microphones and audio accessories, or reach out to our expert support team to design an acoustic workflow tailored to your production space.


