
Video Lighting for Beginners: 3 Setups for Pro Quality
Recording indoor video but struggling with grainy, flat, or amateur-looking results? The culprit is rarely your camera – it’s your lighting. In our 20+ years outfitting professional studios, we’ve found that understanding a few fundamental lighting setups instantly elevates your production value and builds viewer trust.
Why Lighting Quality Decides Video Quality
Many beginners assume upgrading to an expensive camera automatically fixes grainy footage. In reality, professional lighting serves as the true foundation of image clarity. Poor lighting stands as one of the most common production mistakes, directly undermining your credibility and viewer trust.
Exposure controls color accuracy, skin tones, and the overall emotional tone of your content. When you rely solely on ambient room light, your camera compensates by increasing its ISO setting, which introduces distracting digital noise. Proper illumination provides enough light to keep your image crisp and professional.
Cinematographers approach exposure deliberately. When evaluating color fidelity and exposure in video production, professionals expose their shots to protect highlights so the brightest areas retain detail, then add artificial light to lift the shadow regions. By taking control of your environment, you stop relying on unpredictable window light or unflattering office bulbs, ensuring a consistent appearance every time you hit record.
The Golden Standard: Three-Point Lighting
You do not need a Hollywood soundstage to achieve cinematic depth. The most reliable framework for YouTube videos, corporate interviews, and narrative content is three-point lighting. This setup uses strategically placed fixtures at different angles to create a three-dimensional look on a two-dimensional screen.
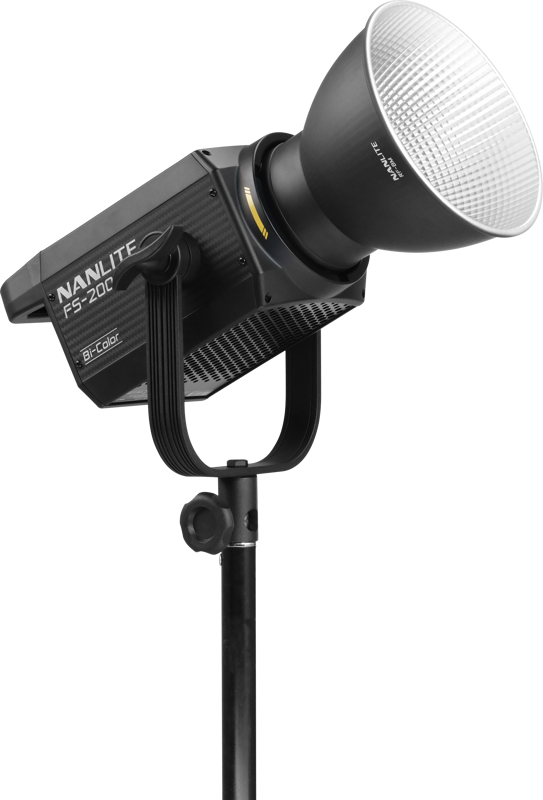
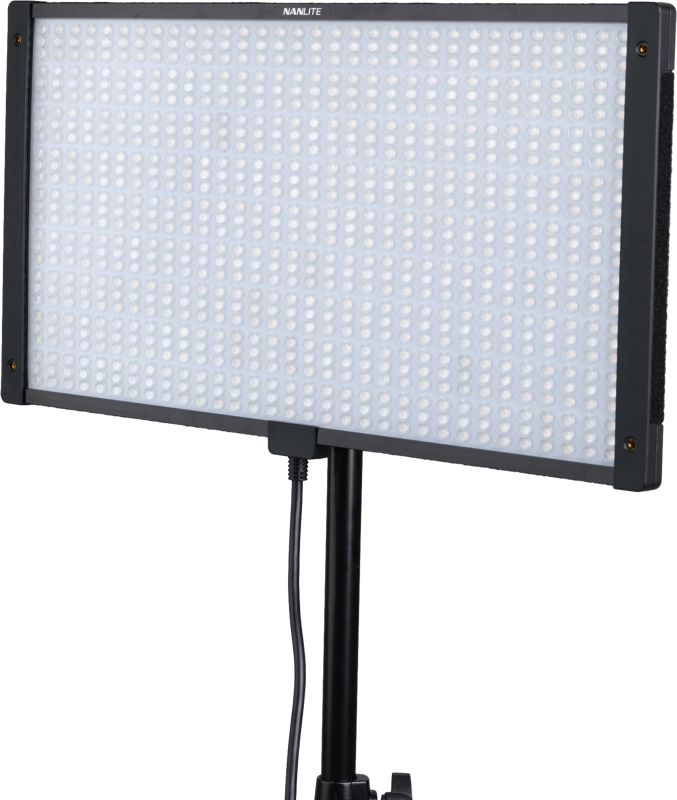
For your primary sources, we highly recommend versatile LED panels or continuous spot lights. These fixtures give you precise control over brightness and color without generating the excessive heat associated with traditional tungsten bulbs.
Depending on your available room size, you can adapt this foundational concept to fit your space:
| Setup | Components | Best For |
|---|---|---|
| Three-Point | Key (primary), Fill (opposite), Backlight (behind) | Professional interviews, YouTube setups, narrative shoots. Works best in rooms with some depth. |
| Two-Point | Key + Fill only | Small spaces, home offices, or when separating the subject from the background is not critical. |
| One-Point | Key light only | Minimal, ultra-compact setups. Often creates dramatic, high-contrast shadows. |
Positioning Your Setup
Start by establishing your key light, which serves as your brightest source. Place it at a 45-degree angle to your subject, illuminating the “smart side” – the side of the face turned slightly away from the camera. This angle carves out natural facial features without flattening the subject.
Next, introduce your fill light on the opposite side. The goal of the fill is never to eliminate shadows entirely, but rather to soften them so they reveal detail. In our experience outfitting professional studios, setting the fill light to roughly 50 to 75 percent of the key light’s intensity produces a highly flattering, commercial look.
Finally, place a backlight behind your subject, slightly off to one side. This creates a subtle glowing outline along the shoulders and hair, visually separating the subject from the background and adding crucial depth to the scene.
Controlling the Light: Distance, Diffusion, and Color
Securing the right gear only solves half the equation. Knowing how to shape and manipulate that output separates amateur footage from professional broadcasts.
Softening Harsh Shadows
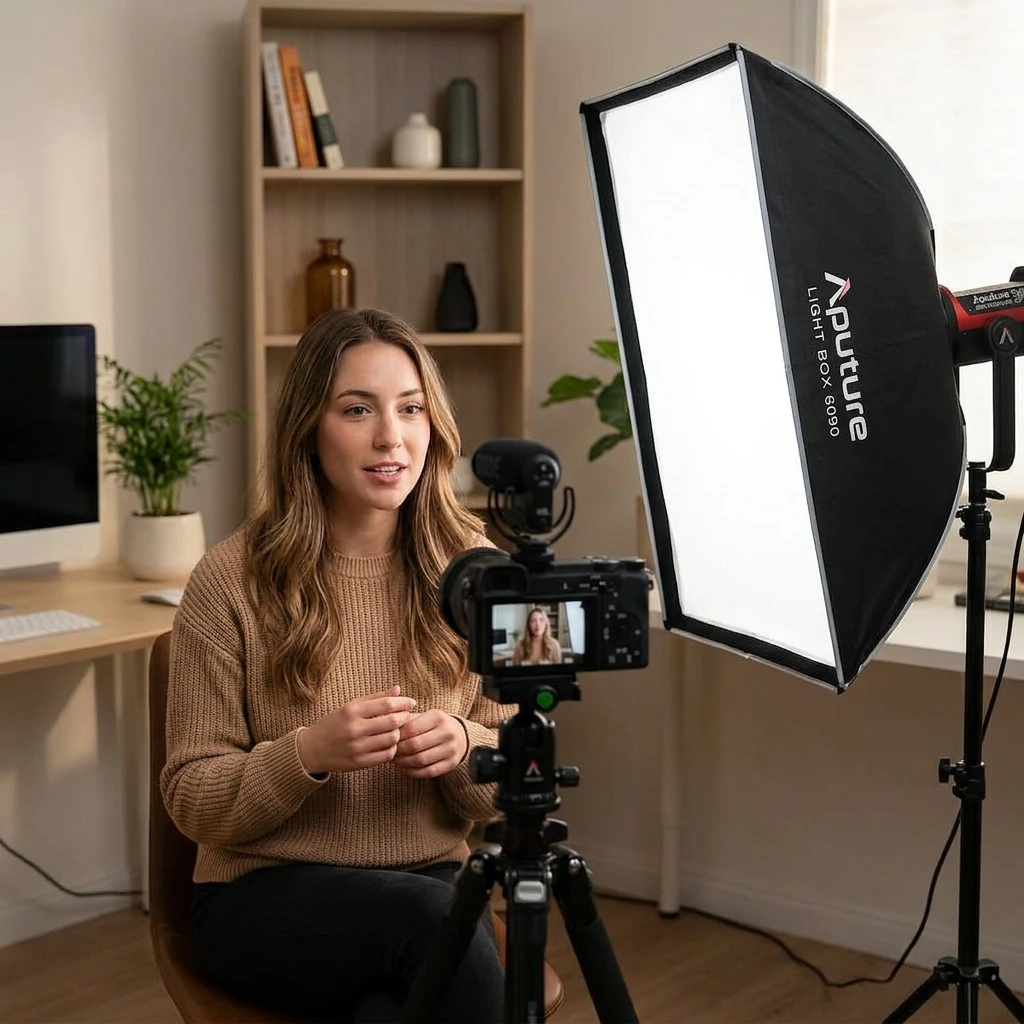
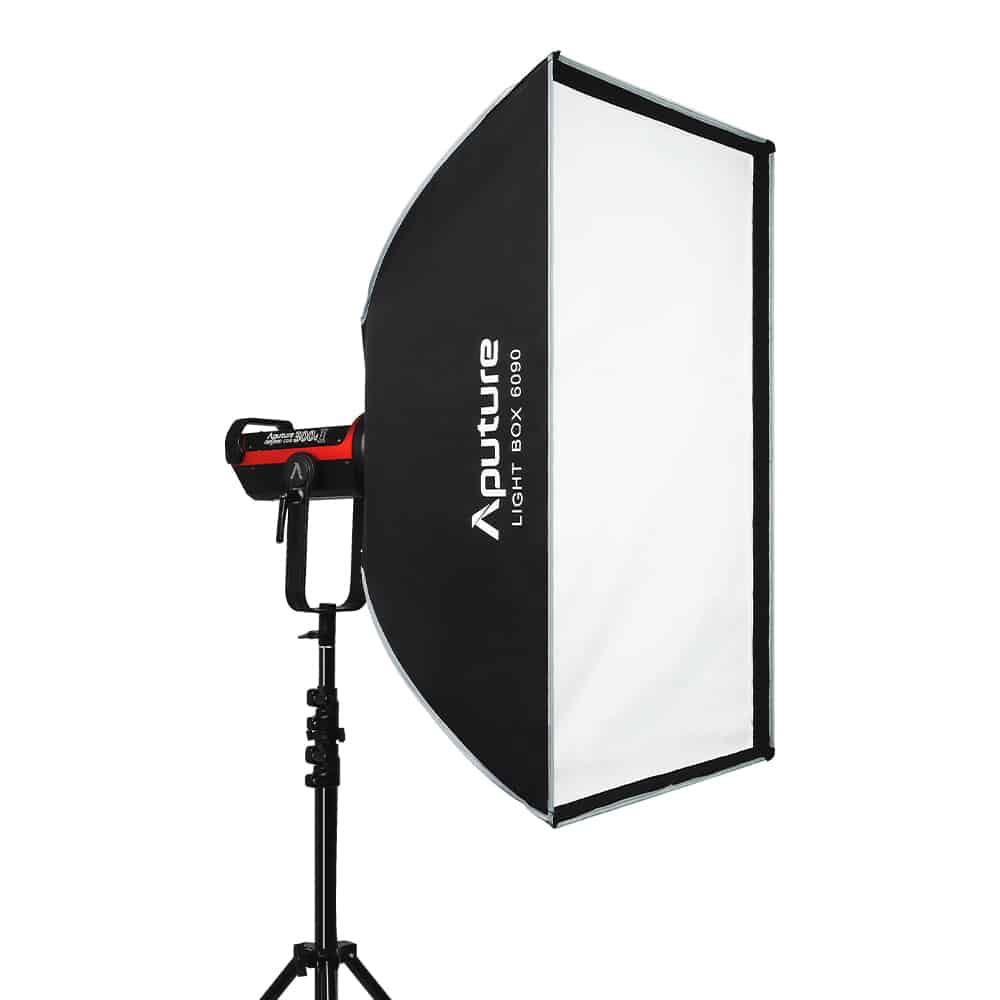
Direct, bare lighting creates harsh shadows that emphasize skin blemishes and project a decidedly amateur aesthetic. You should prioritize soft, diffused illumination for almost all indoor video work. Attaching light modifiers like a softbox spreads the beam evenly across your subject, wrapping them in a flattering glow. If you are building a setup on a strict budget, bouncing a strong directional light off a white ceiling or wall effectively simulates a massive softbox.
Matching Color Temperatures
A frequent beginner mistake involves mixing warm, orange sources – like standard household tungsten bulbs – with cool, blue daylight spilling through a window. This mixed lighting severely confuses your camera’s white balance, resulting in unnatural, sickly skin tones.
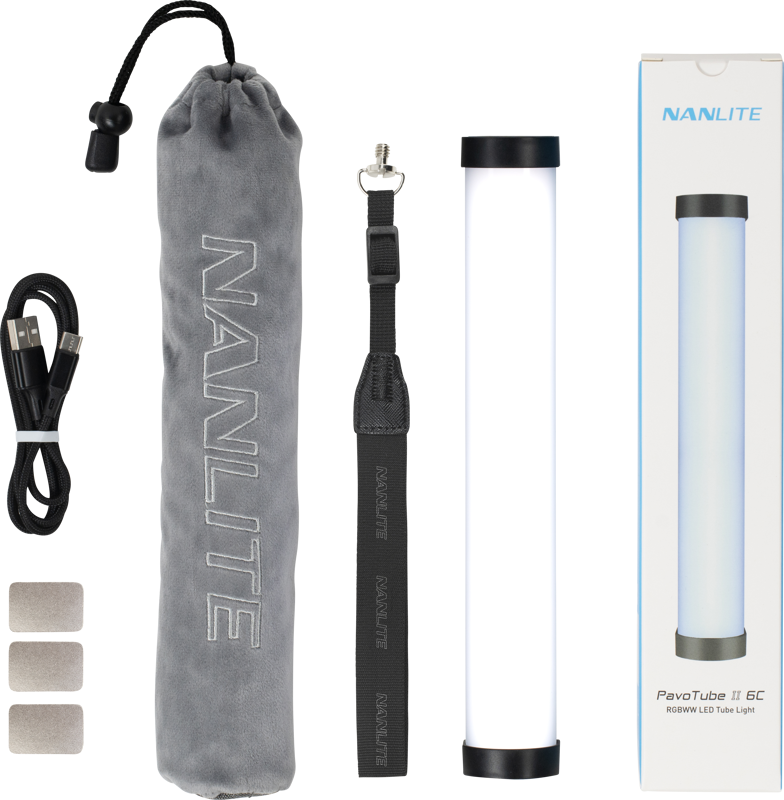
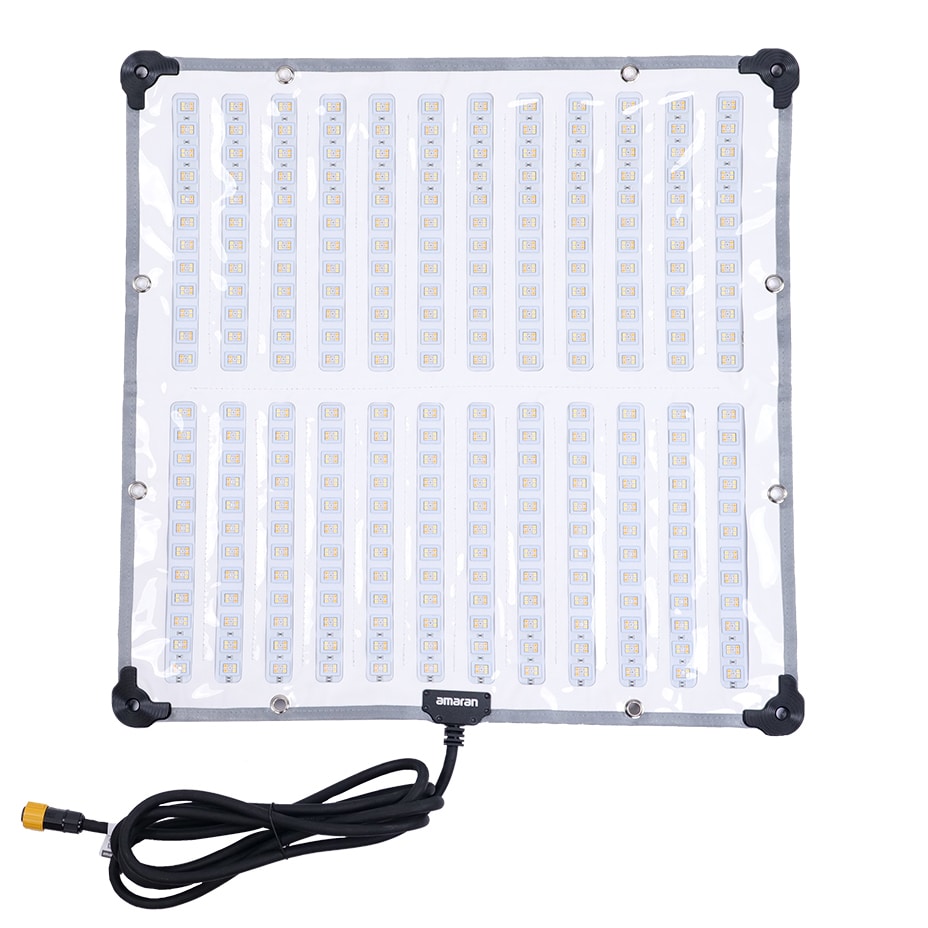
Always ensure your primary sources match in color temperature. If you shoot near a window, set bi-color LEDs to daylight to blend seamlessly with the sun. When you want to inject creative accent colors into your background, tube and ring lights or flexible RGB mats offer excellent ways to add controlled splashes of color without ruining your primary exposure.
Common Indoor Lighting Mistakes and Fixes
When we troubleshoot video setups for new creators, we routinely encounter a few easily correctable errors that instantly degrade production value.
The most persistent issue is relying solely on overhead room lighting. Ceiling fixtures cast dark, unflattering shadows under the eyes and nose, creating a “raccoon” effect. You can fix this instantly by turning off your overhead lights and using dedicated fixtures positioned at an angle on proper light stands.
Another common struggle involves blown-out highlights. Pushing a light too close or setting it too bright washes out the face, completely destroying image data that your camera cannot recover. To resolve this, expose your camera settings to protect the brightest areas first, then move your light further back or dial down the output to achieve a balanced exposure.
Finally, many beginners mistakenly place a bright window directly behind their desk. Backlighting yourself with intense sunlight forces the camera to expose for the window, turning you into a dark silhouette. Simply turn your setup around so the window acts as your key light, or block the daylight entirely with heavy blackout curtains. Once the room is dark, you can build a highly controlled environment using mini LED lights for accurate, repeatable results.
-
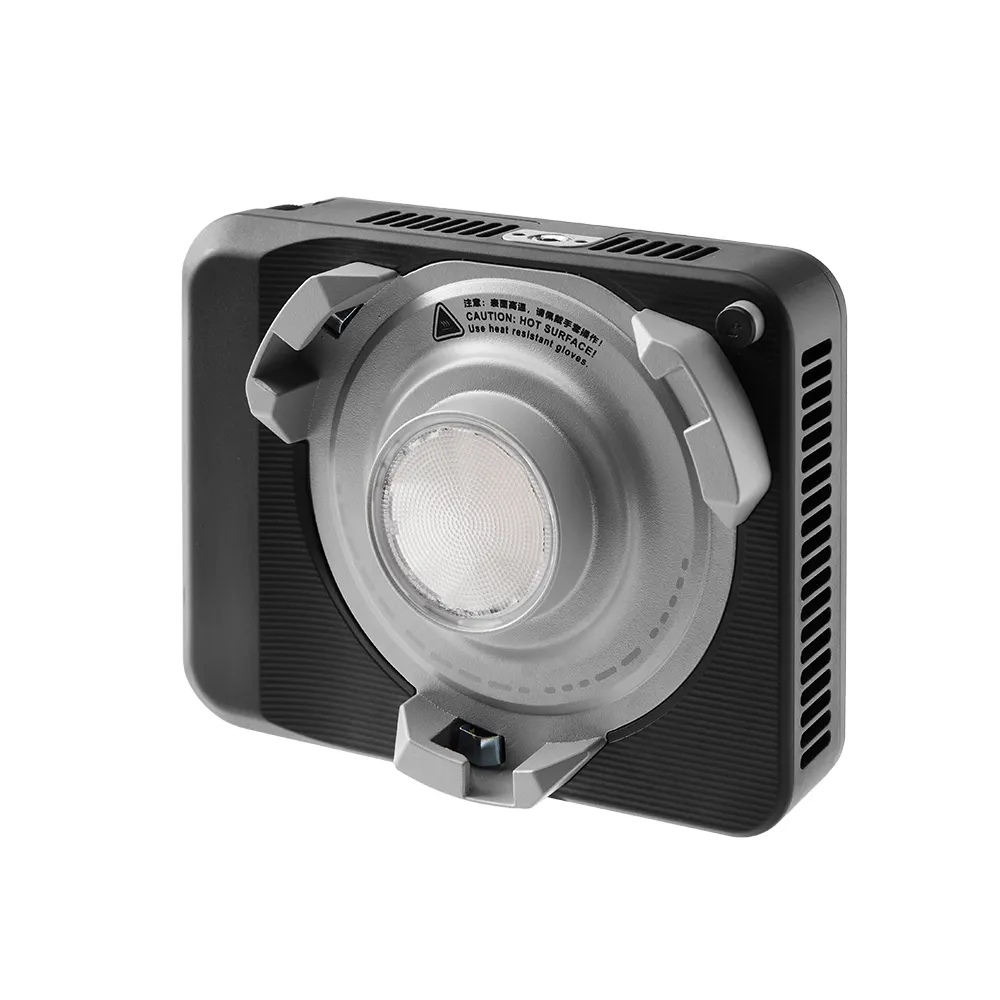
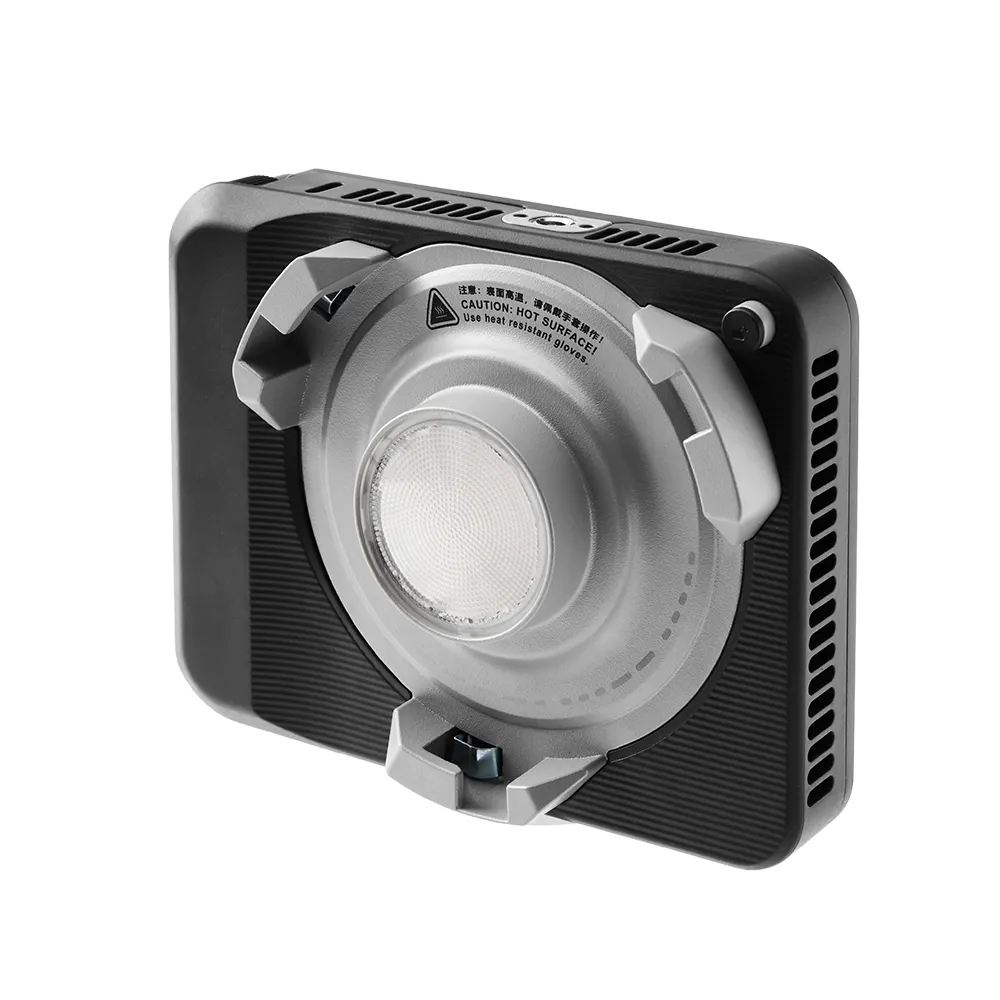
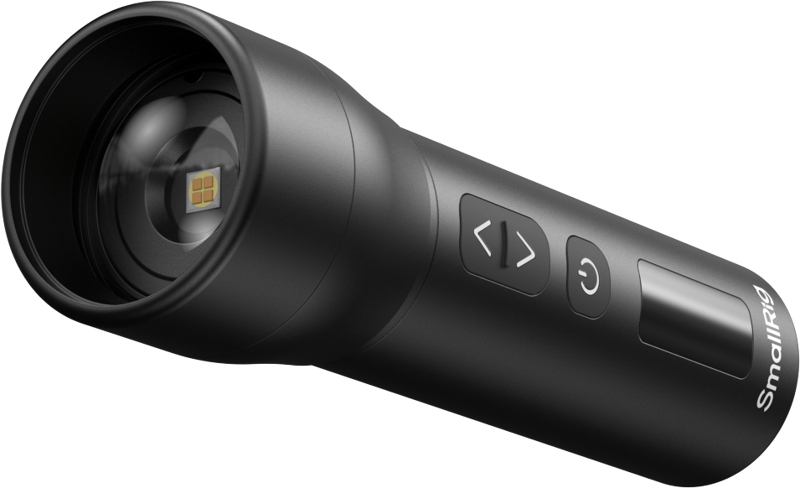
 Mini LED lights
SMALLRIG 5785 RF 05B Portable Zoom LED Video Light
€ 42.32€ 52.48 (incl. VAT) -
 Mini LED lights
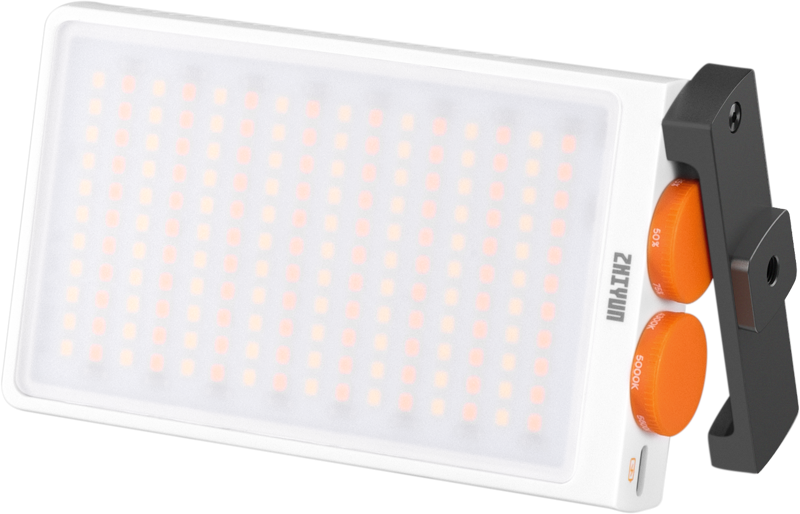
ZHIYUN LED Fiveray M40 Pocket Light
€ 91.92€ 113.98 (incl. VAT) -
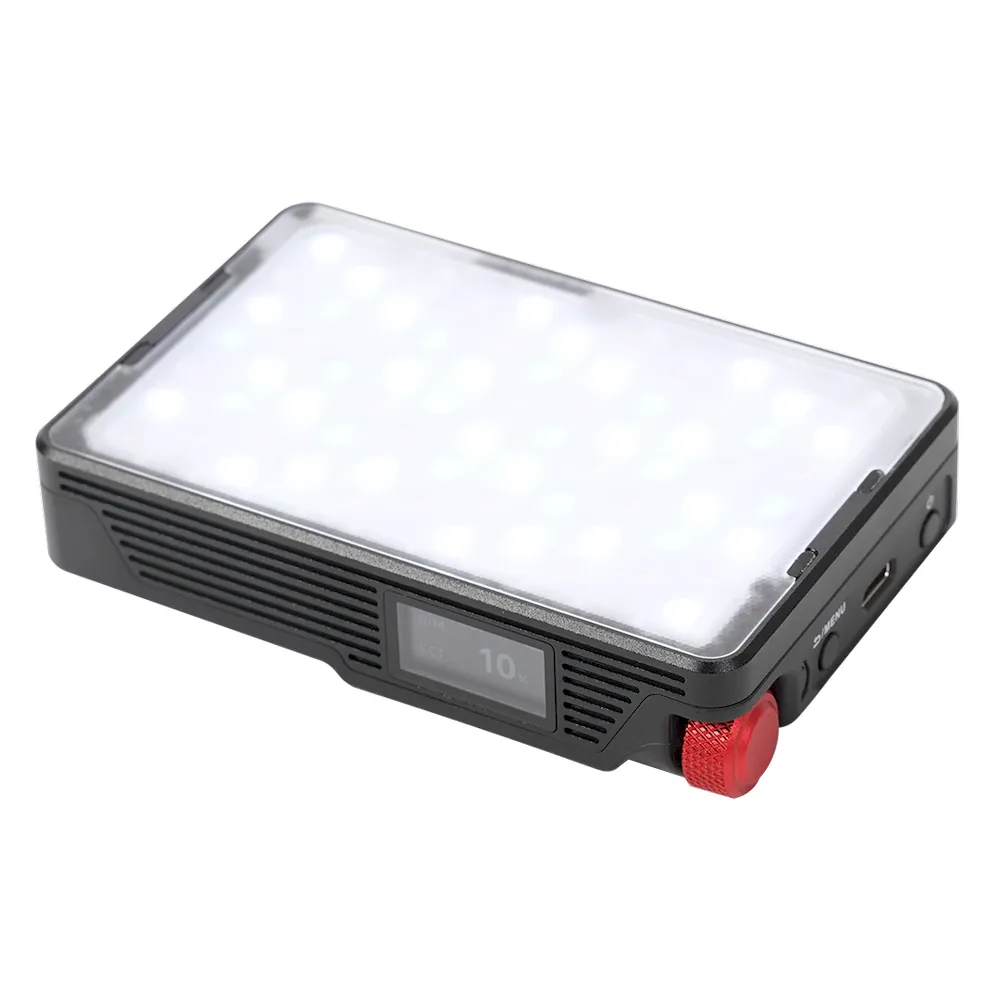
 Mini LED lights
APUTURE MC Pro RGBWW lensed mini LED panel light
€ 190.00€ 235.60 (incl. VAT) -
 Mini LED lights
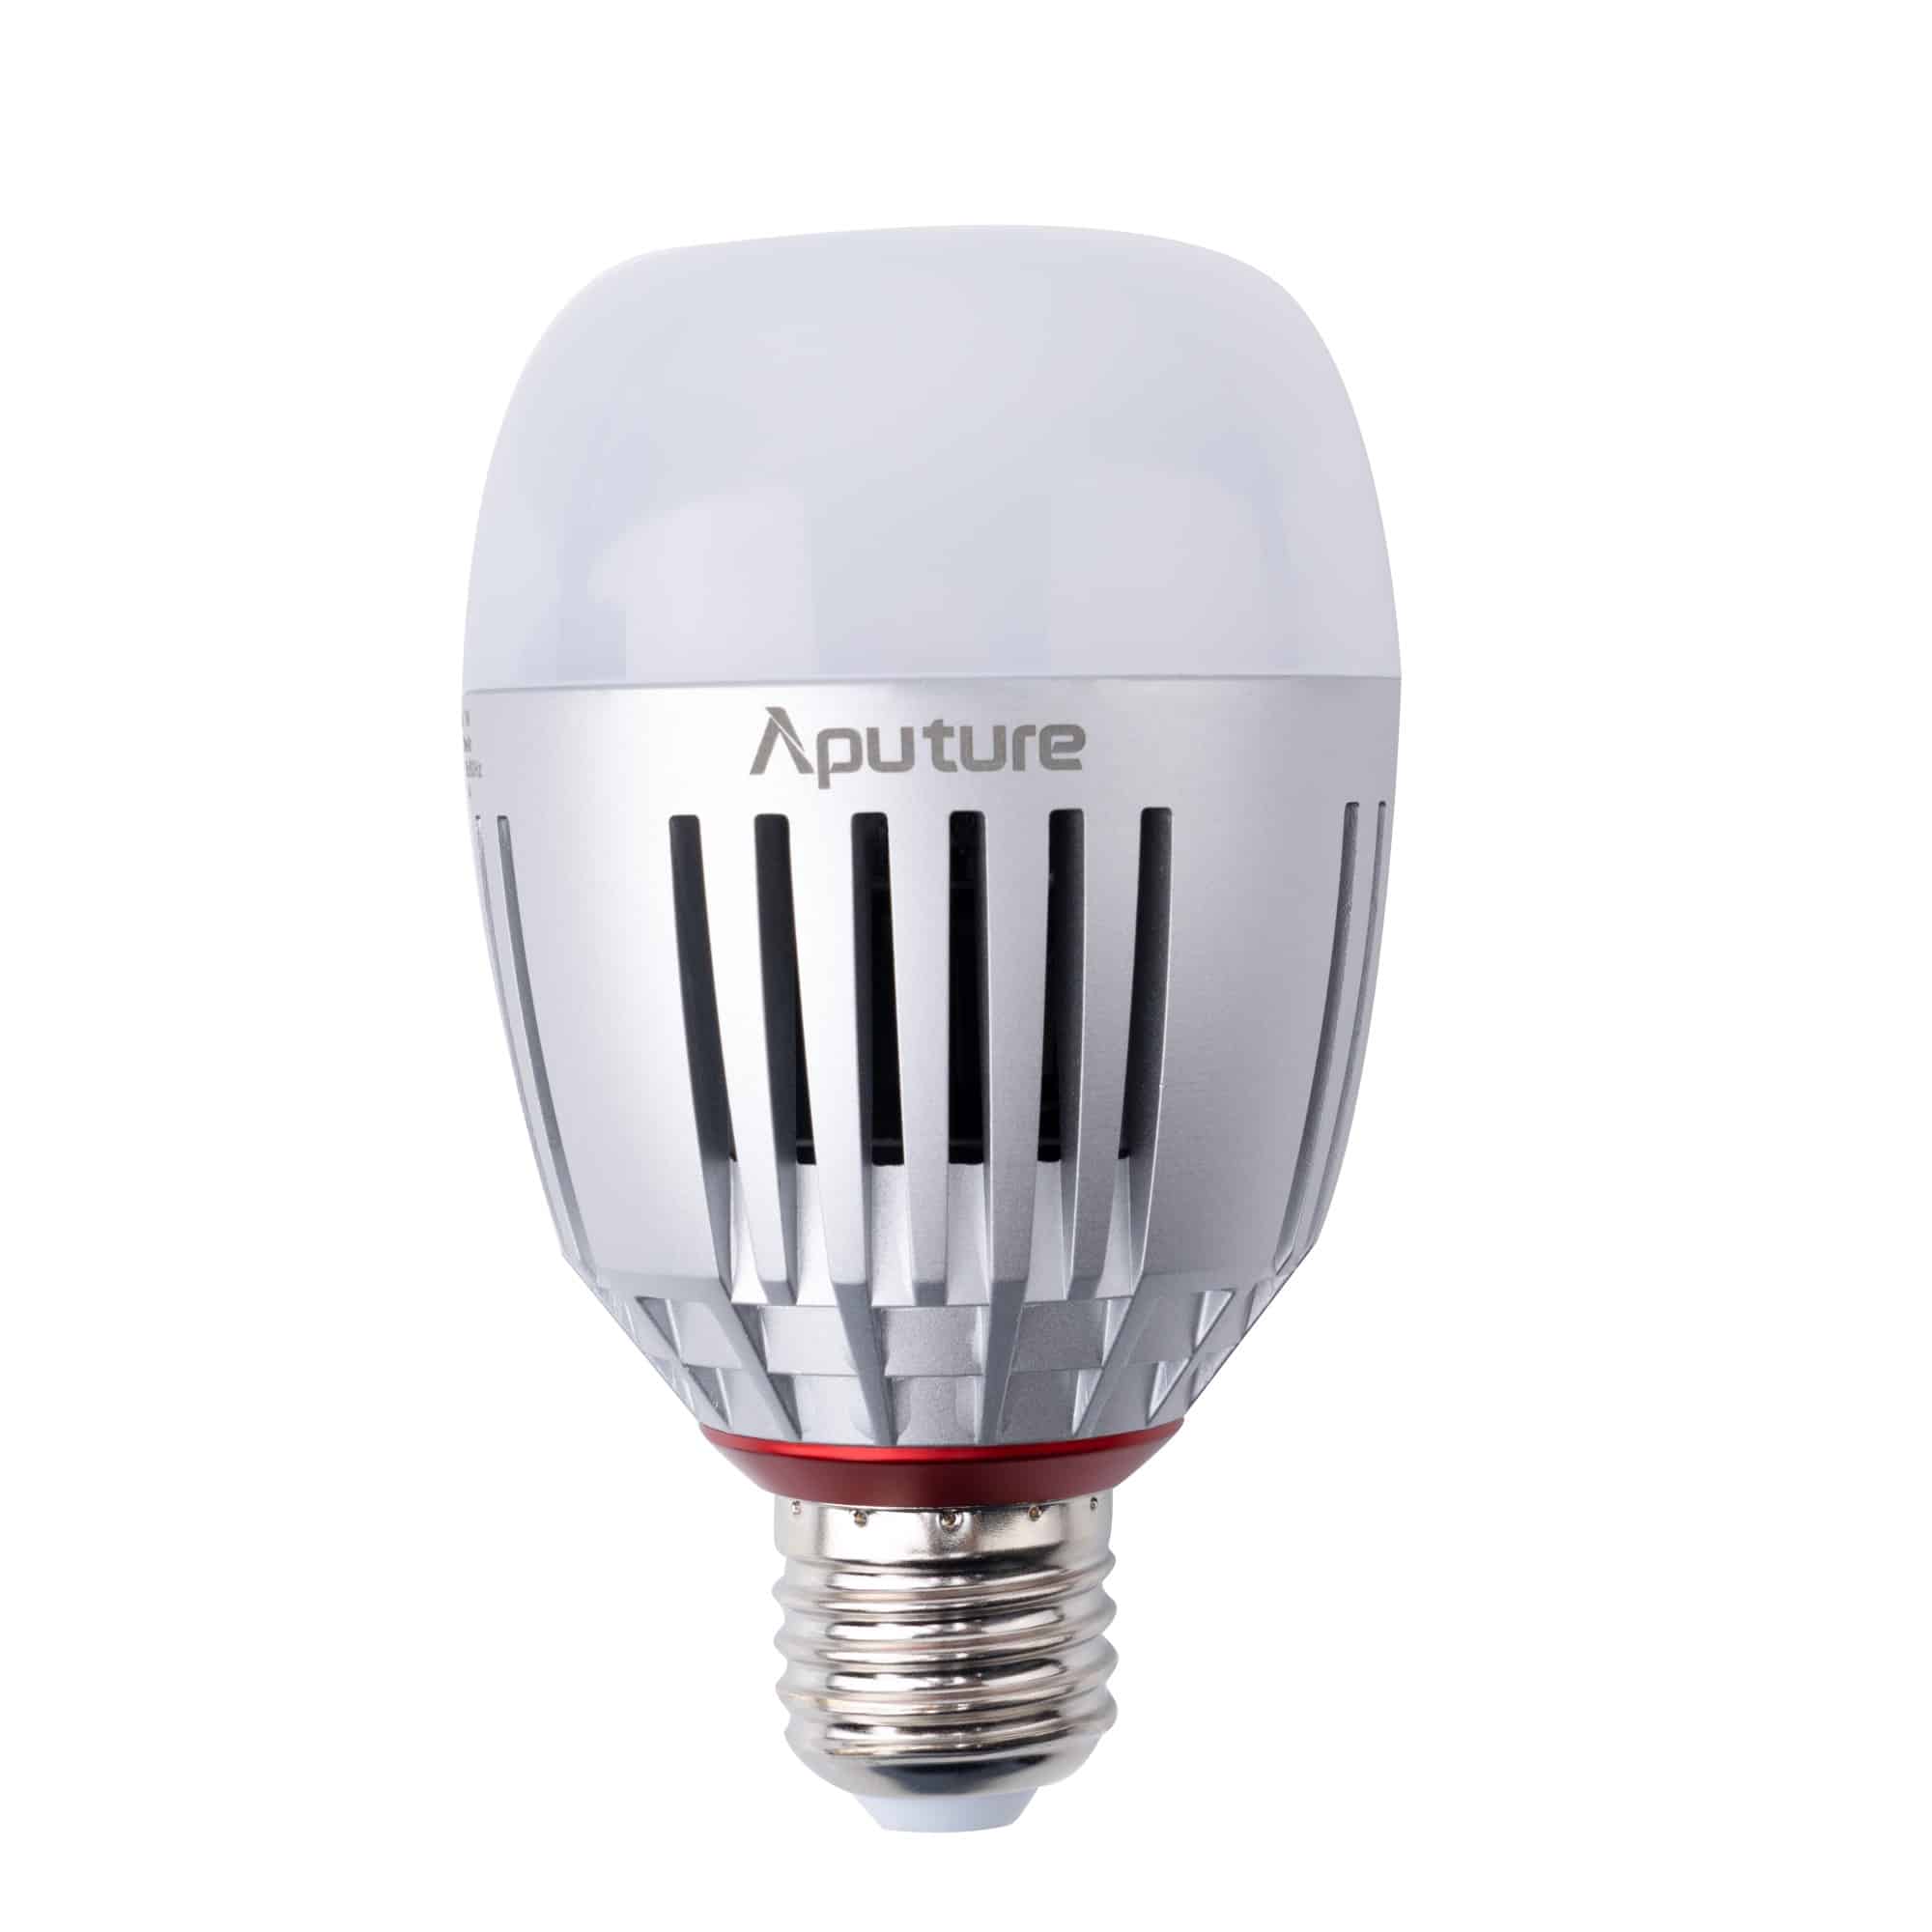
APUTURE Accent B7c RGBWW LED smart bulb
€ 74.00€ 91.76 (incl. VAT)
Key Takeaways
- Proper lighting dictates your video’s perceived quality far more than upgrading your camera body.
- The three-point lighting setup – using a key, fill, and backlight – remains the most reliable framework for creating professional depth indoors.
- Soft, diffused light is crucial for flattering skin tones; always utilize a modifier or bounce your beam to eliminate harsh shadows.
- Never mix warm and cool color temperatures on a subject’s face to maintain accurate white balance and natural tones.
- Ready to build your first studio setup? Browse our curated selection of beginner-friendly lighting gear or contact our technical team for personalized installation and equipment advice.


