
How to Light a Person for Video: Predictable Setup Tactics
Tired of moving lights around hoping for a flattering shot? Poor visibility distracts from your core message. In our experience outfitting professional studios, achieving cinematic results never requires guesswork. It simply requires understanding precise placement and light quality to predictably sculpt your subject.
The Foundation: Deconstructing the Three-Point Setup
When you place a camera in front of a person, the lens flattens their three-dimensional features into a two-dimensional plane. Our primary job is to build that depth back in. The most reliable framework for doing this is the classic three-point lighting setup. While you do not always need all three fixtures, understanding how these positions interact gives you complete control over the visual narrative.
Start by placing your key light as the main source of illumination. We generally recommend setting this fixture 30 to 45 degrees off the camera axis, elevated roughly 20 to 45 degrees above the subject’s eye level. By aiming the light slightly downward, you create natural modeling that mimics sunlight, forming a subtle shadow under the chin and a small nose shadow that falls gently onto the cheek.
Next, introduce a fill light on the opposite side of the camera to soften the shadows created by the key. Position this fixture near lens height and set it one to two stops dimmer than your main source. Your goal is not to eliminate shadows entirely – which would flatten the face again – but to control the contrast ratio so details remain visible. Finally, place a backlight behind and above the talent to separate them from the background, keeping the intensity half a stop below the key to avoid an unnatural halo.

The Secret to Flattering Skin: Maximizing Soft Light
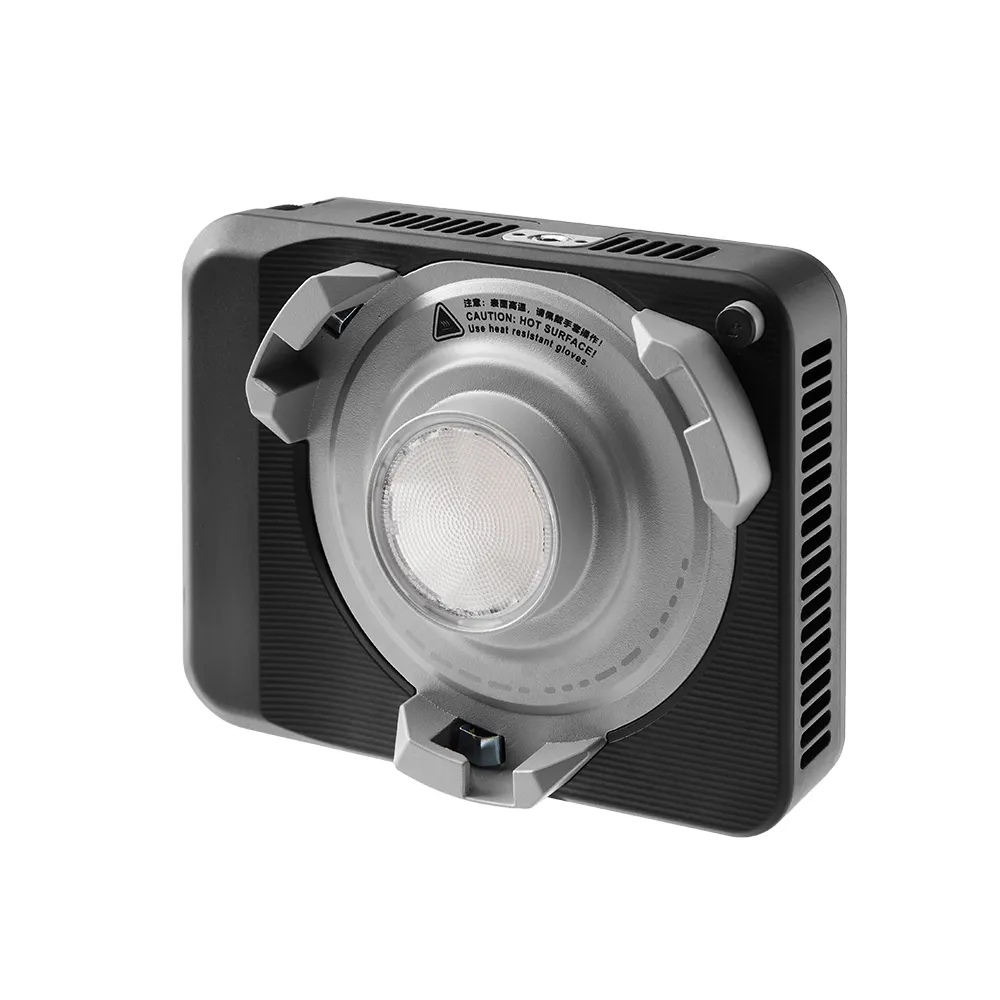
We frequently see productions invest in high-output fixtures, point the bare bulb directly at the talent, and wonder why every wrinkle, pore, and blemish looks exaggerated. Hard light – produced by a relatively small emitting source placed far away – creates sharp, defined shadows that harshly emphasize texture. While this approach works well for dramatic tension, it rarely flatters corporate interviews or educational content.
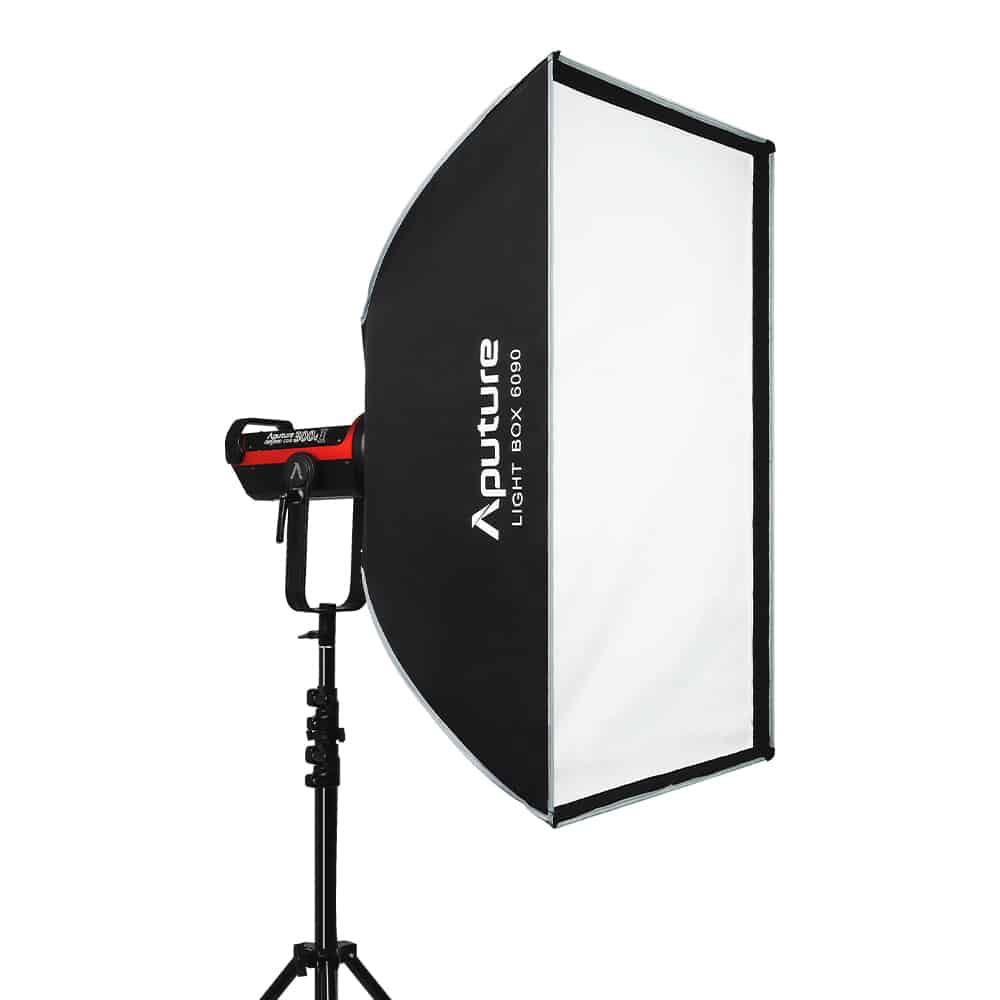
Soft light wraps around facial features and smooths out skin textures, making it far more forgiving. However, softness depends entirely on the physical size of the source relative to your subject. To achieve this flattering wrap, you must drastically increase the fixture’s emitting surface area using light modifiers. Pushing a point-source LED through a large diffusion layer spreads the beam and gently transitions shadows into highlights.
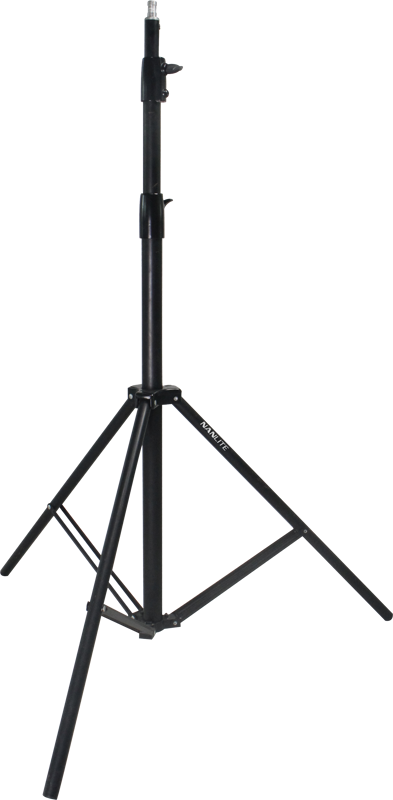
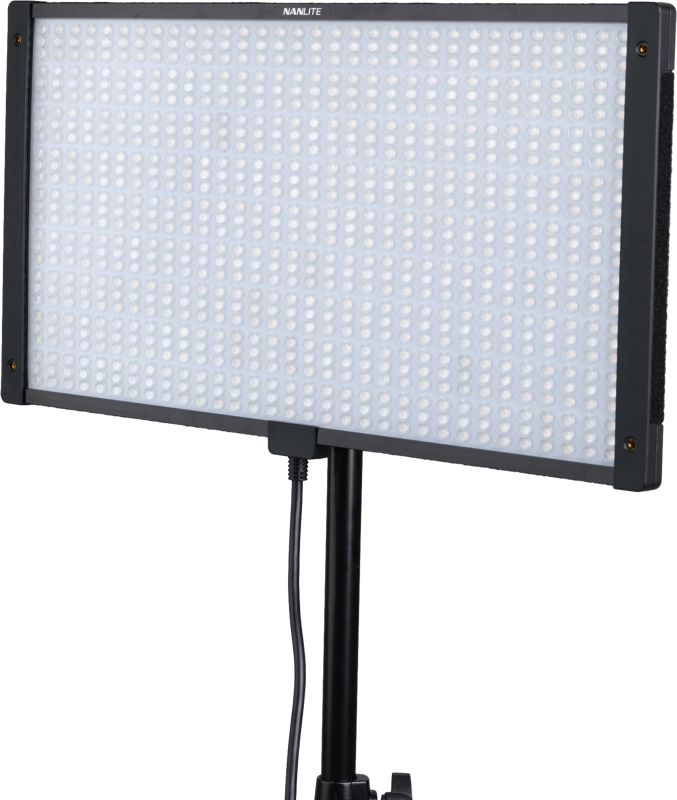
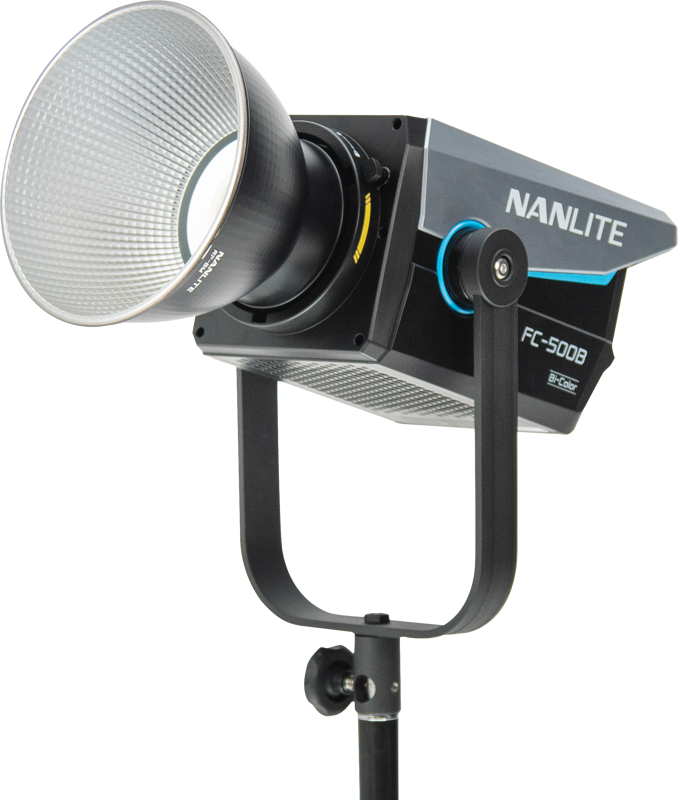
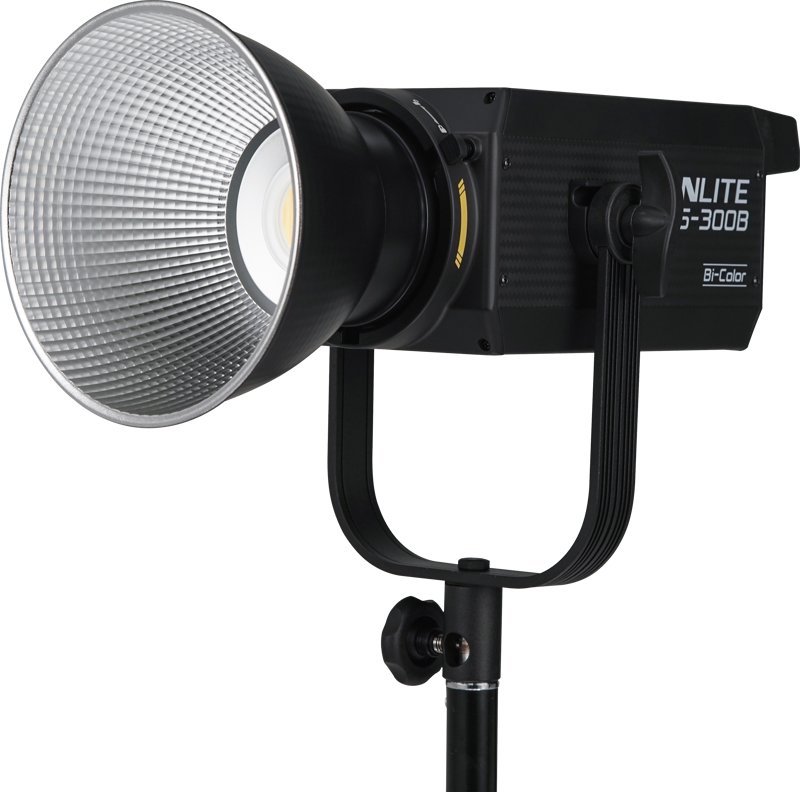
A reliable rule of thumb for a traditional talking-head shot is to use a softbox roughly the same width as the subject’s head and shoulders, positioned at a distance equal to that exact width. Naturally, mounting these larger modifiers safely requires robust light stands. Placing a heavy softbox on a flimsy stand creates a safety hazard that will slowly droop mid-shoot, altering your meticulously crafted shadows.
Adapting Your Strategy to the Subject
There is no universal formula for lighting every face. Individual facial structures, skin tones, and accessories all require strategic, iterative adjustments. We recommend roughing in your initial key light placement, checking your monitor, and making deliberate modifications based on how the camera renders the specific subject in front of you.
For individuals with round or wide faces, moving the key further to the side creates short lighting – where the shadowed side of the face points toward the lens. This technique naturally contours and slims the jawline. Conversely, subjects with highly angular or thin faces benefit from bringing the key closer to the camera axis. This more frontal wash, combined with a slightly stronger fill, softens deep cheek shadows and harsh geometric lines.
Skin tone and facial features dictate your contrast ratios. Darker skin manages contrast beautifully but is highly prone to harsh specular highlights. To flatter richer tones, use larger, softer sources with gentle bounce to sculpt the face without overexposing reflective areas. If your subject has deep-set eyes, standard elevated angles often cast dark shadows over the sockets; to fix this, simply lower the key closer to eye level or introduce a subtle fill from below to restore the catchlights.
If your talent wears glasses, reflections will inevitably bounce straight back into your lens. To eliminate this glare, move your key light higher and further off to the side, shifting the angle of reflection away from the camera. If hotspots persist, ask your subject to tilt their chin down by just a millimeter, or switch to a heavily diffused source that disperses the glare.
Solving Space Problems: Common Environments
Understanding lighting theory only gets you halfway to a professional image. You must also navigate the physical constraints of your shooting location, adapting your gear choices to fit the environment.
The Small Home Office
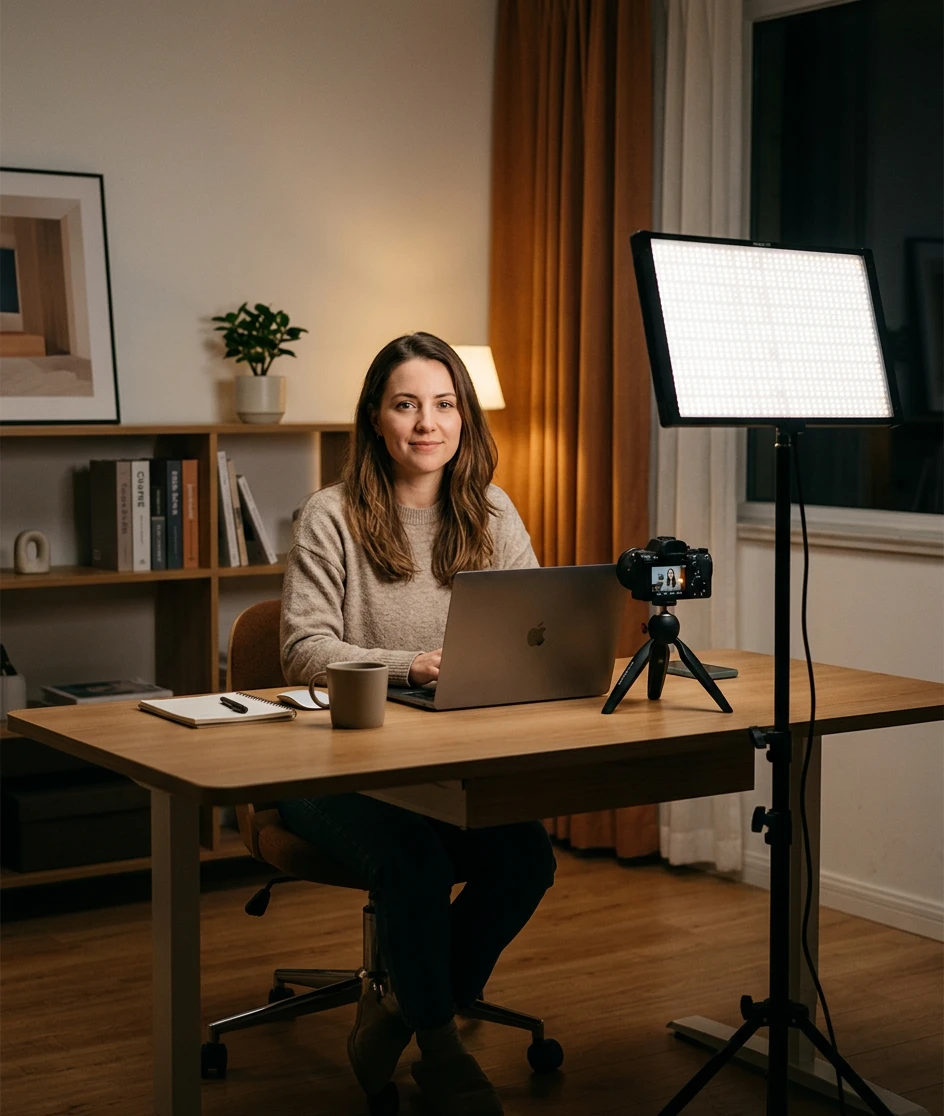
Space is your primary adversary in tight home offices. A traditional monolight paired with a deep softbox will quickly consume half the room and limit camera placement. Instead, utilize slim LED panels to save crucial floor space. Place a single soft panel 30 to 45 degrees off-axis as your key, and use a simple bounce board to reflect ambient light back onto the shadowed side of the face. To prevent the talent from blending into the wall, seat them a few feet forward so the background falls slightly out of focus.
Corporate Conference Rooms
Overhead fluorescent panels cast awful, downward shadows that exaggerate under-eye bags and often introduce sickly green hues. Your very first step in any corporate environment should be turning off the ceiling fixtures entirely. Once the room is dark, relight the subject using modern spot lights pushed through softboxes at face level. Position the talent at an angle to the room to avoid flat walls directly flanking them, and introduce a distinct backlight to separate their shoulders from the bland corporate backdrop.
Window-Lit Rooms
When abundant daylight is available, use it to your advantage rather than fighting it with undersized fixtures. Seat your subject relatively close to the window so the natural light hits them at roughly a 45-degree angle, transforming the glass into a massive, highly flattering key light. From there, you can introduce a bi-color fixture set to daylight – typically around 5600K – to provide controlled fill or rim light. Avoid placing a bright window directly behind the talent unless you possess exceptionally powerful daylight-balanced fixtures to properly expose their face against the blown-out exterior.
Controlled Studios
In a dedicated studio environment, you control every variable without compromise. Start by moving the subject far away from the walls to establish deep physical separation. Deploy a large, diffused softbox as your primary key, dial in a dedicated fill fixture, and fly a hair light on a boom arm. To keep the background from looking like a lifeless black void, tube and ring lights or mini LED lights serve as excellent tools for painting colored washes across the backdrop or acting as practical, in-frame elements that add texture and depth.
Managing Color Temperature and Skin Tones
A beautifully positioned setup will still look amateurish if the color rendering fails. Human eyes are incredibly sensitive to subtle shifts in skin tones. If a face renders slightly green or magenta due to poor light quality, viewers will instinctively notice something is off, instantly diminishing the production’s credibility.
To guarantee natural-looking results, always ensure your fixtures feature high Color Rendering Index (CRI) or Television Lighting Consistency Index (TLCI) ratings. These high-fidelity metrics ensure your camera sensor accurately interprets skin tones straight out of the box, preventing the need for heavy color correction in post-production.
Furthermore, avoid mixing color temperatures unless you are making a deliberate creative choice. If you combine a warm 3200K tungsten practical lamp with a cool 5600K daylight window bleeding into the room, your camera will struggle to establish a neutral white balance, leaving skin looking muddy. Standardize your setup by matching the Kelvin value of your key light to the dominant ambient light in the room, then set your camera’s custom white balance to match that specific emitting source.
Key Takeaways
- Increase source size relative to the subject to wrap shadows and minimize harsh skin imperfections.
- Implement the three-point lighting method to deliberately control the ratio of light to dark, retaining essential facial depth.
- Iterate your setup based on individual facial structures, adjusting angles for glasses, deep-set eyes, and varying skin tones.
- Select fixtures based on the shooting environment, leveraging slim panels for tight offices and prioritizing natural window light when available.
- Standardize your color temperatures across all sources and invest in high-TLCI fixtures for accurate, healthy skin reproduction.
Are you looking to eliminate the guesswork from your next video setup? Upgrading your lighting package is the fastest way to increase your overall production value. Reach out to our technical team at MediaGear, and we will help you configure the exact lighting, modifiers, and grip equipment to flawlessly flatter any subject in your specific shooting environment.


