
Eliminate Harsh Video Shadows: Master Light Modifiers
Struggling with harsh shadows or stray light washing out your set? Pointing a bare fixture at a subject rarely produces professional video. In our two decades outfitting studios, we have found that mastering light modifiers is the fastest way to elevate production quality. Here is how to take control.
The Mechanics of Shaping Light
Before attaching accessories to your gear, you need to understand how physical properties alter your image. The perceived softness of a light depends entirely on its size relative to your subject. A large source wrapping around a face creates gradual, flattering shadow transitions, while a small point source produces sharp, defined shadow edges.
Distance plays a critical role in this equation. Moving a light closer to your subject actually softens the shadows because the apparent size of the source increases. However, due to the inverse-square law of physics, moving the light closer also causes the intensity to fall off rapidly behind the subject, meaning your background will go dark much faster. Pushing a light further back creates harder shadows but provides a more even spread across the depth of your set.
Understanding these dynamics dictates which light modifiers you should select for a specific scene. Modifying bare LED panels requires a different approach than shaping high-output directional fixtures. For foundational positioning techniques before you shape the beam, review our guide on how to light a subject for video.
Softboxes and Domes: The Studio Workhorses
When you need to transform a harsh point-source LED into a flattering key light, a softbox is your primary tool. These modifiers typically use an internal reflective silver material to maximize output before pushing the light through layers of front diffusion fabric. Be prepared to increase your fixture’s brightness, as adding these diffusion layers will cost you one to two stops of light output in exchange for a smooth, gradual falloff.
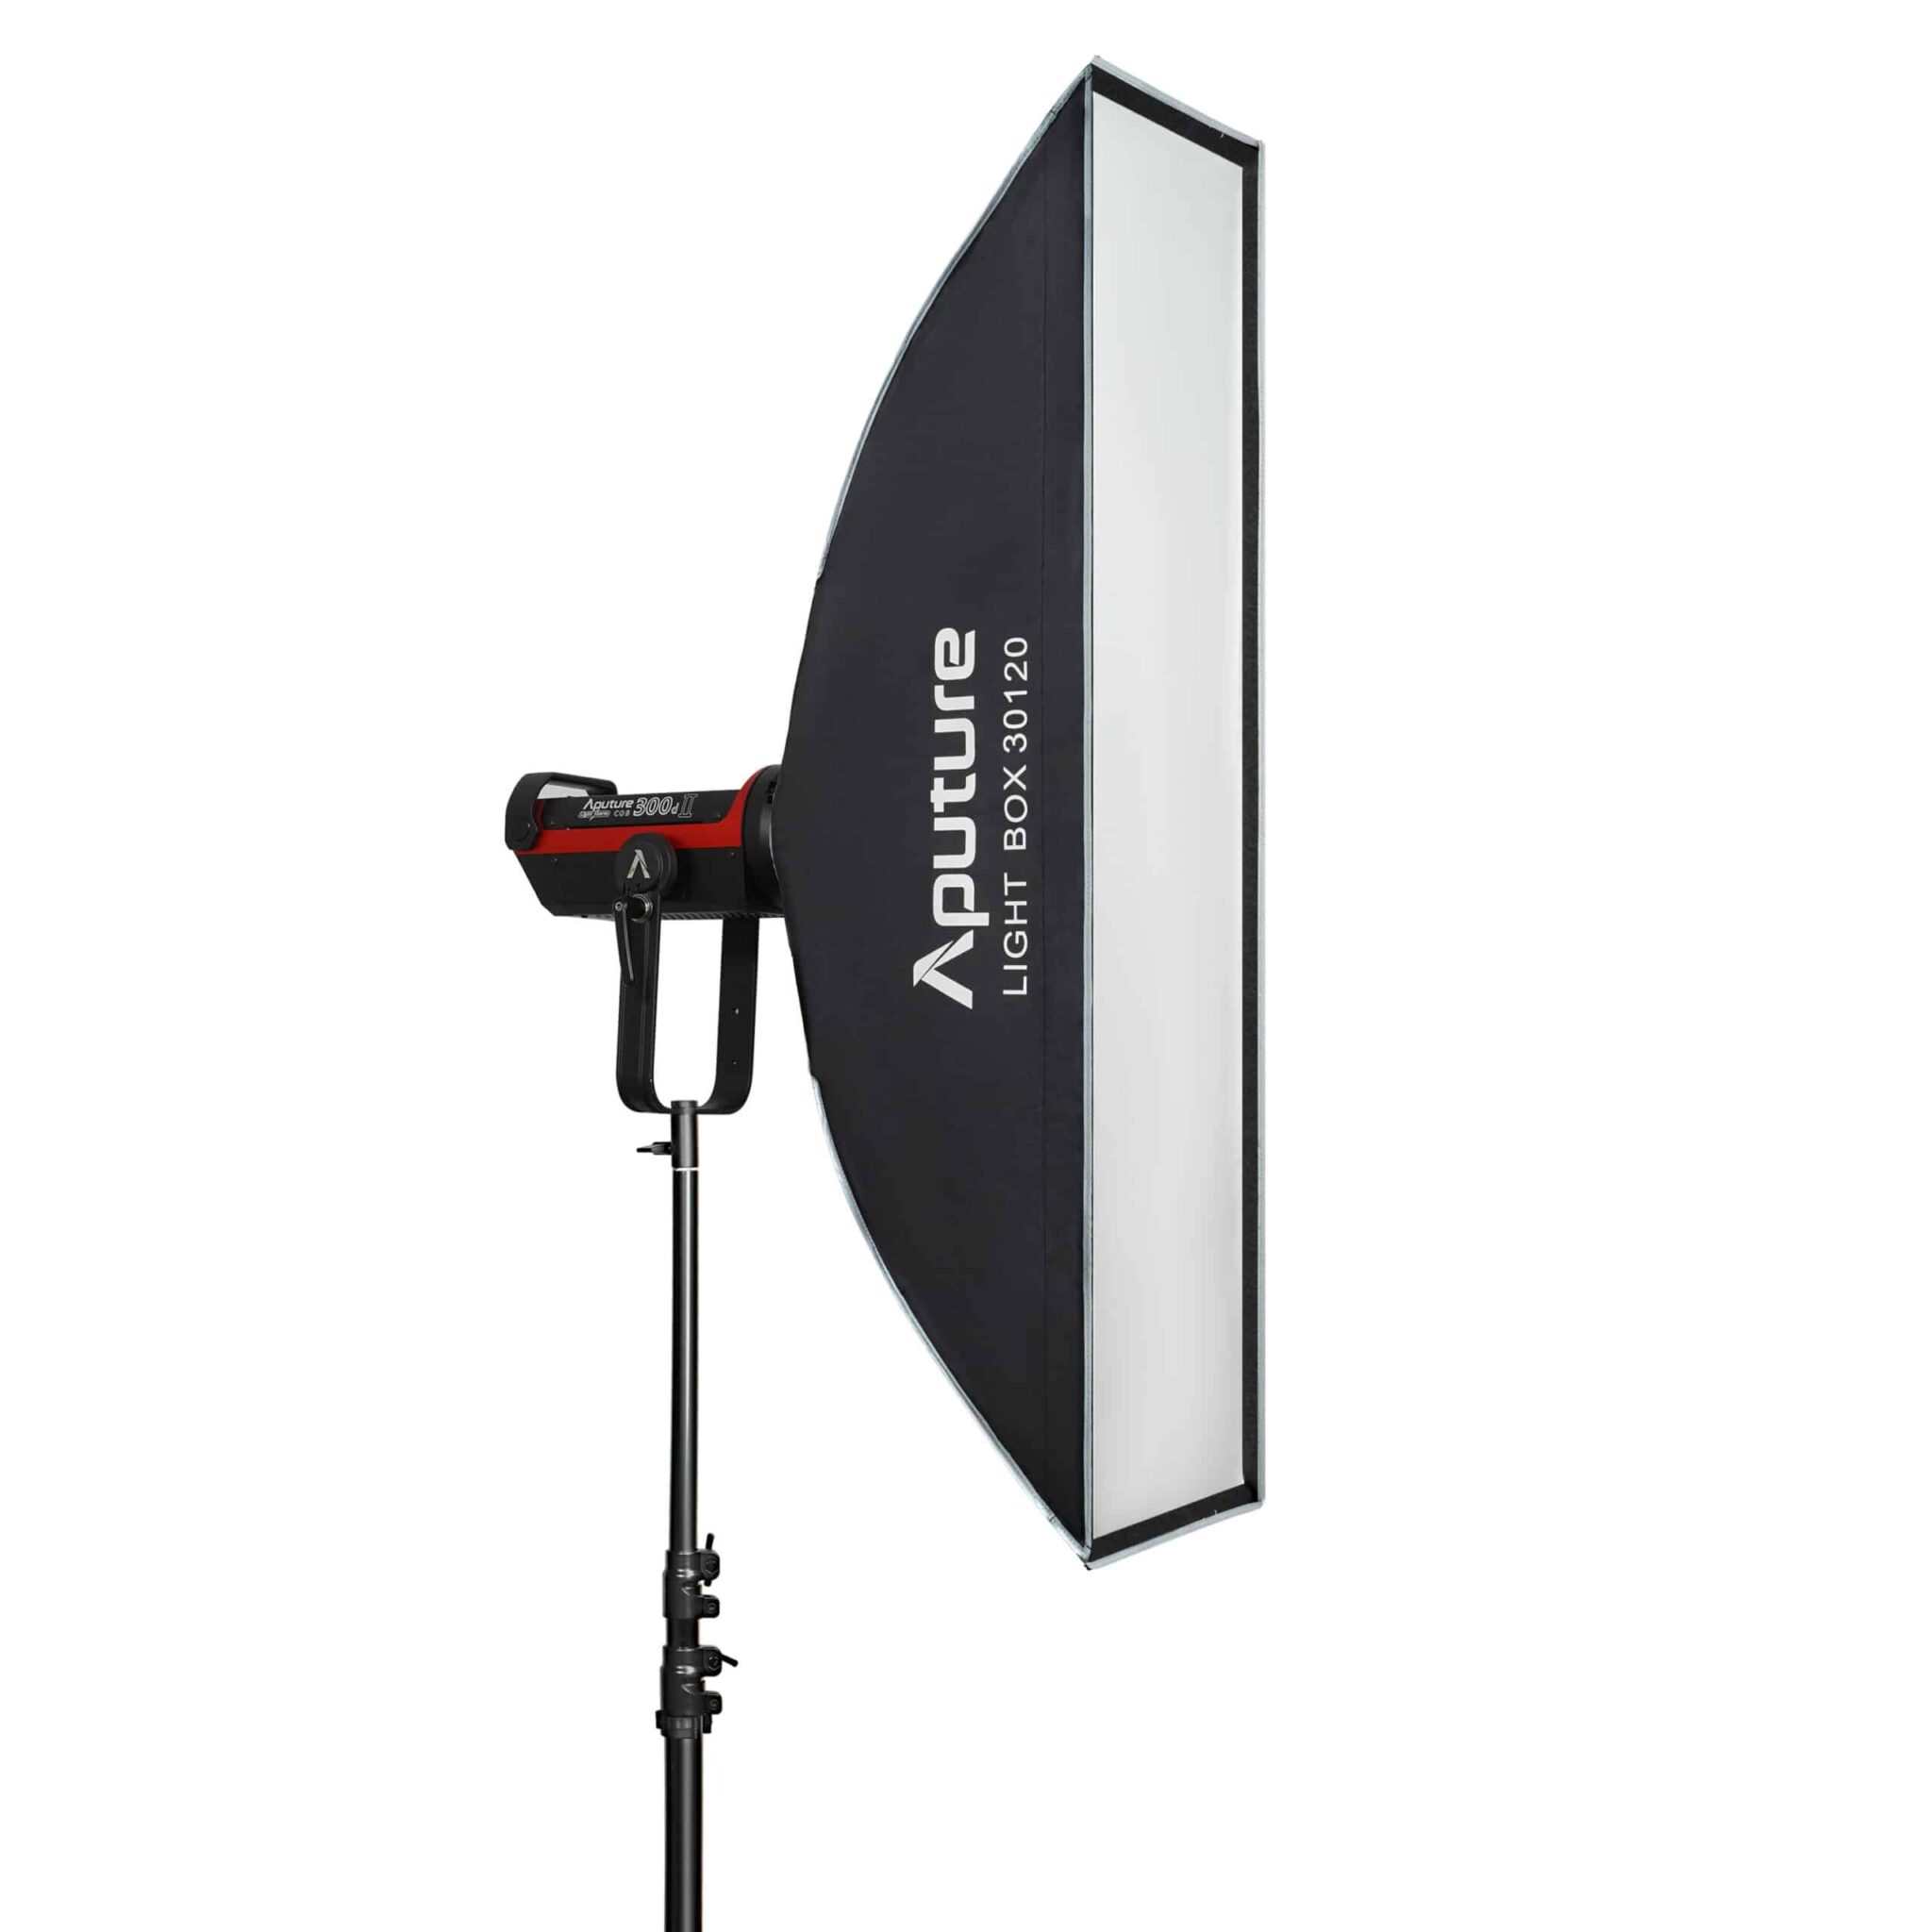
The shape of the softbox directly impacts how the illumination wraps and how reflections appear. Rectangular softboxes mimic the natural look of a window and are highly effective for capturing products or conducting traditional interviews. Strip softboxes offer a tall, narrow beam that brilliantly separates the subject from the background without spilling laterally. Conversely, octadomes produce a large, circular light source that yields natural-looking, round catchlights in your talent’s eyes.
-
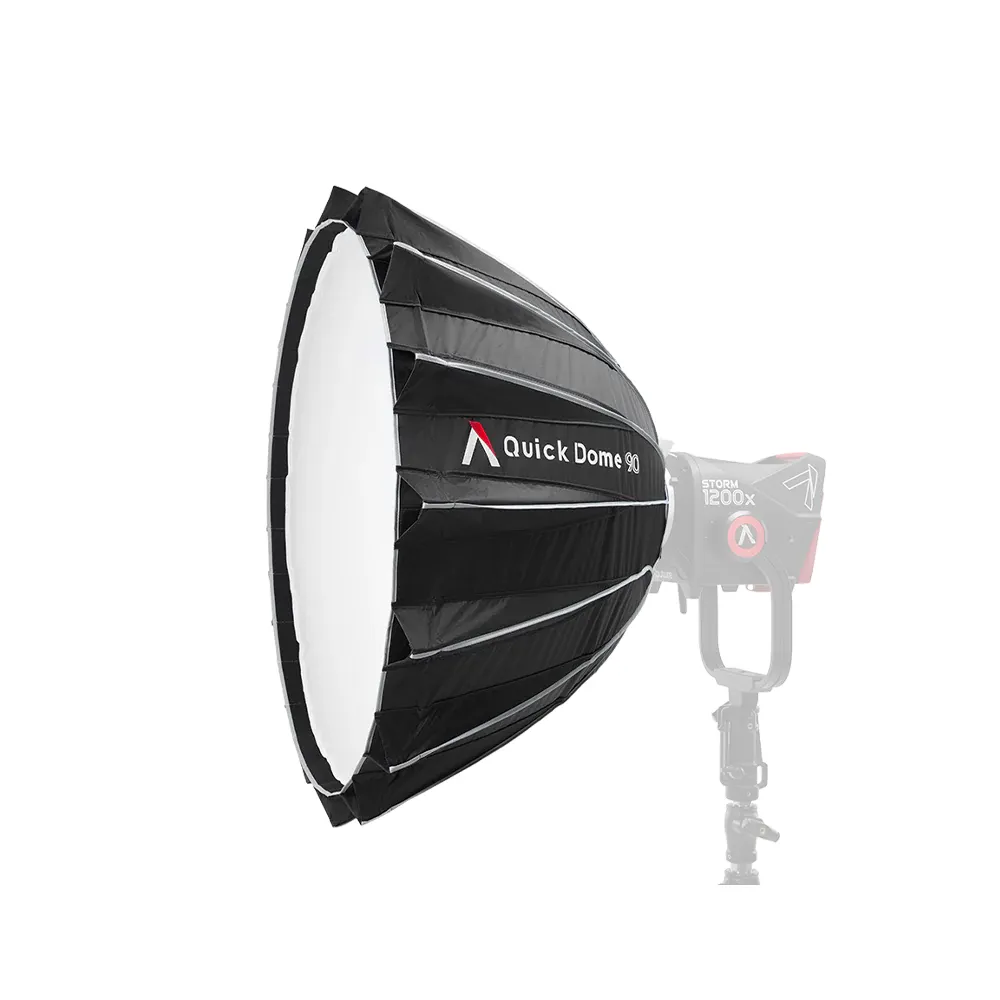
 Light modifiers
APUTURE Quick Dome 90 with Bowens Mount
€ 209.00€ 259.16 (incl. VAT)IN STOCK -
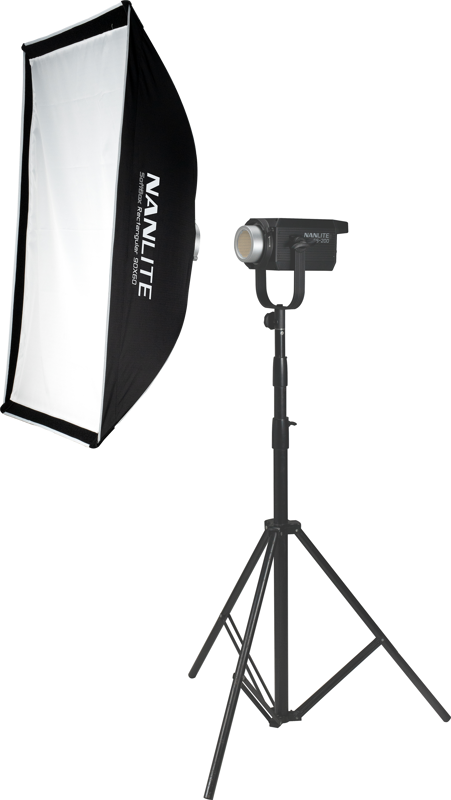
 Light modifiers
NANLITE Rectangle softbox 60 x 90CM
€ 35.12€ 43.55 (incl. VAT) -
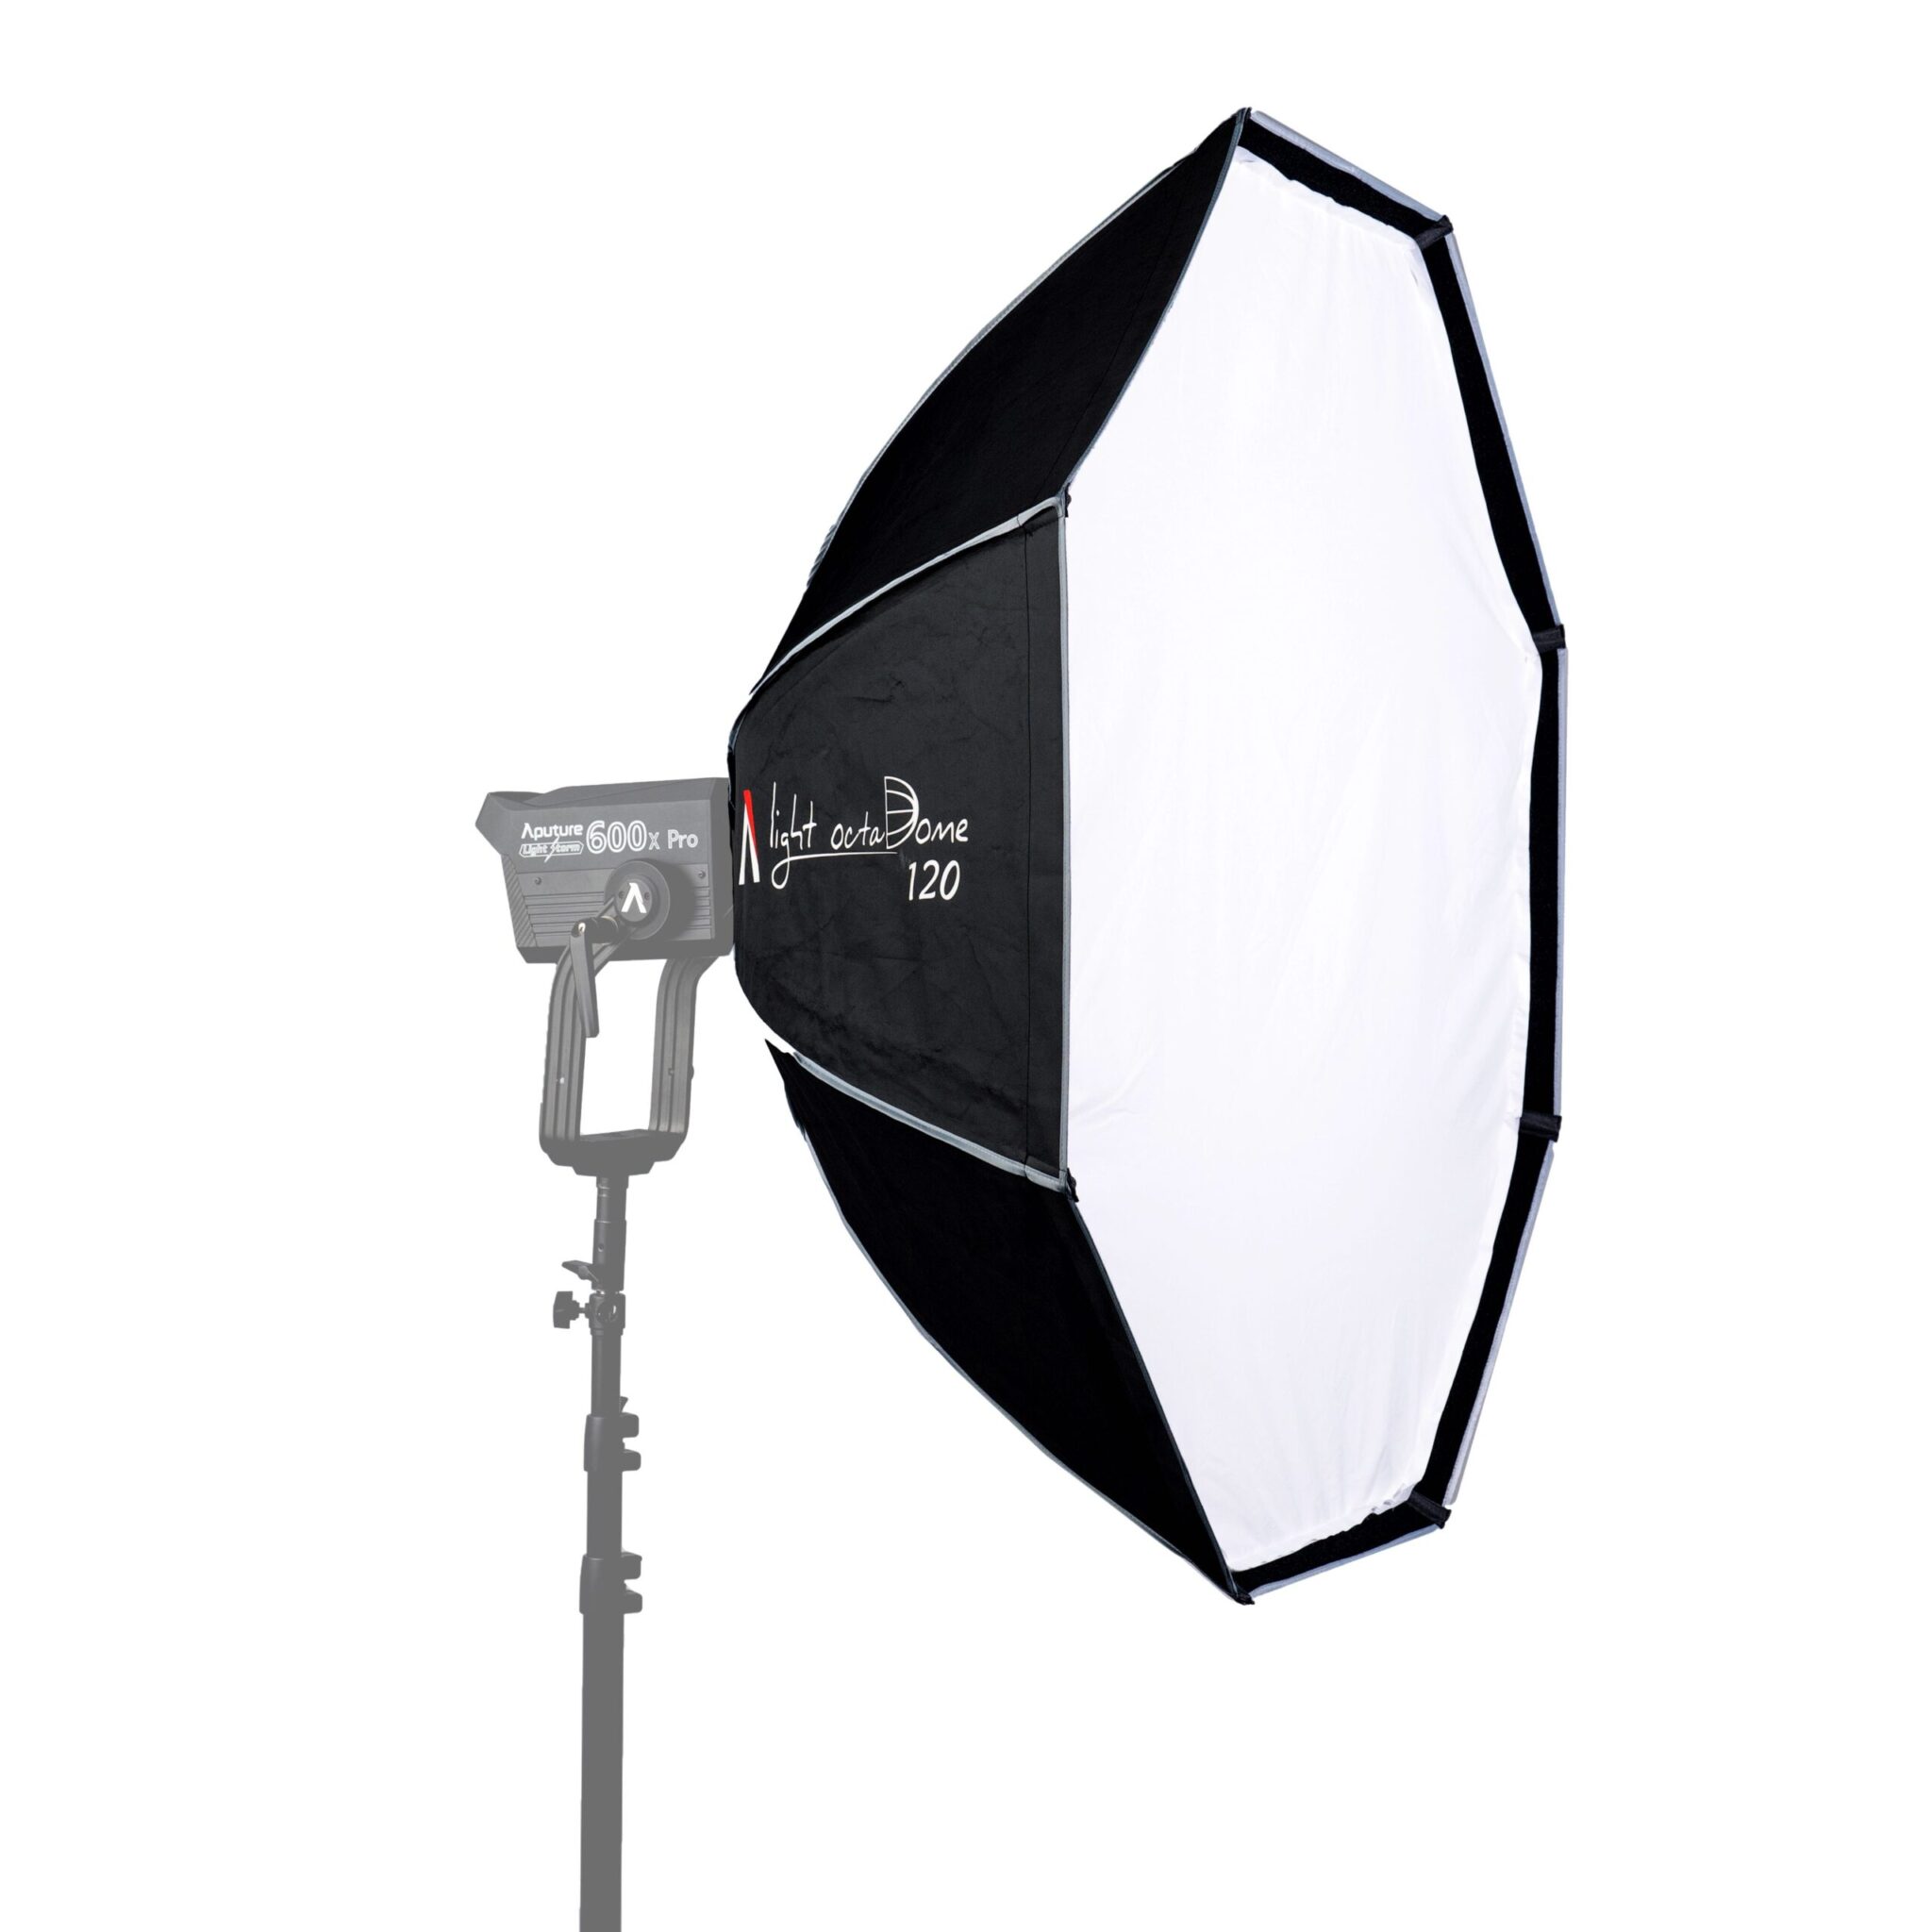
 Light modifiers
APUTURE Light OctaDome 120
€ 129.00€ 159.96 (incl. VAT)IN STOCK -
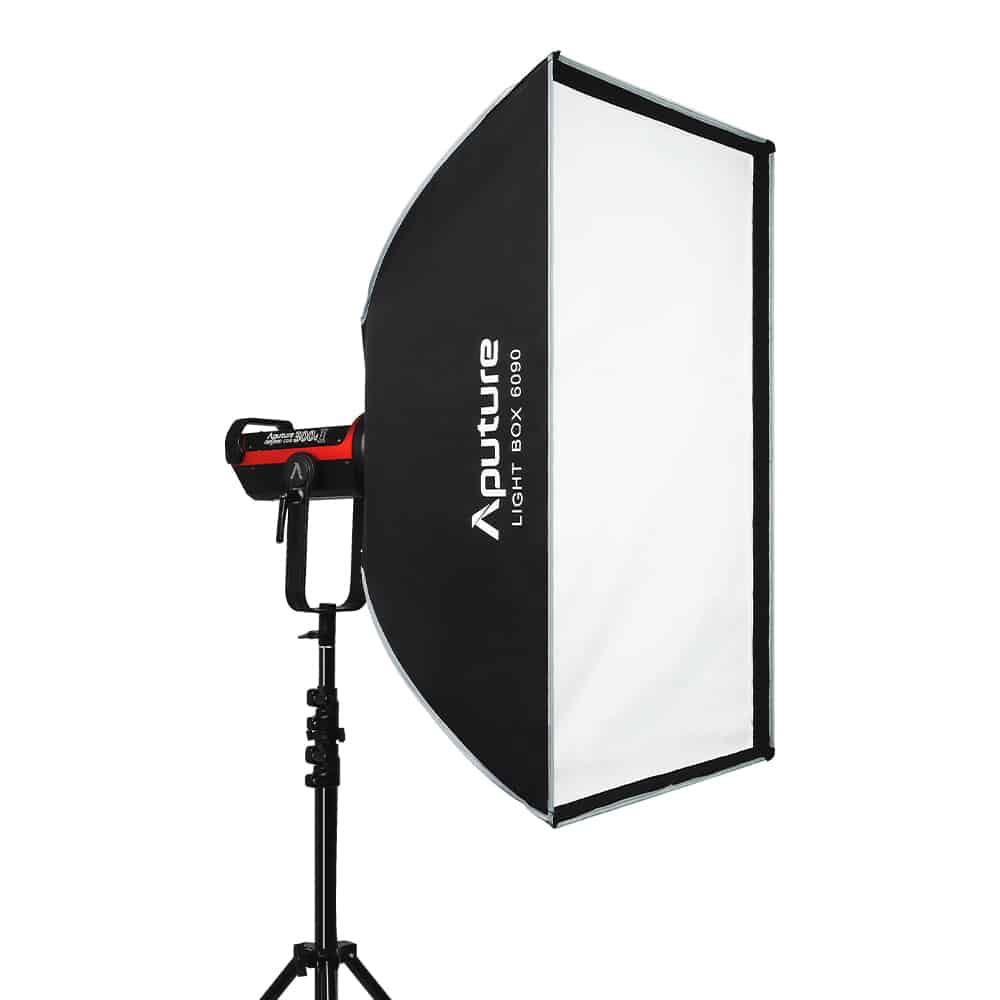
Light modifiers
APUTURE Light Box 60×90
€ 69.00€ 85.56 (incl. VAT)IN STOCK -
Light modifiers
APUTURE Light Box 30×120
€ 71.00€ 88.04 (incl. VAT)IN STOCK
Umbrellas for Unmatched Speed and Spread
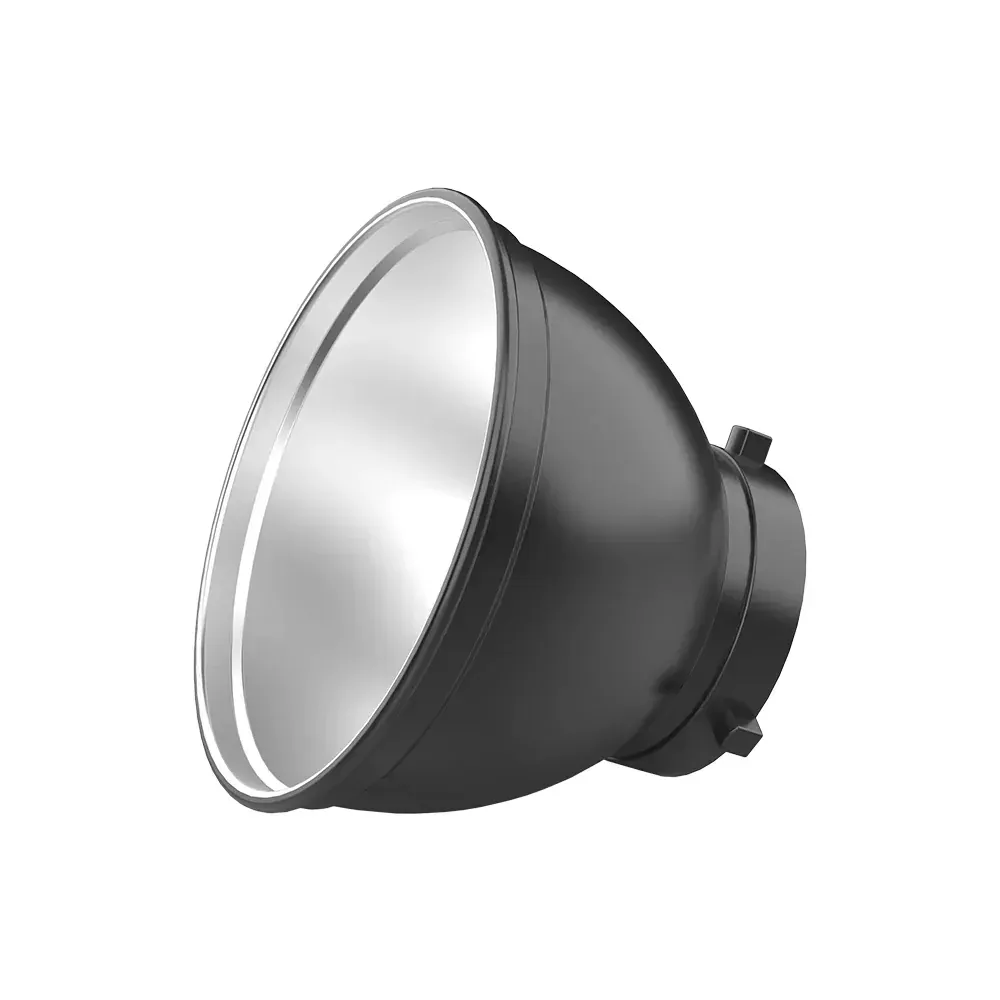
If you are working on location and need to deploy lighting quickly, umbrellas offer an excellent balance of softness and portability. They generally fall into two categories for video production: shoot-through (translucent) and reflective. Both options require significantly less setup time than building a traditional softbox.
Shoot-through umbrellas provide a very wide, even spread of soft diffusion. However, they offer minimal directional control, meaning the light will likely spill onto your background and surrounding walls. Reflective umbrellas bounce the light back toward the subject. Deep silver umbrellas provide more directional control than translucent models while retaining the natural wrap of bounced light, making them a staple for fast-paced event coverage or broad fill lighting.

Taming Spill with Grids and Honeycombs
One of the most common mistakes we see in corporate and enthusiast video setups is uncontrolled light spill flattening the entire image. If your key light illuminates both your subject and the wall behind them equally, you lose all depth and contrast. Unwanted stray light must be managed to maintain visual separation.
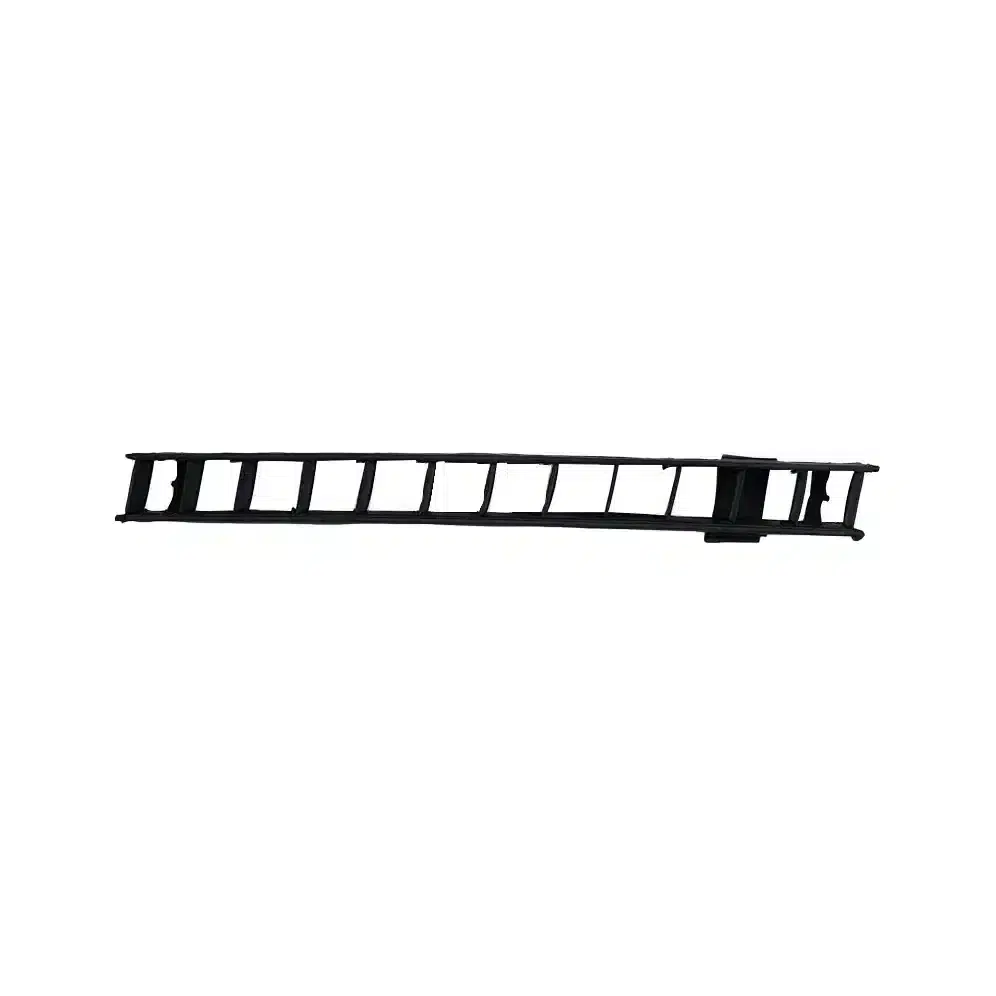
Grids, often called egg crates or honeycombs, attach to the front of a softbox or panel to narrow the beam angle, typically down to a 10 to 40-degree spread. The brilliant advantage of a grid is that it restricts the direction of the light without significantly altering its softness. You retain the flattering shadow transitions on your subject’s face, but the light is prevented from scattering outward into the room.
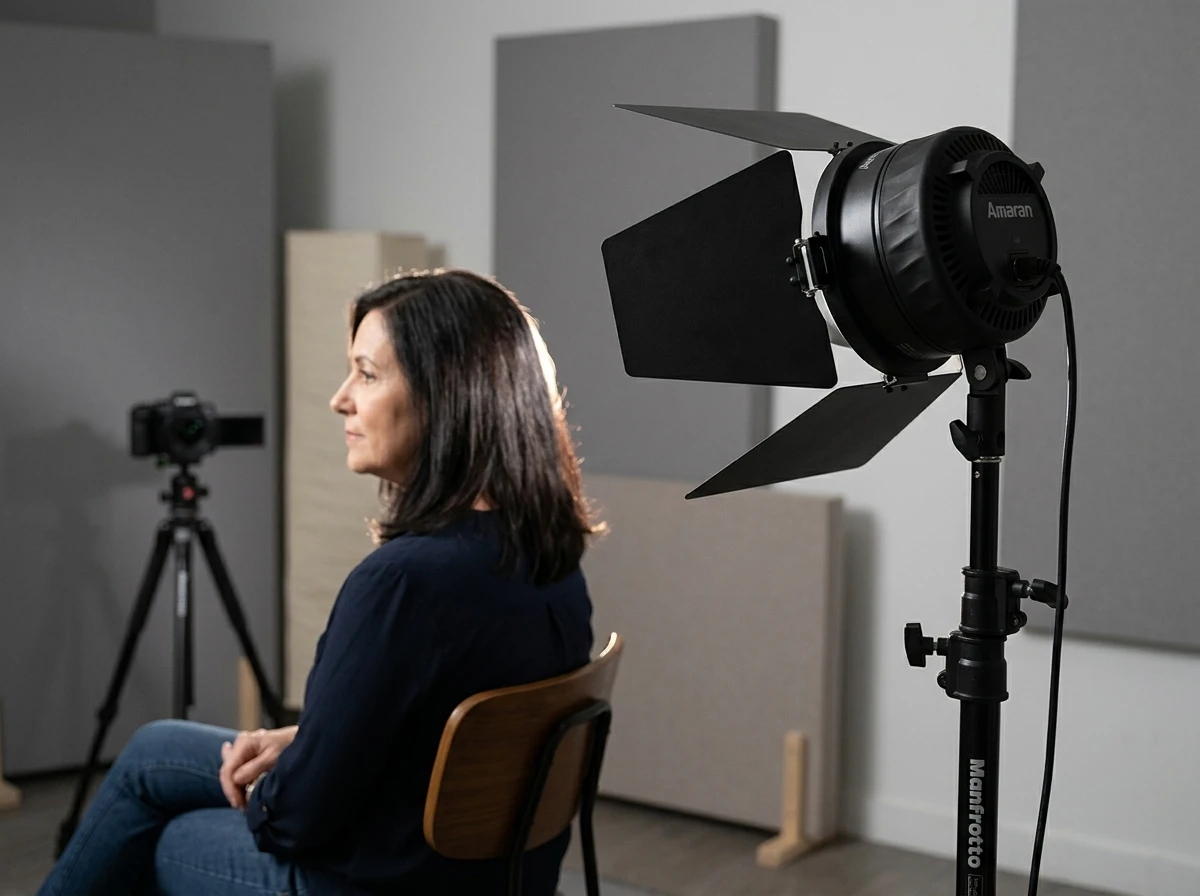
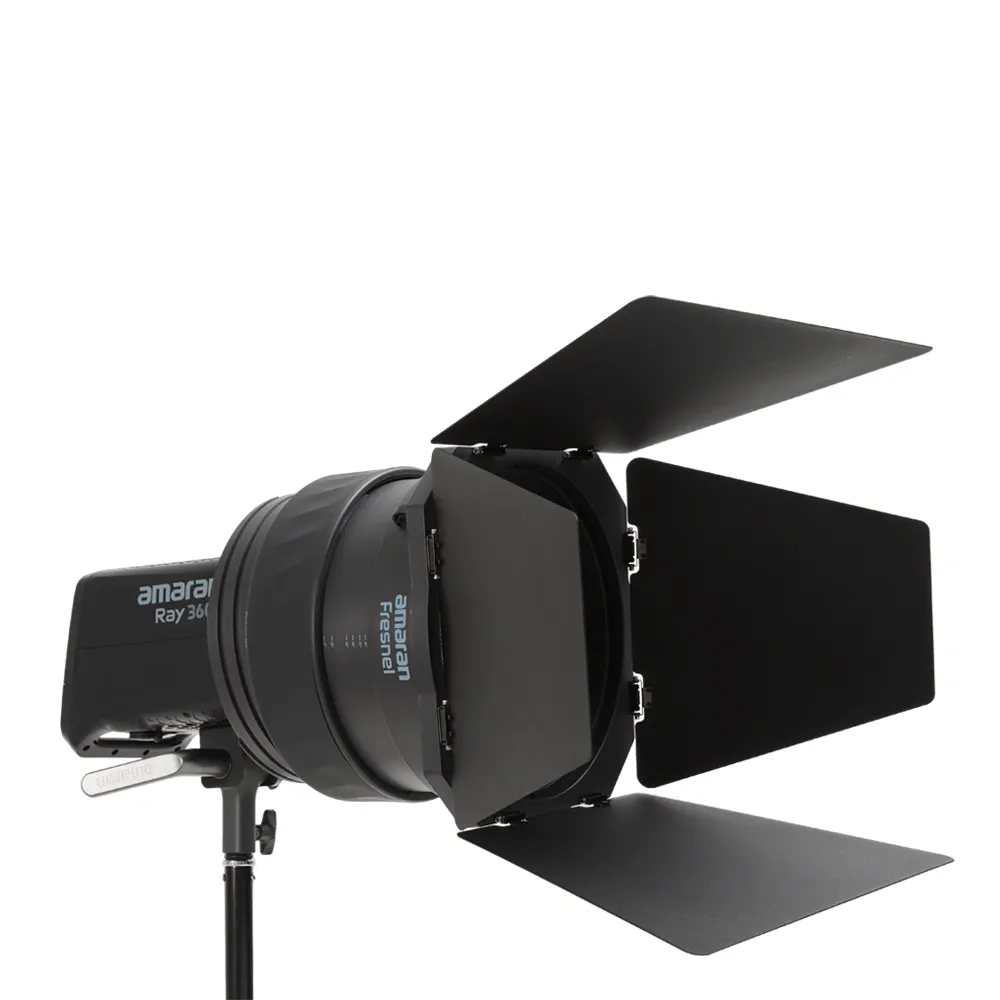
Shaping Hard Light: Barn Doors and Snoots
Not every scene calls for ultra-soft illumination. Hard light is absolutely necessary for mimicking direct sunlight, creating sharp accents on products, or driving a strong backlight that cuts through the set. To shape bare spot lights, you rely on specialized optical modifiers rather than diffusion fabrics.
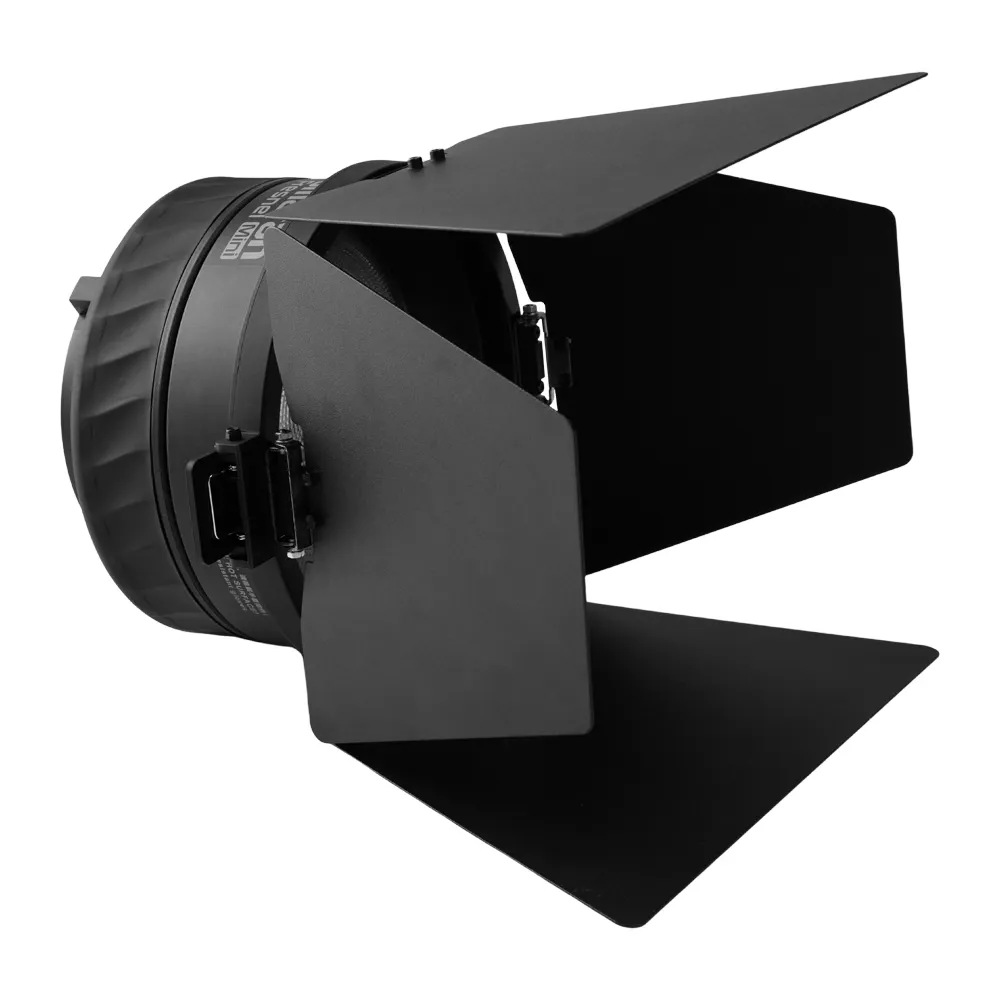
Fresnel lenses use concentric glass or acrylic rings to focus a broad beam into an intense, tight spot. This acts as an optical magnifier, significantly increasing the fixture’s output and allowing you to throw light over long distances. To shape the edges of this hard light, barn doors use adjustable metal leaves to cut the beam precisely. For even tighter accents, snoots restrict the output to a narrow, focused spotlight effect that is perfect for isolating a specific product feature.
Flags, Diffusion Frames, and Feathering
You do not always need to attach a modifier directly to your fixture. Controlling negative space is just as important as adding light to the scene. Flags are solid black fabric panels used to block light entirely from hitting the camera lens to prevent flare, or to stop spill from reaching a specific part of the set.
When you need a massive, ultra-soft source, placing a large, freestanding diffusion frame several feet in front of a high-output light creates a beautifully wrapped illumination. The distance between the light and the diffusion material effectively enlarges the apparent source size, achieving a softness that a standard attachable modifier cannot match.
You can also shape the beam without any extra gear by simply adjusting its orientation. According to basic lighting definitions from resources like How to Film School, feathering involves panning the light slightly away from the subject so that only the softer edge of the beam illuminates them. This technique reduces harsh hot spots and controls background spill simultaneously.
Practical Modifier Setups
Choosing the right combination of modifiers depends entirely on the aesthetic requirements of your scene. Modifying the key, fill, and backlight appropriately ensures dimension and subject separation. Here are three standard configurations we frequently recommend for different production environments.
| Production Type | Key Light Modifier | Fill Light Approach | Backlight / Accent |
|---|---|---|---|
| Talking Head / Interview | Large octadome (for circular catchlights) | Bounce reflector or translucent umbrella | Fresnel with barn doors |
| Narrative Dialogue | Rectangular softbox with a 40° grid | Negative fill (solid black flag) | Bare fixture through a diffusion frame |
| Product Videography | Large rectangular softbox mounted overhead | White bounce card for shadow detail | Snoot or small grid for hard accents |
Key Takeaways
- Size dictates softness: A larger modifier relative to your subject creates softer light with gradual shadow transitions; moving a light closer increases its apparent size.
- Contain the spill: Use grids and honeycombs on your softboxes to maintain flattering light on the subject while preventing unwanted illumination from washing out your background.
- Match shape to purpose: Deploy octadomes for natural catchlights in human subjects, and utilize rectangular softboxes to mimic window light or capture products.
- Control hard light precisely: Rely on fresnels, snoots, and barn doors when you need intense, focused beams for hair lights, motivated sunlight, or long throws.
Ready to gain total control over your production lighting? Browse our carefully curated selection of pro-grade equipment to find the exact modifiers you need for your next shoot, or reach out to our technical support team for advice on outfitting your specific studio space.


