
How to Light an Interview: 3-Point Setups for Pro Video
Flat, uninspired lighting is the fastest way to undermine an interview’s credibility. Over our two decades outfitting professional broadcast sets, we’ve seen how precise fixture placement transforms basic talking-head footage into compelling storytelling. Here is how to build cinematic depth.
Building Depth with the Three-Point Framework
The most reliable method for elevating your production value is the classic three-point setup. Establishing a three-point lighting setup is the industry standard for creating depth, dimension, and distinct subject-background separation on a two-dimensional screen.
When you watch a high-end documentary and notice how the subject pops against their environment, you are looking at this exact framework in action. By balancing a key light, fill light, and backlight, you actively control the shadows rather than letting ambient room lighting dictate your image quality. This foundational control is the core of understanding how to light a subject for video.
| Light Role | Primary Purpose | Ideal Position | Relative Intensity |
|---|---|---|---|
| Key Light | Main illumination, sets baseline exposure | 45° off-camera, slightly above eye level | 100% (Baseline) |
| Fill Light | Softens harsh facial shadows | Opposite key at 45°, eye level | 50-75% of Key |
| Backlight | Separates subject from background | 30-45° behind subject, high angle | 50% of Key |
Positioning the Key Light for Flattering Results
Because the key light serves as your primary source of illumination, it carries the heaviest visual weight on camera. In our experience, the most flattering placement for corporate and documentary interviews is 45 degrees to the subject’s side and slightly above eye level, angled downward.
This specific placement casts a subtle “Rembrandt triangle” of light onto the subject’s shadowed cheek, accurately mimicking natural overhead daylight. To make this look professional, you need the light to be exceptionally soft. Soft illumination wraps around facial features and naturally smooths out skin textures, making it far more forgiving for your talent.
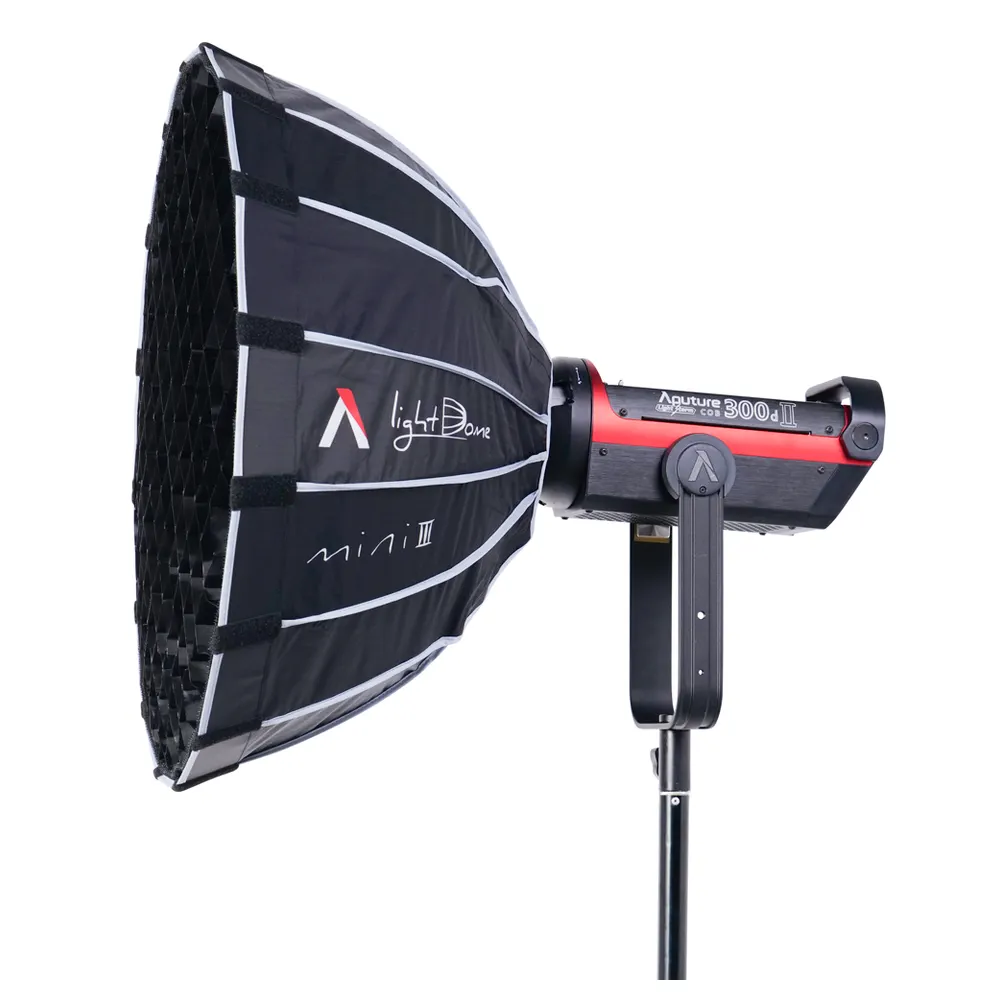
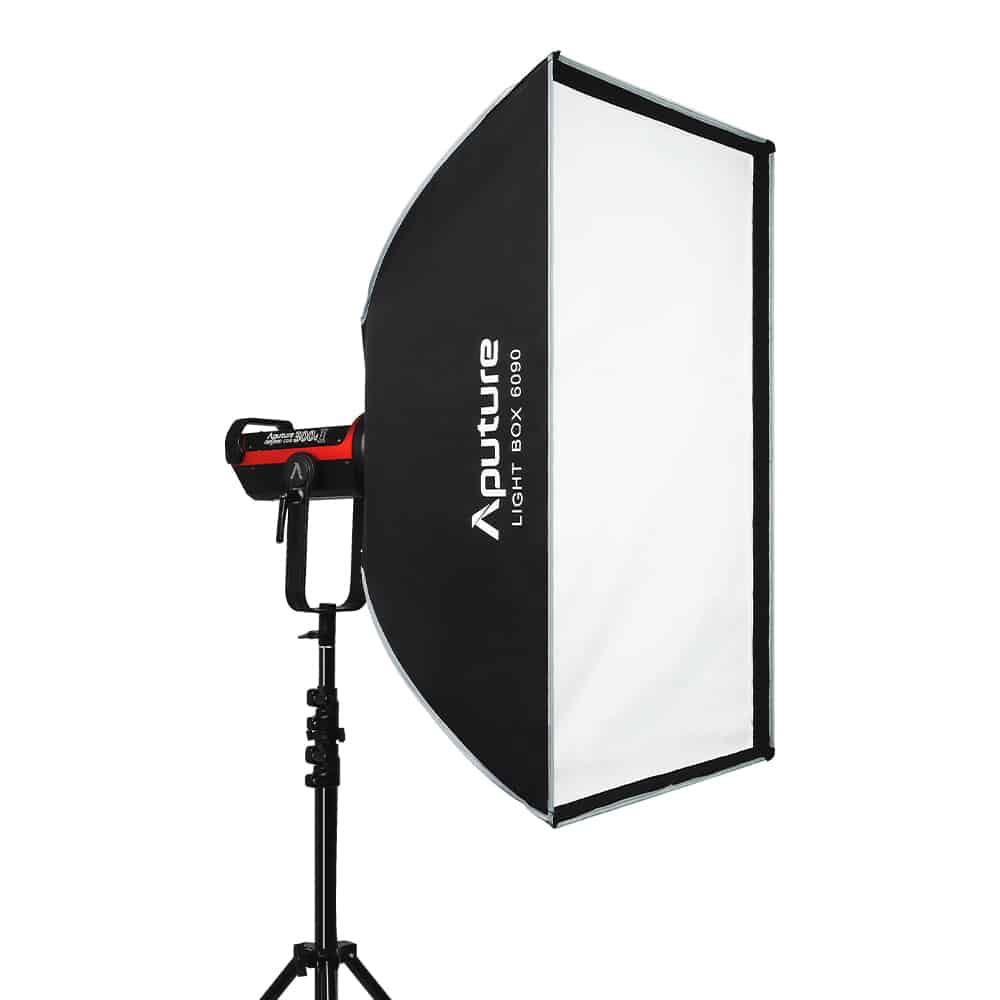
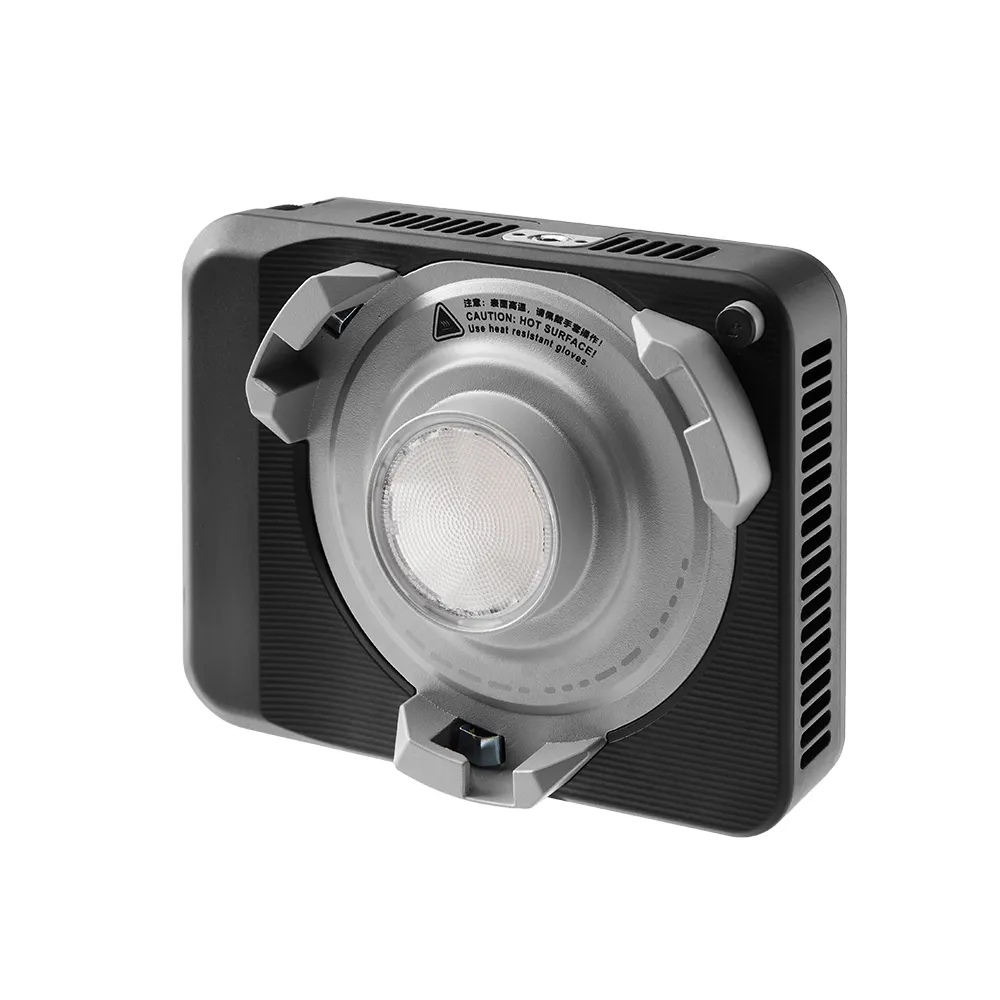
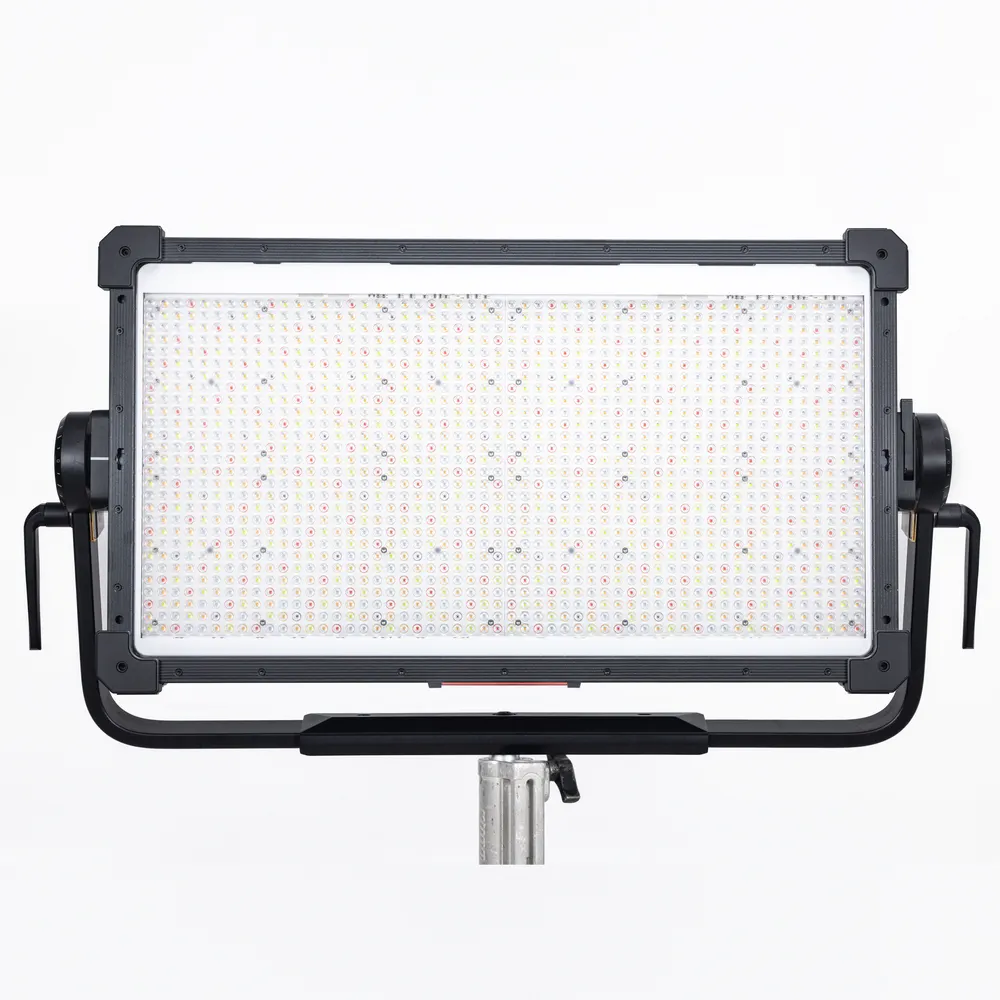
Achieving this necessary softness requires you to drastically increase the physical size of the light source relative to your subject. We highly recommend pairing high-output spot lights with broad light modifiers placed roughly two to three feet away from the interview chair.
Managing Shadows with a Fill Light
Once you establish your primary key light, you will immediately notice deep shadows forming on the opposite side of the subject’s face. While heavy, dramatic shadows work beautifully for moody narrative films, professional corporate interviews typically require a much more balanced, approachable aesthetic.
You can solve this by placing your fill light on the opposite side of the camera, at a mirrored 45-degree angle. By dialing the fill fixture to roughly 50% to 75% of your key’s brightness, you soften the contrast without erasing the dimensional shape of the face. Industry standards generally target a contrast ratio between 2:1 and 4:1 to maintain a natural interview look.
If you are operating within a tight budget, a dedicated fill fixture is not always mandatory. You can place a white bounce board near the subject to catch the spill from your key light and reflect it back into the shadows. However, for maximum precision over your ratios, utilizing slim LED panels allows you to dial in the exact brightness required without repositioning a physical bounce board.
Creating Separation Using Backlighting
The backlight – frequently referred to as a rim or hair light – is the specific element that elevates an interview from amateur to broadcast-quality. By positioning a source behind your subject at a 30 to 45-degree angle and aiming it at their shoulders and the back of their head, you generate a subtle luminous halo.

This contouring effect successfully pulls your talent away from the background. In corporate environments, you must often battle flat, lifeless white walls or distracting office clutter. Introducing a dedicated backlight is the most effective way to carve out three-dimensional depth and hold the viewer’s focus on the speaker.
Depending on the thematic mood of your production, you might also consider incorporating colored light in video production for your backlight source. Casting a subtle, cool color contrast against the warm, natural skin tones generated by your key light instantly injects high-end cinematic production value into a standard room.
Selecting the Right Support Gear for Your Space
Your lighting fixtures are only as reliable as the grip and rigging equipment supporting them. A frequent operational mistake we see is production teams investing heavily in high-output LED panels but neglecting the infrastructure required to safely position them.
A light stand tipping over mid-interview not only damages expensive technology but severely disrupts the talent’s comfort and shatters trust on set. You must always utilize heavy-duty light stands capable of bearing the full weight of large softboxes without bowing.
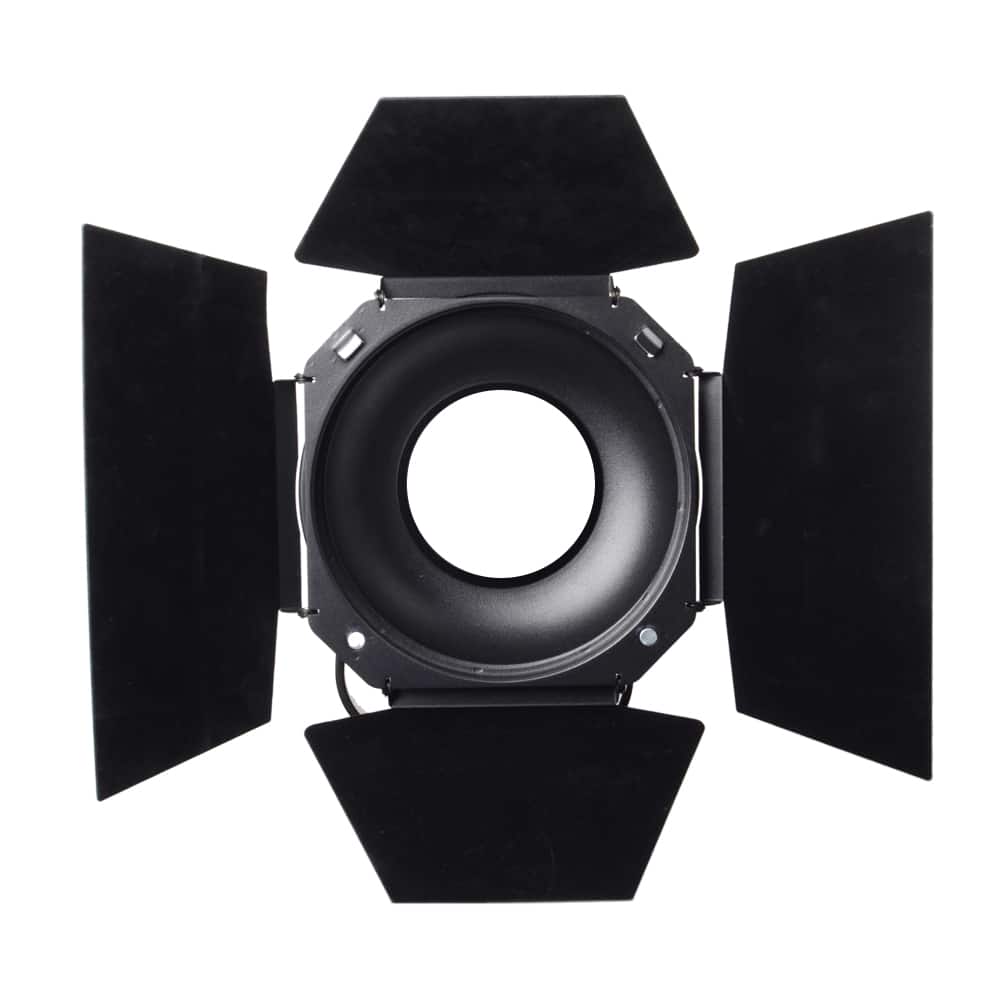
Furthermore, controlling light spill is just as critical as generating the light itself. Attaching barndoors or honeycomb grids to your backlights prevents stray beams from hitting your camera lens and causing washed-out flares. To better understand how to scale this infrastructure based on room size, review our guidance on how many lights for video production you actually need.
Solving Common Interview Lighting Problems
Every room presents unique environmental challenges, and your success on set depends entirely on how you adapt. If you are new to environmental problem-solving, exploring video lighting for beginners provides an excellent starting framework.
Reflections in eyeglasses remain a notorious headache for camera crews. If your talent wears glasses, the solution is purely geometric: raise your key light higher and tilt it further downward, or angle it an additional 10 degrees further to the side. This simple adjustment pushes the bright reflection out of the camera’s direct lens axis while maintaining flattering illumination.
Color temperature mismatches present another frequent error that ruins otherwise excellent footage. Mixing warm 3200K indoor tungsten fixtures with cool 5600K daylight spilling through a nearby window results in muddy, unnatural skin tones. You must always match your primary lights to the dominant ambient source. If your goal is to simulate natural light with artificial lighting, dial your bi-color or RGB LED fixtures strictly to 5600K.
Finally, tight corporate offices severely restrict your lighting footprint. When you cannot position stands far enough back from the subject, swap bulky units for compact mini LED lights to act as your backlight, saving crucial floor space. Regardless of the form factor you choose, verify that your lights meet rigorous CRI and TLCI standards of 95 or higher to guarantee accurate, lifelike color rendering on modern digital sensors.
Key Takeaways
- Implementing a three-point lighting setup (key, fill, and backlight) is the foundational standard for generating depth and separating your subject from flat backgrounds.
- Position your key light 45 degrees to the side and slightly above eye level, utilizing broad modifiers to create a flattering, soft wrap around the face.
- Control your set’s contrast ratio by setting your fill light to 50–75% of your key’s intensity, softening shadows naturally.
- Match the color temperature of your primary fixtures to the room’s ambient light to avoid muddy, mixed-color footage.
- Secure your investment and ensure set safety by mounting fixtures on heavy-duty light stands equipped with spill-control accessories.
Ready to upgrade your production quality? Browse our complete inventory of professional video lighting equipment at MediaGear to build an interview kit that consistently delivers pristine, broadcast-ready results.


