





How to Set Audio Levels for Video: Peaks at -12 dB
Set your audio so that normal speech sits around -20 dBFS and the loudest peaks reach about -12 dBFS on your camera or recorder meter. Never let the meter touch 0 dB. This leaves about 12 dB of headroom for a laugh, a shout or a sudden bang. Sound Devices, a maker of field recorders, gives these numbers for production dialogue in its 833 recorder guide.
Too low, and you will lift the hiss when you turn the clip up later. Too high, and the sound clips. Digital clipping cannot be repaired.
Here is the short version:
| Item | Target |
|---|---|
| Normal speech | About -20 dBFS |
| Loudest peaks | About -12 dBFS |
| Absolute limit | Below 0 dBFS (clipping) |
| Level control | Manual, with auto gain off |
| Monitoring | Closed headphones, volume kept low |
This guide covers gain staging: how to set the level at the camera or recorder, read the meter and check it with headphones. If you still need to plug the microphone in, start with our guide on how to connect a microphone to a camera.
Why the recording level matters
A recorder turns the microphone signal into numbers. The scale tops out at 0 dBFS (“full scale”). Anything louder is cut flat. Berklee Online describes gain staging as keeping each stage of the signal chain away from both distortion and excess noise. That is the whole job.
You have two risks:
- Level too high: the signal clips and sounds harsh. Neumann points out that digital converters go from clean sound to heavy distortion with no gentle in-between.
- Level too low: the speech sits close to the noise floor. Raising it later lifts the noise with it.
The -20/-12 rule sits between these two. 24-bit recording has a lot of room, so you do not need to push the meter high. Recording at -20 dBFS gives you the same headroom that analogue engineers always worked with, as Sound On Sound’s technical editor explains.
These numbers are guidance, not law. Other standards use alignment levels between -20 and -12 dBFS, according to the UK Institute of Professional Sound. Use the numbers as a starting point and adjust to your source.
Set your levels in 7 steps
- Place the microphone first. Distance changes level more than any knob. Each time the talker moves twice as far from the microphone, the level drops by about 6 dB in ideal conditions, according to the Simon Fraser University sound handbook. Moving from 30 cm to 60 cm costs about 6 dB, and 6 dB means half the signal voltage.
- Switch to manual level. Turn automatic gain control (AGC) off. AGC raises the gain in quiet moments, so room noise swells between sentences. It also narrows the gap between loud and quiet speech.
- Set gain at the source. Use the preamp gain on the recorder or the camera’s recording level. Do not rely on turning the clip up in the edit.
- Ask for real speech. Have the person talk at the volume they will use on camera. A whispered “testing, one two” will mislead you. Ask for the loudest moment too, such as an excited answer.
- Adjust until peaks reach -12 dBFS. If the loudest speech reads -22 dBFS, add 10 dB of gain. If it reads -6 dBFS, take off 6 dB.
- Turn the limiter on as a safety net. A limiter catches surprise peaks. It should not do the level-setting for you. Sound Devices says that with gain set properly, the limiter threshold is rarely reached.
- Record a short test and play it back. Listen on headphones. Check the meter for red.
Do the check again if the talker changes, the room changes or you move the microphone.
How to read your camera’s audio meter
Camera makers do not all mark the meter the same way. Check the numbers on your own screen.
| Camera | What the manual says |
|---|---|
| Canon EOS R-series | Adjust so the loudest sounds sometimes light up to the right of the -12 dB mark. Above 0, the sound distorts. |
| Canon XC15 | Meter should go to the right of the -18 dB mark only occasionally. |
| Blackmagic Pocket Cinema Camera | Adjust until the peak averages -12 dB. 0 dBFS is clipping. |
| Panasonic AG-CX350 | Headroom setting of 12, 18 or 20 dB. Keep the maximum level below 0 dB. |
| Sony Alpha | The limiter is always on, whatever the recording level. Use headphones to check. |
Sources: Canon EOS R50 V manual, Canon XC15 guide, Blackmagic manual, Panasonic AG-CX350 operating instructions, Sony Help Guide.
Two details matter here. First, the meter may be a peak meter or a VU meter, and the two behave differently. Blackmagic cameras let you choose PPM or VU with a -18 or -20 dBFS reference. A peak meter shows how close you are to clipping, so use it to set your safety margin. Second, the Panasonic headroom setting moves the reference mark on the meter. A 20 dB headroom setting follows the Panasonic AJ broadcast-camera standard. 12 dB follows the AG-UX professional-camera standard.
If your camera only shows a small bar, aim for the same idea: loudest speech in the upper-middle of the scale, never in the red.
Check with headphones, not only the meter
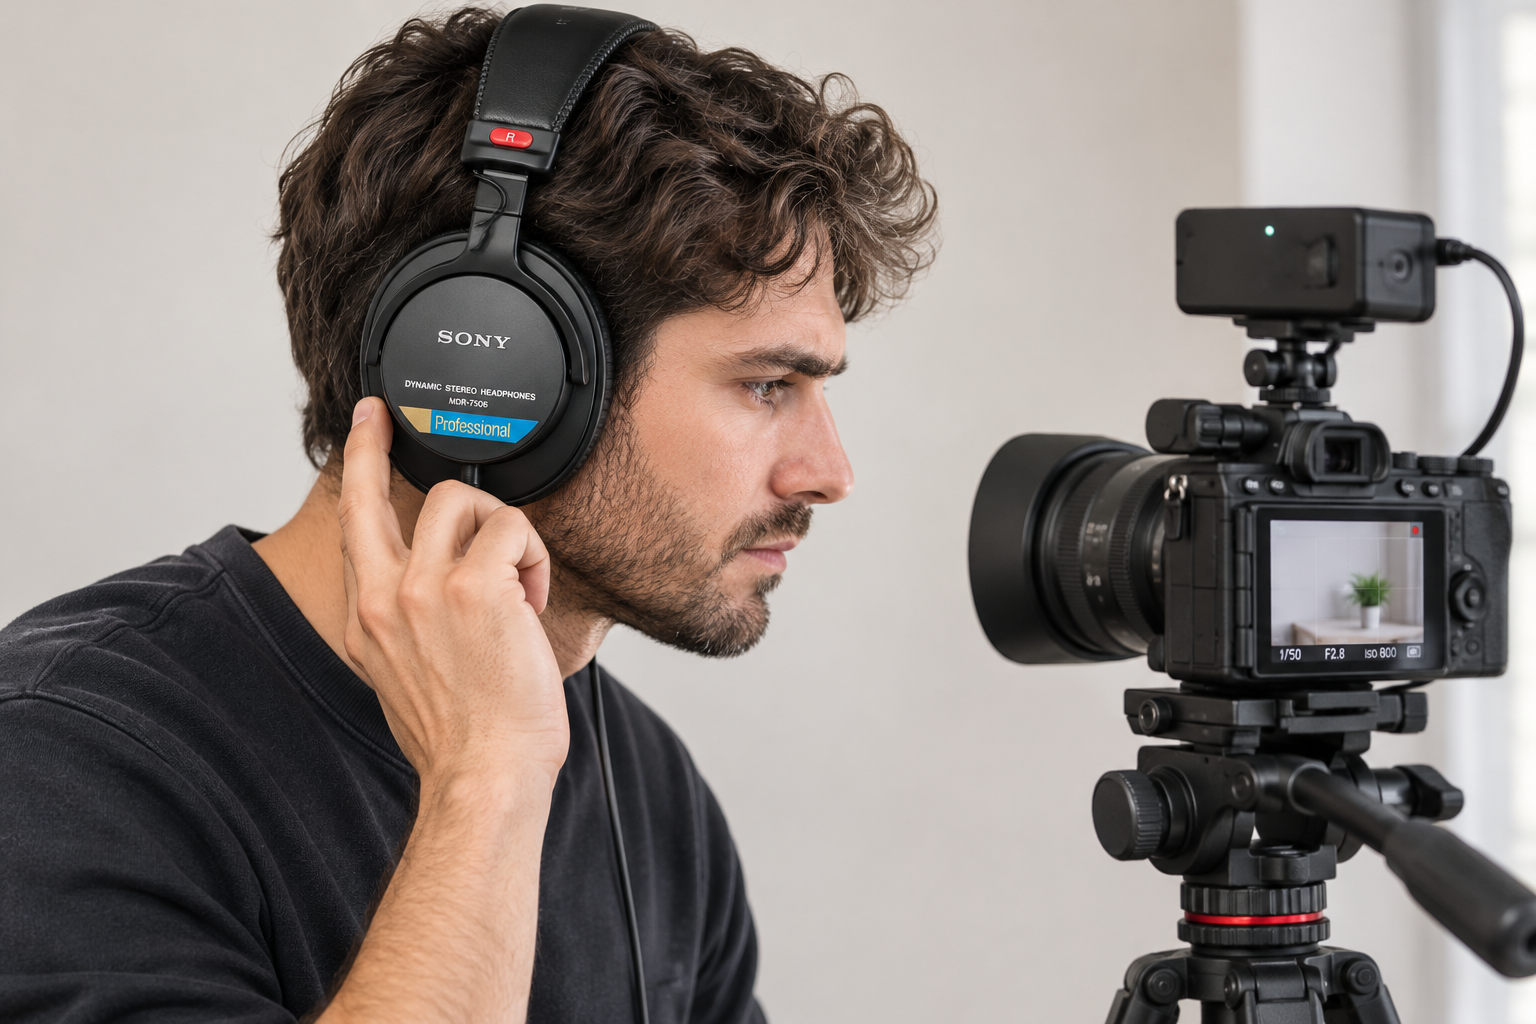
The meter tells you the level. Your ears tell you what is wrong with it. Wear headphones while you set the level, as Sony and Canon both advise in their camera guides. You can hear a bad cable crackle, wind rumble, a hum or a distorted peak long before you notice it on a small screen.
Use closed headphones that block the room. Then you hear the recording, not the person standing next to you.
Turn the headphone volume down before you put them on. Sound Devices warns in its manuals that its headphone outputs can reach ear-damaging levels. The same care applies to any recorder.
Do not confuse headphone volume with recording level. The headphone knob changes how loud you hear the signal. The meter shows what you record. Never set the recording level by how loud it sounds in your ears.
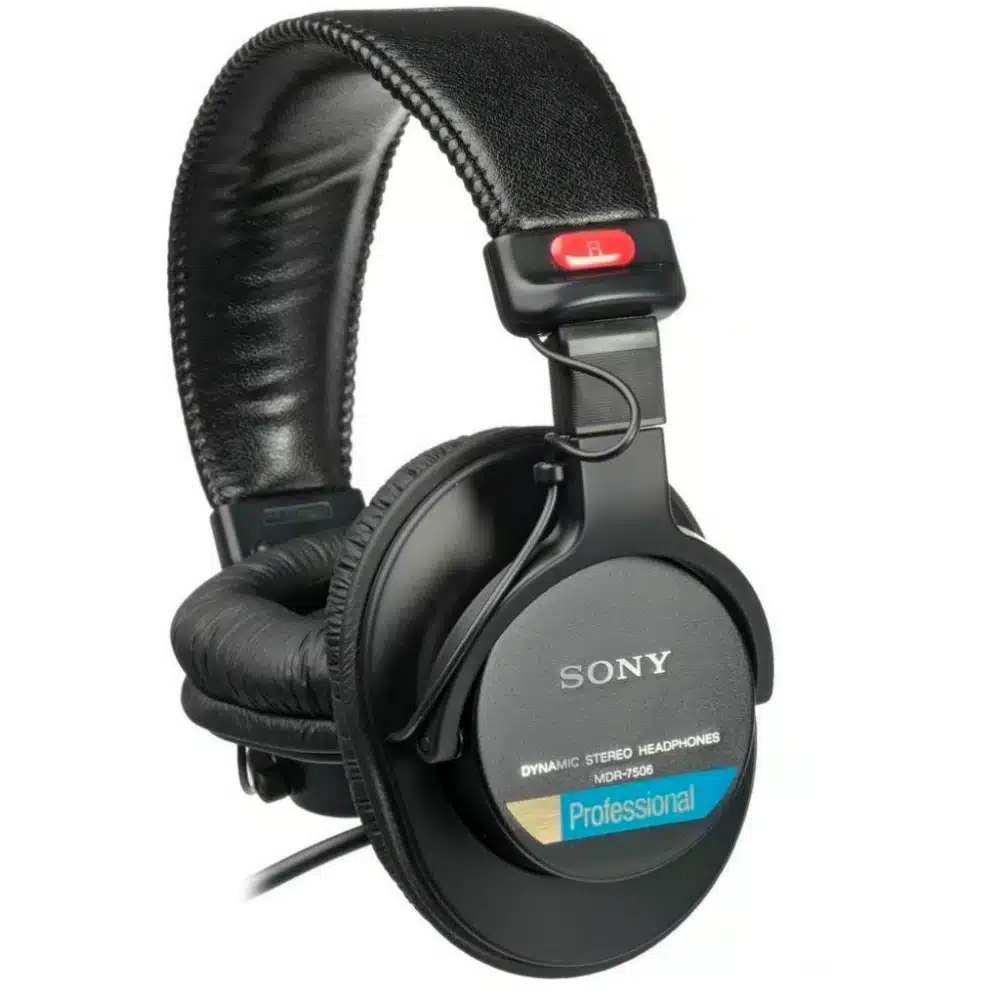
If you need a pair for the job, our range includes the Sony MDR-7506 professional monitor headphones.
What changes with 32-bit float recorders
Some recorders write 32-bit float files and use two analogue-to-digital converters (ADCs) at different gain levels. One converter handles quiet sounds, the other handles loud sounds, and the recorder picks the best result. Zoom says this design removes the need to set input gain in advance. Some Sony and Nikon cameras also offer 32-bit float recording.
This is useful when speech jumps from a whisper to a shout and you cannot ride the gain. Still, keep three things in mind:
- The microphone can still clip. 32-bit float does not fix distortion that already happens in the microphone or its own electronics. Do not overload the microphone.
- The file may sound very quiet or very loud when you open it. You fix this in your editing software by changing the gain. Nikon describes this step in its manual.
- Check that the right format is on. Some recorders only write 32-bit float when you turn it on in the menu.
A 32-bit float recorder is a good fit if you shoot unpredictable events, run solo or do not want to set gain mid-take. If you work with a trained sound person and a stable source, standard 24-bit with careful levels still works well.
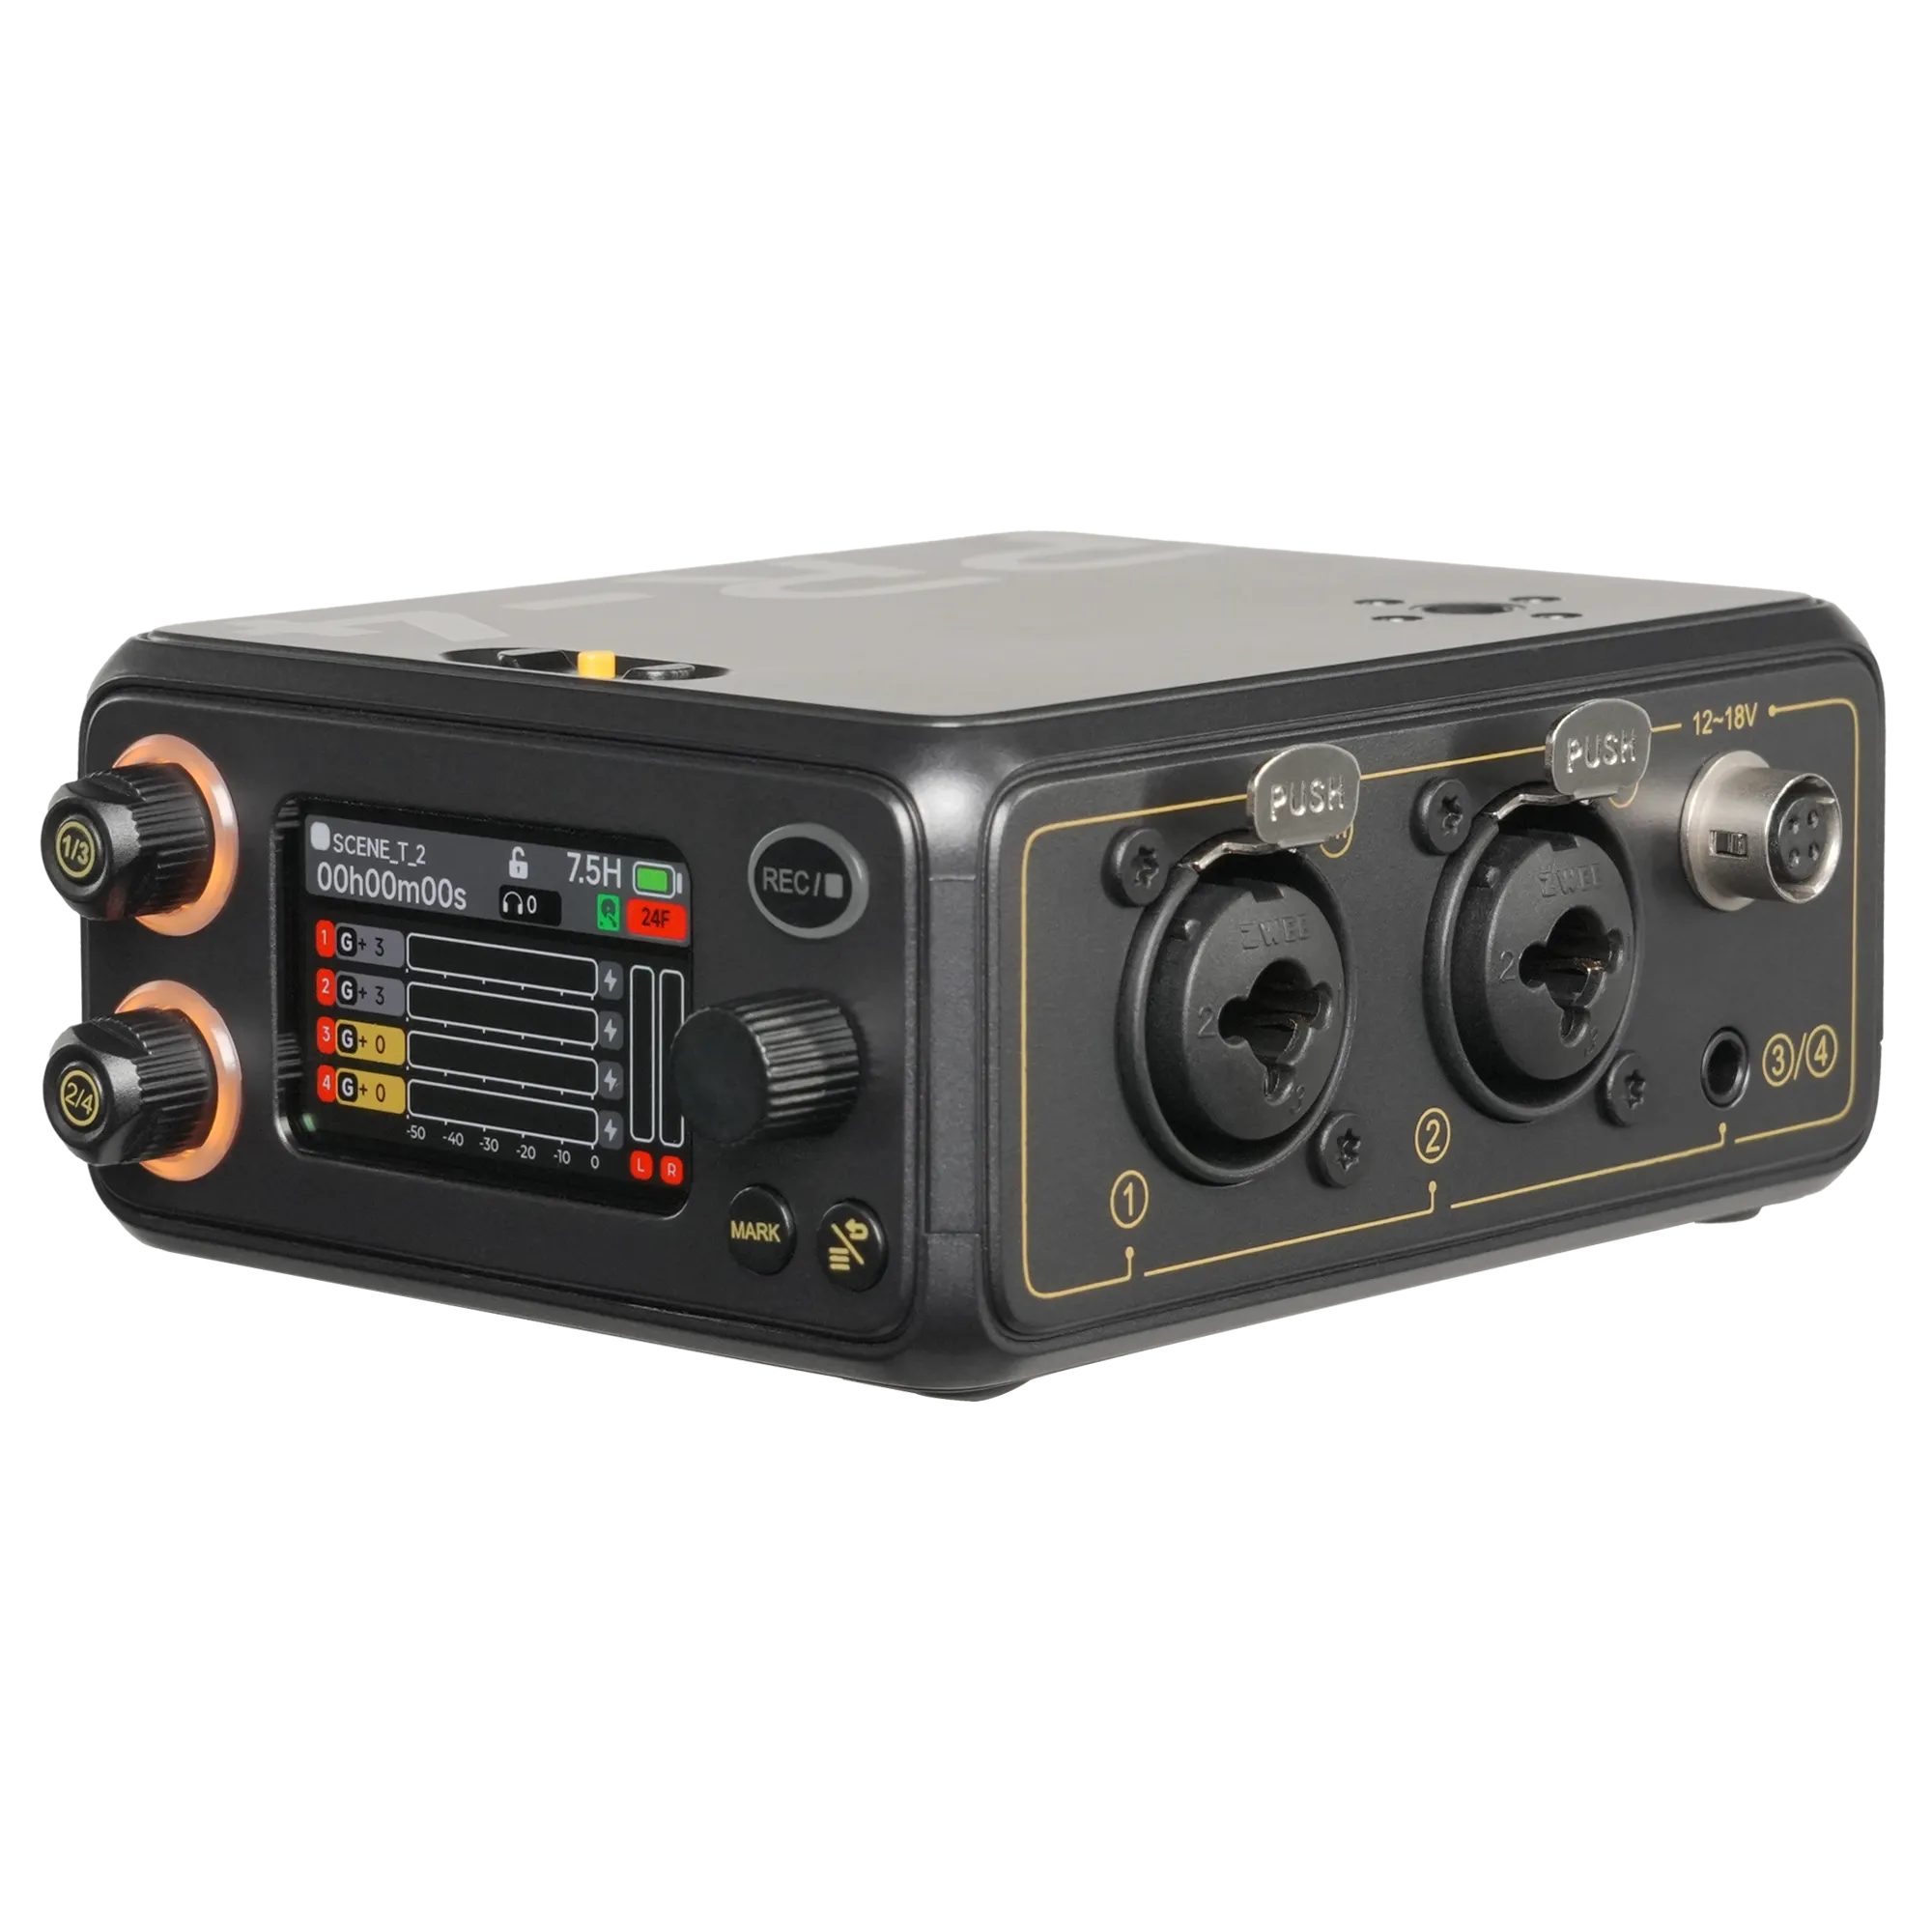
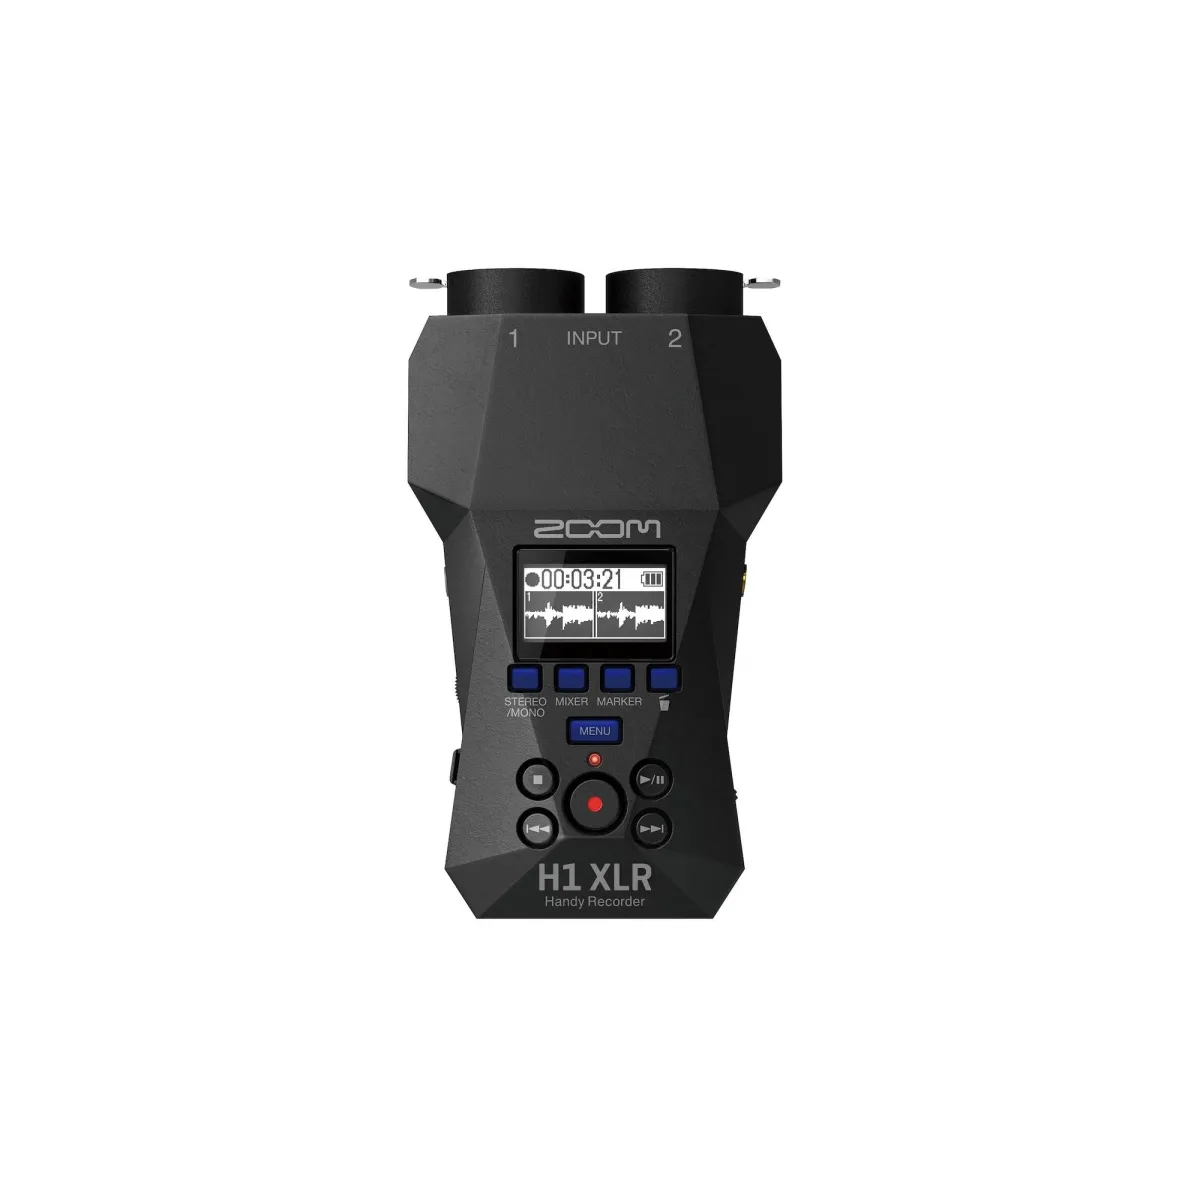
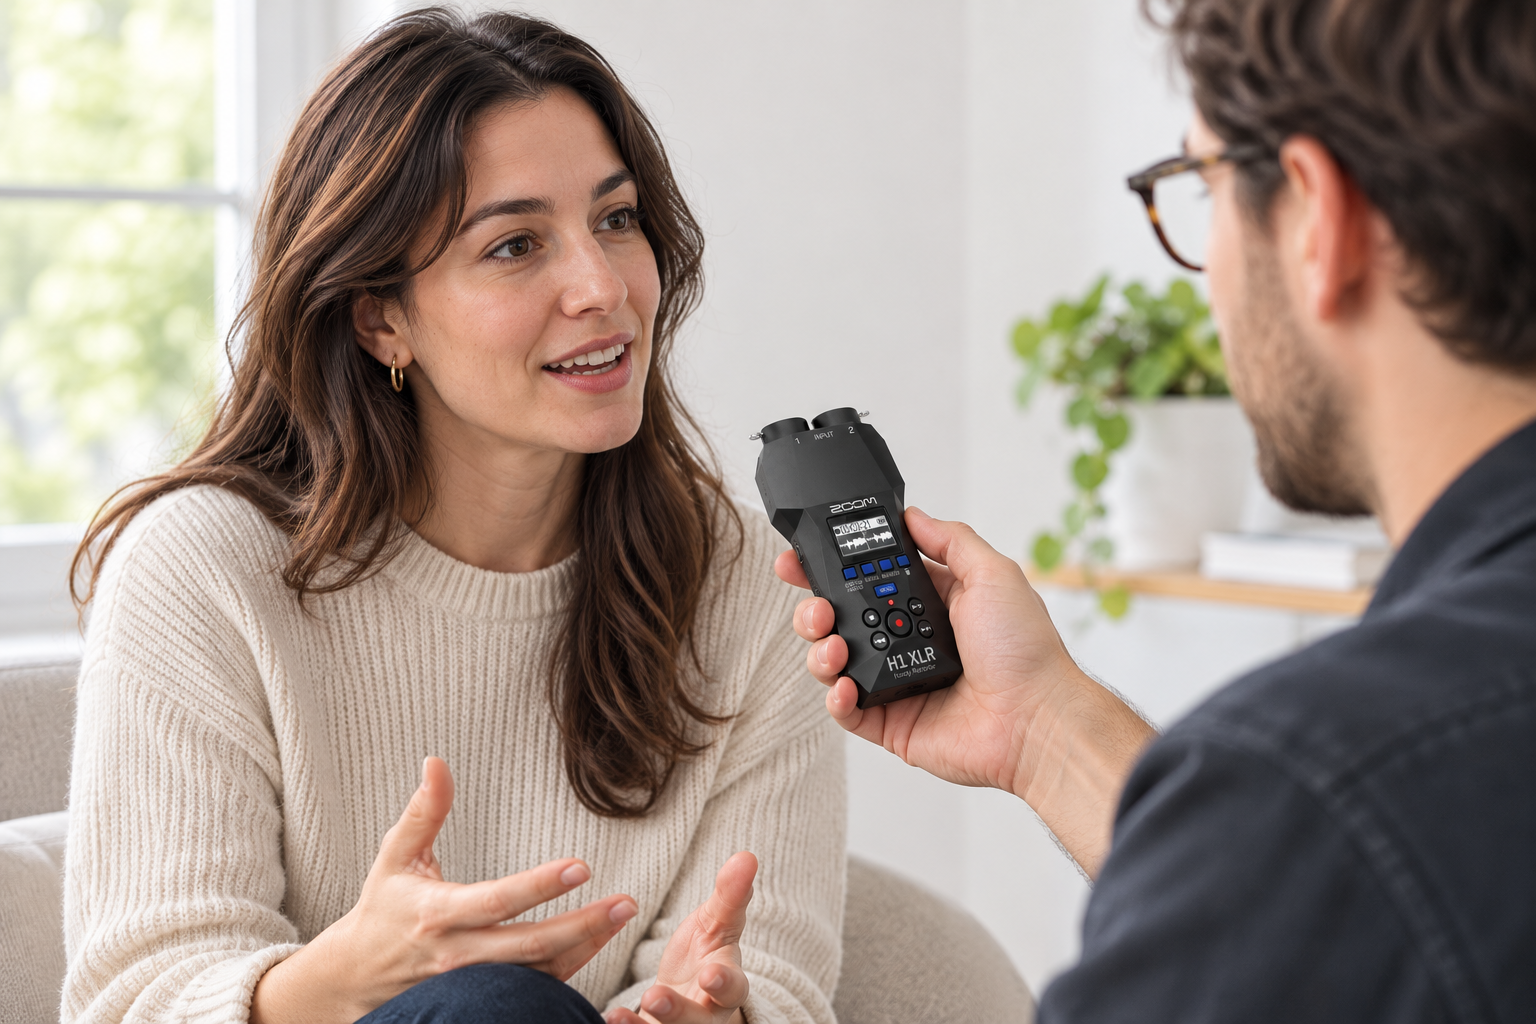
Some recorders offer a safety track. For example, Saramonic’s mono-with-safety-track mode records a second copy at -6 dB. If the main track clips, you have a backup. You must separate the tracks in post.
Common mistakes
- Leaving auto gain on. It sounds fine at first and then pumps in the pauses.
- Setting the level in a quiet rehearsal. The real take is louder.
- Setting peaks at 0 dB “to get a strong signal.” There is no gain in that. You only get clipping.
- Trusting the limiter to save a hot signal. A limiter softens a surprise. It will not fix a level set too high.
- Using the headphone volume as a level check. See above.
- Forgetting to re-check. A new speaker, a new room or a moved microphone all change the level. We have seen takes ruined because nobody looked at the meter again after a microphone swap.
Recording level is not delivery loudness
Recording levels set peaks in dBFS. Delivery loudness is an average across the whole programme, measured in LUFS or LKFS, and you set it in the edit. They are different jobs.
Some common targets:
| Delivery | Loudness | Peak limit |
|---|---|---|
| EBU R 128 (European broadcast) | -23 LUFS | -1 dBTP |
| ATSC A/85 (US TV, no metadata) | -24 LKFS | -2 dBTP |
| Spotify playback | -14 LUFS | Spotify leaves 1 dB headroom for lossy encoding |
Sources: EBU R 128, ATSC A/85, Spotify.
Good recording levels make this stage easy. Clean dialogue recorded at about -20 dBFS leaves you room to reach these targets without much extra gain, so you lift less noise. For online video, check the current guidance of the platform you publish on.
Key Takeaways
- Aim for normal speech near -20 dBFS and peaks near -12 dBFS. Never reach 0 dB.
- Fix distance first, then use manual gain at the source. Turn AGC off.
- Learn your camera’s meter and reference mark. They differ between brands.
- Monitor with closed headphones at a low volume. Headphone volume is not recording level.
- 32-bit float recorders reduce the need to set gain, but a clipping microphone still distorts.
Need help choosing a microphone, recorder or headphones for your next shoot? Browse our microphones, or contact the MediaGear team and tell us what you shoot. We will help you match the gear to your camera.


