
Field Monitor for Video: Choosing Your Setup
Relying on a small internal camera screen changes how you expose and frame your shots. We’ve seen productions stall simply because a camera operator couldn’t verify focus in direct sunlight. You need a dedicated, high-quality external display to monitor your work accurately.
This guide breaks down the core features of professional field monitors. We look at screen brightness, recording formats, and camera compatibility. Understanding these details helps you invest in the exact tool your workflow requires.
Combat Sunlight with High Brightness
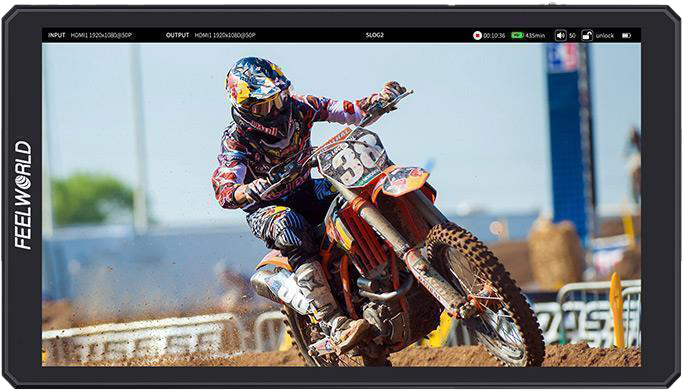
When you shoot outdoors, the sun easily washes out standard displays. You measure screen brightness in nits. A standard indoor monitor sits around 300 to 500 nits. For basic daylight visibility, you need a baseline of 1000 nits.
If you work in direct summer sunlight without a sunhood, you should target 2000 nits or higher. We often recommend ultra-bright models for documentary crews and live event shooters who cannot control their lighting environment.
| Shooting Environment | Recommended Brightness |
|---|---|
| Indoor Studio | 300 to 500 nits |
| Overcast / Shaded Outdoors | 1000 to 1500 nits |
| Direct Sunlight | 2000+ nits |
A brighter screen ensures your contrast ratios stay true. Your focus peaking remains highly visible. This reduces the risk of soft footage and keeps your production moving fast.


Expand Your Setup with Recording Monitors
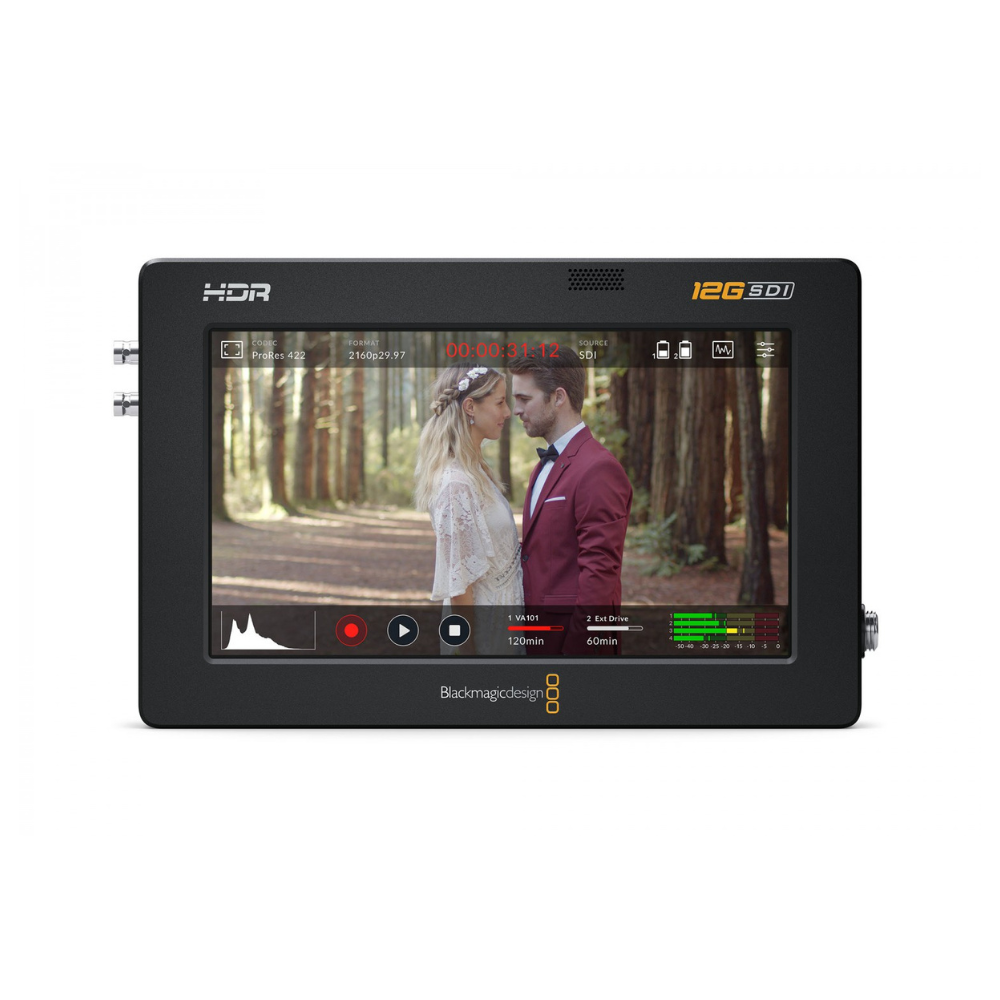
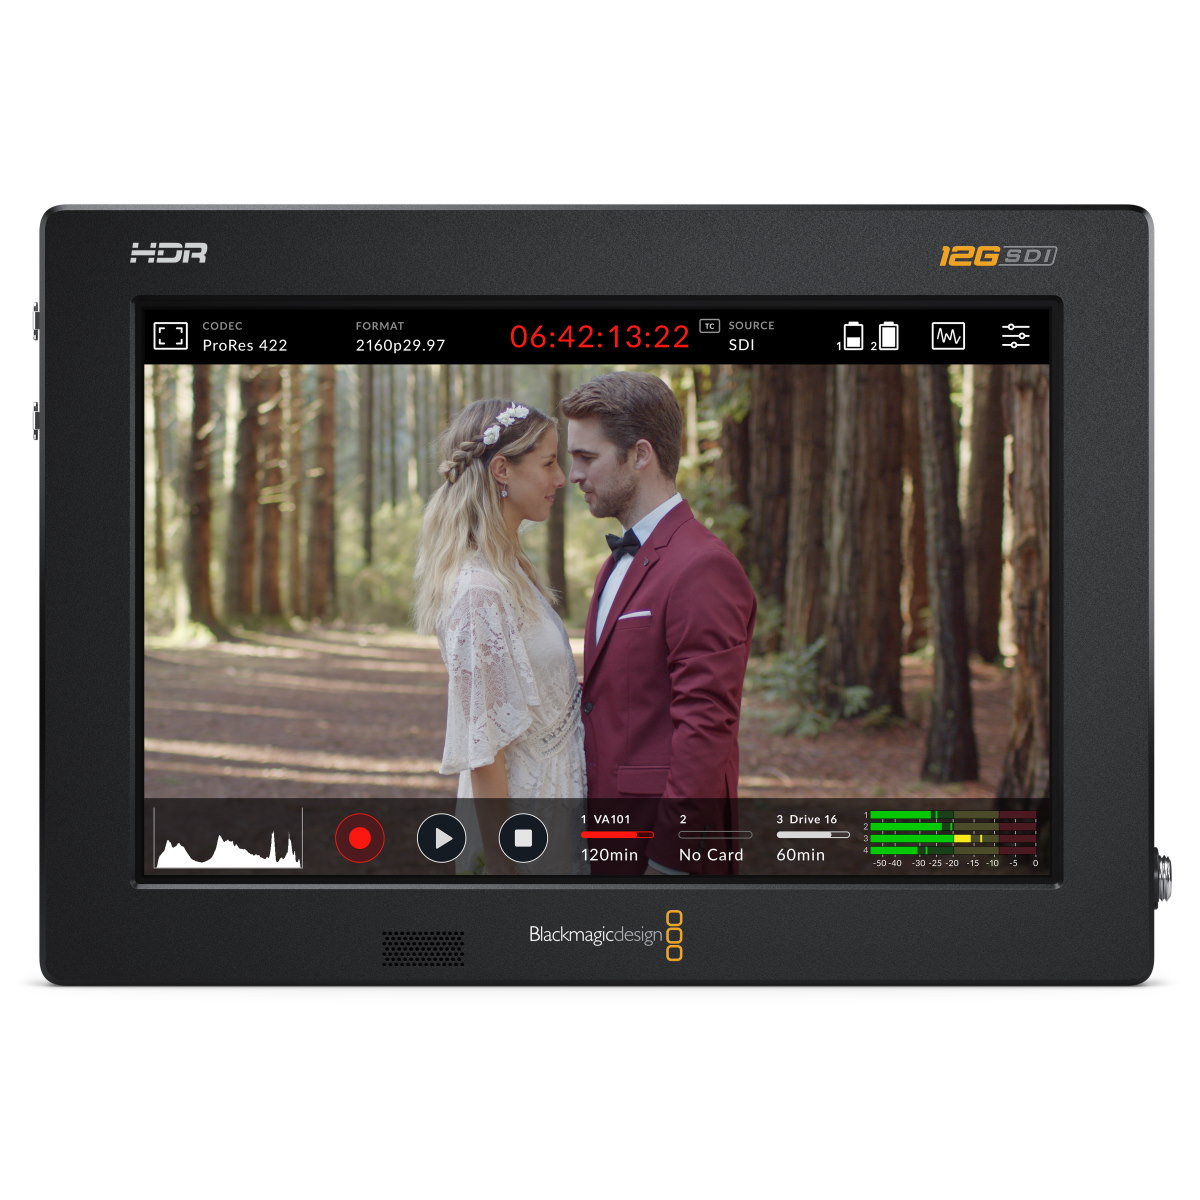
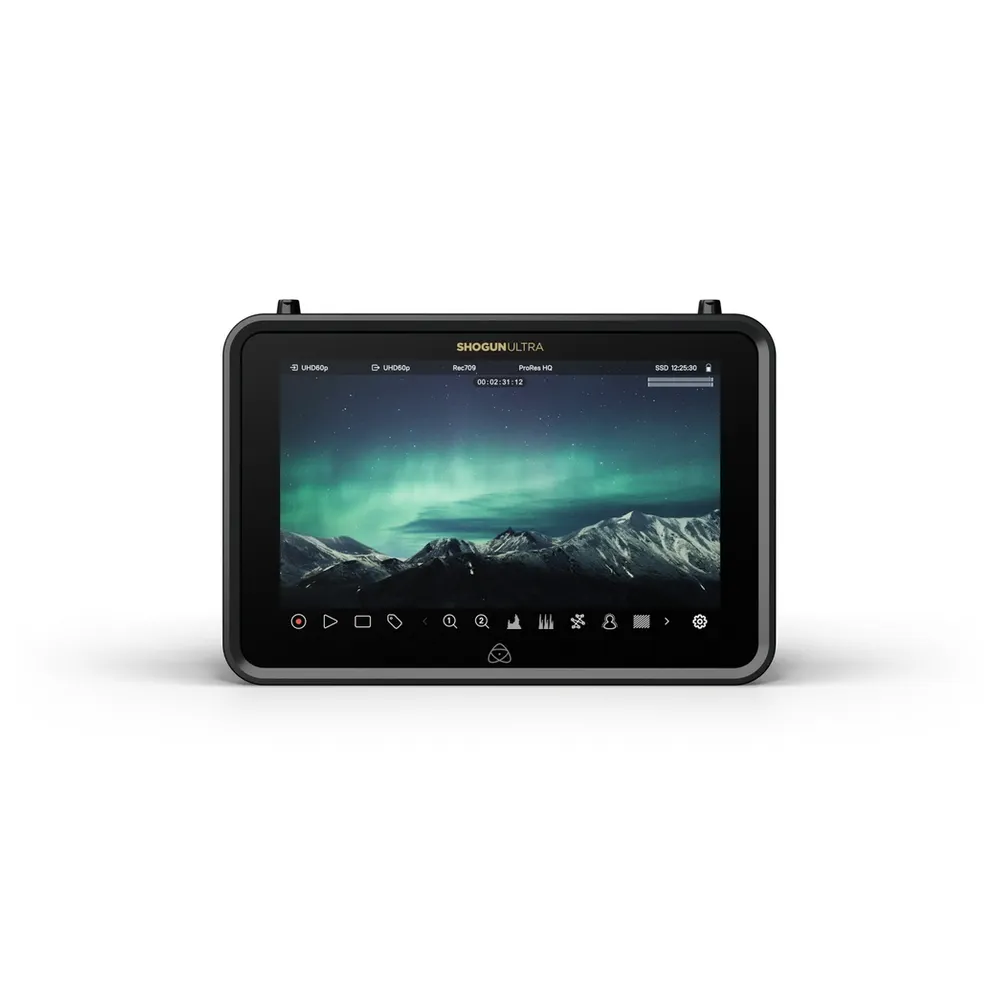
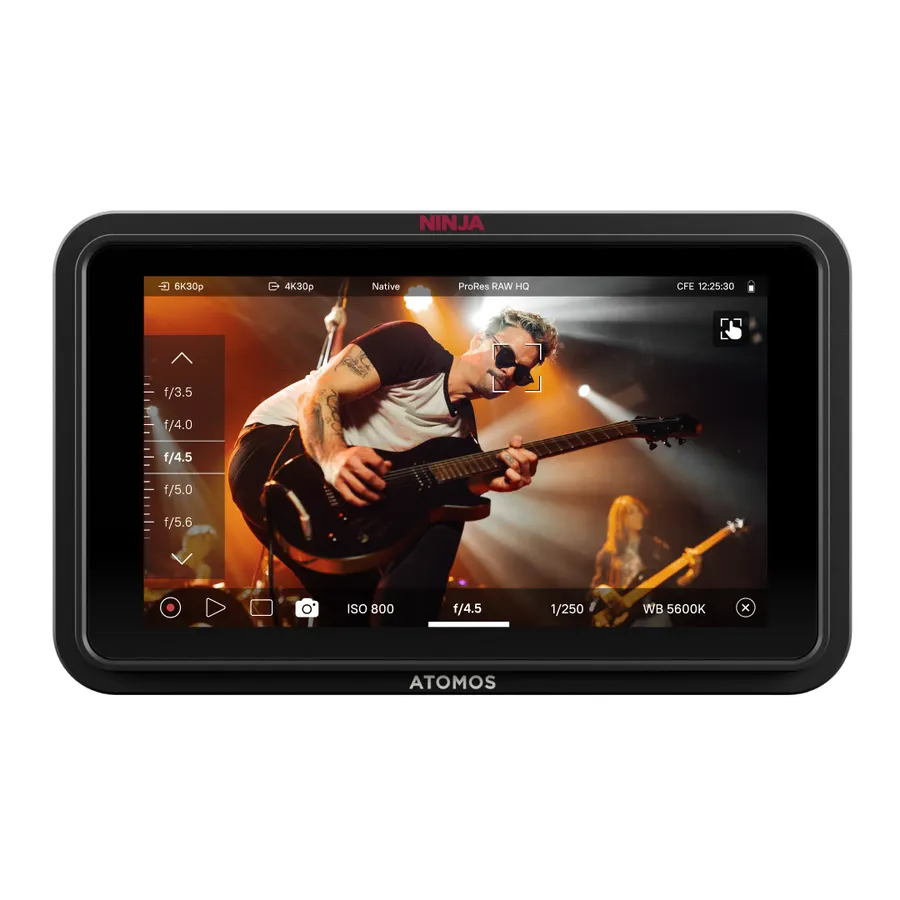
Sometimes your camera’s internal codecs limit your post-production flexibility. A recording monitor solves this problem. It captures the uncompressed video feed directly from your camera sensor and saves it in edit-ready formats.
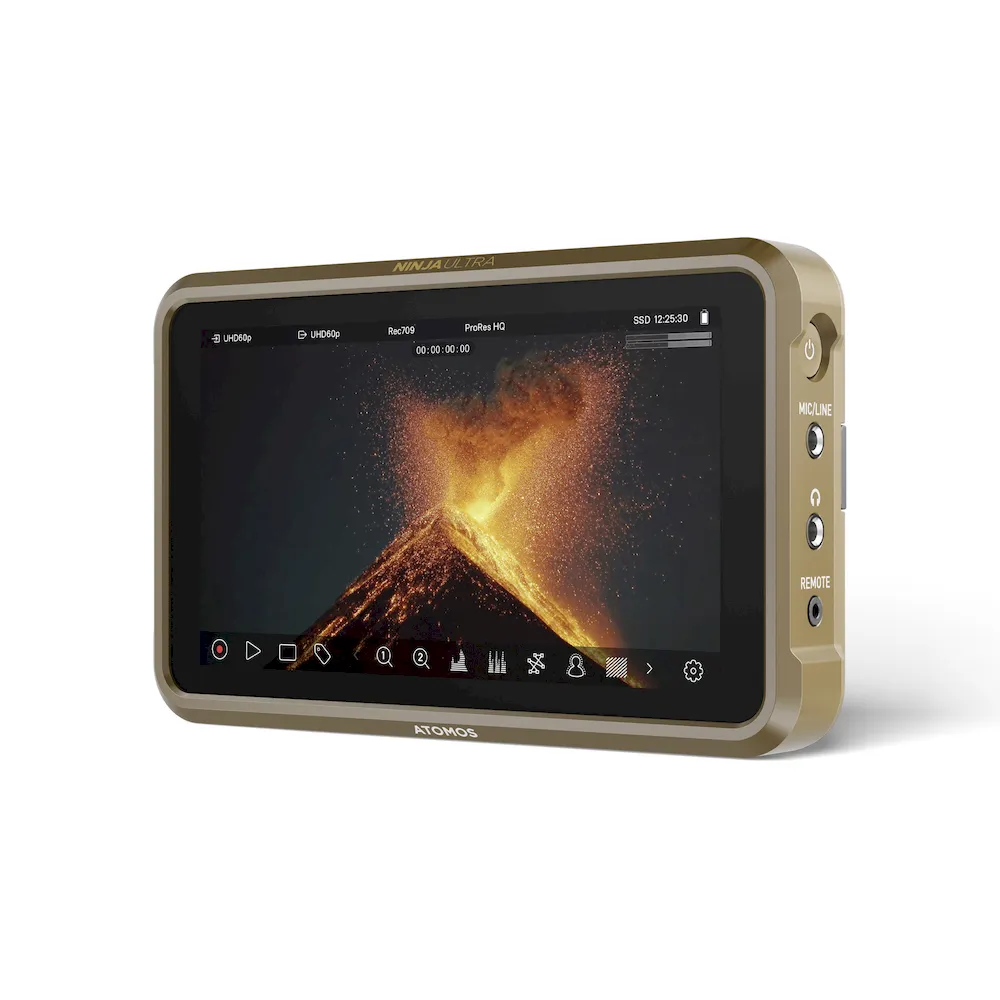
For example, Atomos manufacturer specifications show the Ninja Ultra records up to 8K at 30 frames per second in Apple ProRes RAW over HDMI. Similarly, the Blackmagic Video Assist series captures 12-bit Blackmagic RAW. This gives you heavier, data-rich files for advanced color grading.
You will need reliable media to handle these sustained data rates. Read our guide on choosing a memory card for video to avoid dropped frames during high-resolution capture. You must match your storage speed to your monitor’s capabilities.
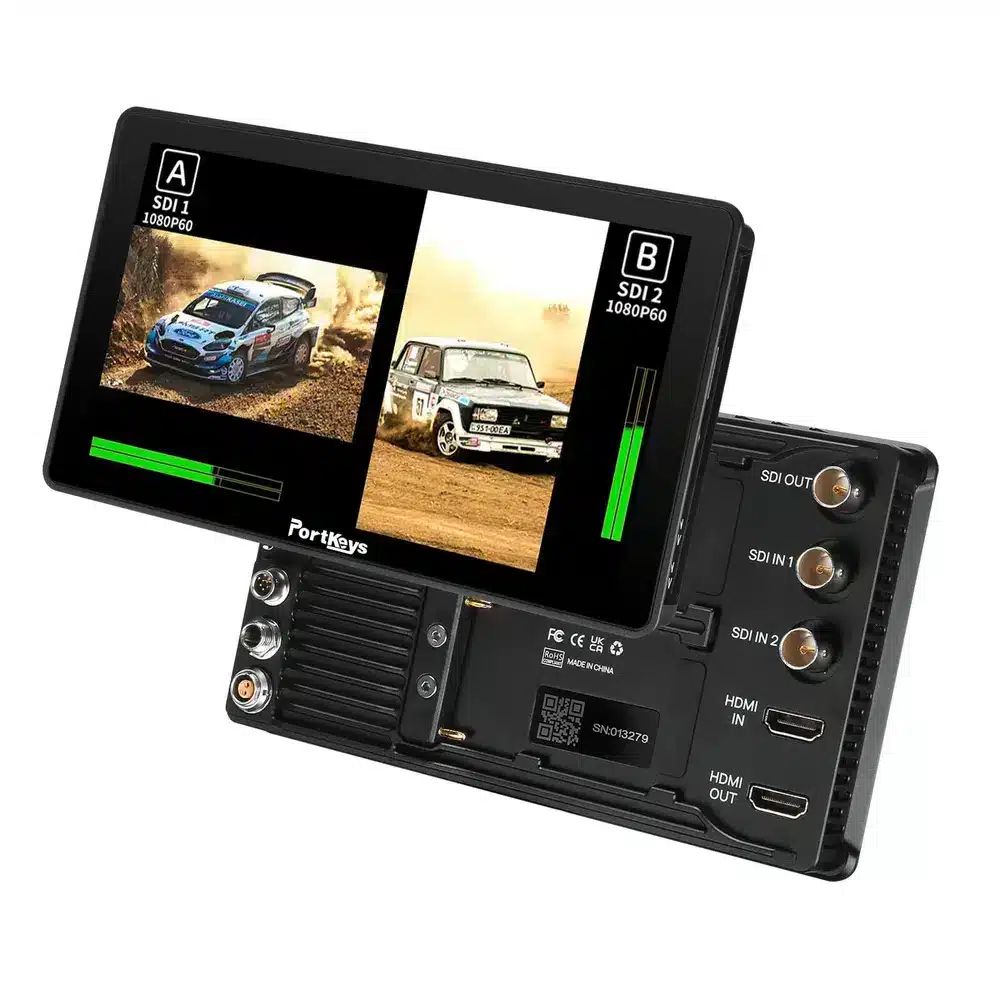
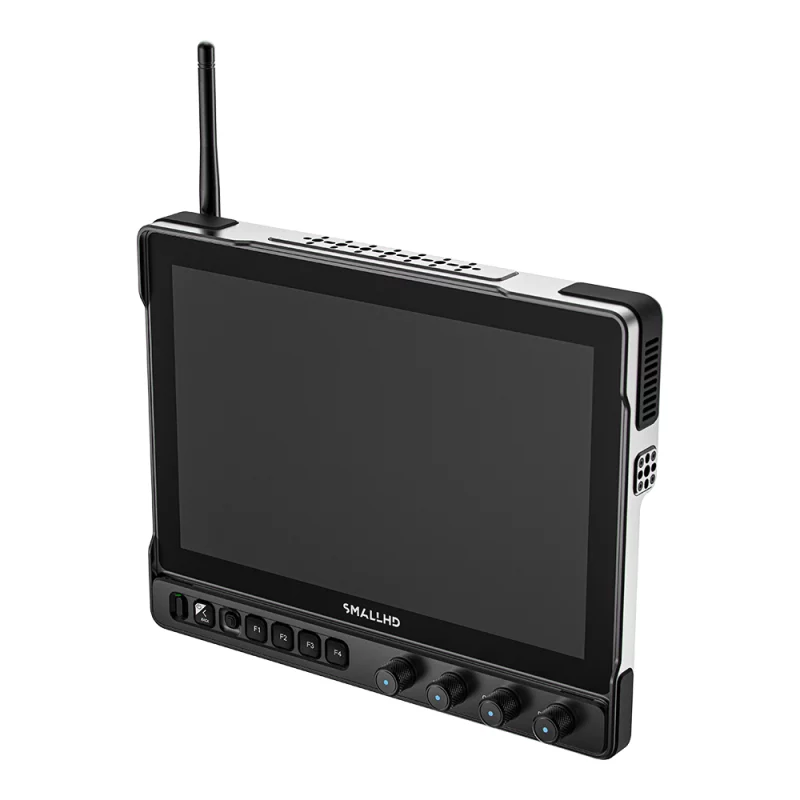
Match Inputs and Outputs to Your Workflow
You must match the monitor to your camera’s output ports. Mirrorless and DSLR cameras mostly use HDMI. Professional cinema cameras rely on SDI connections. SDI connectors lock securely in place, which prevents accidental cable pulls during a moving shot.
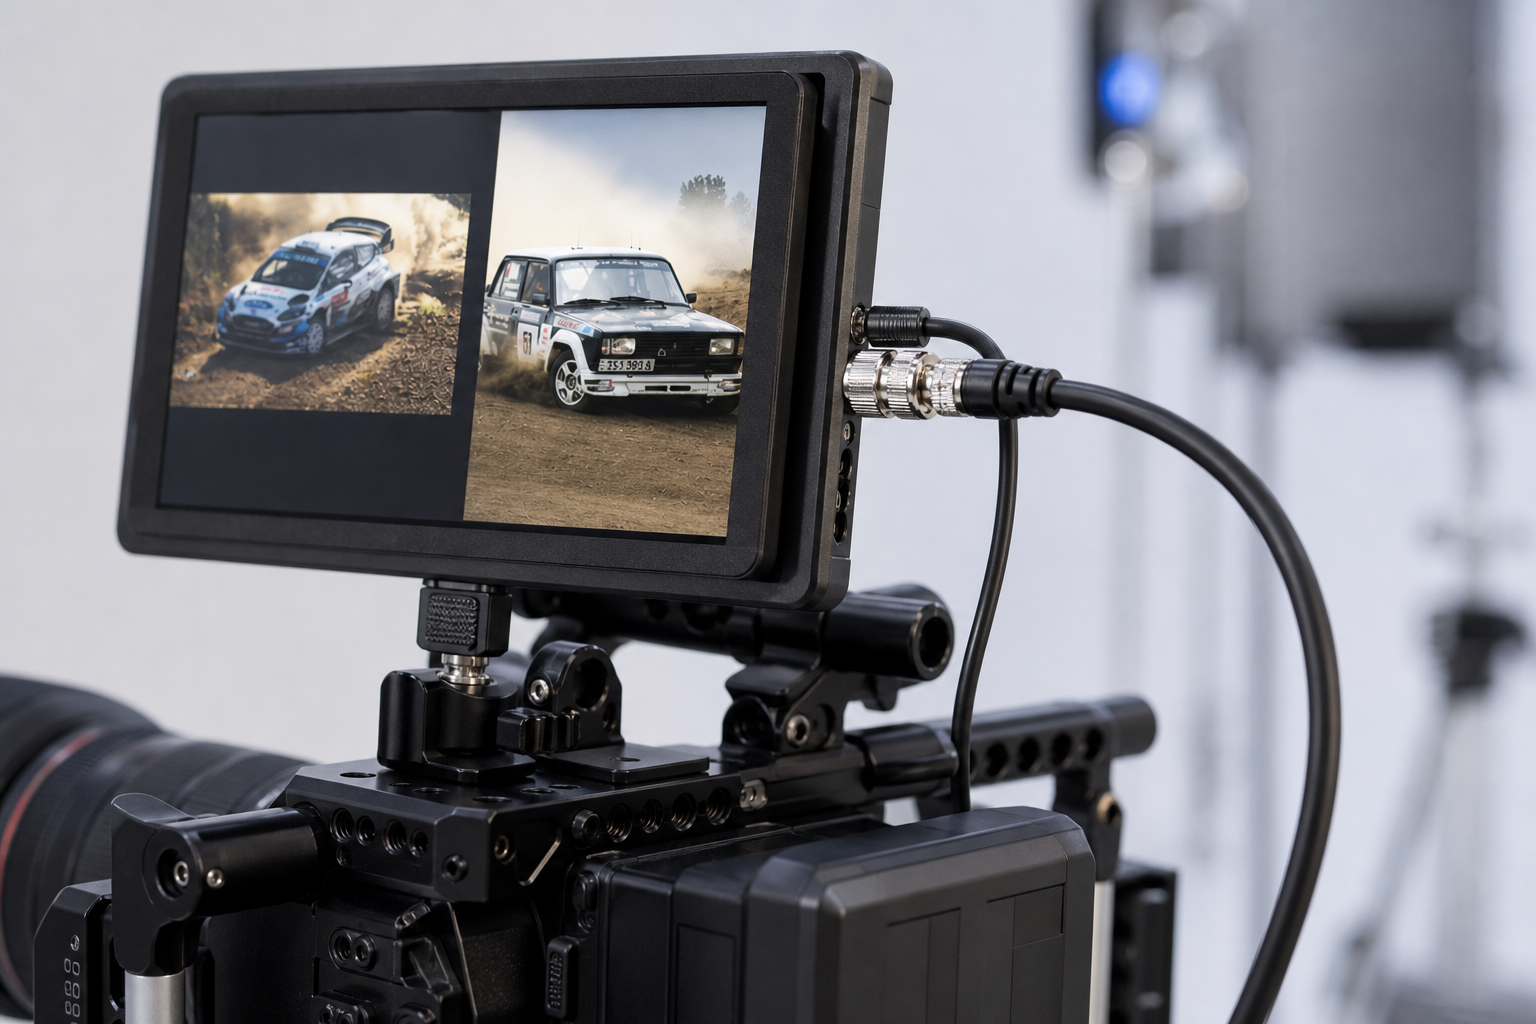
Many high-end video monitors offer cross-conversion. This means you can send an HDMI signal from your camera into the monitor, and loop it out via SDI to a separate director’s display. Secure connections matter on a busy set.
Keep spare HDMI cables in your kit. Build a sturdy rig using reliable camera mounting accessories so your monitor stays firmly fixed exactly where you need it.
Take Control of Your Camera Directly
Touching your camera body to change settings can introduce unwanted shake. Some field monitors let you adjust aperture, ISO, and focus directly from the touchscreen display.
This functionality requires specific software licenses and cables. Compatibility varies strictly by manufacturer. For instance, Atomos models support USB-C control for many mirrorless systems, but official product specifications confirm they do not support Canon C-series cinema cameras.
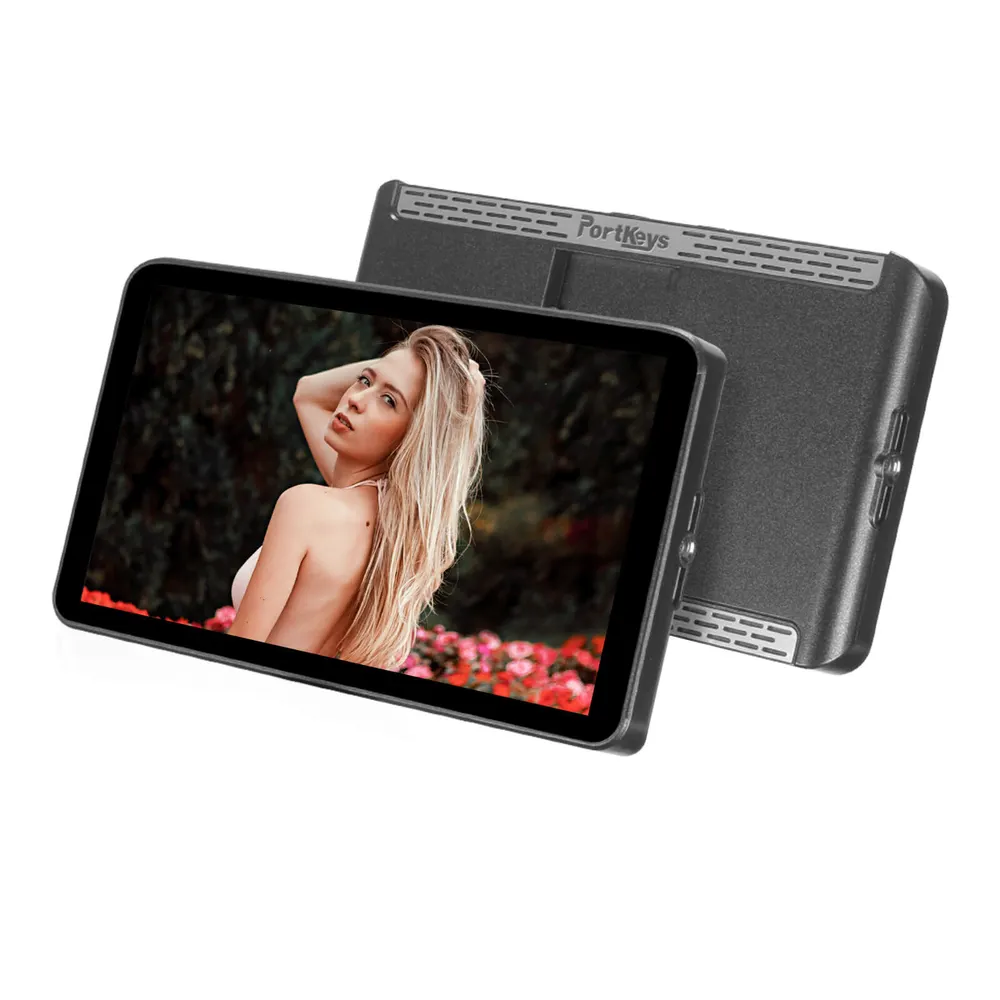
Portkeys offers several monitors with built-in wireless camera control for RED and Sony setups. Always verify that your specific camera model pairs with the monitor’s control protocol before building your rig.
Power Your On-Camera Display
Bright screens and heavy recording processors consume significant power. Standard NP-F batteries drain quickly when running a 2000-nit display at maximum brightness.
For long shoot days, you should power your monitor via a larger external source. Connect a D-Tap cable from your V-mount batteries to keep your rig running without constant battery swaps. If you prefer a lightweight run-and-gun setup, select monitors integrate the battery directly into the chassis.
You can also explore our monitor accessories for sunhoods and screen protectors. A good sunhood blocks glare, allowing you to lower the screen brightness and extend your battery life considerably.
Key Takeaways
- Choose a monitor with at least 1000 nits for outdoor visibility, or 2000 nits for direct sunlight.
- Capture flexible ProRes or RAW files by bypassing internal camera compression with a recording monitor.
- Select SDI connections for secure, locking cables on cinema rigs, and HDMI for mirrorless setups.
- Verify camera control compatibility strictly with your exact camera make and model.
- Ready to upgrade your camera rig? Browse our full selection of video monitors and recording monitors to find the exact match for your production workflow.


