





How to Use Focus Peaking: Settings, Limits, Checks
Focus peaking draws a coloured outline on the sharpest edges of your picture. Turn it on at the monitor, pick a colour that stands out from your subject, set the level as low as possible while still giving a clear line, then confirm with zoom before you roll. That is the short version.
The catch: peaking shows contrast, not proof of focus. This guide shows the settings that matter on common field monitors, where peaking misleads you, and a simple check that catches the mistakes.
Quick routine
- Send a clean signal to the monitor and switch peaking on at the monitor.
- Pick a colour that does not match your subject.
- Start with a low level, then raise it until the outline is visible.
- Pull focus until the outline sits on the part that matters, such as the eye.
- Zoom in to confirm, zoom out, and roll.
What focus peaking actually shows
Peaking looks at local contrast. It measures how fast brightness changes between neighbouring pixels and marks the pixels where that change is strong. Sharp edges have steep changes, so they light up. One technical write-up describes it as flagging pixels whose brightness change goes over a threshold, and the level or sensitivity control moves that threshold.
This explains both its strength and its weakness. It is fast and easy to read on a small screen. But it can mark a high-contrast edge that is only slightly soft. Pavlov Studios says it plainly: peaking does not measure subject importance and does not guarantee critical focus.
Step 1: Get the signal and the tool right
Check where your peaking comes from. If your camera draws it, it may not reach the monitor. Canon, for example, states that peaking is not shown on equipment connected through HDMI on its EOS R5 Mark II. Other cameras can send focus assist over HDMI. The Blackmagic Pocket Cinema Camera manual lets you switch it on for the HDMI output.
The safe habit: send a clean picture over HDMI and let the monitor build its own peaking from that image. Then you control colour and level on the same screen you are looking at.
Atomos also notes that monitoring tools do not affect your recorded file and can be changed while you record. The overlay is for your eyes only. Your footage stays clean.
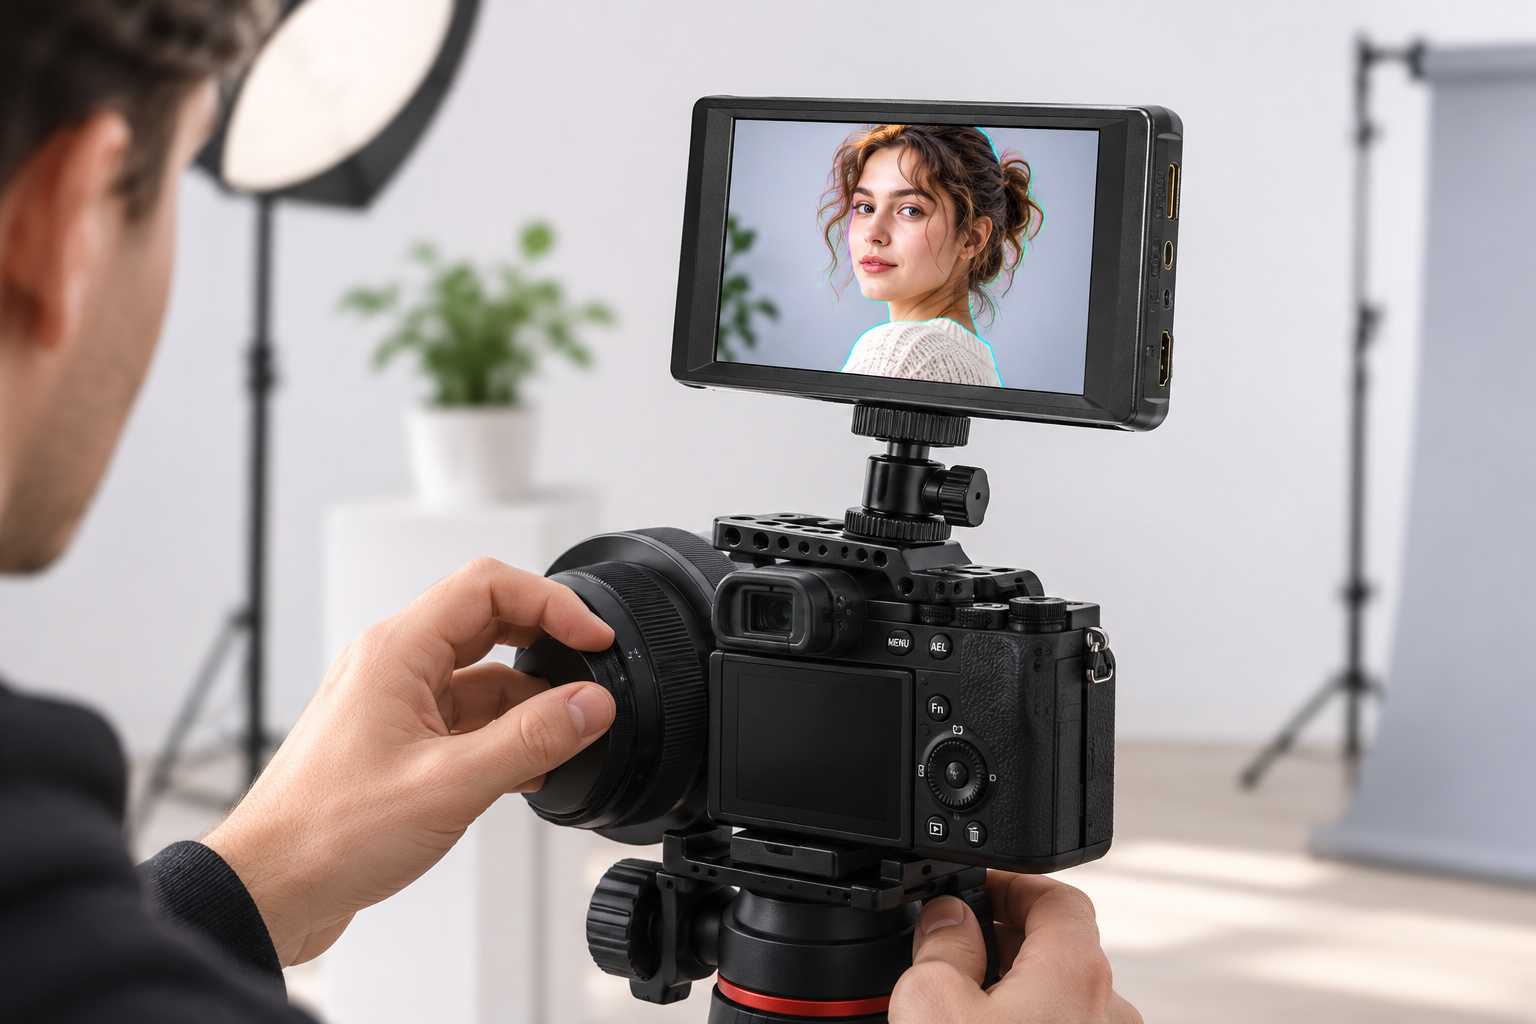
Where to find the settings on common monitors
Menus differ a lot. This table uses the manufacturers’ own specs and manuals.
| Monitor | Where | What you can set |
|---|---|---|
| Atomos Ninja | Tap the peaking icon in monitor assist, then Settings and the Focus Peaking tab | Three modes (colour, black and white, outline), outline colour and peaking intensity; width is also adjustable per the Atomos settings page |
| Atomos Shinobi 7 II | Atomos monitoring tools | Four modes, including edge sharpening, plus colour and intensity |
| Feelworld P6XL | Focus Assist in the menu | Red, green or blue; level 1 to 10 |
| Lilliput Q7-12G | Peaking, Peaking Color, Peaking Level | Red, green, blue, white or black; level 1 to 100 |
| Portkeys PT6 | Menu, Display, Peaking | Colour and sensitivity |
| Portkeys BM5-IV | Monitor Functions, Focus, Peaking | Colour, sensitivity and a peak threshold |
Here are two tips from this table. First, assign peaking to a function button if your monitor allows it. The Lilliput A7S manual, for instance, lists peaking as the default F1 function. You can then toggle it while pulling focus. Second, always check the manual for your exact model. Level ranges differ, so “level 5” means different things on a 1–10 scale and a 1–100 scale.
Step 2: Choose colour and level
Colour
The overlay must stand out from your subject. Red is a common default, but Pavlov Studios points out that red vanishes on red clothes, flowers and signs. Yellow can blend into autumn foliage. White can disappear in snow or bright architecture.
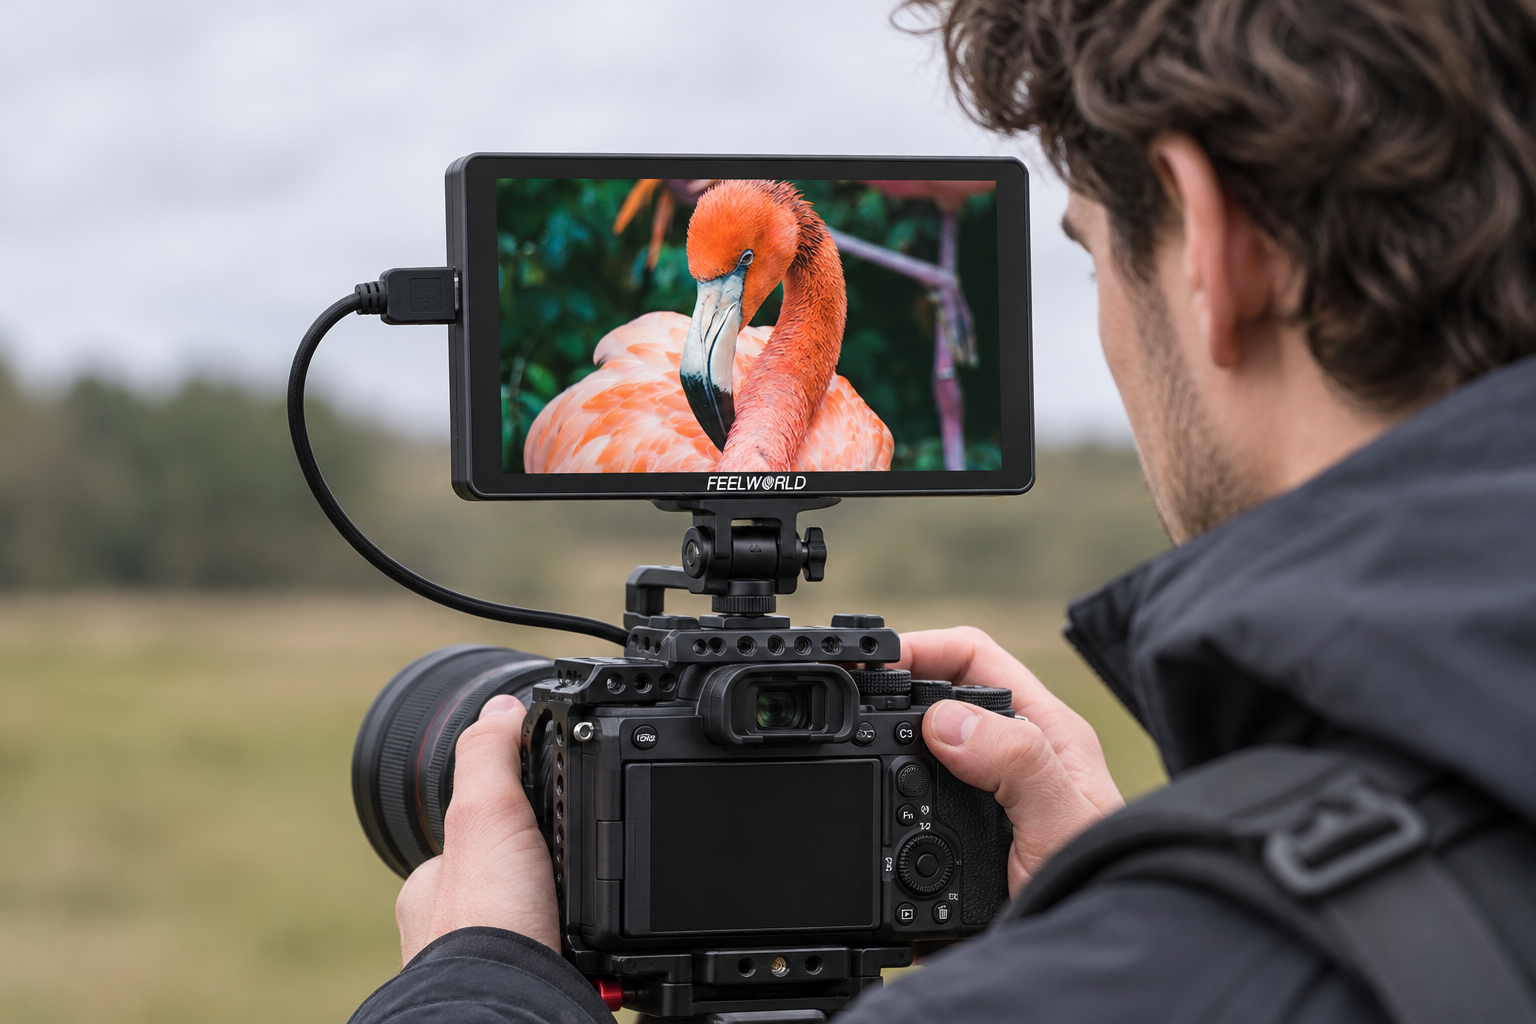
A warm orange subject like the one above is a good example. Red peaking would hide on the feathers, so blue or green is the better pick. On a monitor with a mono mode, such as the Atomos Ninja, you can also overlay peaking on a greyscale image. The colour then has nothing to compete with. Feelworld’s manuals make the same point: changing the line colour can improve how well you see the contour in colourful scenes.
Level
Level decides how much lights up. Nikon explains that with higher sensitivity a greater depth is shown as in focus. That sounds helpful, but it makes the tool less precise.
The Lilliput Q7-12G manual gives a practical rule. If the image has many high-contrast details, a lower level reduces visual clutter from too many focus lines. If you see nothing, raise it. We suggest this routine:
- Start at the low end of the scale.
- Raise the level until a thin outline appears on the target, such as an eyelash or hairline.
- If half the frame lights up, go back down.
- Re-set the level whenever the scene or light changes.
Where peaking misleads you
Know these traps. Each one can leave you with soft footage that looked fine on set.
Shallow depth of field. At wide apertures the sharp zone is thin, so a tiny movement by you or the subject shifts the display. Canon’s training team says peaking becomes far less accurate with apertures wider than f/2.8 when the background goes soft. Stopping down has the opposite effect: more of the scene is acceptably sharp, so the overlay no longer shows the single best plane.
Noise. Canon warns that peaking may be hard to discern at high ISO. Noise creates its own tiny edges, so the screen can sparkle across the shadows. Pavlov Studios lists this as a source of false edges. Lower the ISO if you can, or lower the peaking level.
Textured subjects. Fur, fabric and foliage have contrast everywhere. Peaking lights up almost everything and stops telling you anything.
Low magnification. The Lensrentals analysis notes that at low magnification, with contrasty subjects and short lenses, peaking can flag areas that are not remotely in focus.
Different screens. RED notes that its peaking indicators are applied after the image is scaled to the monitor, so they may look different on different monitors. Do not judge a level setting on one screen and expect the same look on another.
Step 3: Confirm before you roll
Peaking gets you close. Magnification confirms it. Canon documents the method: magnify the image, move the zoom area to your target and turn the focus ring while looking at the enlarged view. Atomos monitors offer 2:1 and 1:1 zoom for the same job.
The Lensrentals advice is a good workflow. Use as much magnification as you can, with a low peaking level that stays visible at that zoom. If you see no peaking even at maximum sensitivity, step the magnification back once.
A final check is on your own side of the screen. Atomos warns that what looks sharp on a tiny camera monitor can look soft on a larger display. For key shots, zoom in, pause on the focus, and check the first few takes on a bigger screen before you wrap the set-up.
When should you not trust peaking at all? If the subject moves fast, if the lens is wide open on a close subject, or if the shot cannot be redone. Use zoom, focus marks or a focus puller there.
Pick a monitor that makes peaking easy to use
You do not need the most expensive screen to use peaking well. You need a clear overlay, a level control you can reach quickly and a button for zoom. If you want the full buying criteria, read our field monitor guide and our on-camera monitor guide.
For a quick start, these three are worth a look:
- Portkeys PT6 has a documented Display > Peaking menu and a compact 5.2-inch screen. It suits solo shooters on a mirrorless rig.
- Feelworld P6XL gives you a 1 to 10 level and three colours on a 6-inch screen with a built-in battery. It suits budget-conscious run-and-gun work. Be aware that the manual lists only red, green and blue.
- Atomos Zato Connect brings Atomos monitoring tools plus recording and streaming. Pick it if you want recording or streaming as well as monitoring.
-
 Video monitors
6″ FEELWORLD Monitor P6XL
€ 215.12€ 266.75 (incl. VAT) -
 Video monitors
5.2″ PORTKEYS PT6 4K HDMI Touchscreen Monitor
€ 169.00€ 209.56 (incl. VAT) -
 -33%Recording monitors
5″ ATOMOS Zato Connect recording and streaming monitor
Original price was: € 299.00.€ 199.00Current price is: € 199.00.€ 246.76 (incl. VAT)IN STOCK


Browse all video monitors or recording monitors. If you want to record from your camera at higher quality as well, our external video recorder guide explains what to look for. Once focus is sorted, exposure is next, and our guide to waveform monitors and vectorscopes covers it.
Key Takeaways
- Peaking marks local contrast. It helps you focus quickly but does not prove that focus is exact.
- Let the monitor create the peaking from a clean HDMI picture. Some cameras do not send their own peaking over HDMI.
- Choose a colour that differs from your subject, and keep the level as low as possible while still showing a thin line.
- Expect false signals from shallow depth of field, high ISO noise and heavily textured subjects.
- Always confirm with zoom before you record.
Need help choosing a monitor with the peaking controls you want? Contact the MediaGear team and tell us your camera and rig. We will suggest a monitor that fits.


