
On-Camera Video Monitors: Find the Right Fit for Your Rig
Relying on a three-inch built-in camera screen often leads to costly mistakes on set. You review your footage later and realize the focus is soft or the sky is completely blown out. An external on-camera monitor solves this problem entirely. It gives you the screen real estate and brightness needed to judge exposure, focus, and framing accurately.
The right monitor speeds up production. It secures your shots and simplifies your workflow. This guide explains how to match technical specifications and models to different camera rigs. We will help you select the exact tool for your production needs, whether you run a lightweight mirrorless setup or a full cinema rig.
Match Brightness to Your Shooting Environment
Nits measure monitor brightness. Standard built-in camera screens usually hover around 400 to 500 nits. Indoors, this is plenty of light. Outdoors, a standard screen turns into a dark mirror.
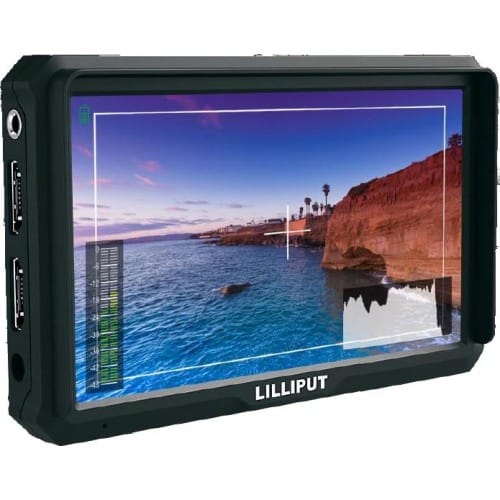
If you shoot primarily in controlled studio environments, you can save budget by choosing a standard brightness monitor. The Lilliput A5 delivers a crisp 1920×1080 Full HD image at 460 nits. It supports 4K HDMI inputs and gives you accurate colors for indoor framing.
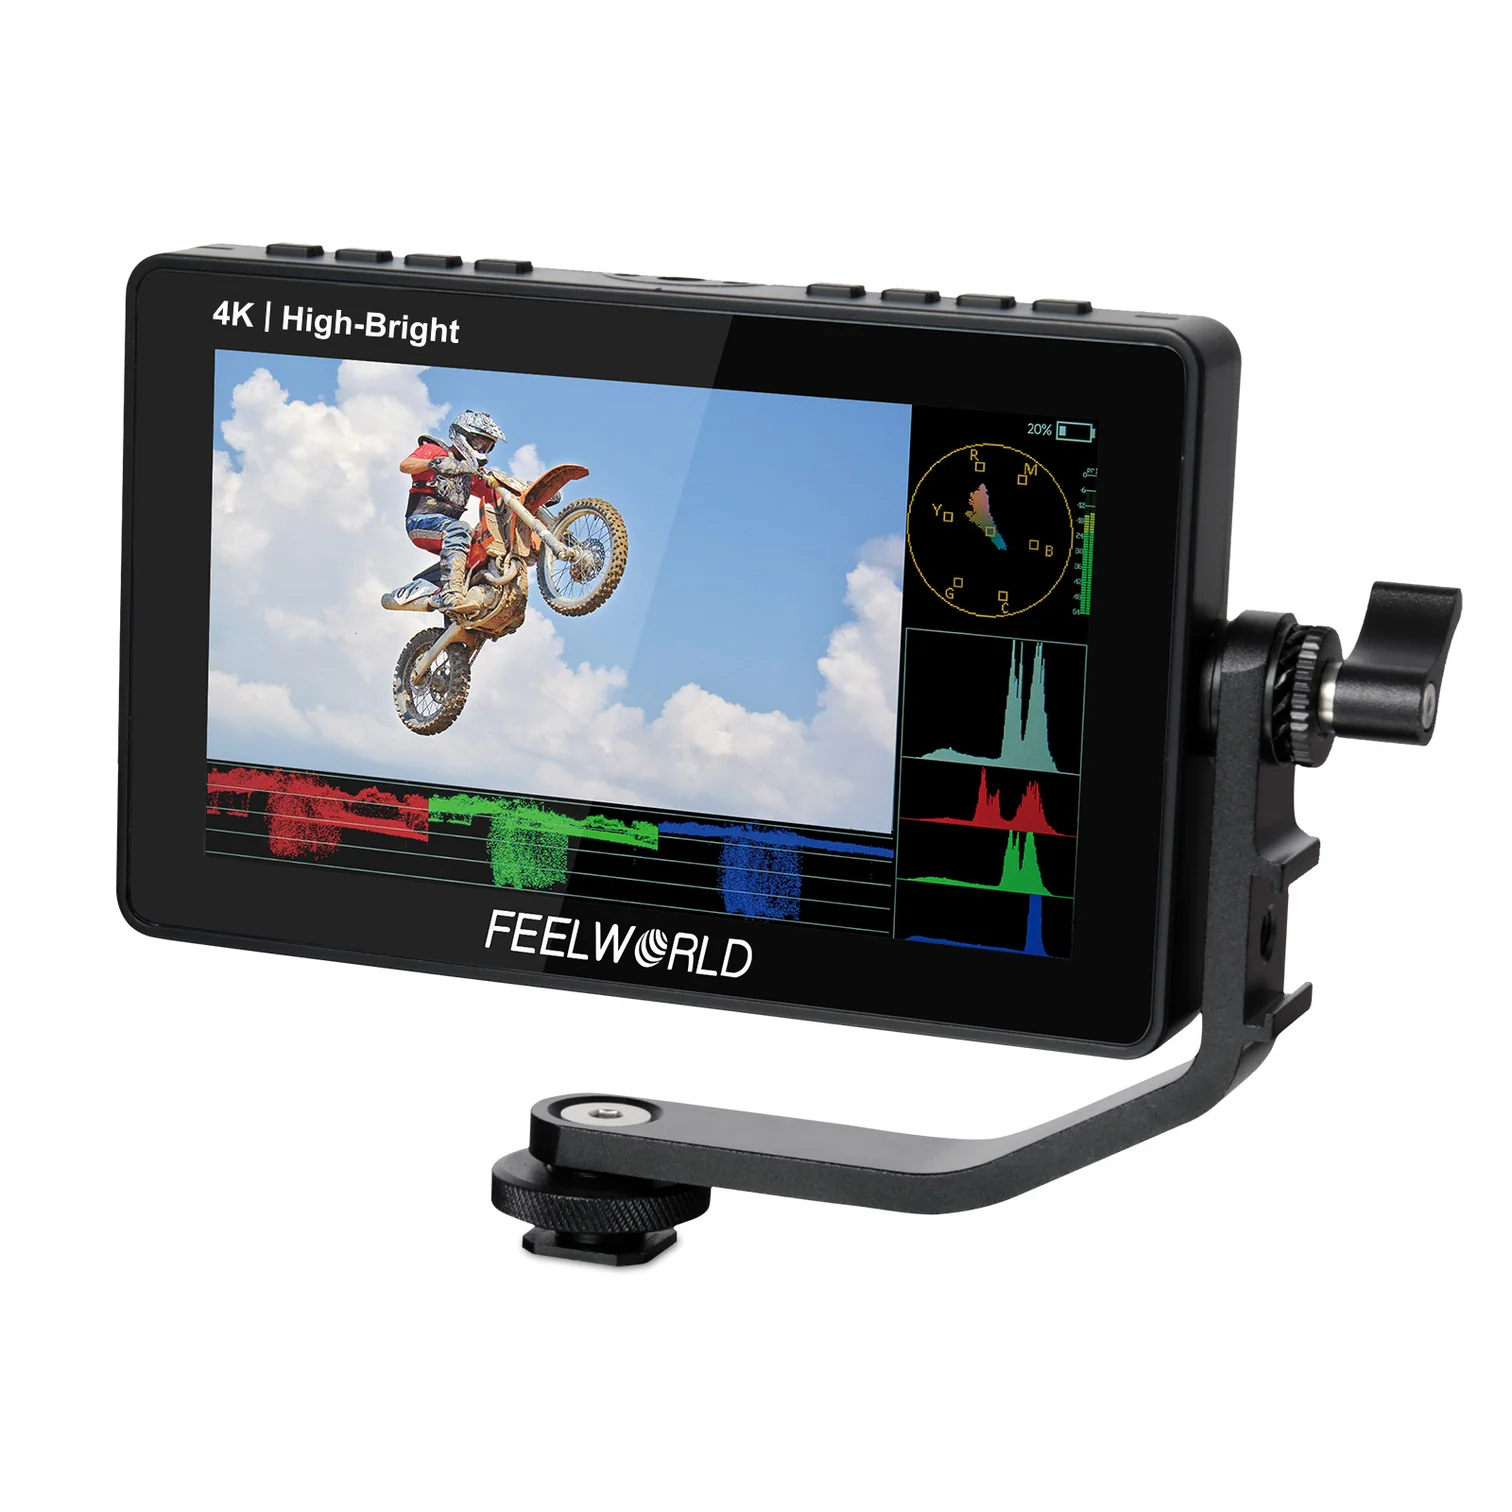
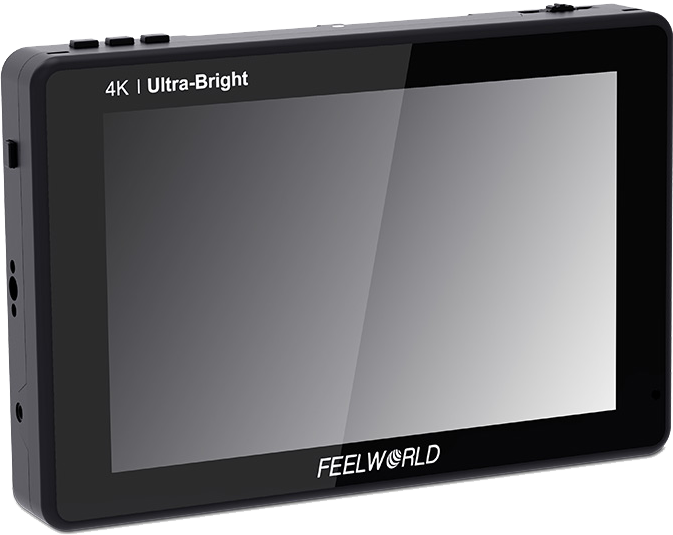
For outdoor work, you need a high-bright daylight-viewable screen. We recommend aiming for at least 1500 nits to combat direct sunlight without relying on bulky sunhoods. The Feelworld F5 PROX offers 1600 nits and features an intuitive touchscreen. If you need even more power, the Portkeys LH5P II pushes a massive 2200 nits. This ensures your image remains highly visible in the harshest midday sun.

Decide Between a Standard Display or a Recording Monitor
Your next decision is whether you just need to view your image or if you need to upgrade your camera’s recording capabilities.
Standard video monitors display the video feed and provide exposure tools like waveforms, false color, and focus peaking. They are lighter and consume less battery power.
Recording monitors take the uncompressed video signal from your camera’s HDMI or SDI port and record it to affordable solid-state drives. This lets you bypass internal camera compression limits. For example, published industry specifications show that external recorders can capture 10-bit video and up to 12-bit ProRes RAW, depending on your camera model.
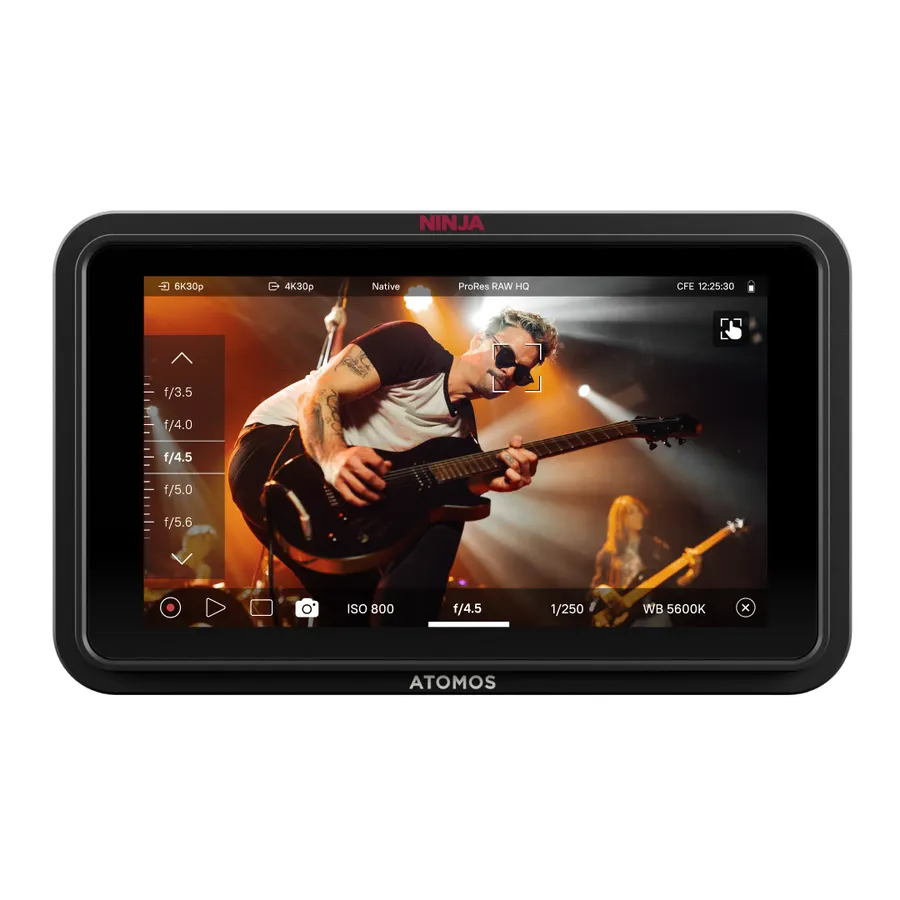
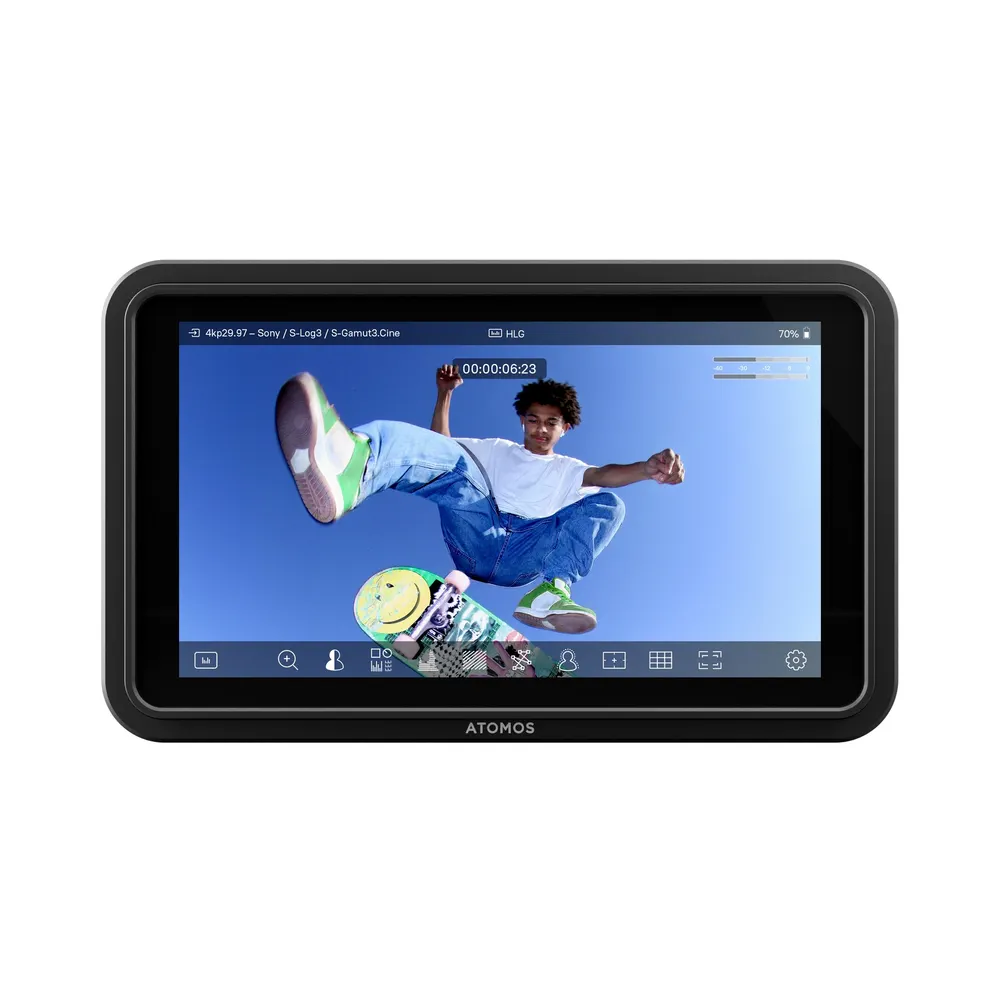
The Atomos Ninja lineup is the industry standard for this task. The 5-inch Atomos Ninja HDR monitor-recorder delivers 1000 nits of brightness while providing advanced monitoring tools. For heavier post-production workflows, the Atomos Ninja RAW monitor records up to 6Kp30 ProRes RAW directly to CFexpress or USB-C storage.
Select the Right Screen Size: 5-Inch vs. 7-Inch Displays
Size dictates how you rig your camera. You have to balance screen visibility with rig weight and balance.
| Screen Size | Rig Type | Ideal Use Case |
|---|---|---|
| 5-Inch | Mirrorless, DSLR | Handheld, gimbal work, lightweight run-and-gun |
| 7-Inch | Cinema rig, tripod | Director monitoring, focus pulling, studio work |
5-Inch Monitors
A 5-inch or 5.5-inch monitor is the standard choice for DSLR and mirrorless cameras. They keep the rig compact and manageable on gimbals. The Portkeys PT5 III is a lightweight 5.4-inch 4K touchscreen that fits almost any run-and-gun setup.

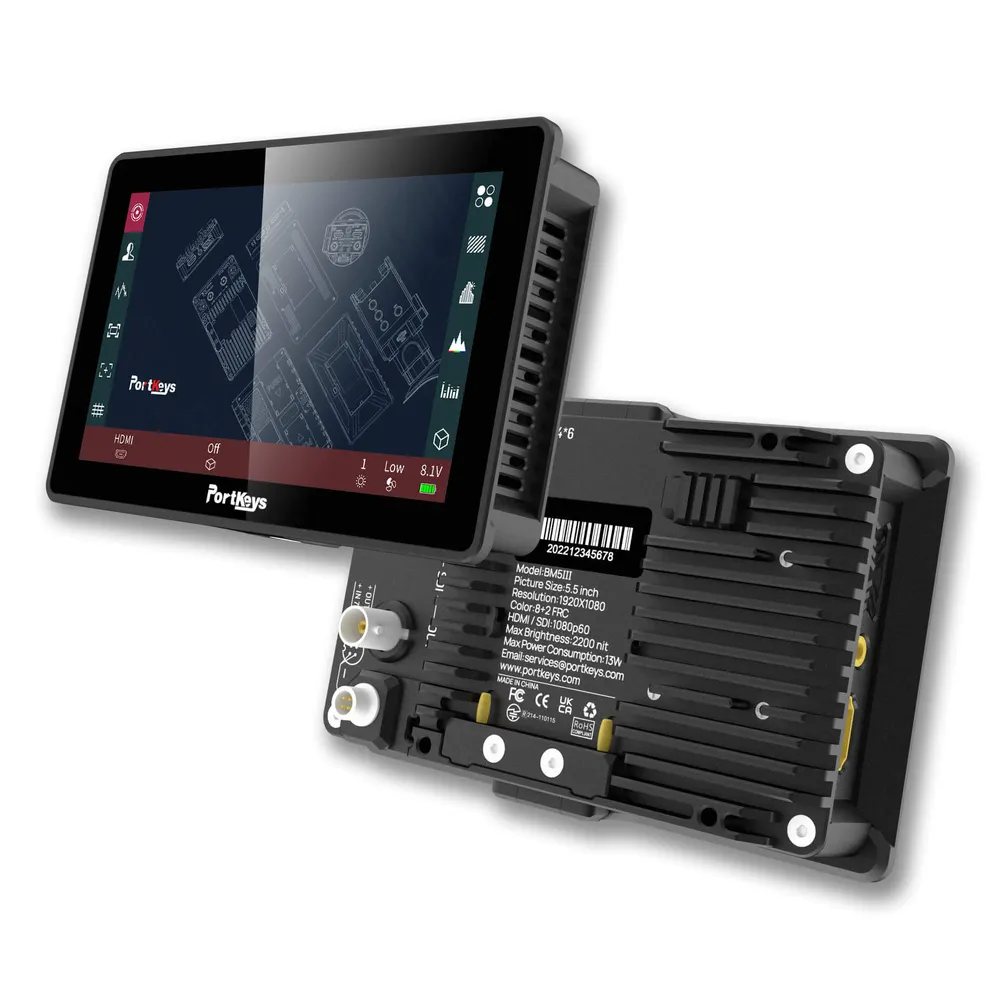
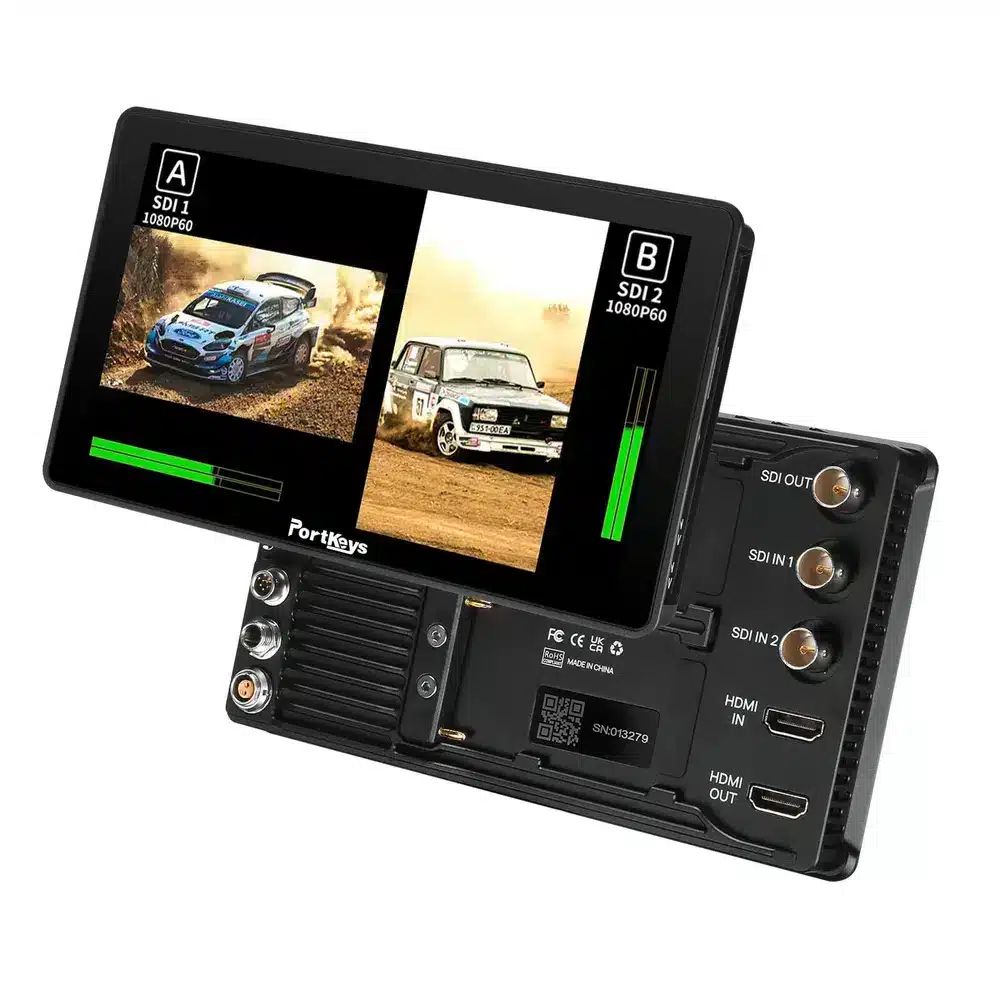
If you want a straightforward display without camera control features, the budget-friendly Atomos Shinobi Go is an excellent dedicated viewing tool. For professionals needing SDI connections alongside HDMI, the Portkeys BM5 III provides a rugged, wide color gamut display in a compact form factor.
7-Inch Monitors
Directors, focus pullers, and tripod-based shooters usually prefer 7-inch displays. The extra size makes critical focus adjustments much easier.
The Feelworld LUT7 offers tremendous value with a 2200-nit 7-inch display, making it highly visible for independent production teams. For higher-end productions, the Portkeys BM7 II DS gives you a rugged 7-inch touchscreen with advanced features.
Integrate Camera Control and Advanced Cabling
A monitor can do more than just display an image. Many modern units integrate directly with your camera’s operating system.
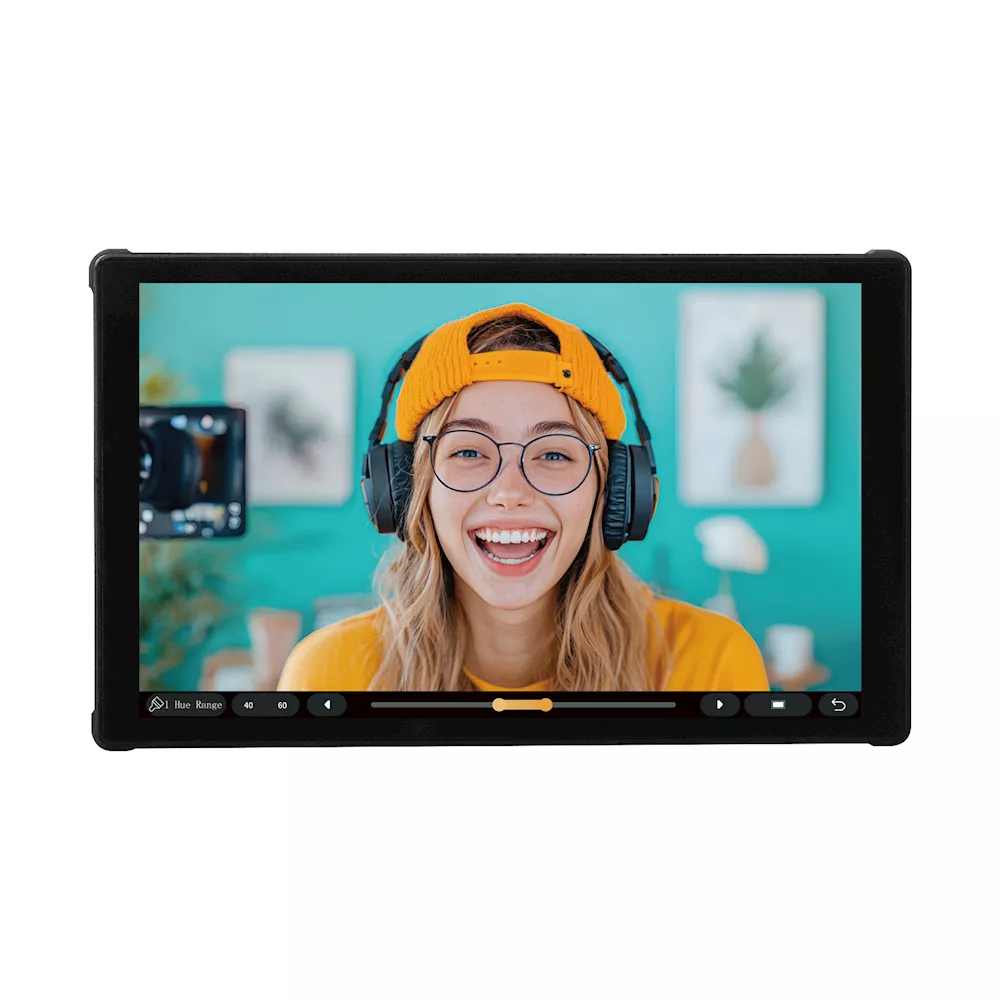
Monitors with camera control allow you to adjust aperture, ISO, shutter speed, and trigger recording straight from the monitor’s touchscreen. The Portkeys BM7 II DS mentioned above features wireless camera control. This function becomes incredibly useful when your camera is mounted on a crane or a car rig.
You also need to think about your video signal. The best monitor becomes useless if your signal drops during a take. Always pair your new display with high-quality, high-speed HDMI cables to handle 4K data rates without latency. Do not forget to stock up on proper mounting arms, sunhoods, and monitor accessories to keep your gear secure on set.
Key Takeaways
- Base your brightness choice on your environment. Choose 400-500 nits for studio work and 1500+ nits for direct sunlight visibility.
- Use a standard video monitor to keep your rig light, or choose a recording monitor to capture higher-quality ProRes RAW files.
- Match screen size to your camera support. 5-inch monitors suit handheld and gimbal work, while 7-inch screens are better for tripod and director setups.
- Look for camera control features if you want to adjust settings directly from your monitor’s touchscreen.
Ready to upgrade your camera rig? Browse our full selection of video monitors to find the exact model that fits your production workflow and order today.


