





How to Stop LED Light Flicker on Camera: 4 Fixes in Order
You see dark bands rolling through the shot, or the picture pulses. Your eyes saw nothing wrong. This is LED flicker, and you can usually fix it in minutes without buying new gear.
Work through the fixes in this order: shutter speed first, then dimming, then power, then a test clip. If none of them works, the light itself is the limit, and you need a fixture built for video.
Use this table to jump to the likely cause.
| What you see | Likely cause | First fix |
|---|---|---|
| Slow rolling bands at normal frame rates | Shutter not matched to the light’s flicker | Set a flicker-safe shutter speed (Step 1) |
| Bands appear only when you dim the light | Low-frequency PWM dimming | Raise output, cut light another way, change the frequency setting (Step 2) |
| Flicker only on one power source | Weak adapter, low battery or dimmer | Swap the power source (Step 3) |
| Flicker only at 100 fps and above | Light not made for high frame rates | Use HFR mode or a flicker-free light (Step 2 and the last section) |
Why LED lights flicker on camera
Your eye blends fast changes in brightness into steady light. A camera does not. It records brightness at the exact moments the sensor is open.
Two things make LEDs change brightness very fast:
- PWM dimming. Many lights dim by switching the LEDs fully on and off many times per second. A longer “on” time means a brighter light. The camera can catch this switching.
- Poor power conversion. A badly smoothed power supply lets mains ripple through. This flickers at twice the mains frequency: 100 Hz on 50 Hz mains, which is the standard in Europe. Waveform Lighting names these two sources as the main causes.
Most cameras use a rolling shutter. They read the sensor line by line, not all at once. If the light changes while the sensor is being read, each line records a different brightness. You see this as bands. Sony’s support page explains the same effect for focal-plane shutters.
Step 1: Match your shutter to your frame rate
This is the fastest fix. If the shutter stays open for a whole number of flicker cycles, every frame collects the same amount of light.
In 50 Hz regions, Sony recommends a shutter speed of 1/50 s or 1/100 s. In 60 Hz regions it recommends 1/60 s or 1/120 s. Use the table below for Europe. The shutter angles are our own calculation from these speeds.
| Frame rate | Flicker-safe shutter | Shutter angle |
|---|---|---|
| 25p | 1/50 s | 180° |
| 24p | 1/50 s | 172.8° |
| 50p | 1/100 s | 180° |
| 100p | 1/100 s | 360° (the longest possible) |
Notice the 24p row. The classic 180° shutter at 24p is 1/48 s. That is not a whole number of 100 Hz cycles, so it can show flicker in Europe. The Blackmagic Design camera manual says 172.8° minimises flicker at 24p in countries with 50 Hz power. Many Blackmagic cameras also suggest flicker-free shutter values for you. Set your local mains frequency to 50 Hz in the menu first.
Some cameras let you fine-tune the shutter:
- Sony: turn on Var. Shutter in a manual shutter mode. Change the shutter speed in small steps while you watch the monitor until the bands fade. Do not rely on Anti-flicker Shoot. It is a still-photo function and only detects 100 or 120 Hz flicker.
- Panasonic: Synchro Scan fine-adjusts the shutter speed to reduce flicker and horizontal stripes.
- Sony cinema cameras: the FX6 has a Flicker Reduce setting where you choose 50 Hz or 60 Hz for the lighting supply.
Two cautions. First, a matched shutter is not a guarantee. Sony says its guidance is a recommendation and cannot remove banding from every LED or PWM frequency. Second, check the recorded clip, not only the monitor. The preview can look different.
If your shot is too bright, do not shorten the shutter to fix it. Add ND filtration and keep the flicker-safe shutter. Our guide to variable ND filters for video shows how many stops you need.
When this step does not help: above 100 fps you cannot use a mains-matched shutter. At 120 fps the shutter can be 1/120 s at most, which is not a whole number of 100 Hz cycles. Here the light must do the work.
Step 2: Check how the light dims
If bands show up only when you turn the light down, PWM is almost certainly the cause. At low brightness the “on” pulses are short and far apart, so a frame is more likely to catch the dark gaps. Enttec’s technical note calls 5 to 20% brightness the worst case.
The practical rule: run the light brighter and reduce its effect another way.
- Move the light further from the subject.
- Add diffusion or a scrim.
- Use ND on the camera lens.
Then use the light’s own flicker controls. Many pro fixtures have them, but each brand names them differently. These are documented examples:
- Aputure Nova P300c and P600c: Frequency Selection tunes the dimming frequency to negate flicker, mainly at higher shutter speeds. The base dimming frequency is 20 kHz, and each step from 1 to 10 lowers it by 200 Hz. Change one step at a time and watch the monitor.
- Aputure LS 600d: Frequency Selection adjusts the PWM dimming frequency by up to +2000 Hz. Aputure lists the LS 600d at an estimated 2,000 fps maximum flicker-free.
- amaran Ray 120c: High Frame Rate mode is made for shooting up to 240 fps with minimal flicker. The price is a minimum brightness of 50% while it is on.
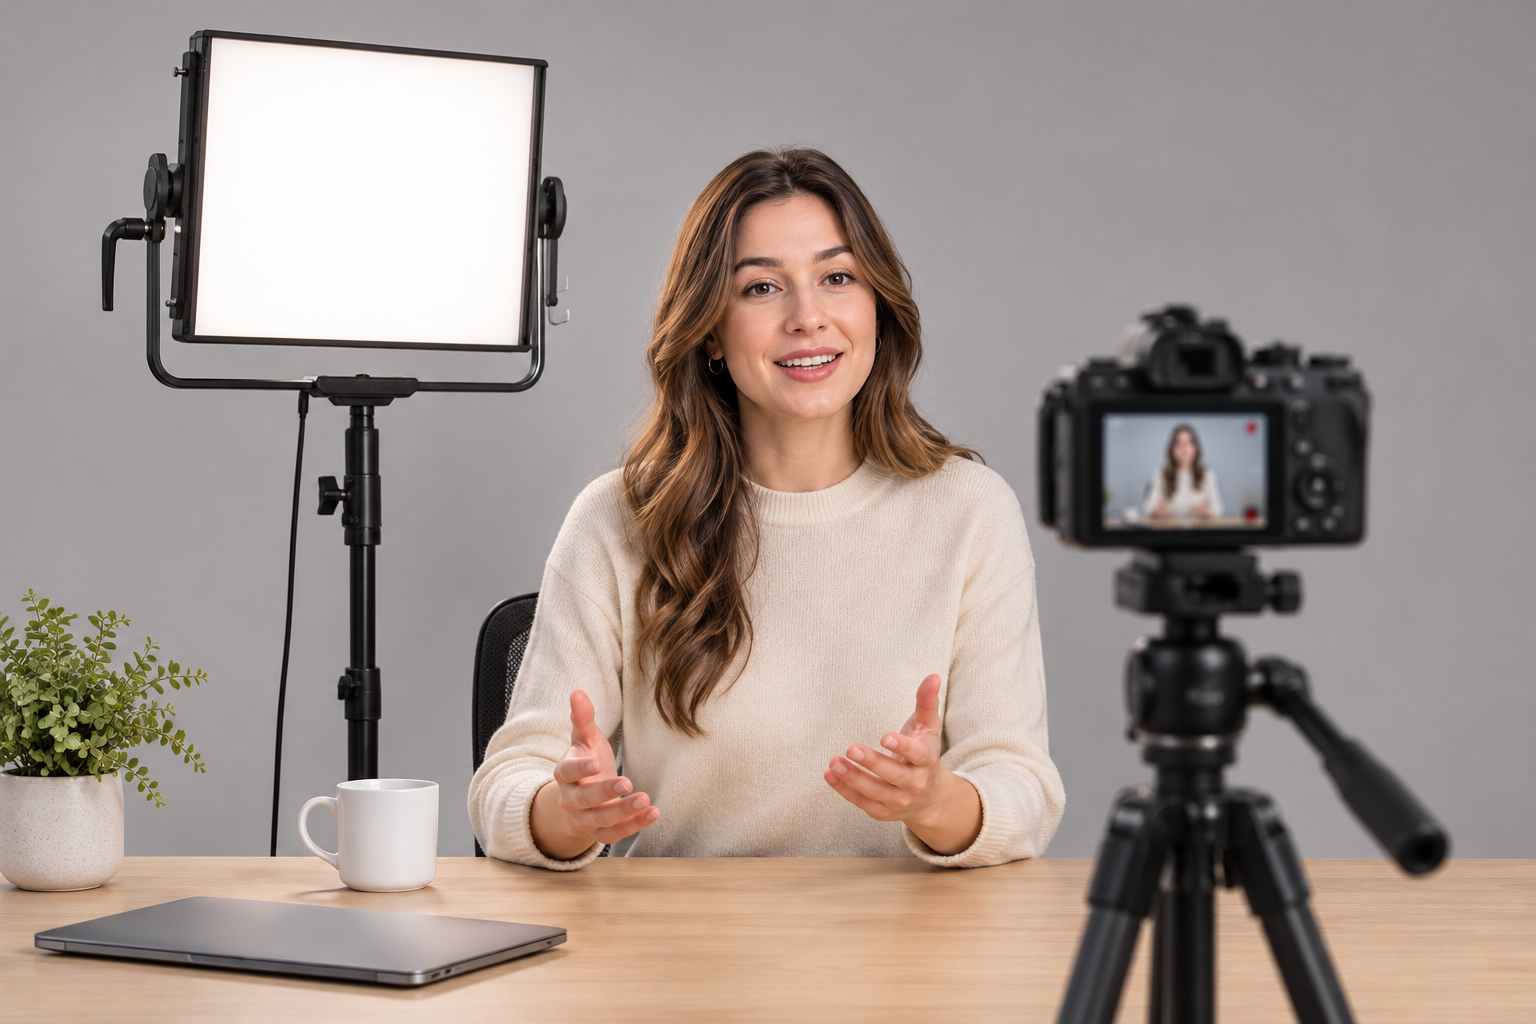
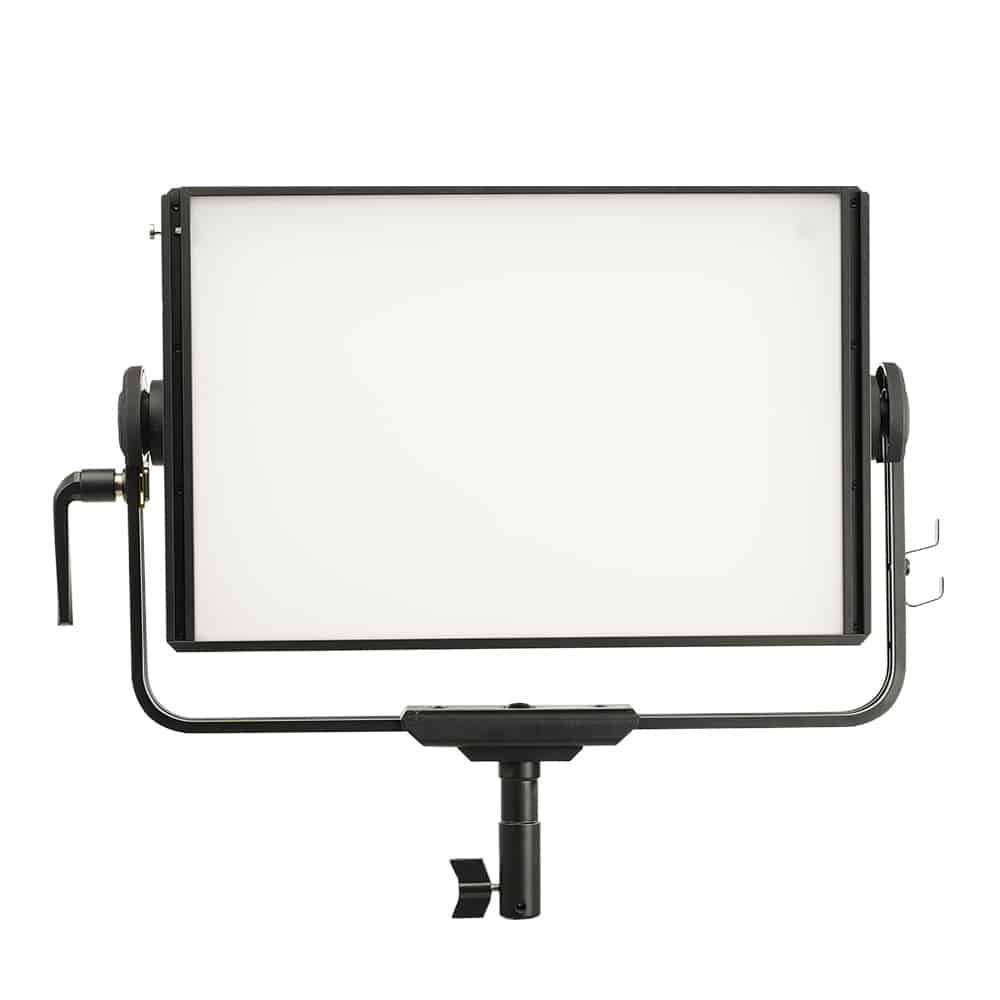
The Nova P300c suits interviews and studio work where you control the room. It is a 300 W soft panel, so it is more light than a small desk setup needs.
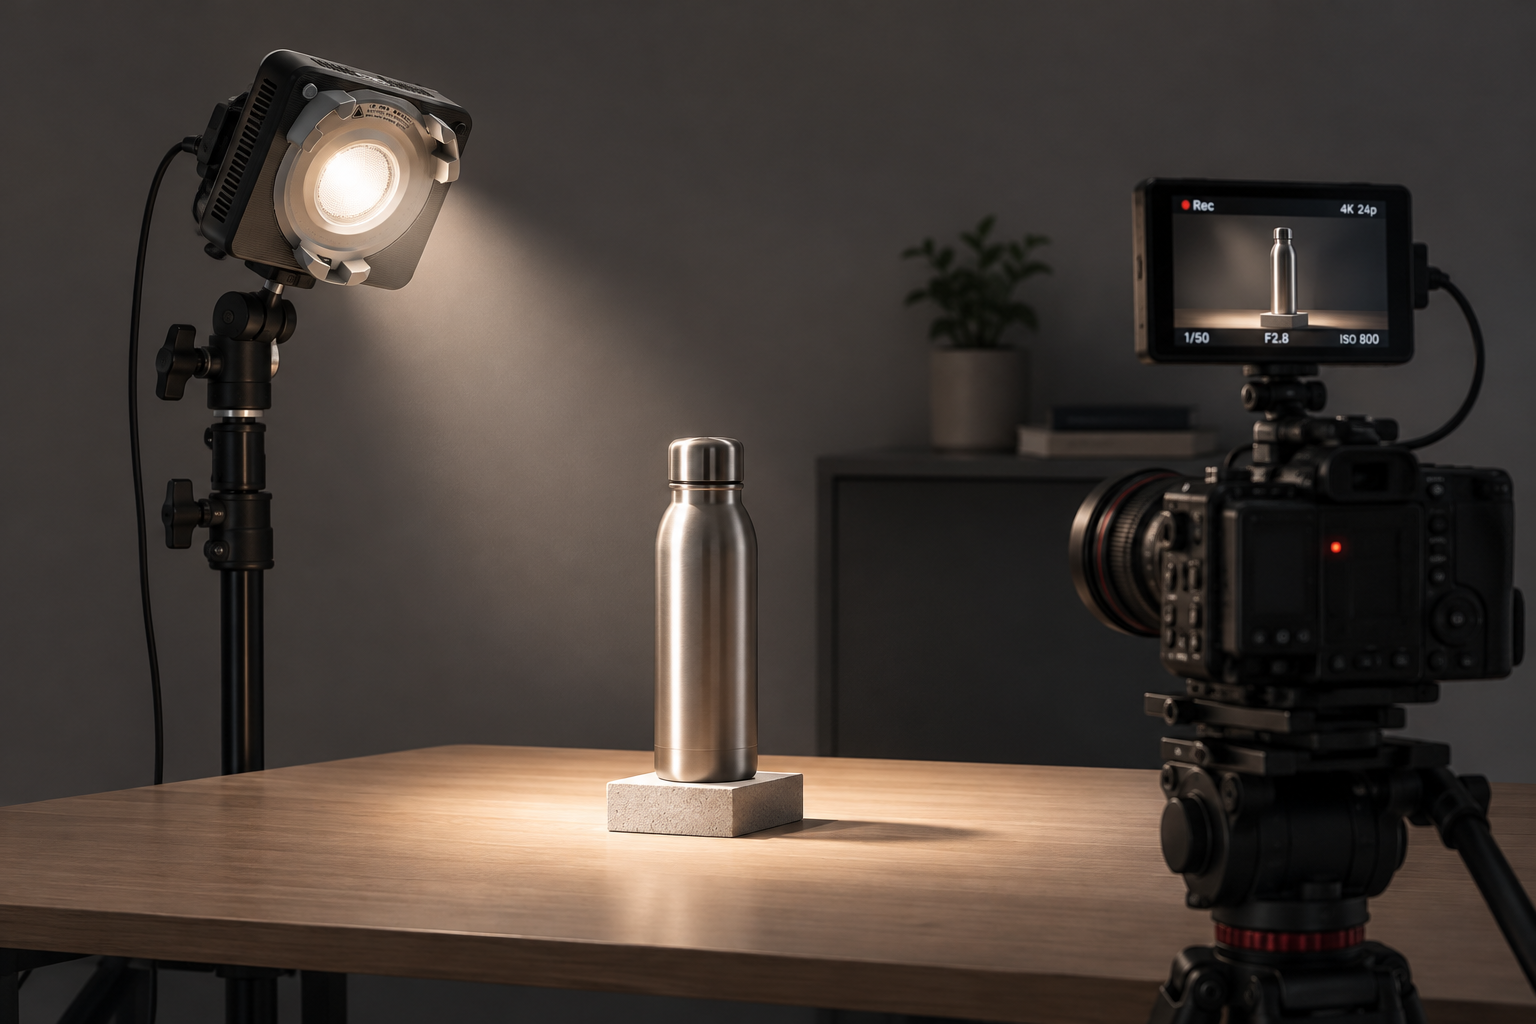
The Ray 120c is a compact point-source light for slow motion and product work. High Frame Rate mode limits your dimming range, so you must control brightness with distance or ND.
Every light is different. The sources do not give one setting that works for all Aputure and amaran lights. Check the manual of your own model and test it.
Step 3: Fix the power
LED video lights run on DC. When you plug them into the wall, an adapter converts AC to DC. B&H notes that a poorly made power supply can let AC ripple reach the light, and the light then flickers on camera.
Go through this list:
- Use the adapter that came with the light. The amaran Pano 60c manual lists “unstable power supply” as a cause of flicker and says to use the supplied adapter or a stable USB-C PD source.
- Check the battery. Several LED video light manuals list a low battery as a cause of flicker. Swap in a charged one.
- Remove wall dimmers. Phase-cut (triac) dimmers can cause or worsen LED flicker when they do not match the driver. Put the light on a plain mains feed and dim it with its own controls.
- Test generators and power stations before the shoot. Voltage or frequency instability on a power source can cause flicker. Try your lights on the actual power source and check the footage. Our power stations and V-mount batteries pages list the options.
Swap one thing at a time. If flicker disappears on battery but returns on the adapter, you have found the cause.
Step 4: Test before you roll
Always run a test clip with the exact settings you plan to use: frame rate, shutter, dimming level and power source.
- Set your final frame rate and shutter.
- Dim the light to the level the shot needs. Do not test only at 100%.
- Record 10 to 15 seconds of a plain wall or grey card.
- Play it back full screen on a good monitor.
A phone helps too. Waveform Lighting suggests recording the light in the slow-motion mode of an iPhone and looking for repeated flashing. But some phone cameras use software to hide flicker, so a clean phone clip does not prove your cinema camera will be clean. Trust the test on your real camera.
Test every light in the scene, including a practical lamp or an LED screen in the background. One bad light is enough to ruin the shot.
When to change the light instead
Settings can only do so much. Choose a different fixture when:
- You shoot at 120 fps or higher and need to dim freely.
- You work in a studio where every take must be safe.
- A cheap panel flickers at every setting you try.
Look for stated flicker-free figures on the spec sheet. For example, Aputure’s data sheet for the Nova II 1×1 lists “flicker-free at any framerate above 20% output, and up to 250 fps below 20%”. The Litepanels Astra 6X listing in our shop states flicker-free at any frame rate with smooth 100–0% dimming.


Both are professional panels and cost more than a basic creator light. If you shoot only at 24 or 25 fps with a matched shutter, a simpler panel is usually enough. Browse all LED panels or spot lights, and check colour quality separately in our guide to CRI and TLCI for video lights. Flicker and colour accuracy are two different specs.
Key Takeaways
- Set a flicker-safe shutter first: 1/50 s at 24p and 25p, 1/100 s at 50p in 50 Hz Europe.
- If bands appear only when dimmed, run the light brighter and use distance, diffusion or ND to cut exposure.
- Use the light’s frequency or high frame rate setting, and read your model’s manual for the exact steps.
- Rule out the power: use the supplied adapter, a charged battery and no wall dimmer.
- Test with your final settings at your final dimming level before the real take.
Not sure which light will stay clean at your frame rate? Tell our team your camera, frame rate and room, and we will help you choose. You can also look through our lighting for live streaming guide for setups that already work.


