Stream Lighting Guide: Equipment and Positioning
Many live streamers invest in high-end cameras, only to see grainy or flat footage on screen. In our experience, camera sensors are rarely to blame. Image degradation almost always happens because the room lacks sufficient key light.
When your room is dim, your camera increases ISO gain. This introduces digital noise and erases facial definition. You do not need a massive production studio to fix this problem. Selecting the right fixtures and positioning them correctly transforms your broadcast image immediately.
The Fundamentals of Subject Placement
Building a clean setup starts with controlling shadow angles and softening direct output. Placing your primary light straight above your camera creates flat, unflattering illumination. Pushing the light slightly off to the side introduces soft shadows that sculpt your face and build visual depth.
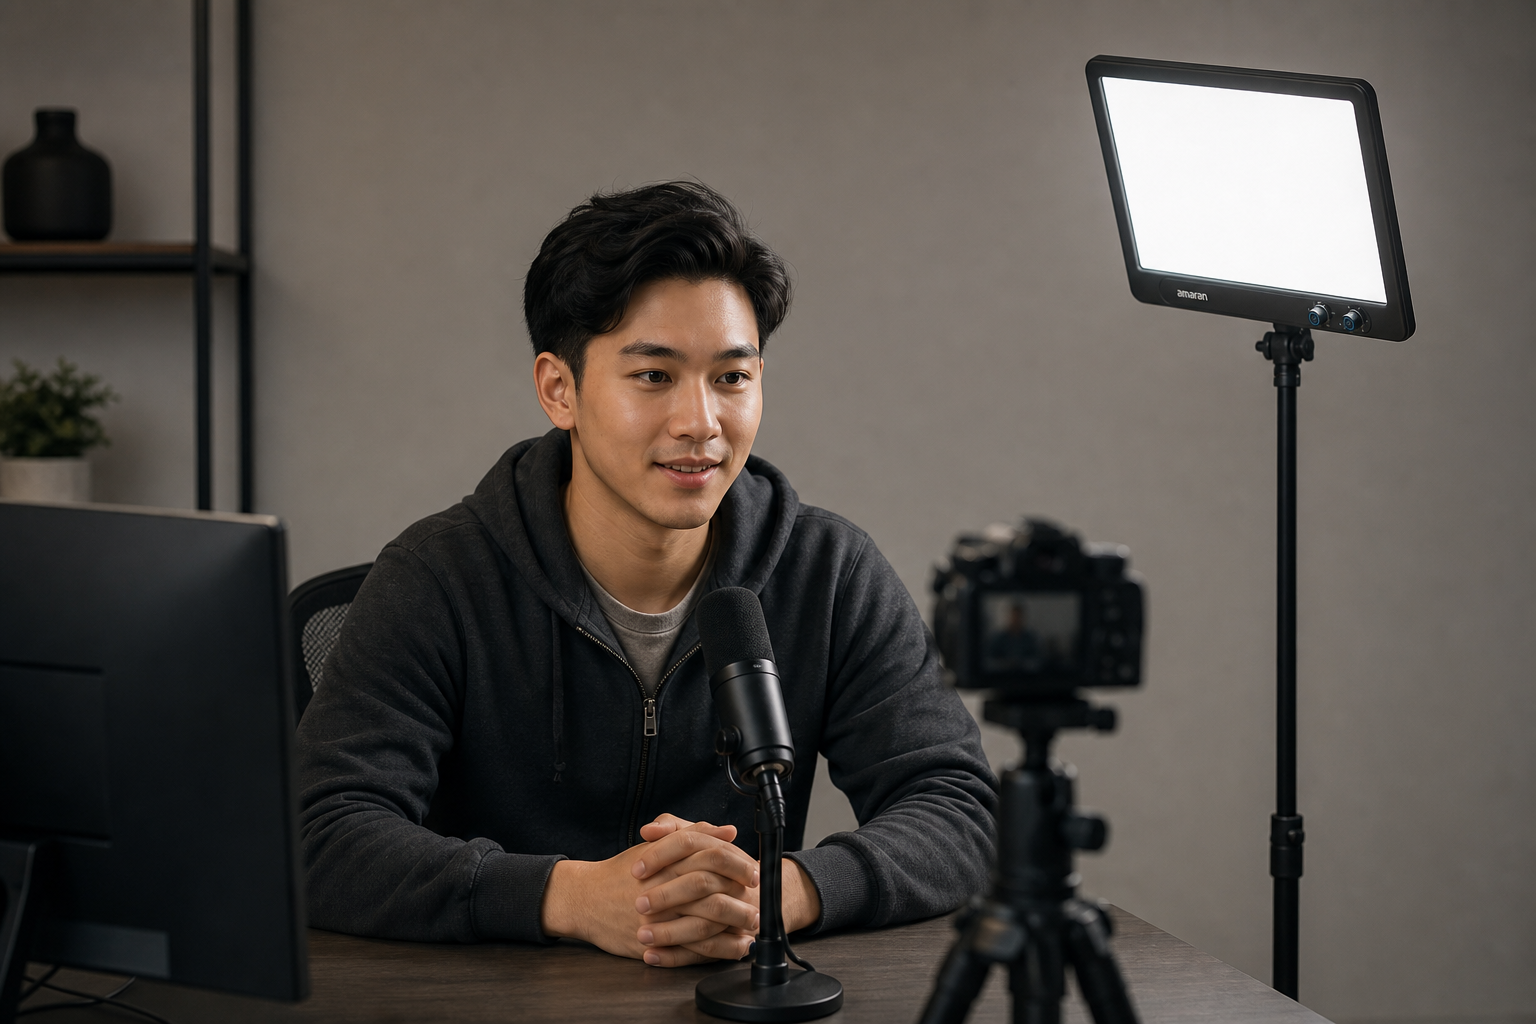
For complete placement principles, explore our detailed guide on how to light a subject for video.
The Three-Point Framework
The standard layout for live streams and talking-head videos is the three-point lighting setup:
- Key Light: Your main source of light. Place it 30 to 45 degrees off-axis from your camera and slightly above eye level. Point it down at a 45-degree angle to shape facial features softly.
- Fill Light: Positioned on the opposite side of your key light, closer to the camera. It lifts harsh shadows without introducing a competing shadow direction. A 2:1 key-to-fill ratio creates a natural, balanced look.
- Backlight: Placed behind you and angled toward your shoulders and hair. This rim of light separates your silhouette from dark backgrounds.
Preventing Glare for Glasses Wearers
Streamers who wear glasses often deal with distracting screen and lamp reflections across their lenses. Placing a light directly in front of your face guarantees heavy glare.
To prevent reflections, push your key and fill lights wider off-axis toward 45 degrees. Raise the stands higher and tilt the fixtures downward. Direct reflections will bounce toward the floor instead of your camera lens.
Comparing Fixture Types for Live Streaming
Choosing equipment depends on your physical studio space and target visual style. Review our guide on video lighting basics for foundational concepts.
| Fixture Type | Best For | Pros | Cons |
|---|---|---|---|
| LED Panels | Desktop setups, shallow rooms | Slim profile, minimal heat, simple mounting | Needs diffusion up close to prevent harshness |
| COB Spotlights | High-power key lights, modifier rigs | Strong output, accepts Bowens-mount modifiers | Larger footprint, requires heavier stands |
| Ring Lights | Quick setups, direct commentary | Near-shadowless light, signature catchlights | Flattens features, creates glare on glasses |
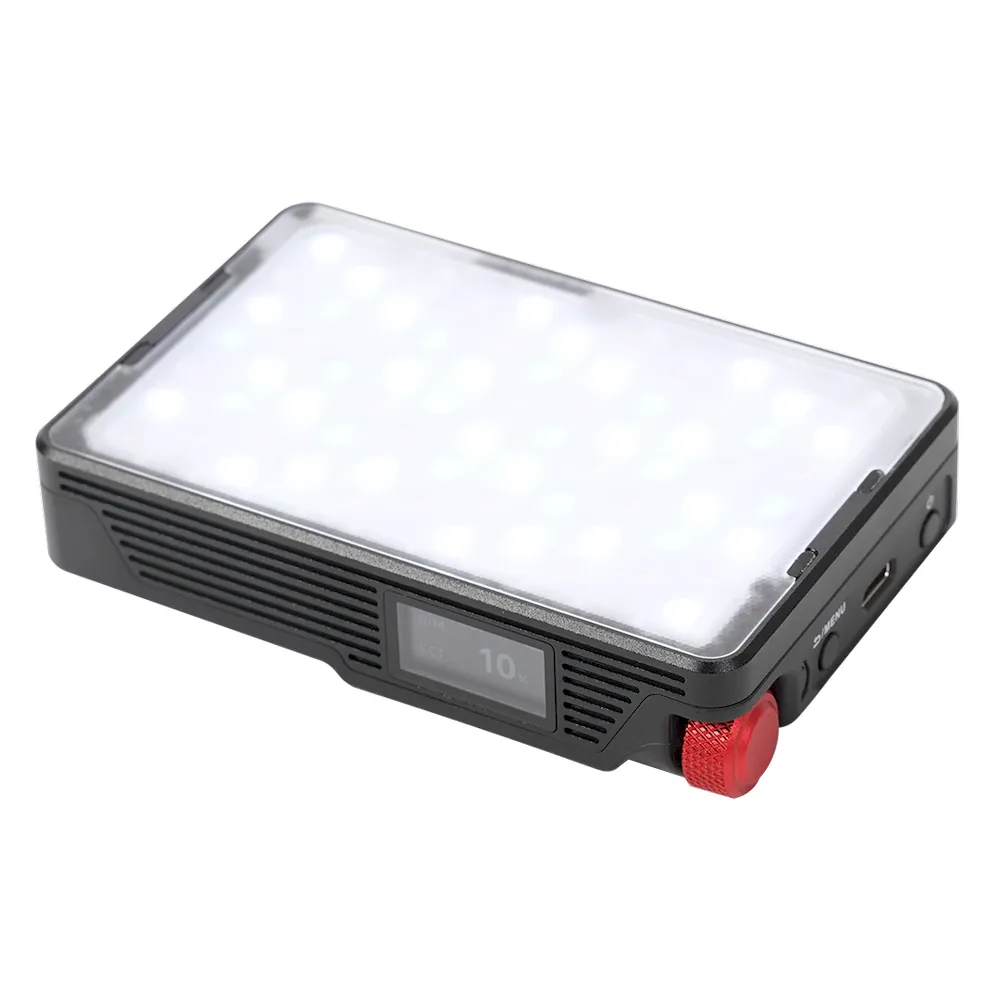
| Mini LEDs & Tubes | Background accents, rim lights | Highly portable, flexible mounting, RGB modes | Lower output, unsuited for primary key light |
Softboxes vs. Ring Lights
Beginner creators often choose ring lights because they mount around the camera. However, as detailed in our analysis on ring light vs softbox for video, ring lights create circular eye reflections and flatten human features.
A point-source light with a softbox, or a wide diffused panel, creates a far more flattering key source. The larger surface wraps light around skin contours smoothly.
Explore dedicated category options including LED panels and spot lights to find suitable hardware. You can also review tube and ring lights or mini LED lights for accent setups.
Lighting Configurations by Room Size and Budget
We have helped creators configure lighting across tight bedrooms, home offices, and dedicated commercial studios. Match your physical room setup with the tailored recommendations below.
Compact Desk Setup
When your desk rests against a wall, floor stands block movement. Your main goal is securing a quality key light using desk mounts or slim panels.
Edge-lit desktop panels minimize eye fatigue while offering easy brightness control. Ultra-slim bi-color pads mounted on desk arms behind your monitors save floor space without compromising clarity.
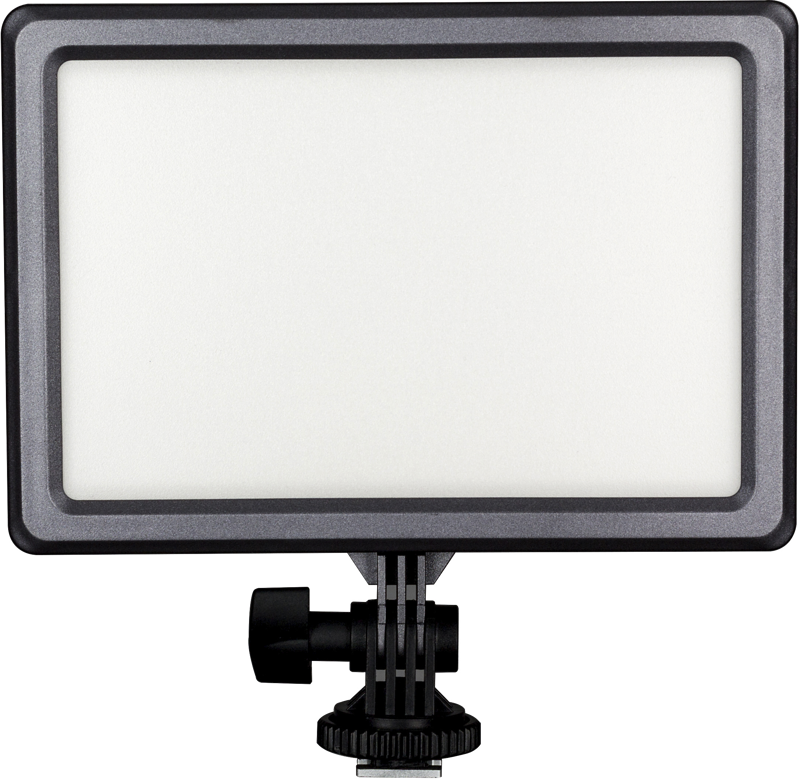
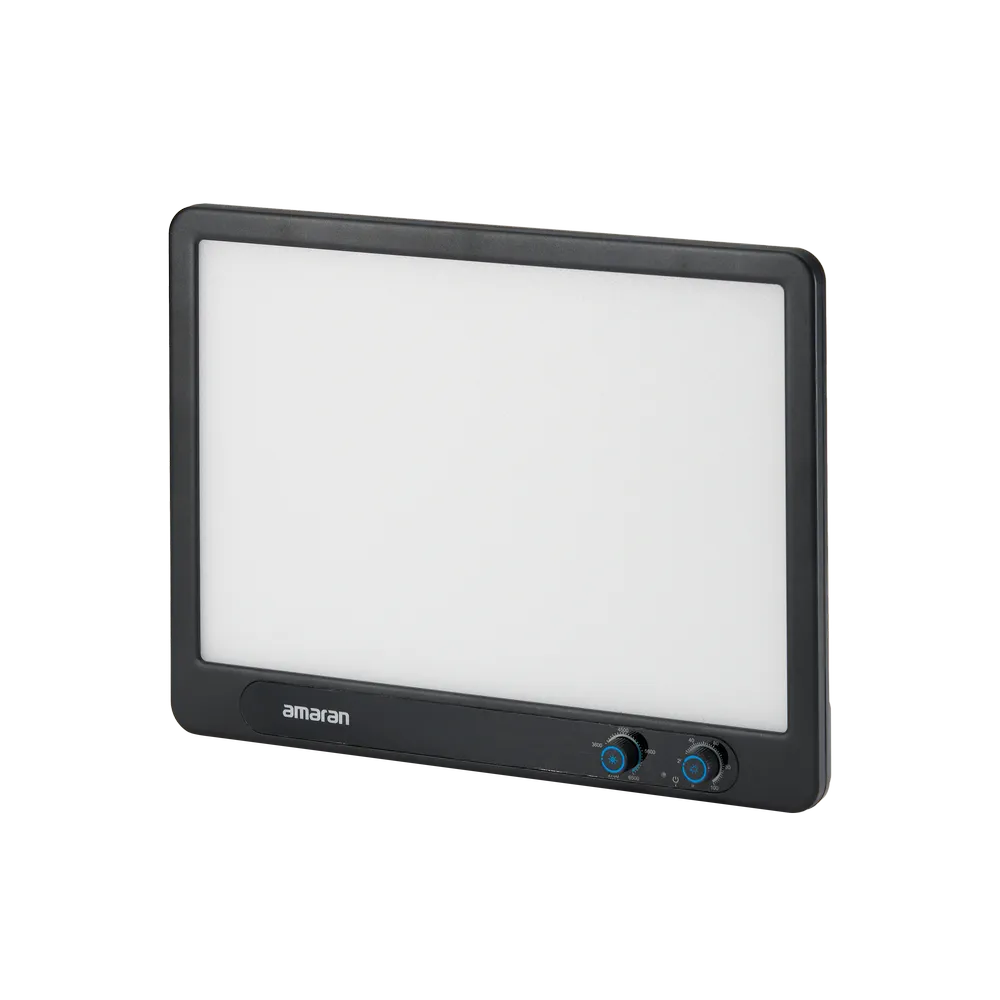
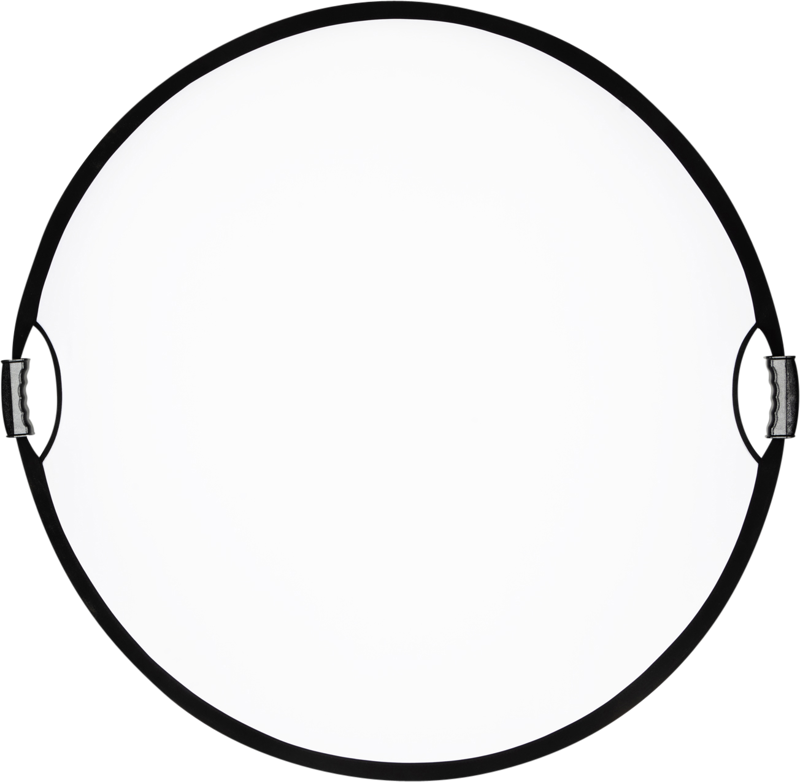
If your setup only allows a single key light, place a collapsible reflector on your desk opposite the key source. This bounces light back onto your shadowed side.
Dedicated Creator Corner
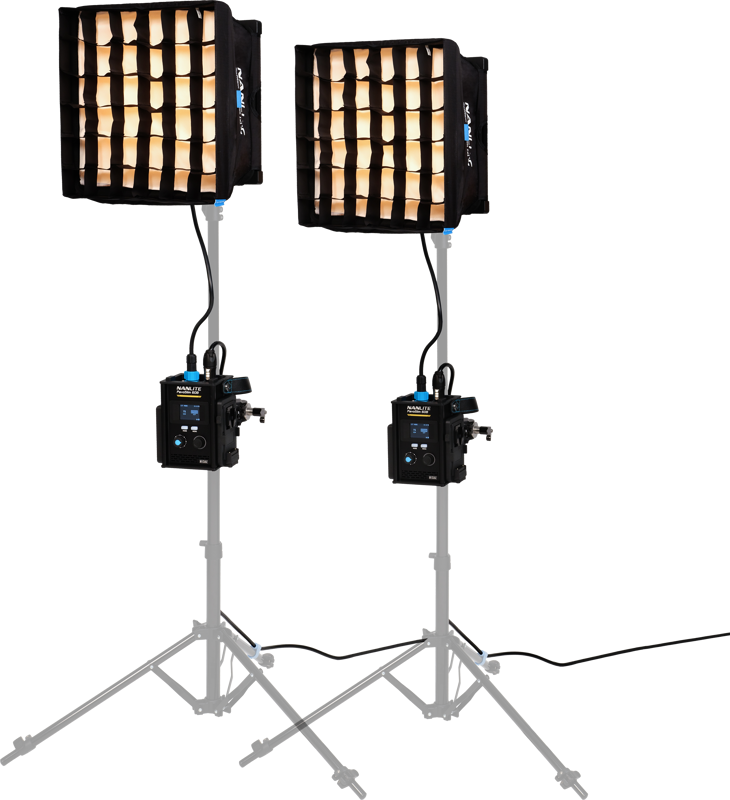
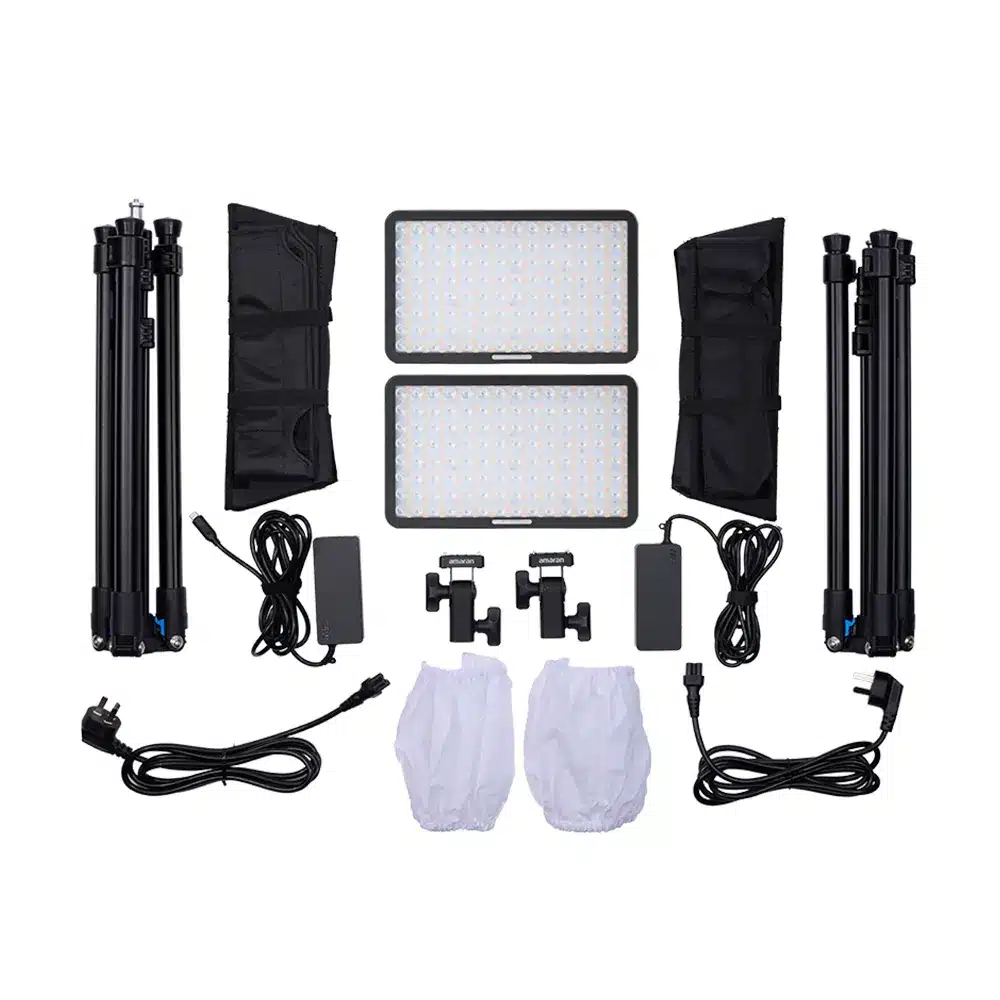
If you have space behind your desk for floor stands, moving to a dual-light setup gives you better contrast control.
A two-light panel kit establishes clean key and fill balance. Slim panels with rapid-folding softboxes produce soft illumination in tight rooms without generating excess heat.
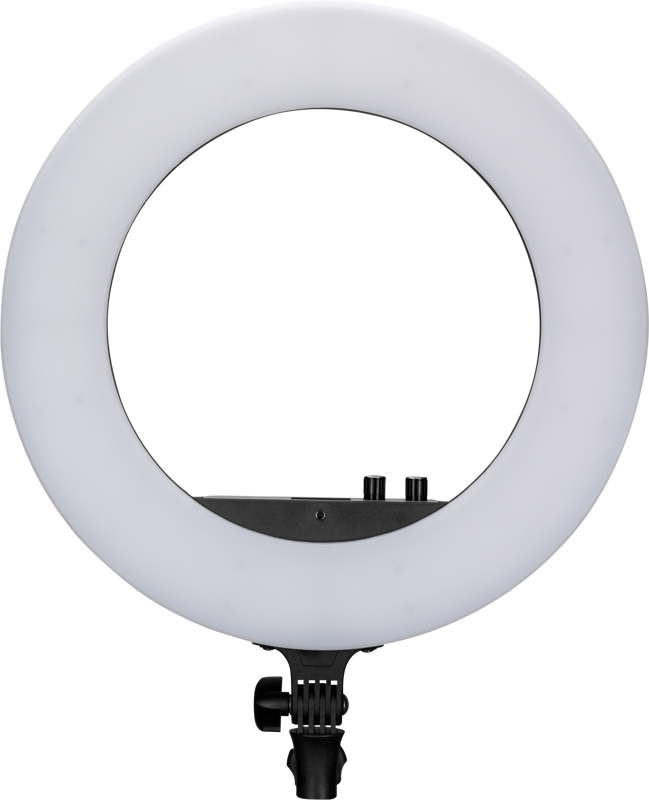
For creators who produce makeup tutorials or direct commentary from a central axis, a dedicated ring light provides fast, shadowless coverage.
Large Studio Setup
Larger rooms require higher-wattage fixtures to project light effectively. Point-source (COB) LED fixtures paired with wide softboxes deliver broadcast-level depth.
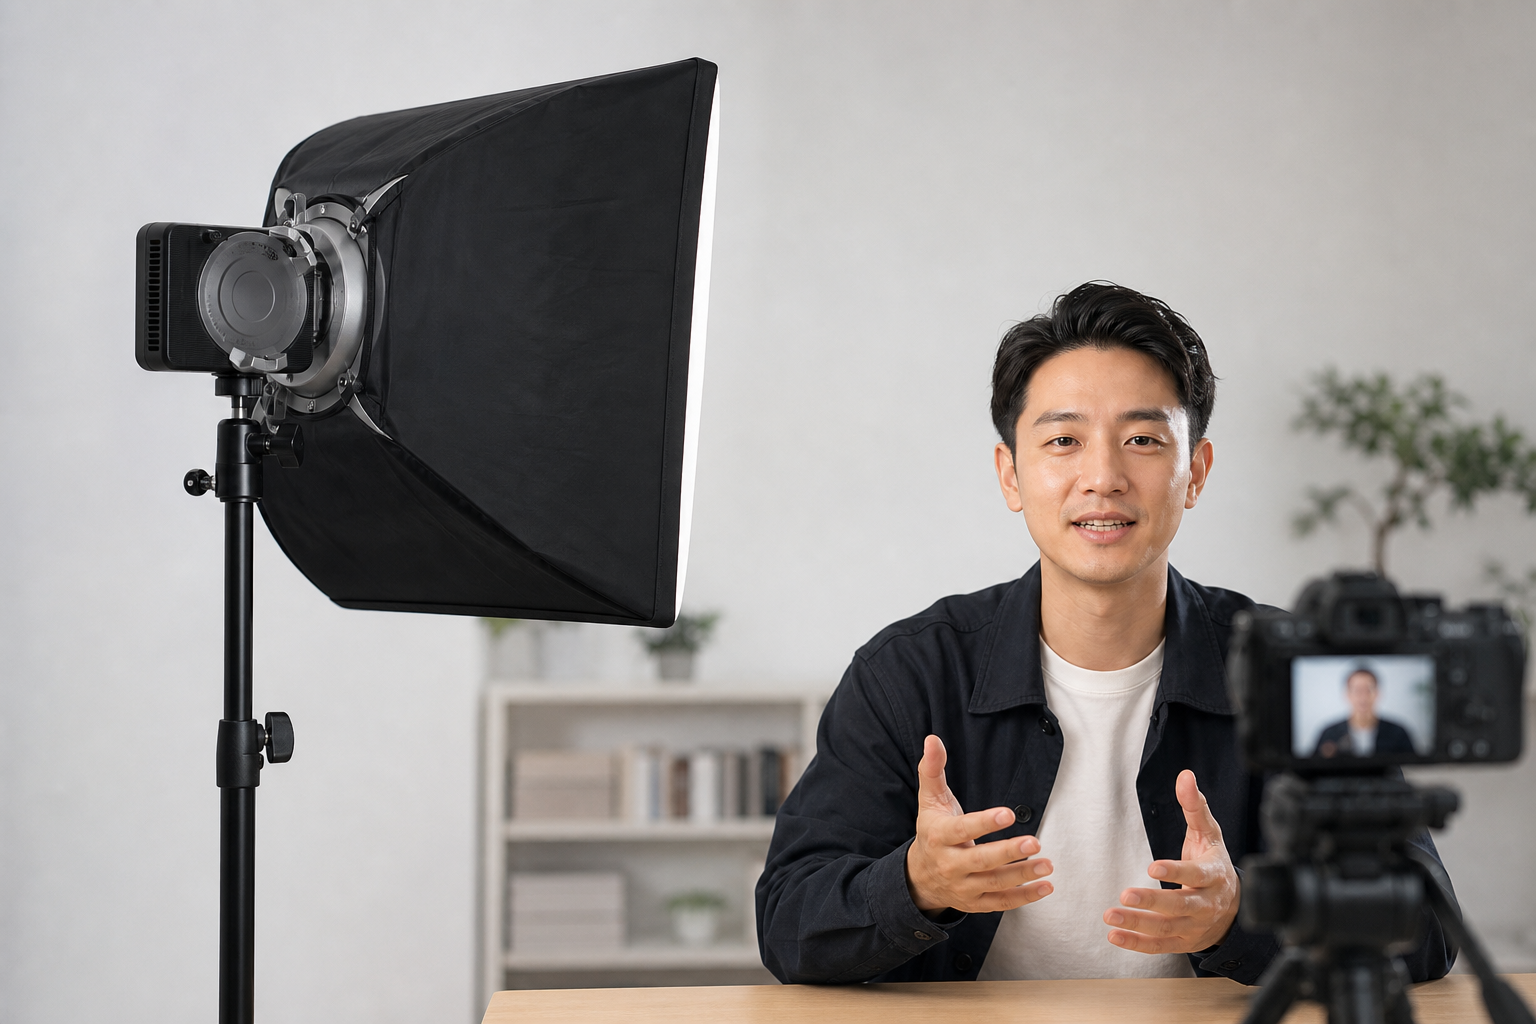
Pairing a high-output COB light with a rectangular softbox creates a soft key light that flatters every complexion.
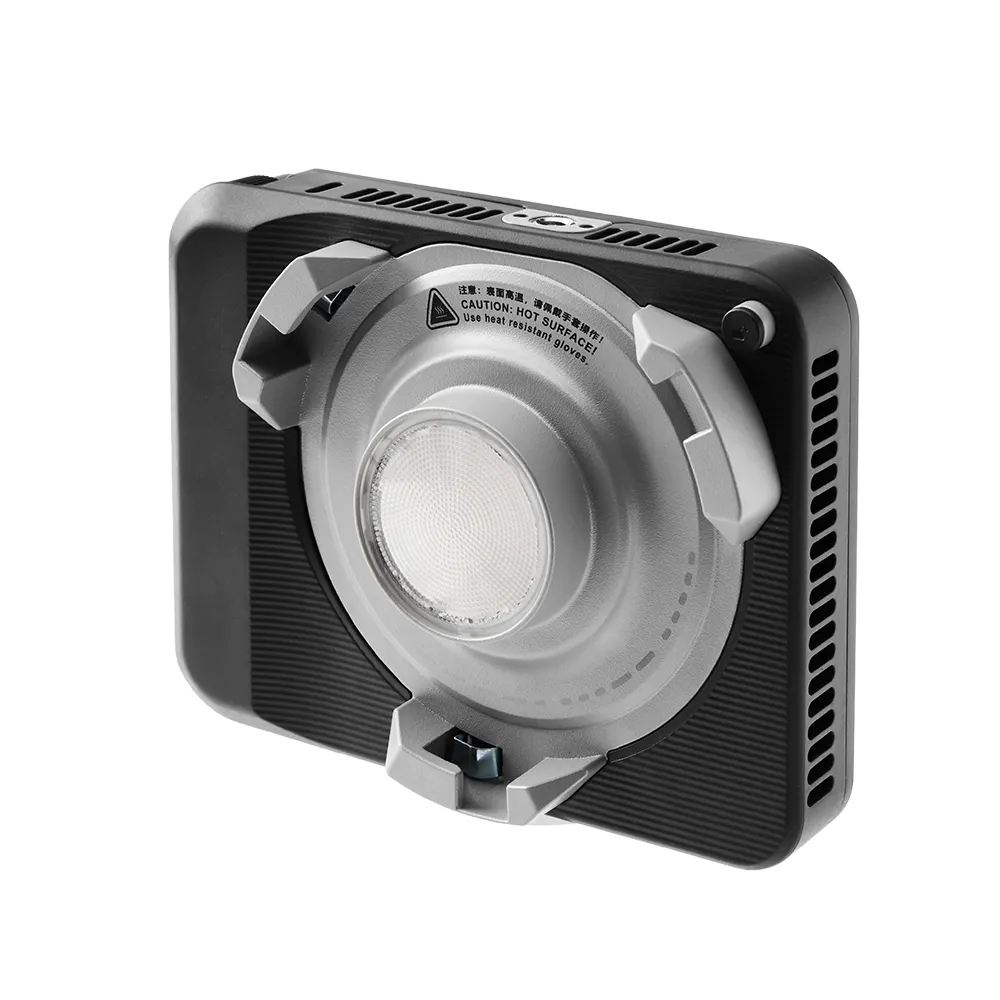
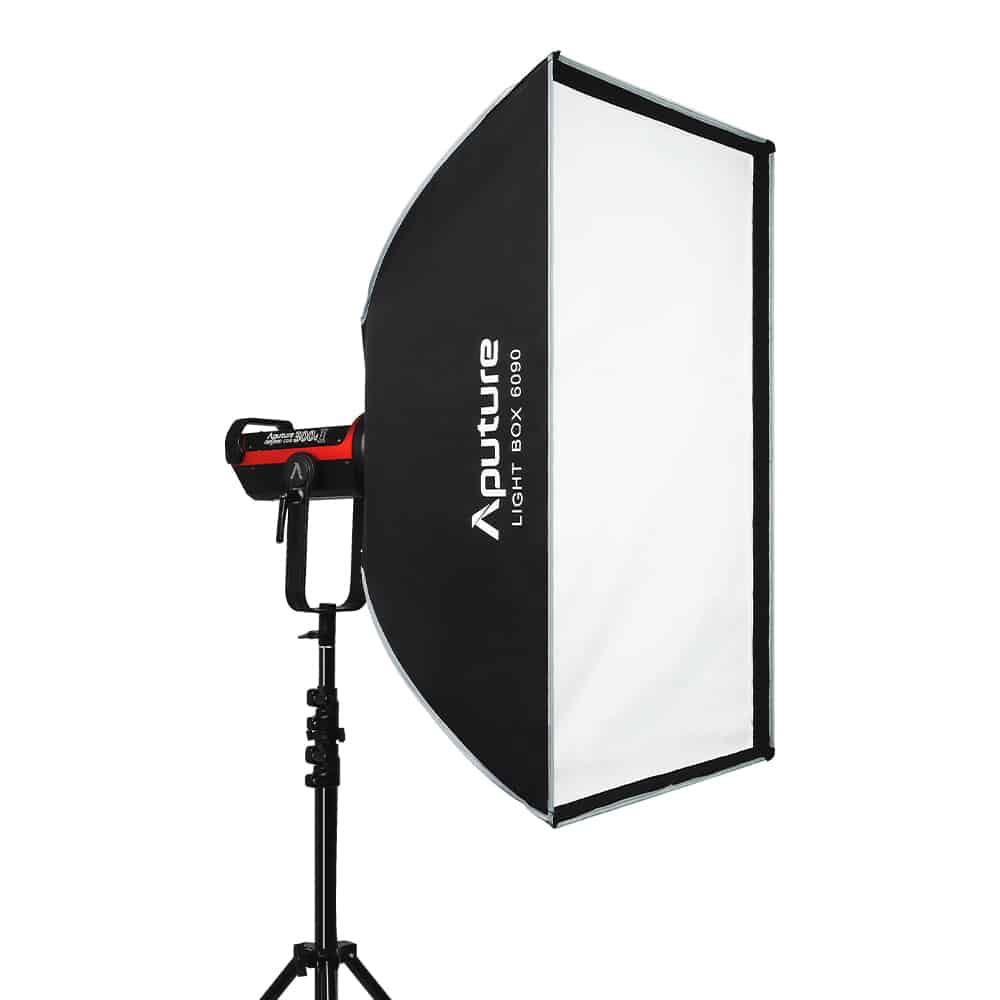
To build a full three-point system in a spacious room, combine a high-output bi-color kit with pocket-sized RGBWW mini panels for hair and background accents.
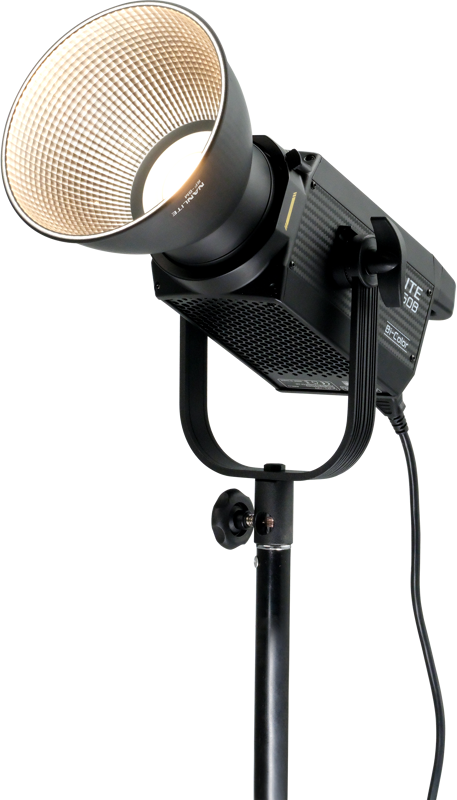
To compare output types, read our analysis on LED panel vs point-source fixtures.
Technical Specs: CCT, Color Accuracy, and Separation
Understanding technical standards helps you avoid mismatched colors and unnatural skin tones.
Color Temperature (CCT)
Correlated Color Temperature (CCT) is measured in Kelvin (K). Warm tungsten lighting sits near 3200K, while standard daylight rests at 5600K.
- Matching Natural Light: When shooting near a window, set your bi-color lights to 5600K to blend with sunlight. Learn more in our guide on simulating natural light.
- Optimizing Complexion: In windowless rooms, setting fixtures between 4200K and 4500K delivers a warm, healthy skin appearance.
Read our complete colour temperature guide for additional details on color balance.
Color Accuracy (CRI and TLCI)
Always choose fixtures with a Color Rendering Index (CRI) and Television Lighting Consistency Index (TLCI) rating of 95 or higher. High-CRI fixtures preserve natural skin tones. Cheap lights leave skin looking pale or sickly green. Professional LED gear matches rigorous industry criteria like ARRI technical specifications.
Background Separation
Avoid leaving your background in complete darkness, which produces a floating head effect. Position compact accent lights or RGB tubes behind your chair to illuminate shelves and wall texture.
Discover detailed layout tactics in our guide on background lighting techniques. You can also review versatile mobile setups in our portable lighting kits guide.
Pair your fixtures with sturdy mounting hardware from our light stands and light modifiers catalog.
Key Takeaways
- Position Lights Off-Axis: Place your main key light 30–45 degrees off-axis and slightly above eye level for clear facial shaping.
- Match Equipment to Space: Use desktop edge-lit panels in tight rooms, or step up to COB lights and softboxes in larger studios.
- Prevent Lens Glare: Glasses wearers should raise stands higher and angle lights wider to reflect glare away from the camera.
- Require High Color Accuracy: Choose bi-color fixtures with 95+ CRI/TLCI to maintain accurate skin tones under any room condition.
- Create Depth with Separation: Use backlights and background accents to separate your subject from dark walls.
Need assistance configuring a tailored lighting system for your stream space? Contact the technical team at MediaGear today for expert advice and direct support.