Fix Audio Sync Drift: Pick the Right Interface for Video
Poor audio ruins high-end visuals faster than a bad lens ever could. When editing professional video, delayed playback and background hiss will quickly derail your project. We’ve seen post-production crews lose hours fighting sync drift simply because their hardware could not handle the processing load.
Sending audio directly into a computer’s sound card introduces immediate structural limitations. By managing your signal properly from the start, you capture clean voiceovers and monitor your mix accurately. This guide explores how to select the exact hardware to match your video editing workflows.
Lock in Video Industry Standards
In professional video production, the undisputed standard for timelines and exports is 24-bit depth at a 48 kHz sample rate. If you record voiceovers at a mismatched sample rate like 44.1 kHz, your audio will slowly drift out of sync with your video track.
A professional audio interface locks in this 48 kHz standard natively. It bypasses the cheap audio converters inside your computer and uses high-end analog-to-digital converters instead. This hardware upgrade prevents audio degradation during ingest.
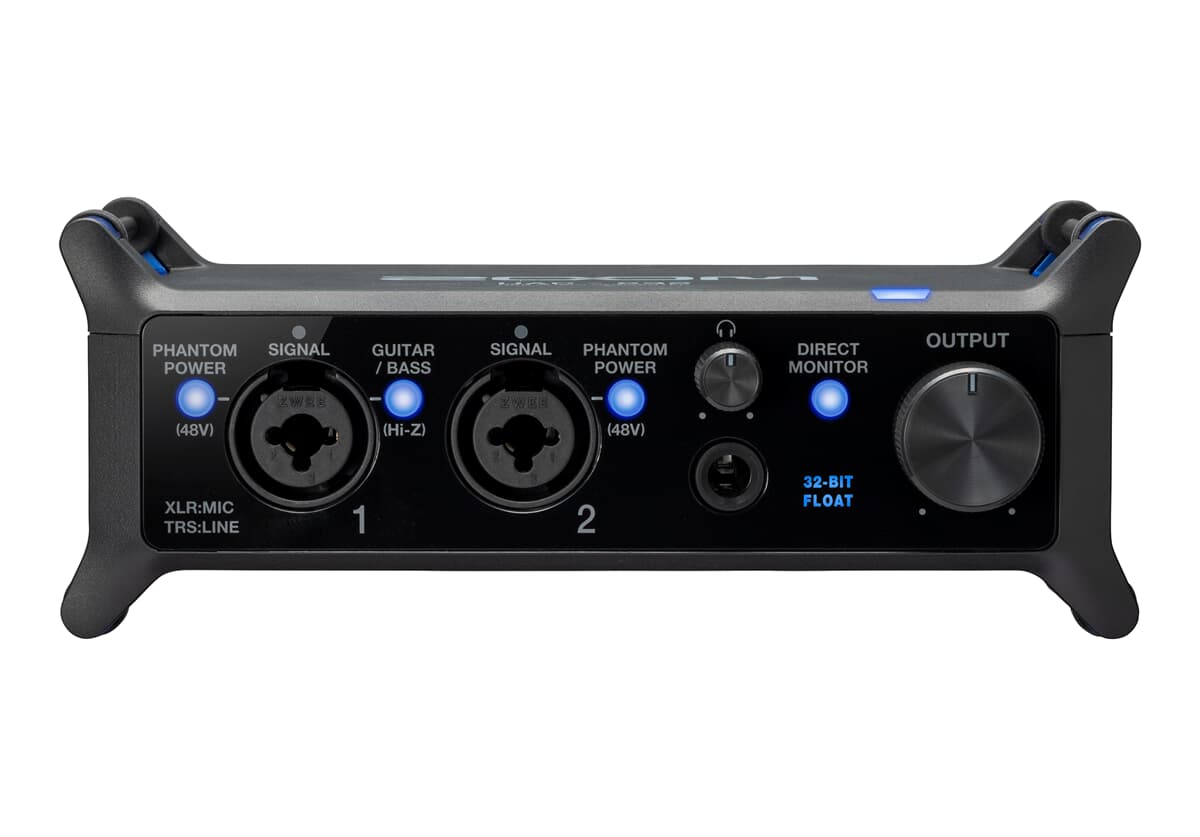
Modern interfaces also offer 32-bit float recording capabilities. This technology captures an incredibly wide dynamic range. It allows you to record without worrying about digital clipping during unpredictable takes, eliminating the need to constantly adjust input gain.
Match Preamps to Your Microphones
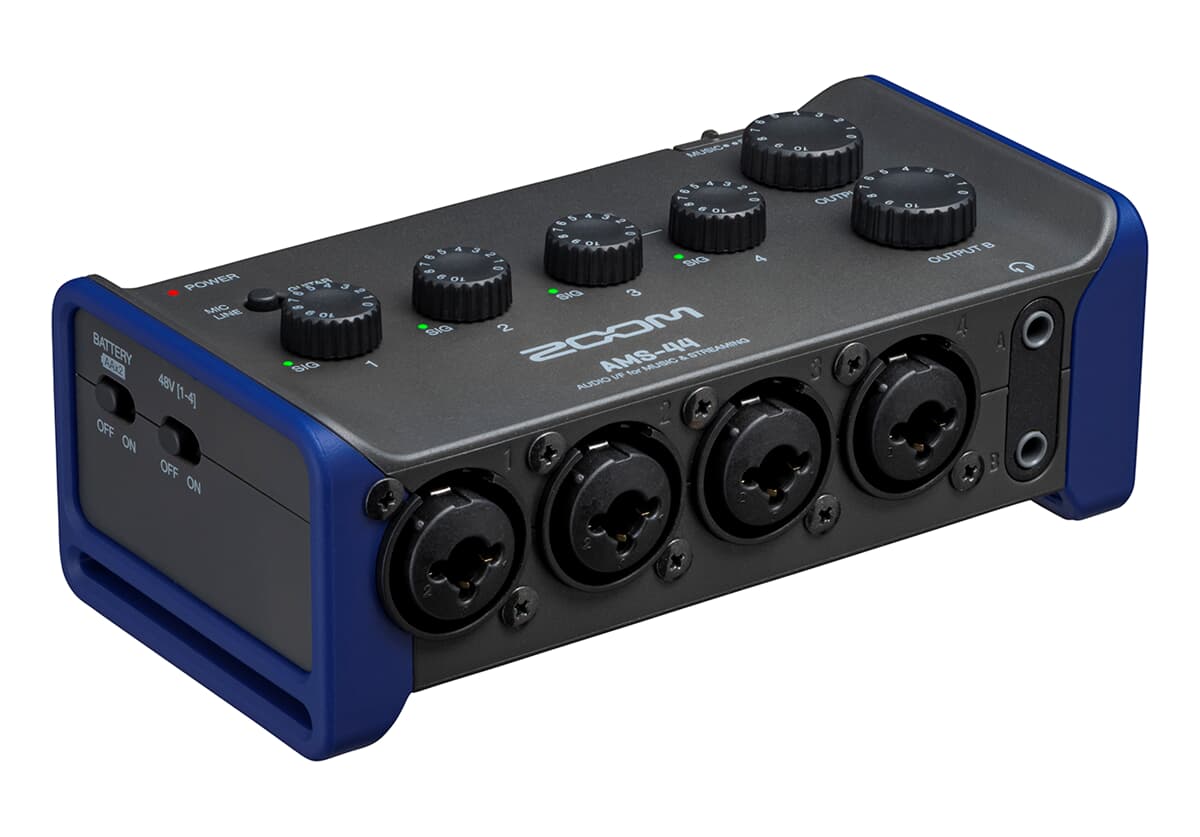
Your interface must have the correct inputs and power delivery for your specific microphones. If you use a condenser microphone to capture a rich voiceover, verify that your interface supplies +48V phantom power. Without this feature, a condenser microphone will simply not work.
If you prefer broadcast-style dynamic microphones to reject room noise, your hardware needs powerful preamps. Dynamic microphones are notoriously gain-hungry. You will need an interface that delivers roughly 60–70 dB of clean gain to push the signal to broadcast levels without introducing a noisy hiss.
| Microphone Type | Preamp Requirement | Common Use Case |
|---|---|---|
| Condenser | +48V Phantom Power | Studio voiceovers, rich vocal detail |
| Dynamic | 60–70 dB Clean Gain | Untreated rooms, broadcast podcasts |
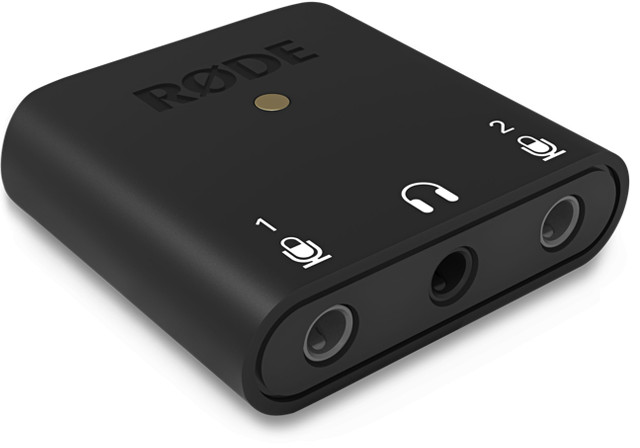
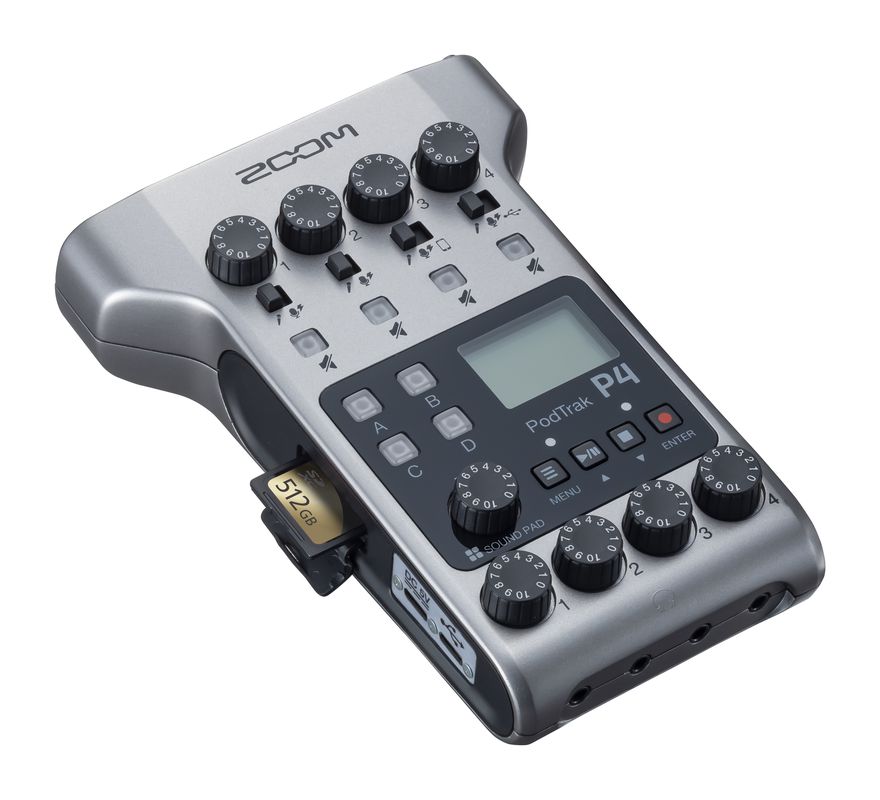
Consider your channel count before buying. A solo voiceover setup works perfectly with a compact 1-channel or 2-channel unit. If you plan to connect multiple microphones for a podcast or panel, you will need a larger device with multiple combo XLR/TRS inputs.
Eliminate Recording Latency
Latency is the delay between speaking into your microphone and hearing that sound in your headphones. Even a tiny delay makes speaking feel impossible. In your digital audio workstation (DAW), you control this delay using buffer sizes.
For real-time voiceover tracking, configure a low buffer size (typically 64–128 samples). This minimizes delay but puts a higher load on your CPU. When you finish recording and move to mixing your video timeline, increase the buffer size to 512–1024 samples. A higher buffer improves system stability and prevents clicks and pops when you load heavy audio plugins.
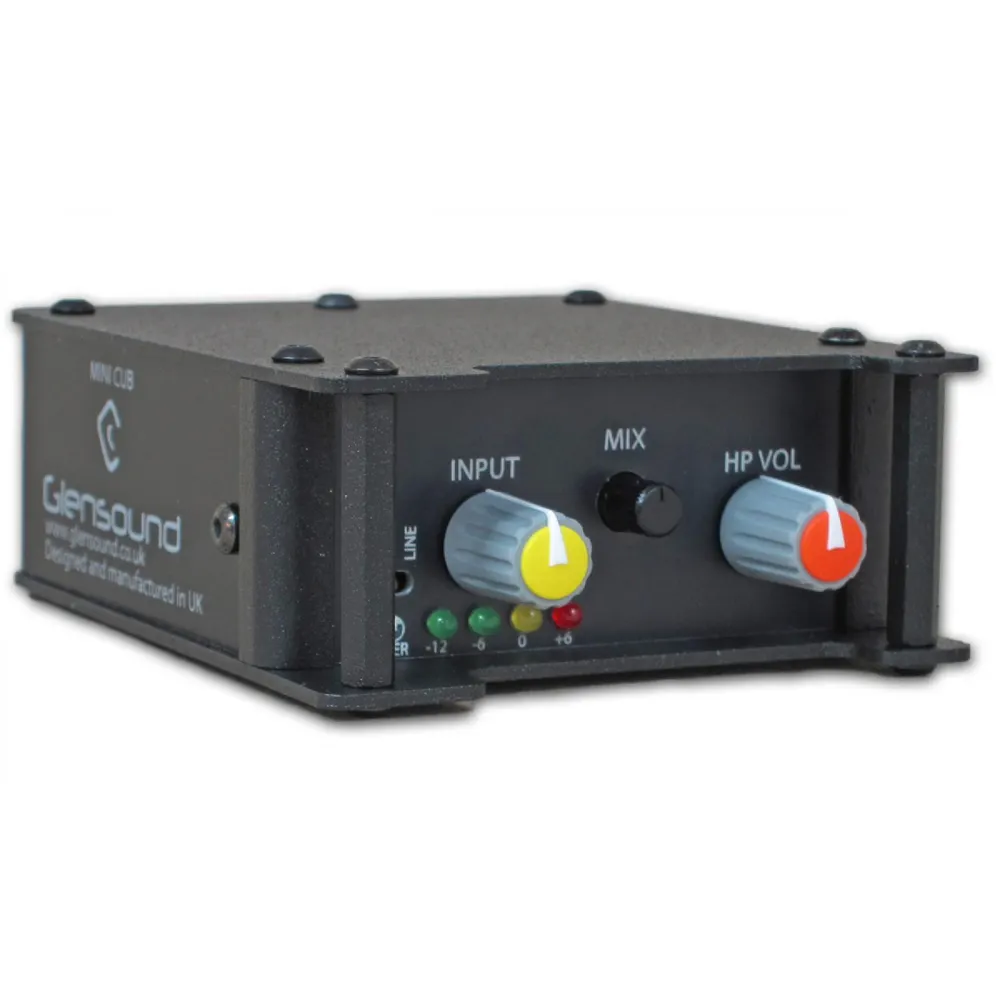
Your audio driver choice also affects speed. Always select manufacturer-optimized drivers, such as ASIO on Windows or Core Audio on macOS. Generic drivers introduce massive amounts of delay. To bypass software latency entirely, choose an interface with a direct monitoring feature. This hardware path routes your microphone signal straight to your headphones before it ever reaches the computer.
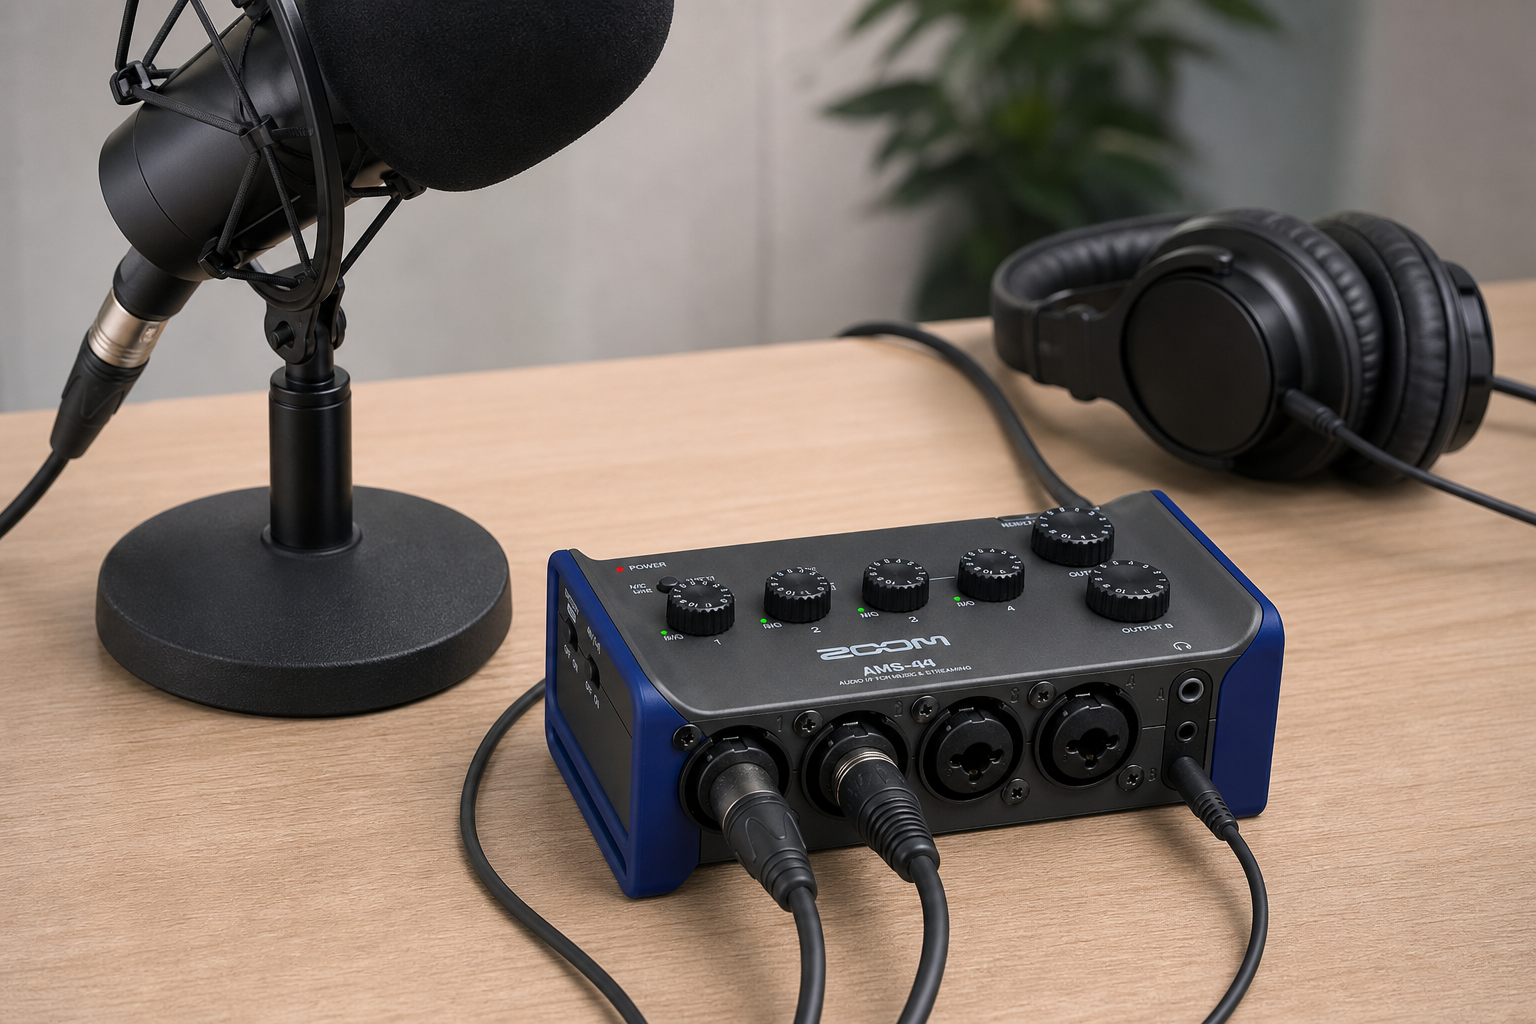
Monitoring and Loopback Workflows
You cannot properly evaluate the audio quality of a commercial edit on laptop speakers. You need a transparent listening environment. Ensure your interface provides dedicated monitor speaker outputs.
You also need an independent headphone output to monitor your voiceover takes without bleeding sound into the microphone. We highly recommend pairing your interface with professional closed-back headphones and speakers to isolate your ears from surrounding room noise.
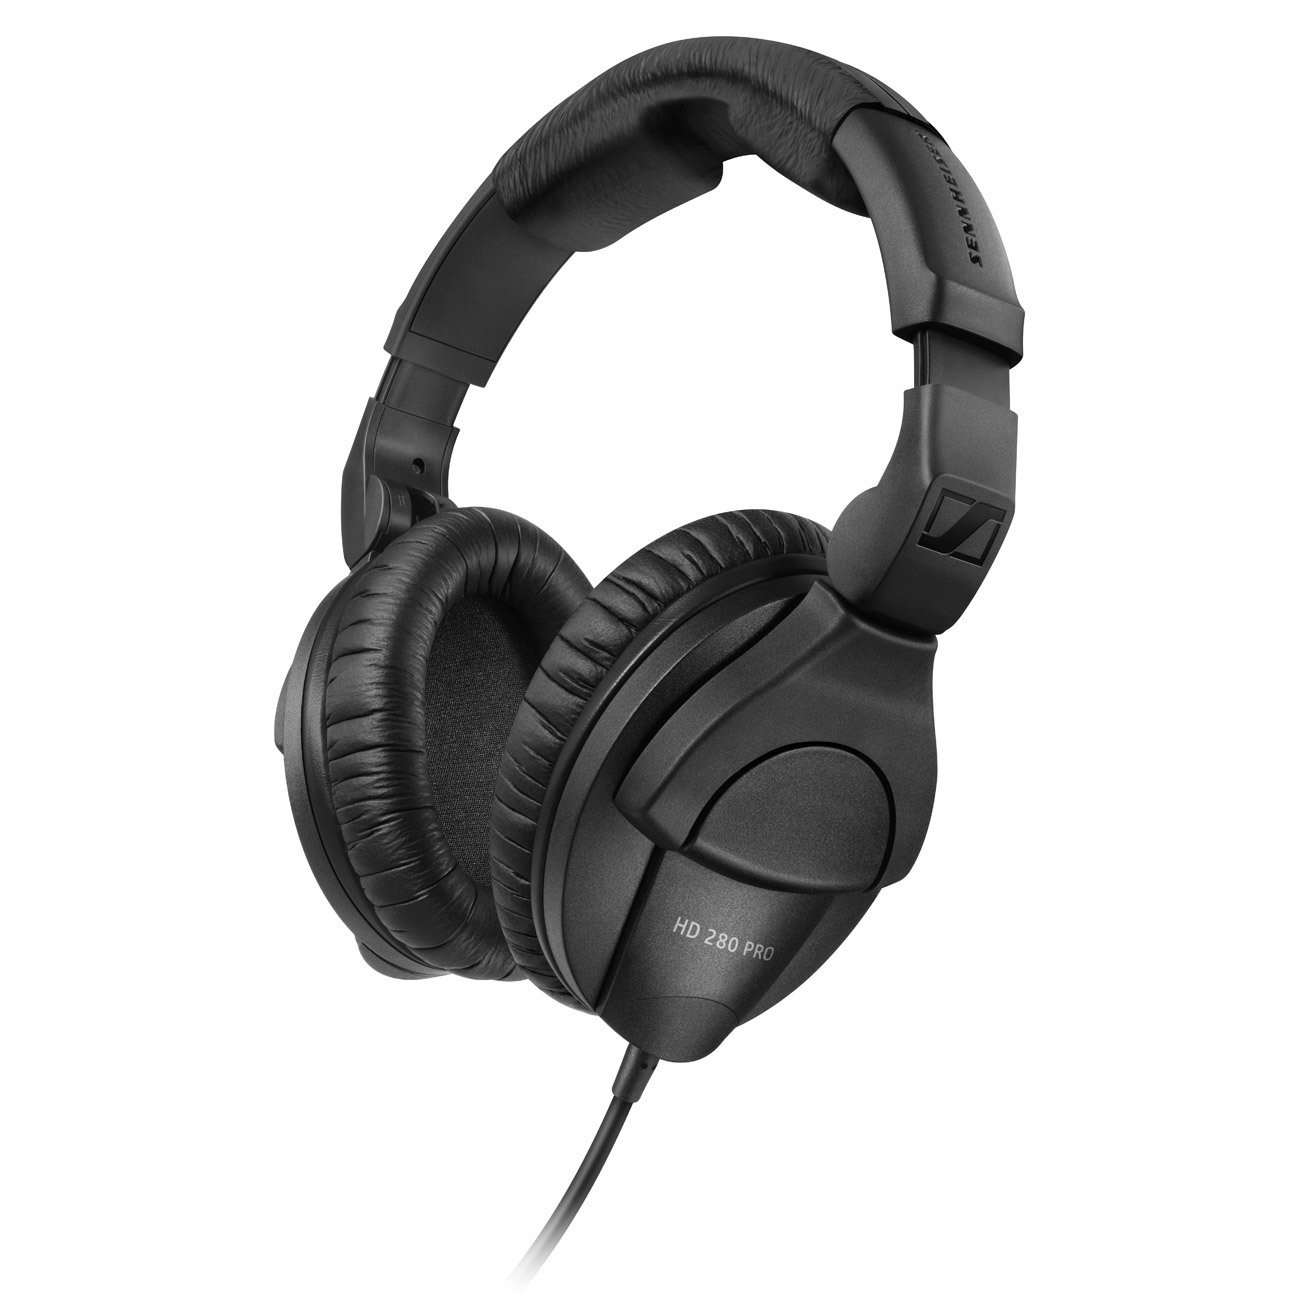
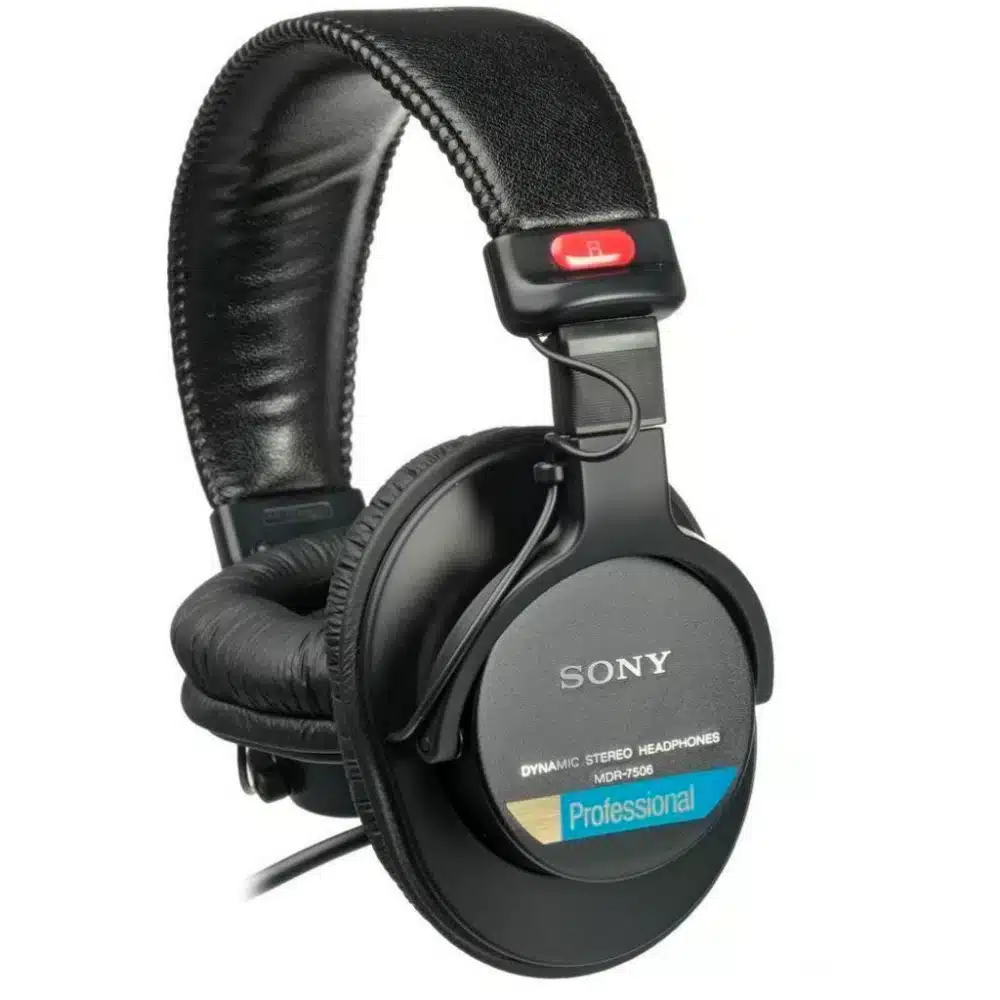
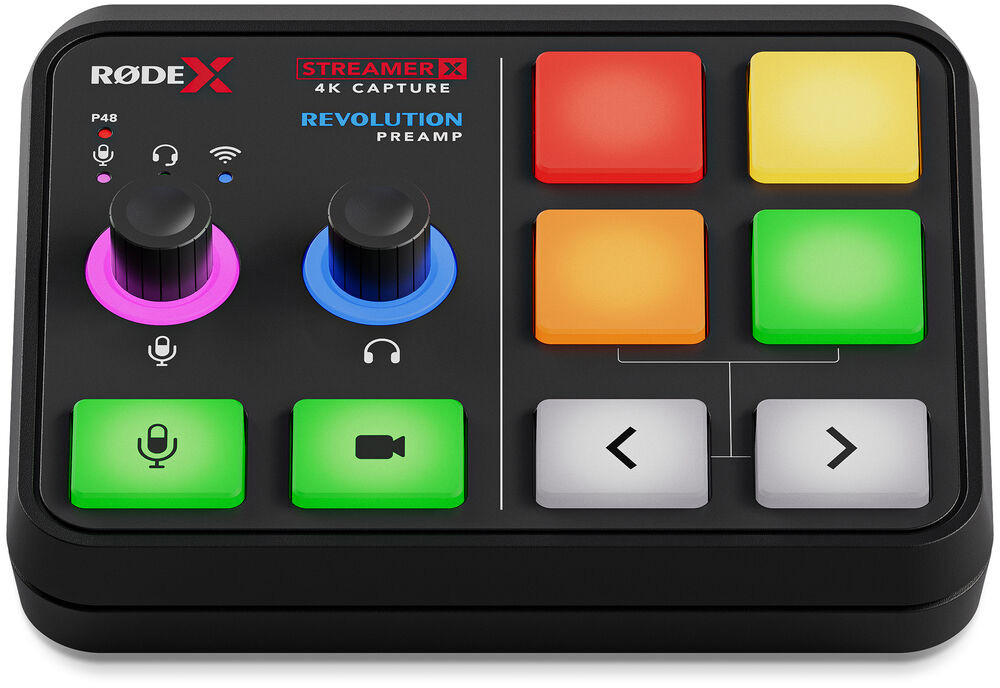
If your workflow involves screen recording, streaming, or pulling audio directly from web browsers, look for a dedicated loopback channel. Loopback routing takes your computer’s playback audio and sends it back into your recording software alongside your live microphone feed.
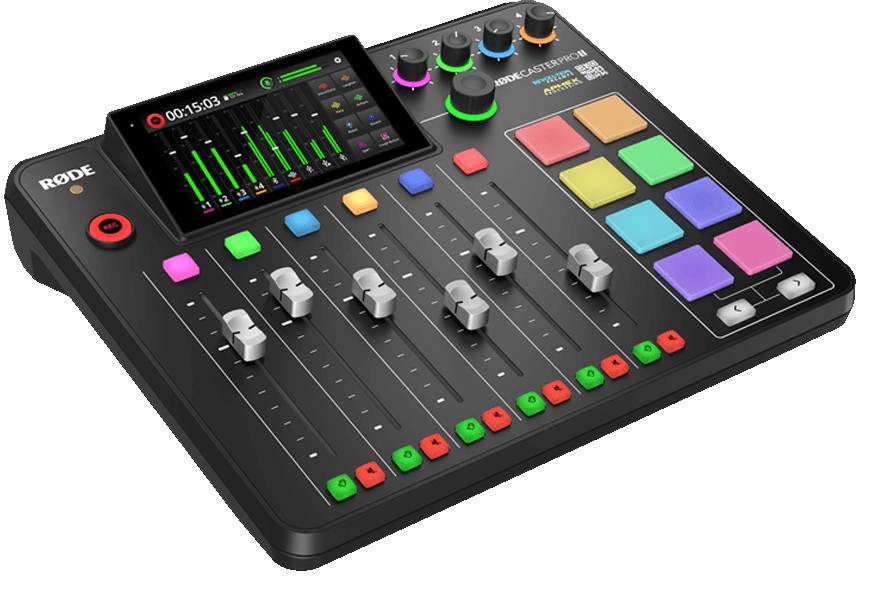
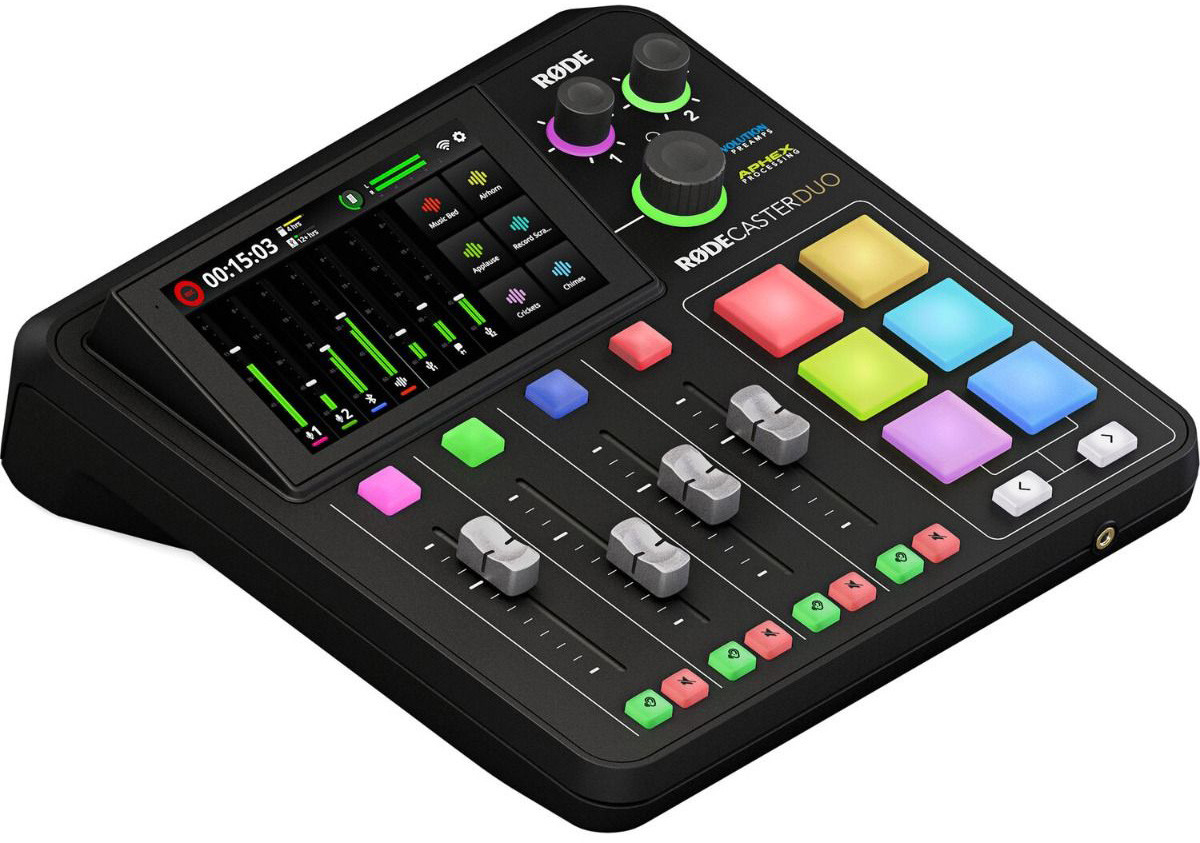
For creators who juggle live switching, remote guests, and multi-track recording, all-in-one mixing consoles combine audio interfaces, loopback features, and tactile faders into a single chassis. A dedicated audio mixer for video production ensures you manage gain staging correctly right at the source.
Key Takeaways
- Set your interface to 24-bit/48kHz to ensure perfect synchronization with your video timelines.
- Verify your hardware supplies +48V phantom power for condenser microphones and 60–70 dB of gain for dynamic broadcast microphones.
- Use direct monitoring and a low DAW buffer size (64–128 samples) to eliminate distracting headphone latency during voiceovers.
- Prioritize devices with a dedicated loopback channel if you record screen capture tutorials or broadcast live.
Ready to upgrade your editing suite? Browse our complete selection of audio accessories and audio recorders to build a zero-compromise post-production setup today.