Background Lighting for Video: 4 Techniques for Pro Setups
Flat, lifeless video footage is the fastest way to lose an audience’s attention. When you rely only on a single light source or ambient room light, your background blends into your subject. This creates a dull, two-dimensional image that feels unprofessional.
We’ve seen how precise background lighting transforms a basic frame into an engaging visual story. You do not need a massive studio to achieve this. Deliberate lighting choices help you create depth, add atmosphere, and direct viewer focus.
Whether you stream from a home office or shoot corporate interviews, controlling the background is a non-negotiable step. In this guide, we explore practical techniques to light your background and help you choose the right gear for the job.
Techniques for Professional Background Lighting
Lighting your background is all about spatial separation and context. Before you place a fixture behind your talent, you must understand how light shapes depth. If you are new to this process, start by mastering how to light a subject for video using a standard three-point setup. Once your key light is established, use these background lighting techniques.
Create Separation with a Rim Light
A rim light sits behind and slightly to one side of your subject. It casts a subtle outline along the talent’s shoulders and hair. This simple highlight pulls the subject away from the background. Make sure to leave some physical distance between your subject and the wall. This natural spacing combines with a dedicated rim light to instantly increase depth.
Keep the Background Dimmer Than the Key Light
Your background should provide context, not a distraction. Keep the background light dimmer than your primary key light. If the wall behind your subject is too bright, it draws viewer eyes away from the talent. Use dimmable fixtures to fine-tune this balance. The goal is to add spatial atmosphere without overpowering the scene.
Hide the Source and Diffuse the Glow
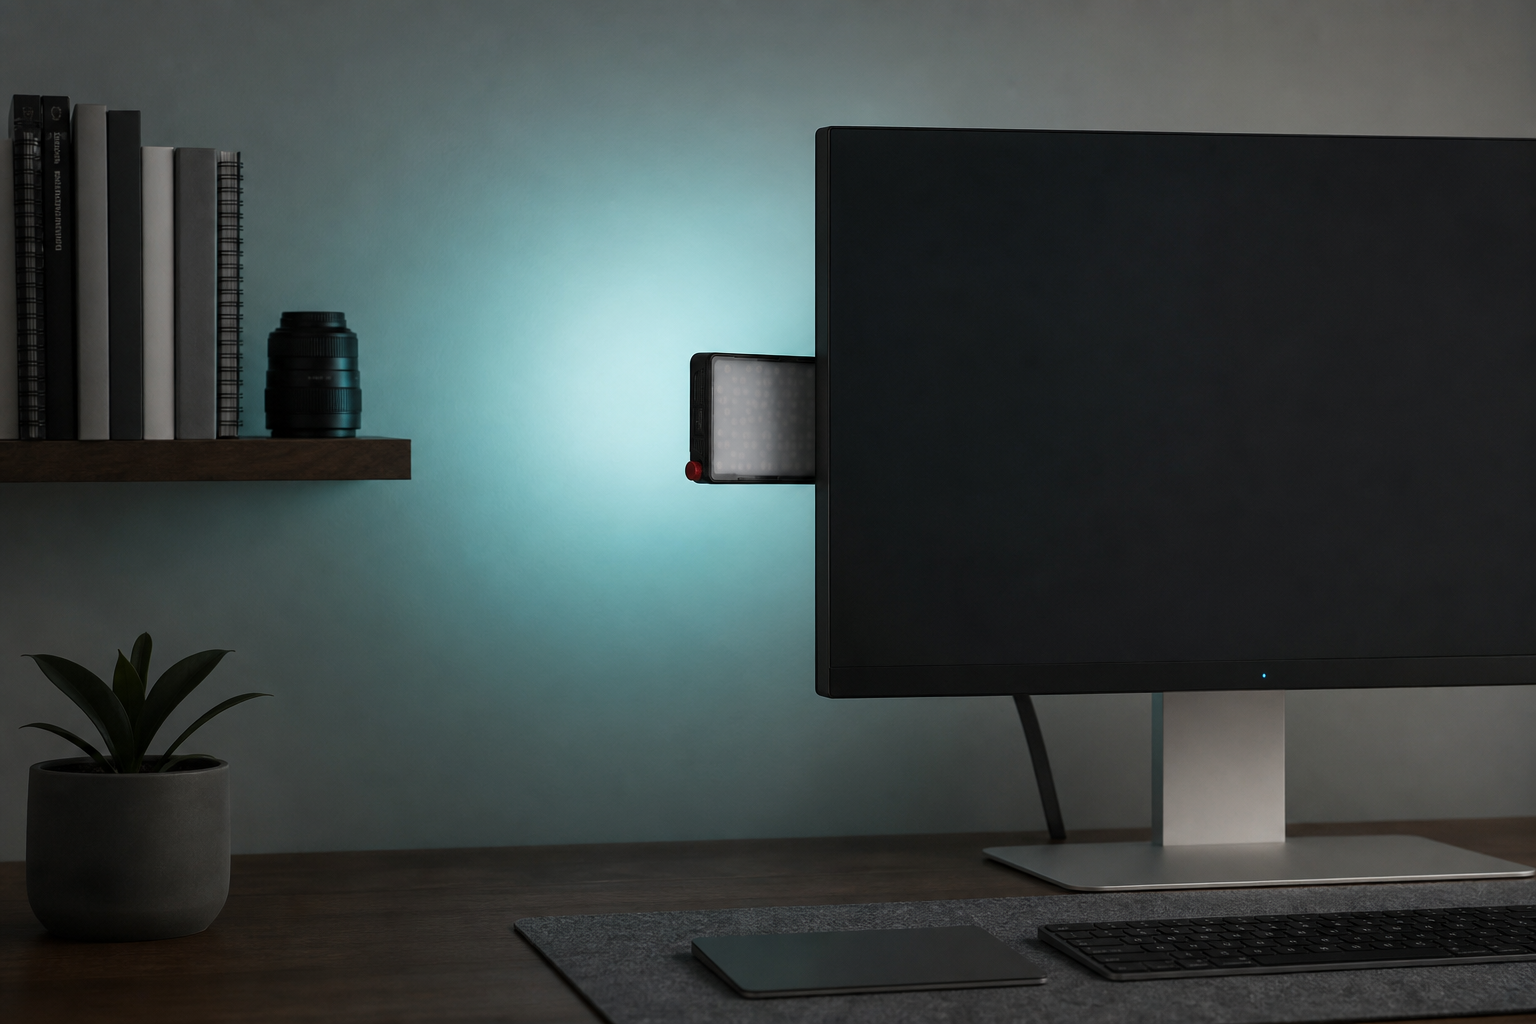
A visible bare bulb or glaring panel in the background looks messy. Hide the source of your background light whenever possible. Place small fixtures behind objects like bookshelves, monitors, or plants. This casts a soft, motivated glow across the wall. Always place background lights off-axis from the camera lens to avoid harsh reflections. Use light modifiers like diffusers to soften the output and eliminate harsh highlights.
Use Muted Colors for Atmosphere
Colored light shapes the viewer’s emotional response. However, heavily saturated colors quickly become overwhelming. Use RGB lights to cast muted or pastel tones on your background. This ensures the color complements the scene instead of dominating it. For a modern aesthetic, try the classic orange and blue contrast. You can learn more about how color psychology impacts your audience in our guide to colored light in video production.
Choosing the Right Gear for Background Lighting
Different fixtures serve different purposes in a background setup. Build your layout based on your available space and the specific effects you want to create.
Tube and Ring Lights for Practical Accents
Tube lights are versatile tools for background illumination. Their long form factor makes them easy to hide behind furniture. This creates even washes of light across a wall. They also look great on camera if you want a stylized, visible accent. We frequently recommend RGBWW tube fixtures because they offer excellent color rendition and run on internal batteries. This allows you to place them anywhere in your shot without worrying about cables. Explore more options in our tube and ring lights category.
-
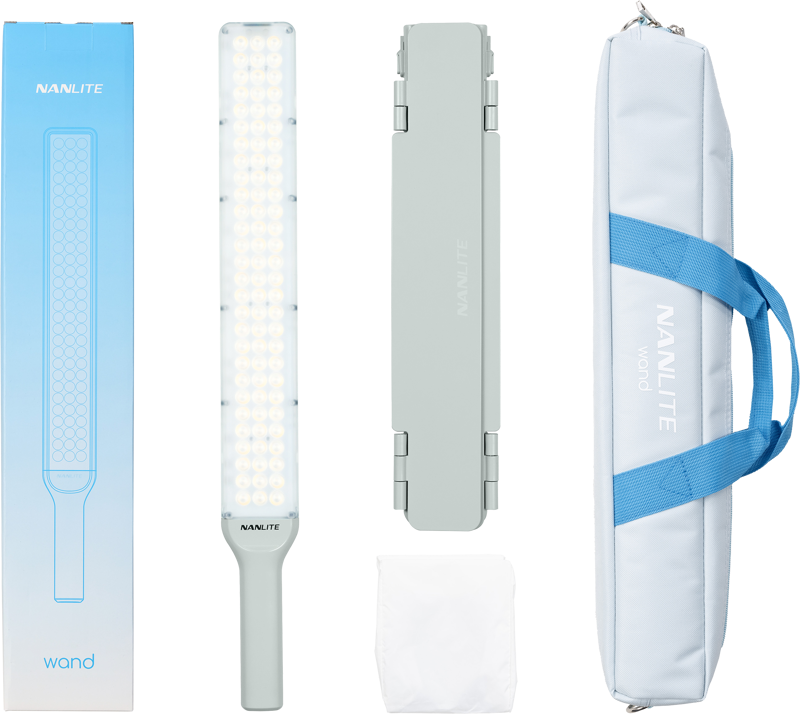
 Tube and ring lights
NANLITE Wand LED Full-color Mint Blue
€ 115.92€ 143.74 (incl. VAT) -
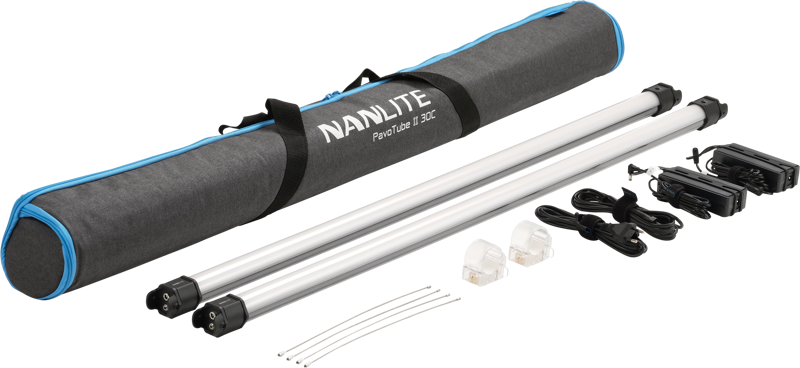
 Tube and ring lights
NANLITE Pavotube II 30C LED RGBWW Tube Light 2 Light Kit
€ 322.32€ 399.68 (incl. VAT) -
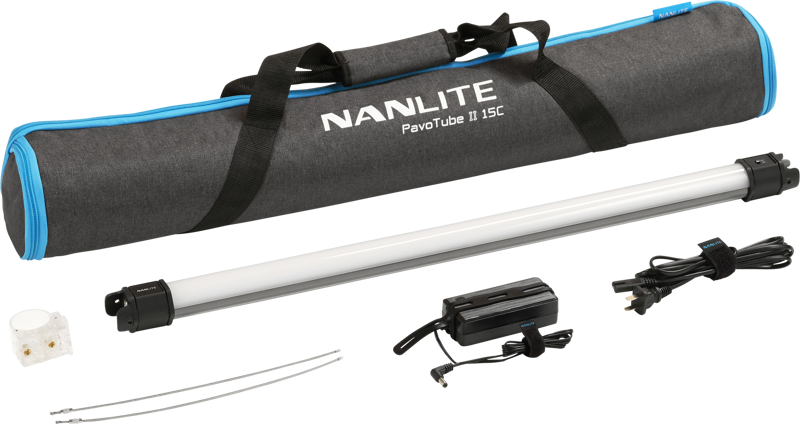
 Tube and ring lights
NANLITE Pavotube II 15C LED RGBWW Tube Light 1 Light Kit
€ 151.92€ 188.38 (incl. VAT) -
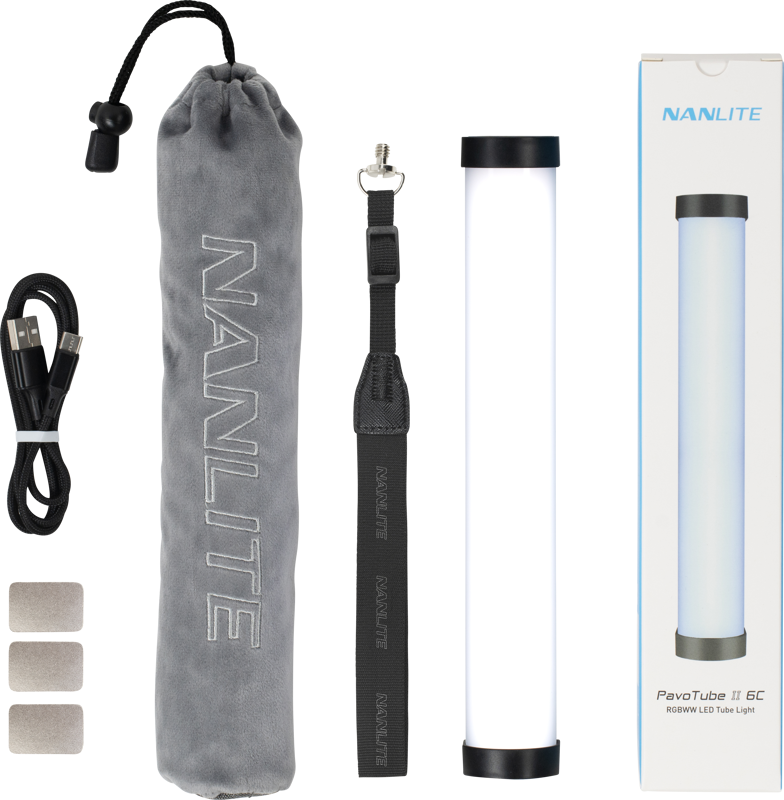
 Tube and ring lights
NANLITE PavoTube II 6C 1-Kit
€ 62.32€ 77.28 (incl. VAT)
Mini LED Lights and Smart Bulbs
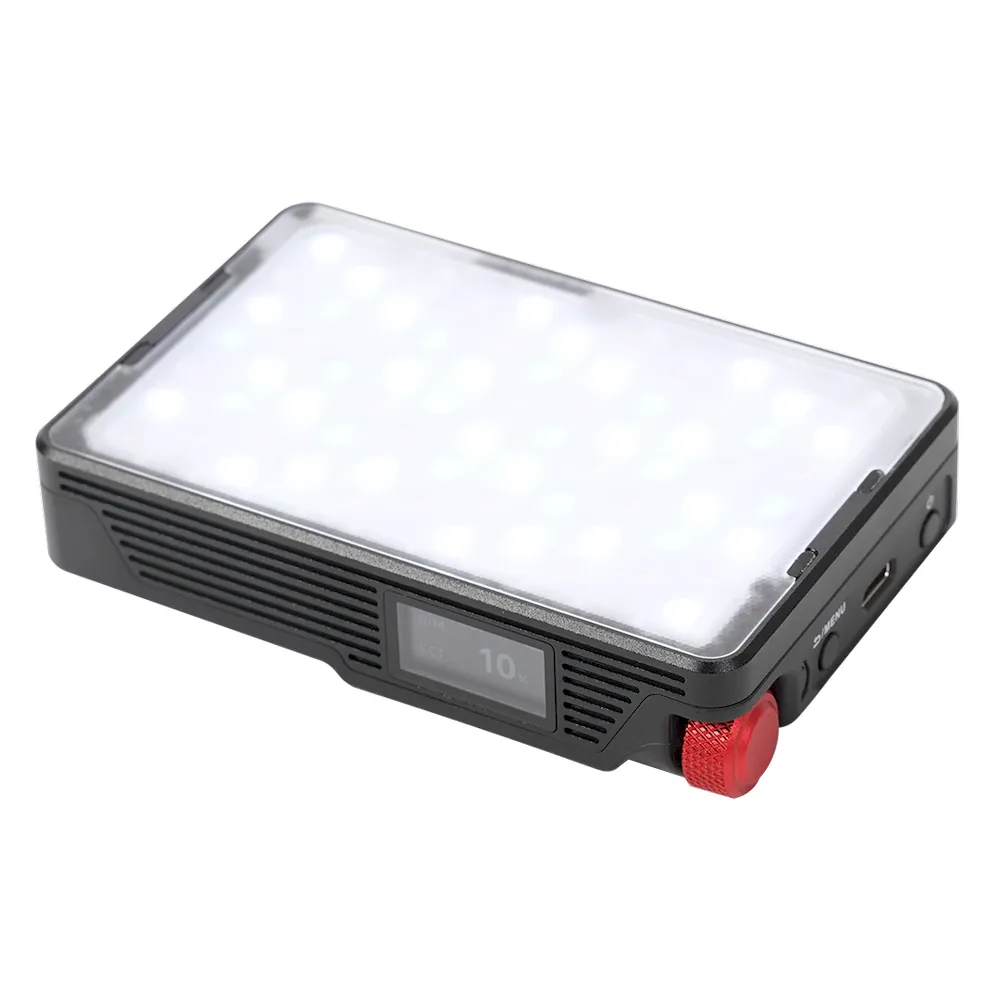
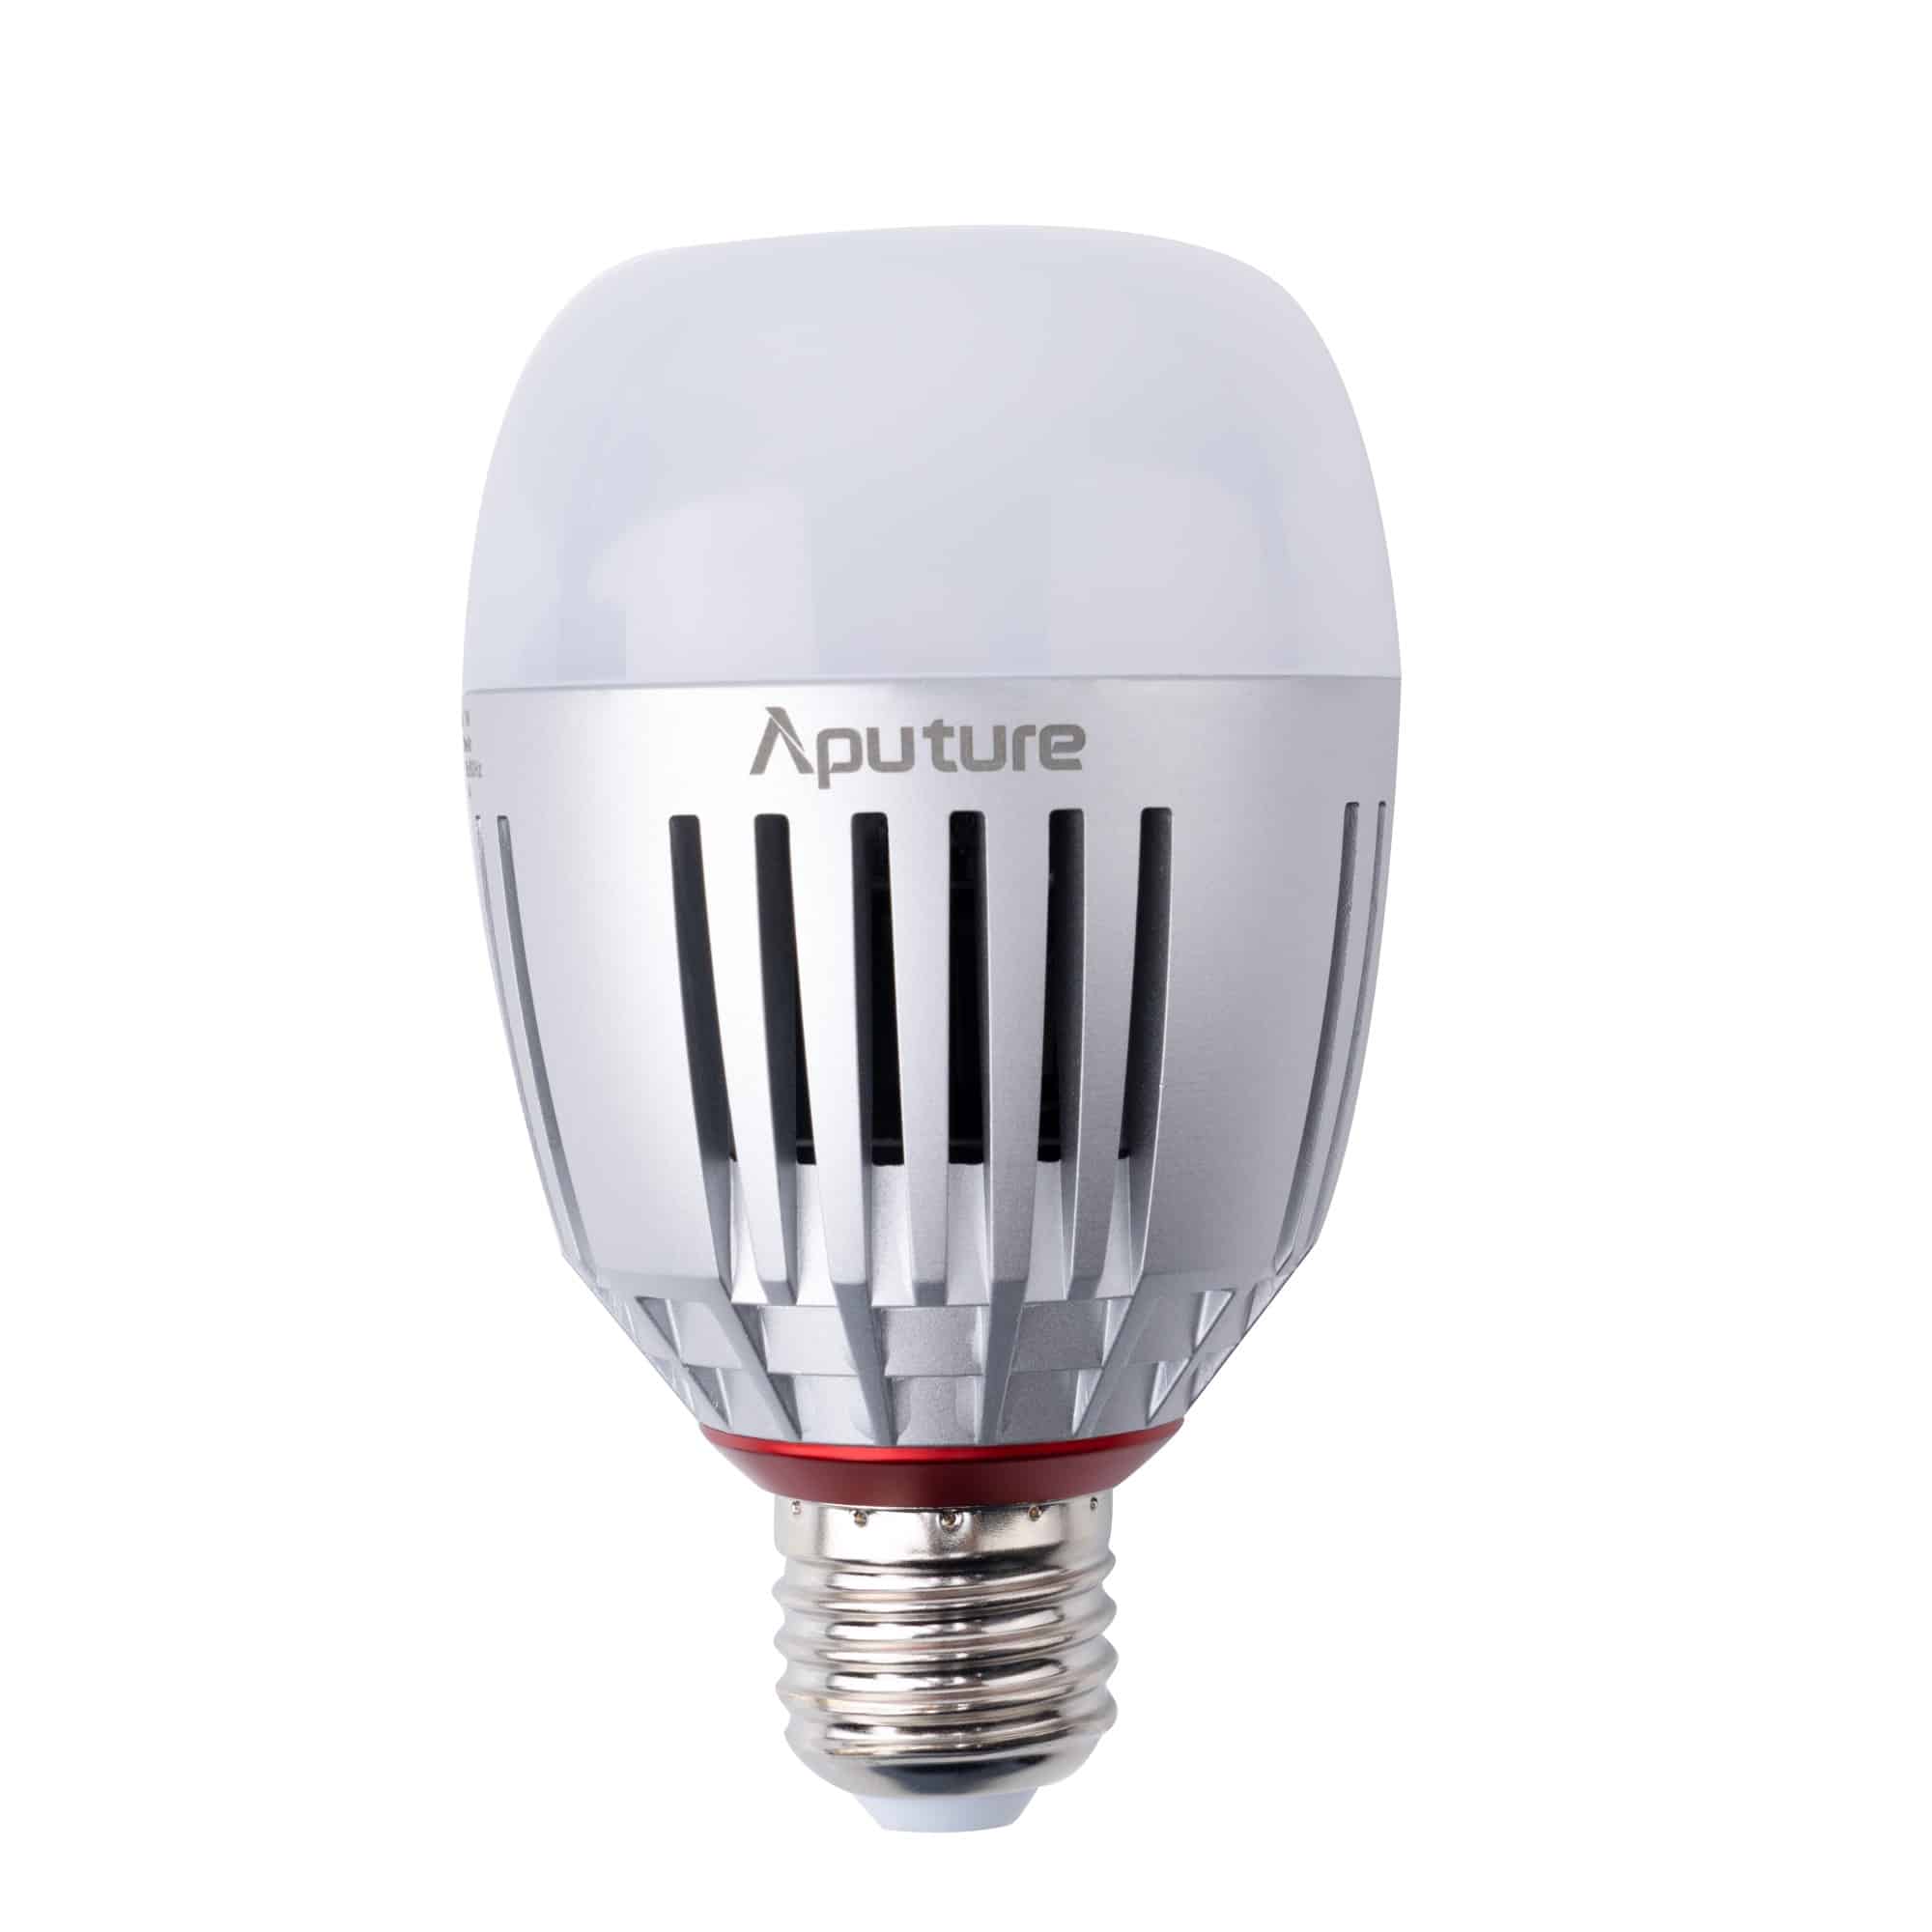
Small, battery-powered fixtures are perfect for tight corners. You can tuck them onto shelves or mount them to the back of a desk monitor. Smart bulbs are particularly useful for practical lighting. You can replace standard lamps in your background with RGBWW smart bulbs. This gives you full control over their brightness and color via a mobile app. These compact tools are ideal for flat-lay video, vlogs, and atmospheric effects. Check out our full range of mini LED lights for more portable solutions.
Compact LED Panels for Wide Washes
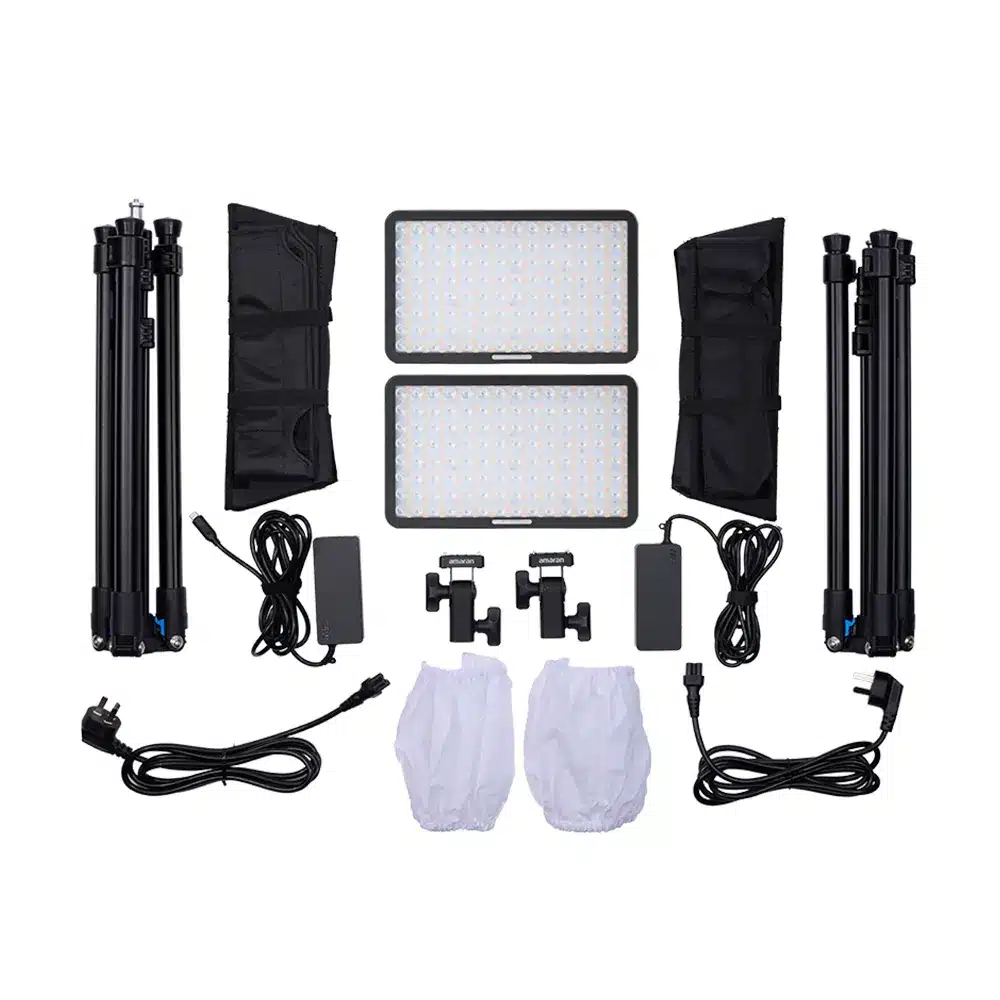
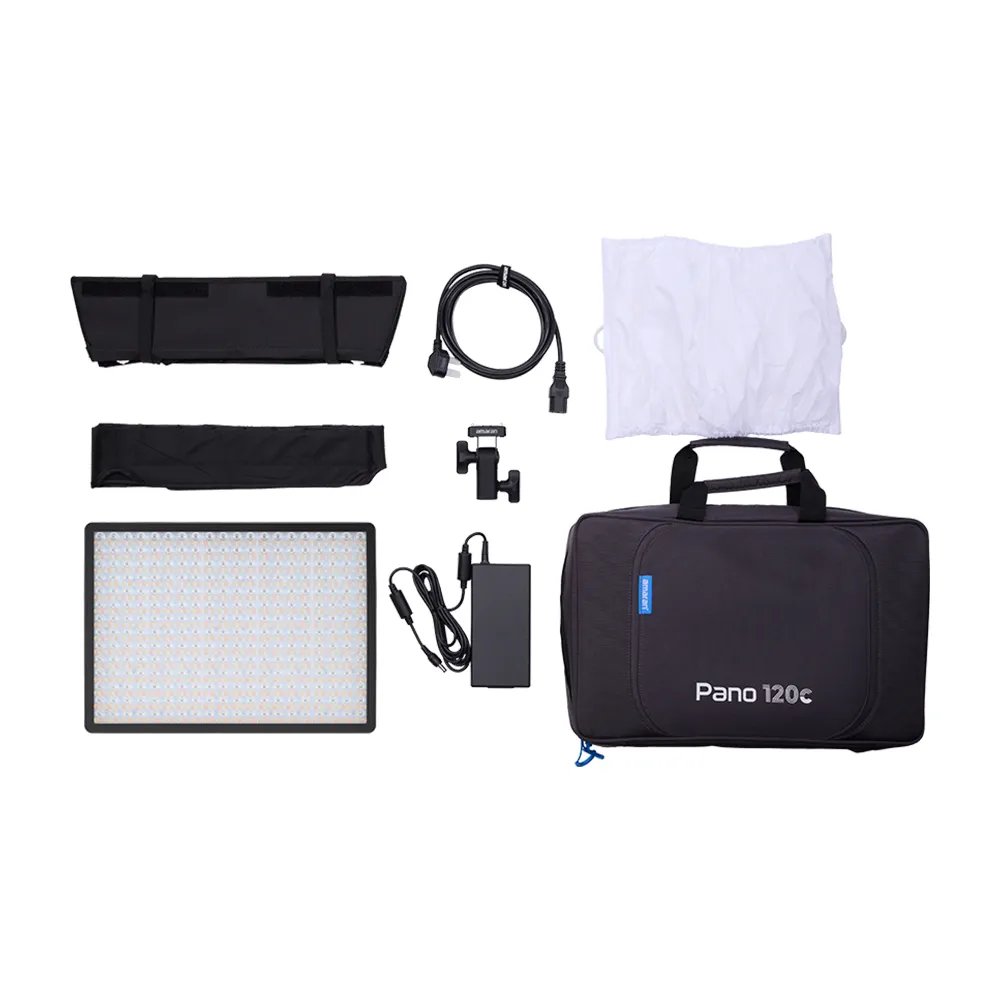
When you need to light a larger background surface evenly, flat LED panels are highly efficient. They naturally deliver a wide, diffuse flood of light. Slim panels are excellent for small home offices where floor space is limited. If you are deciding between different primary sources, read our comparison on LED panel vs Fresnel light for video. For background work, look for portable full-color panels that can run on USB-C or V-mount batteries. Browse our LED panels for professional options.
Spotlights for Directional Effects
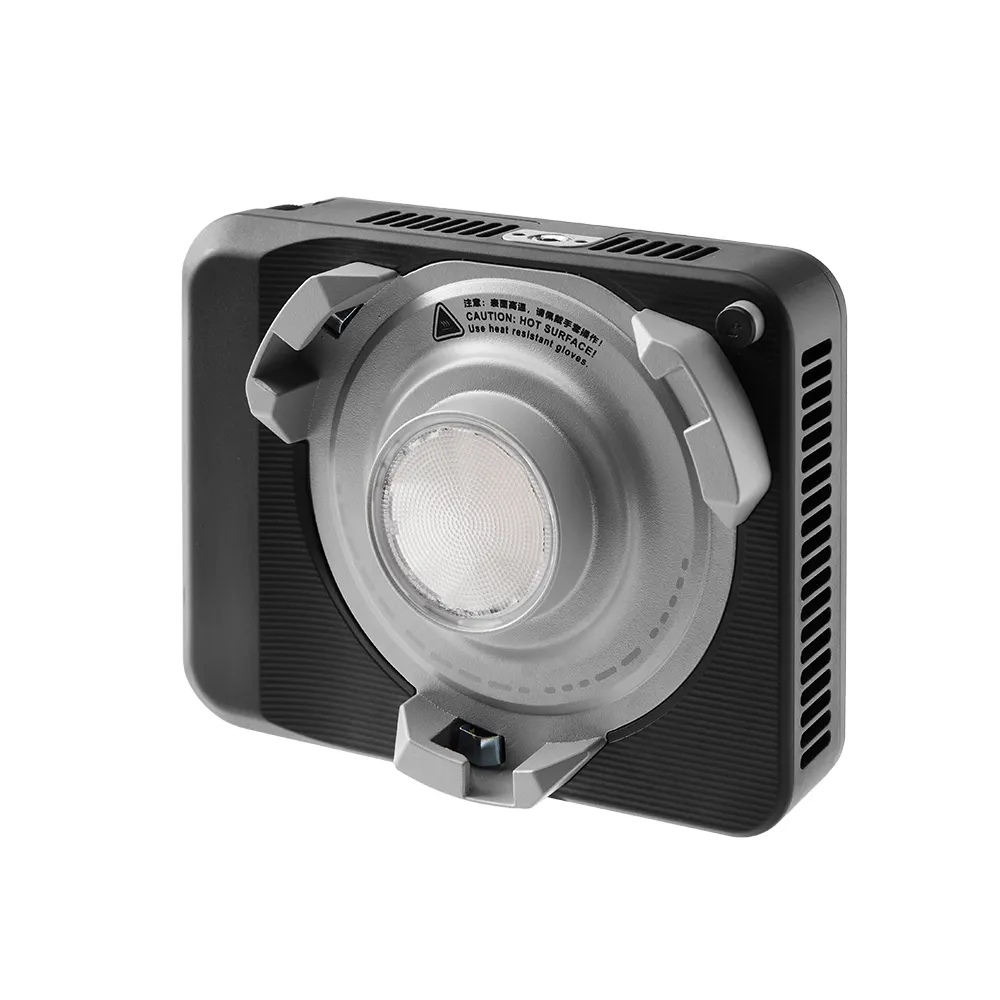
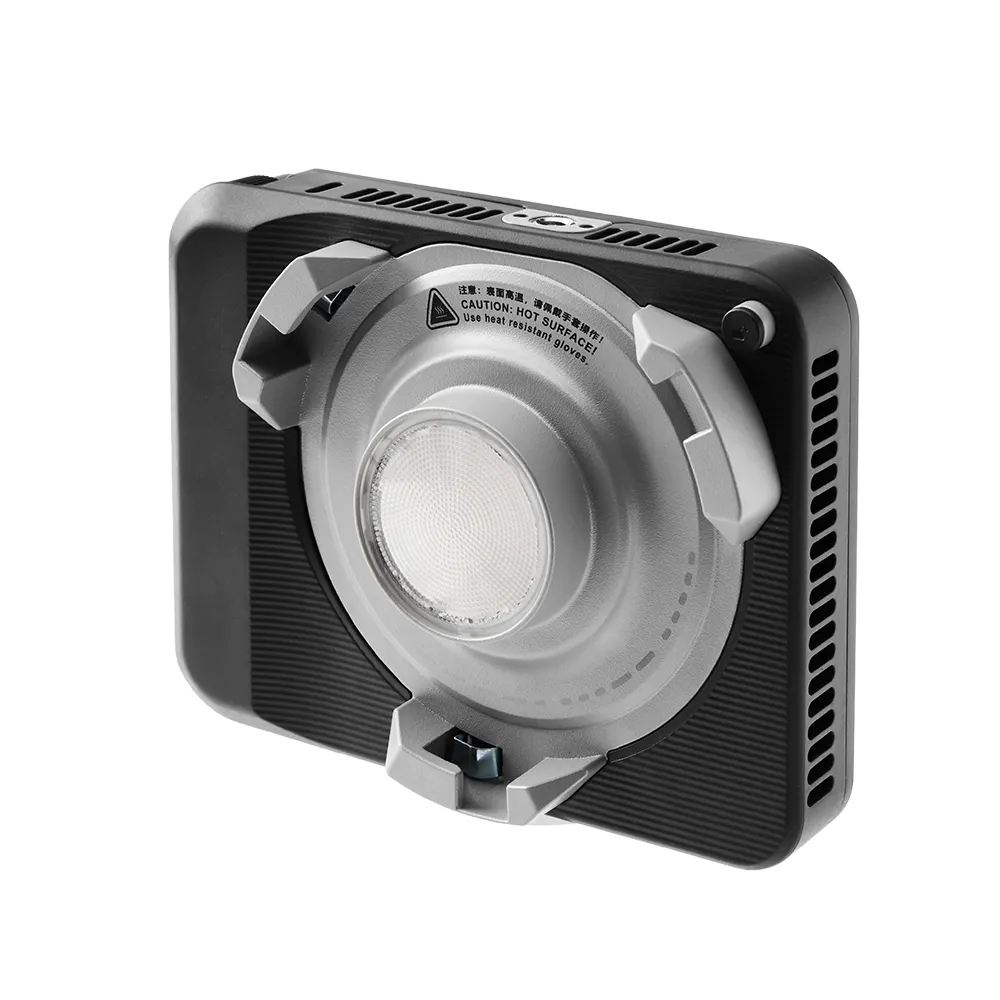
Sometimes you need to punch light through a specific area, create a textured shadow on the wall, or mimic sunlight coming through a window. Chip-on-Board (COB) spotlights provide a high-output, directional punch from a small footprint. Pairing a compact spotlight with a modifier allows you to control the beam exactly where you want it. These powerful fixtures are perfect components of a portable lighting kit for video. See our spot lights category for more directional tools.
Mastering Color Temperature and Light Quality
Matching the color temperature of your lights to the ambient room light is critical. Mixed lighting is a primary cause of amateur-looking video. If daylight from a window mixes with warm indoor lighting on your background, your camera struggles to balance the colors. This results in mismatched, unprofessional visuals. Set your fixtures to match your environment. Understanding colour temperature for video lighting gives you predictable, natural-looking results.
Here is a quick reference table for setting your background lights:
| Environment | Suggested Color Temperature (Kelvin) | Use Case |
|---|---|---|
| Warm Indoor Lighting | 2700K – 3200K | Matches practical lamps and cozy room aesthetics. |
| Corporate Offices | 4000K – 4500K | Blends with overhead fluorescent or neutral room lighting. |
| Daylight / Near Windows | 5600K – 6000K | Used to simulate natural light or match actual sunlight. |
Prioritize Color Accuracy and Flicker-Free Output
A light’s Kelvin rating tells you its color tone, but it does not guarantee color accuracy. The <a href="https://en.wikipedia.org/wiki/High-CRILEDlighting”>Color Rendering Index (CRI) measures how faithfully a light reproduces colors on a 0–100 scale. For professional video work, industry standards require a CRI of 90 or higher. This ensures that skin tones and background room interiors look natural. The Television Lighting Consistency Index (TLCI) is an even stricter standard for digital sensors. High-quality fixtures will score above 95 on this scale.
Finally, ensure your lighting system operates without flickering. According to best practices for video-enabled workspaces, invisible flicker degrades digital image quality. It introduces distracting visual noise to both your subject and background. Invest in professional-grade LED fixtures designed for camera sensors to avoid this issue.
Key Takeaways
- Create depth with separation: Use a rim light to pull your subject away from the background.
- Keep backgrounds dimmer: Your key light should always be the brightest source. A dimmer background adds context without distracting the viewer.
- Hide and soften sources: Place small fixtures off-axis and behind furniture to create a soft, motivated glow.
- Match your environment: Always align your background light’s color temperature with the ambient light to avoid messy, mixed-lighting scenarios.
- Use high-CRI fixtures: Rely on professional gear with a CRI of 90+ and flicker-free output to ensure your camera captures crisp, accurate colors.
Ready to upgrade your studio? Explore our carefully curated selection of video lighting solutions, or reach out to our technical support team to design the right setup for your specific space.