How to Safely Buy Used Video Equipment Without Risks
Upgrading your video setup gets expensive quickly. Buying pre-owned gear helps you stretch your production budget. You can secure professional cinema cameras, lenses, and field recorders at a fraction of their original cost.
However, buying secondhand equipment comes with hidden risks. Sensor damage, loose mounts, worn internal motors, and online scams can turn a deal into a costly mistake. In our experience, buying pre-owned gear safely requires a systematic evaluation process.
Before you spend your budget, learn how to evaluate secondhand equipment and avoid online fraud. You can also explore our verified catalog of used equipment to find gear ready for set.
How to Safely Source Pre-Owned Video Gear
Where you buy matters as much as what you buy. Private marketplaces on social media often feature lower prices. However, they also carry the highest risk of fraud and hidden defects.
Scammers often list high-end cinema gear at low prices to tempt buyers. According to Federal Trade Commission guidelines on online shopping, you should avoid sellers who insist on wire transfers, gift cards, or cryptocurrency. Always use a credit card on encrypted websites using `https://`. Credit cards allow you to dispute charges if an item never arrives or comes damaged.
To protect your investment, buy from established suppliers who inspect gear and offer clear return policies. Before buying from private sellers, search the seller’s name online with terms like “scam” or “complaint”. If you need help picking the right gear for your workflow, check our video camera buying guide.
Testing Used Camera Bodies and External Recorders
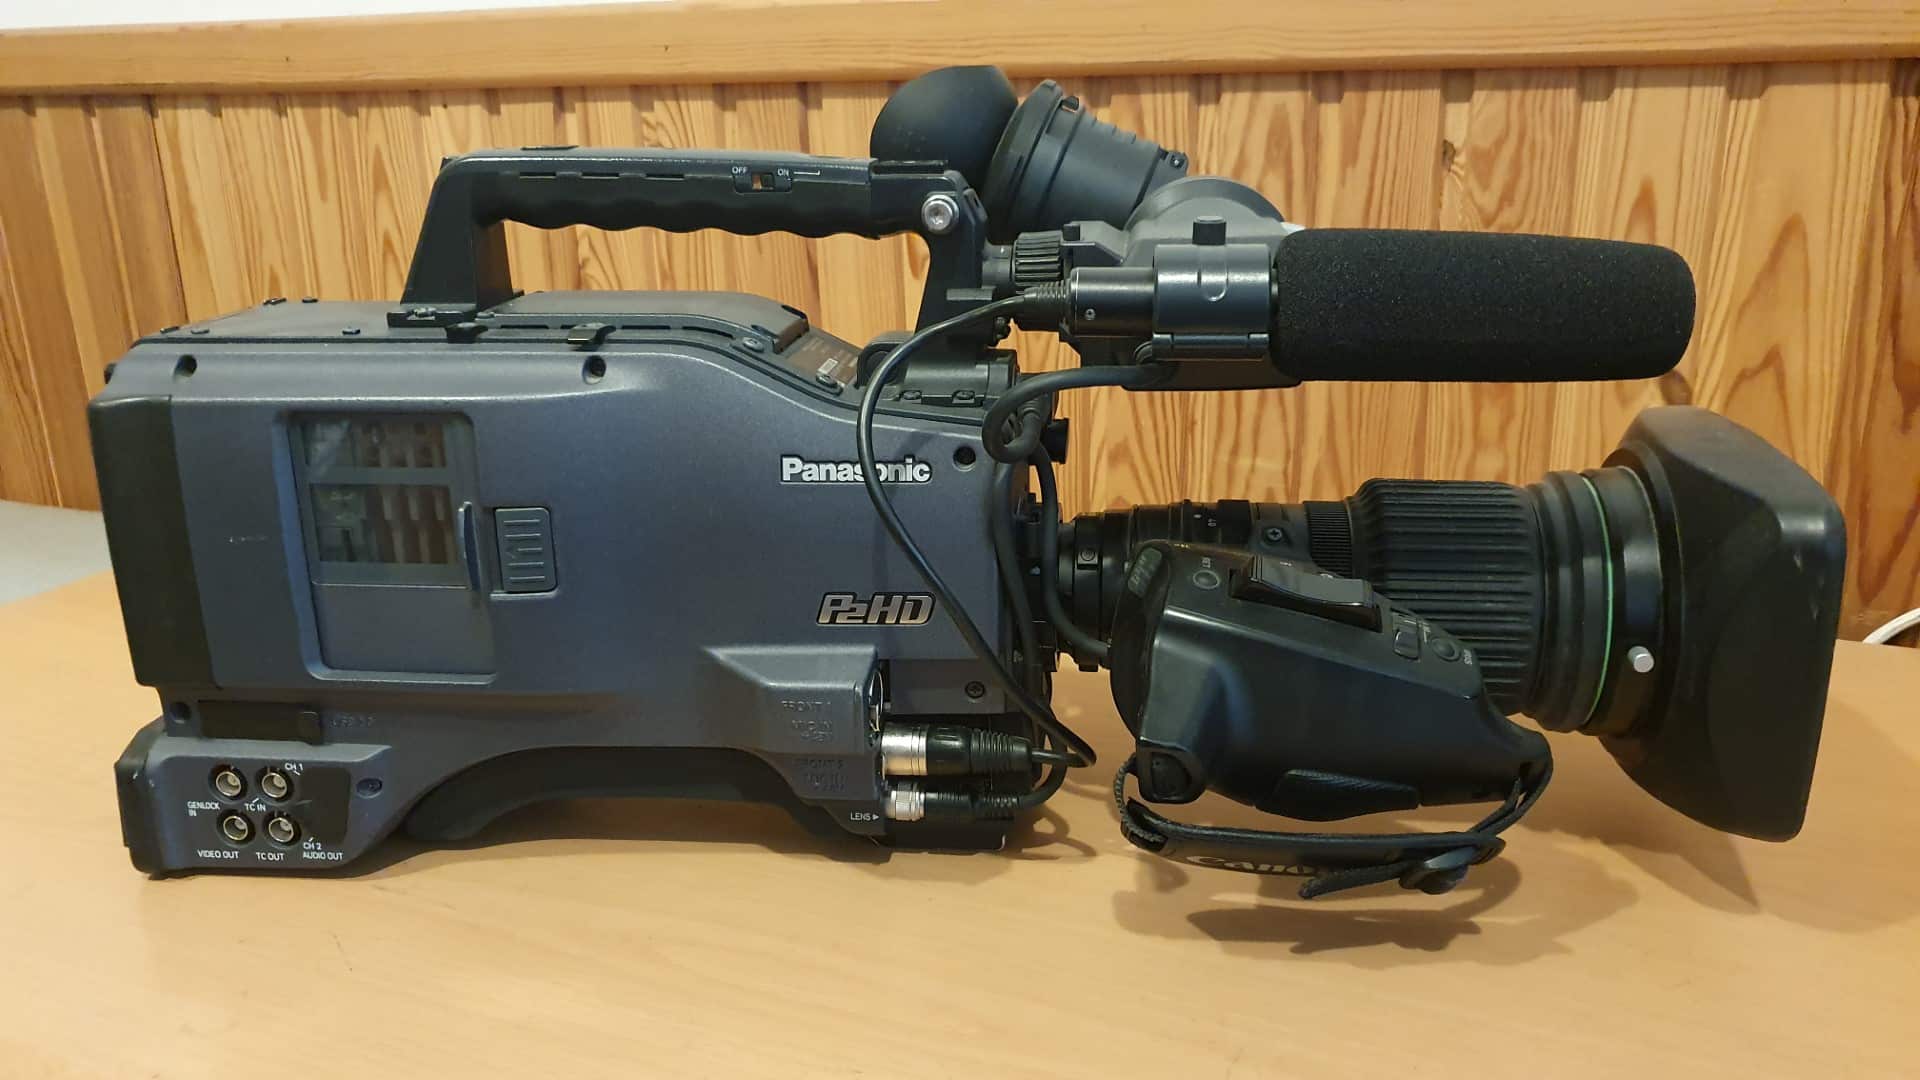
Camera bodies endure physical stress during shoots. When evaluating a used body, start with a physical check. Inspect the body for deep scratches, loose chassis seams, and cracked port covers. Check all HDMI, SDI, audio, and power ports for loose connections or bent pins.
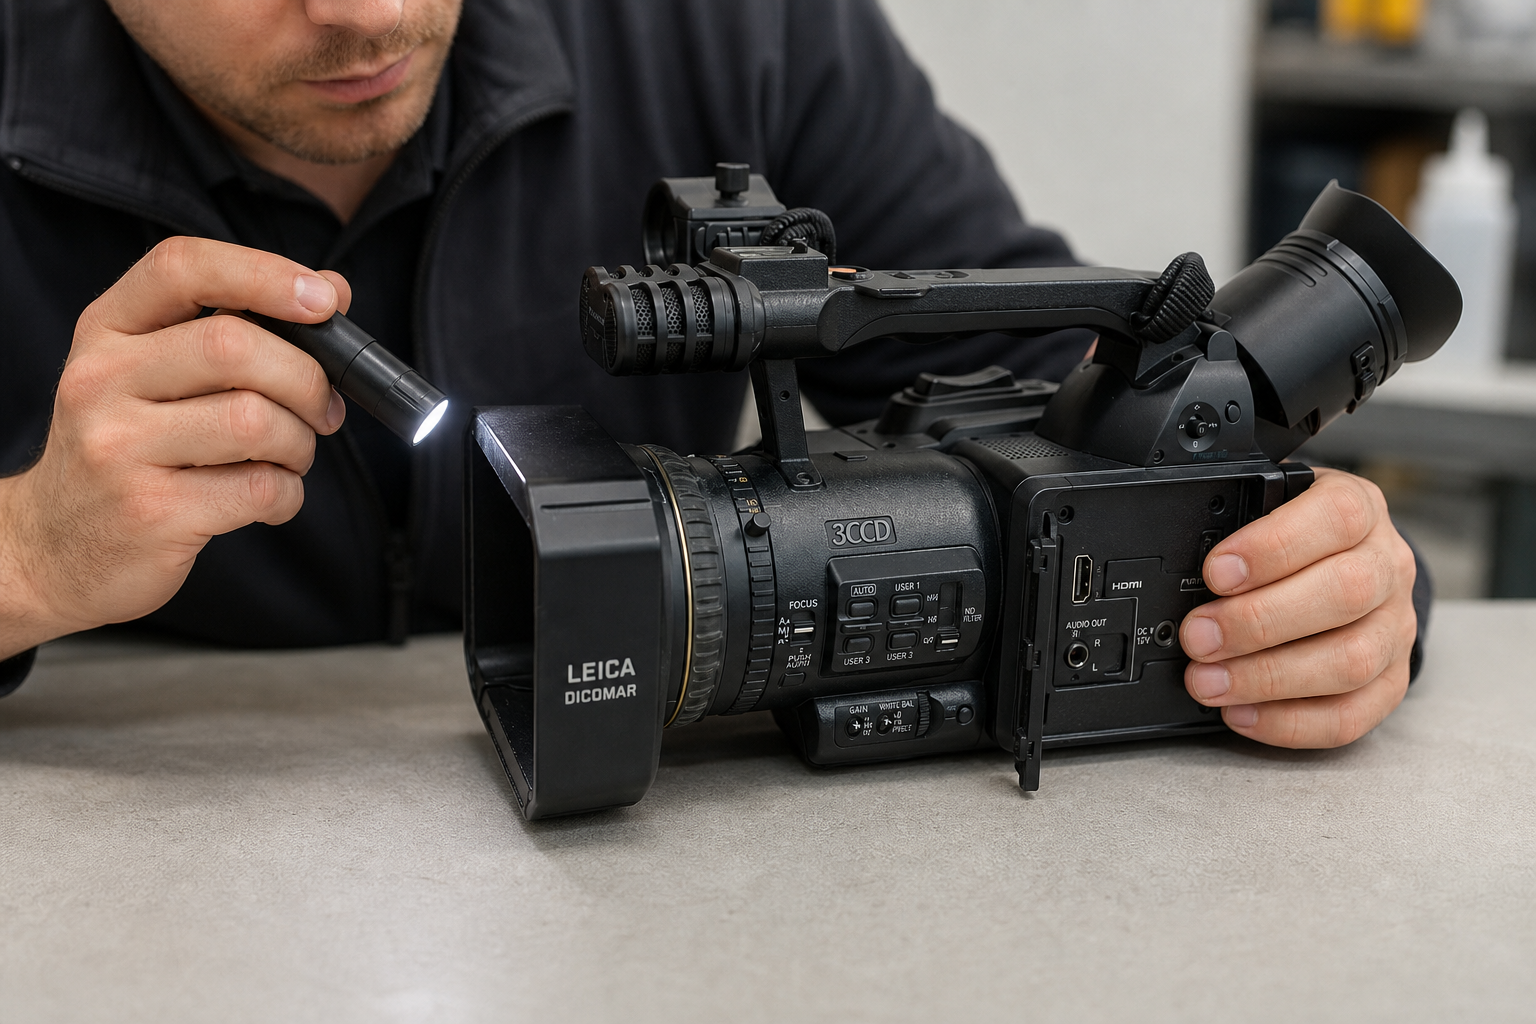
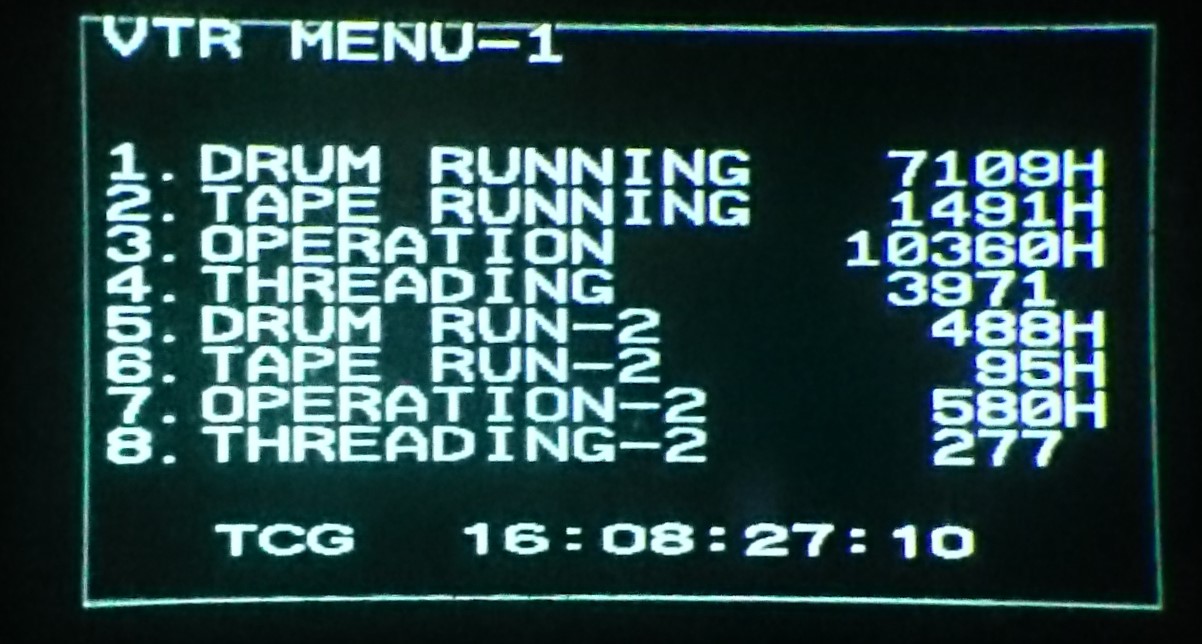
Next, turn on the unit and cycle through all settings. Shoot a test image or record video at f/22 against a clean white surface. This test reveals sensor dust, dead pixels, or permanent laser burns. Check the hour meter or shutter count whenever possible. High hour counts on broadcast cameras show heavy use, but broadcast gear can run reliably for hundreds of hours when maintained properly.
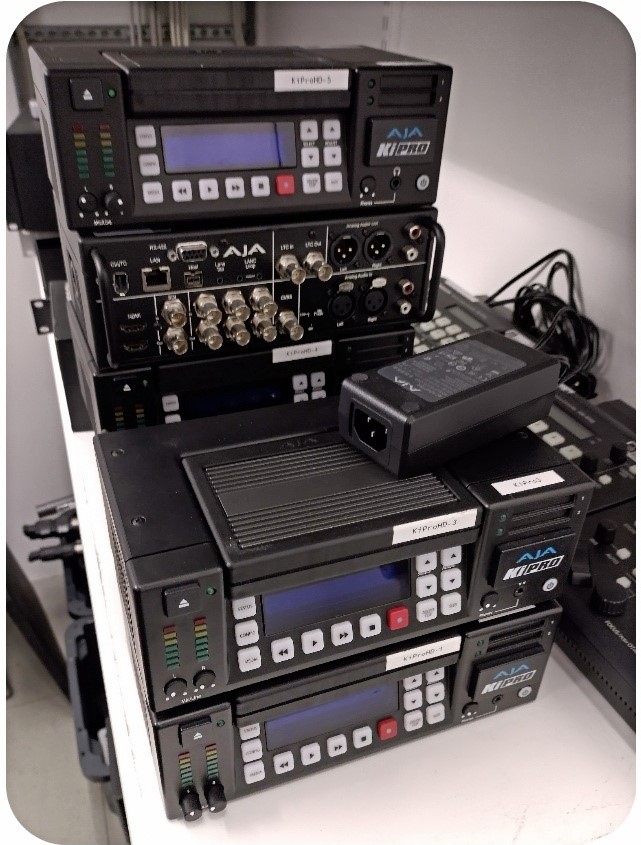
If you use external monitor-recorders, test the video passthrough and media slots directly on location. Read our guide to external video recorders to understand signal formatting and input requirements.
Inspecting Used Lenses and Studio Lighting
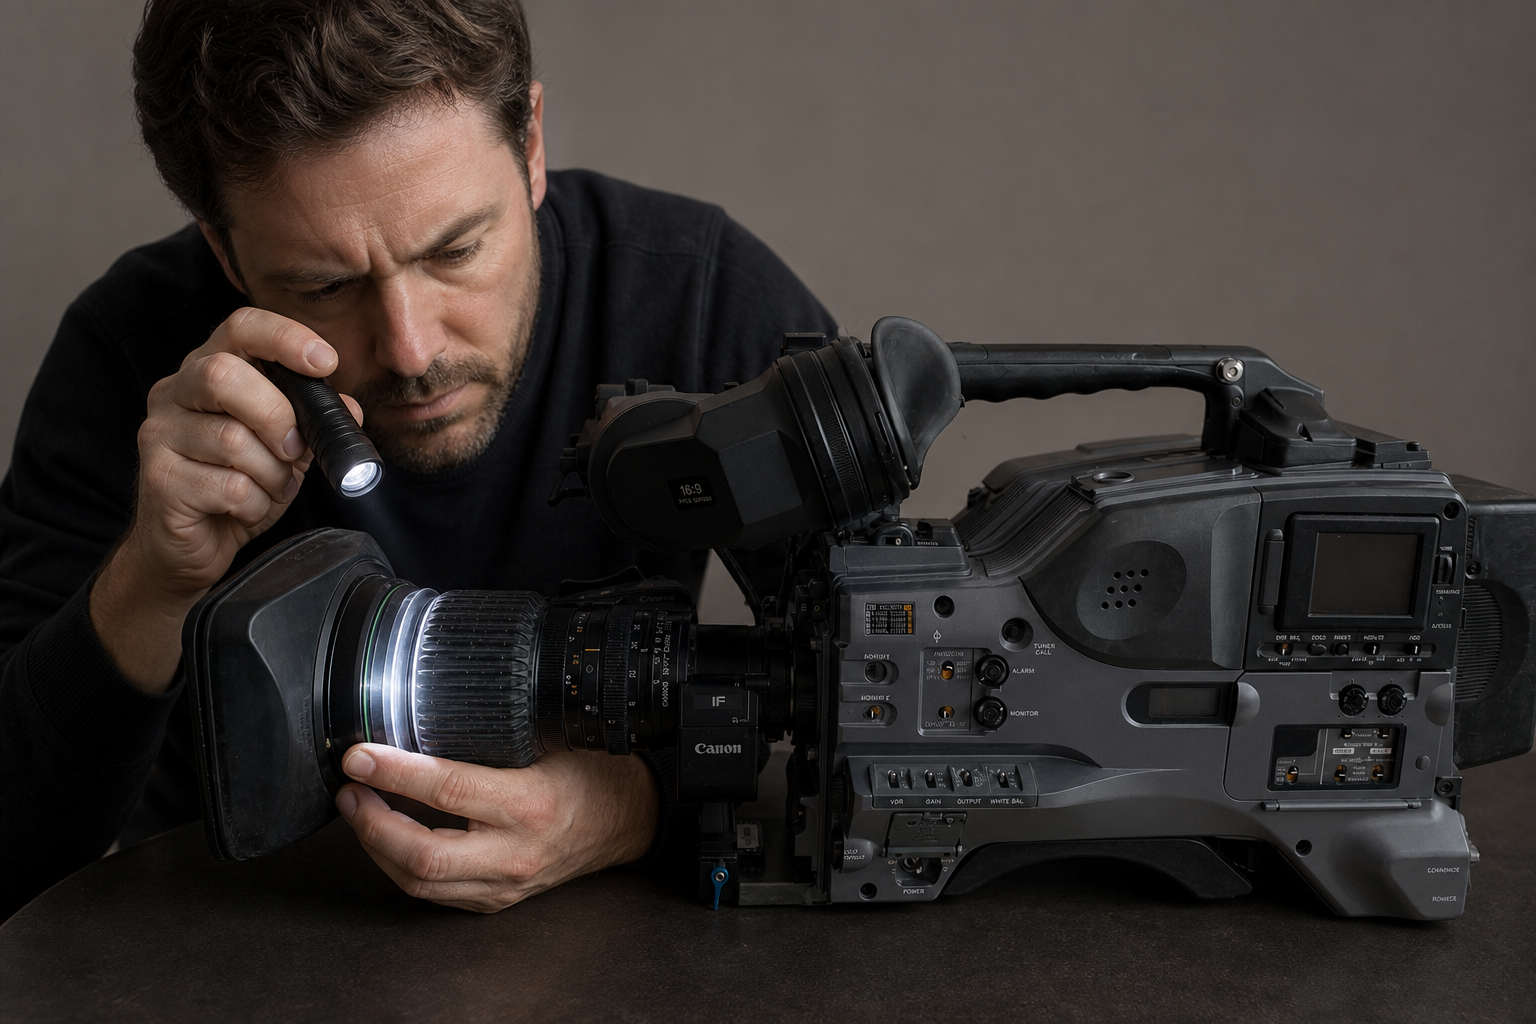
Lenses determine your visual style, but internal glass components are fragile. Shine a bright light through both ends of the lens. Look for internal haze, fungus, element separation, or heavy dust accumulation. Small surface dust is normal, but internal fungus degrades image contrast permanently.
Mount the lens to a camera body to test mechanical focus and zoom rings. The rings should rotate smoothly without grinding or loose play. Take test shots of a detailed subject, like a brick wall, from wide open down to f/8. Check the corners to confirm the lens is sharp and not decentered. Read our guide on selecting a cinema lens for video production for technical details.
Studio lighting requires a different approach. Test LED panels across their full brightness range from 0% to 100%. Watch for flickering or dead LED nodes. High-quality fixtures maintain color temperature and accurate color rendering without overheating.
-
 USED EQUIPMENT
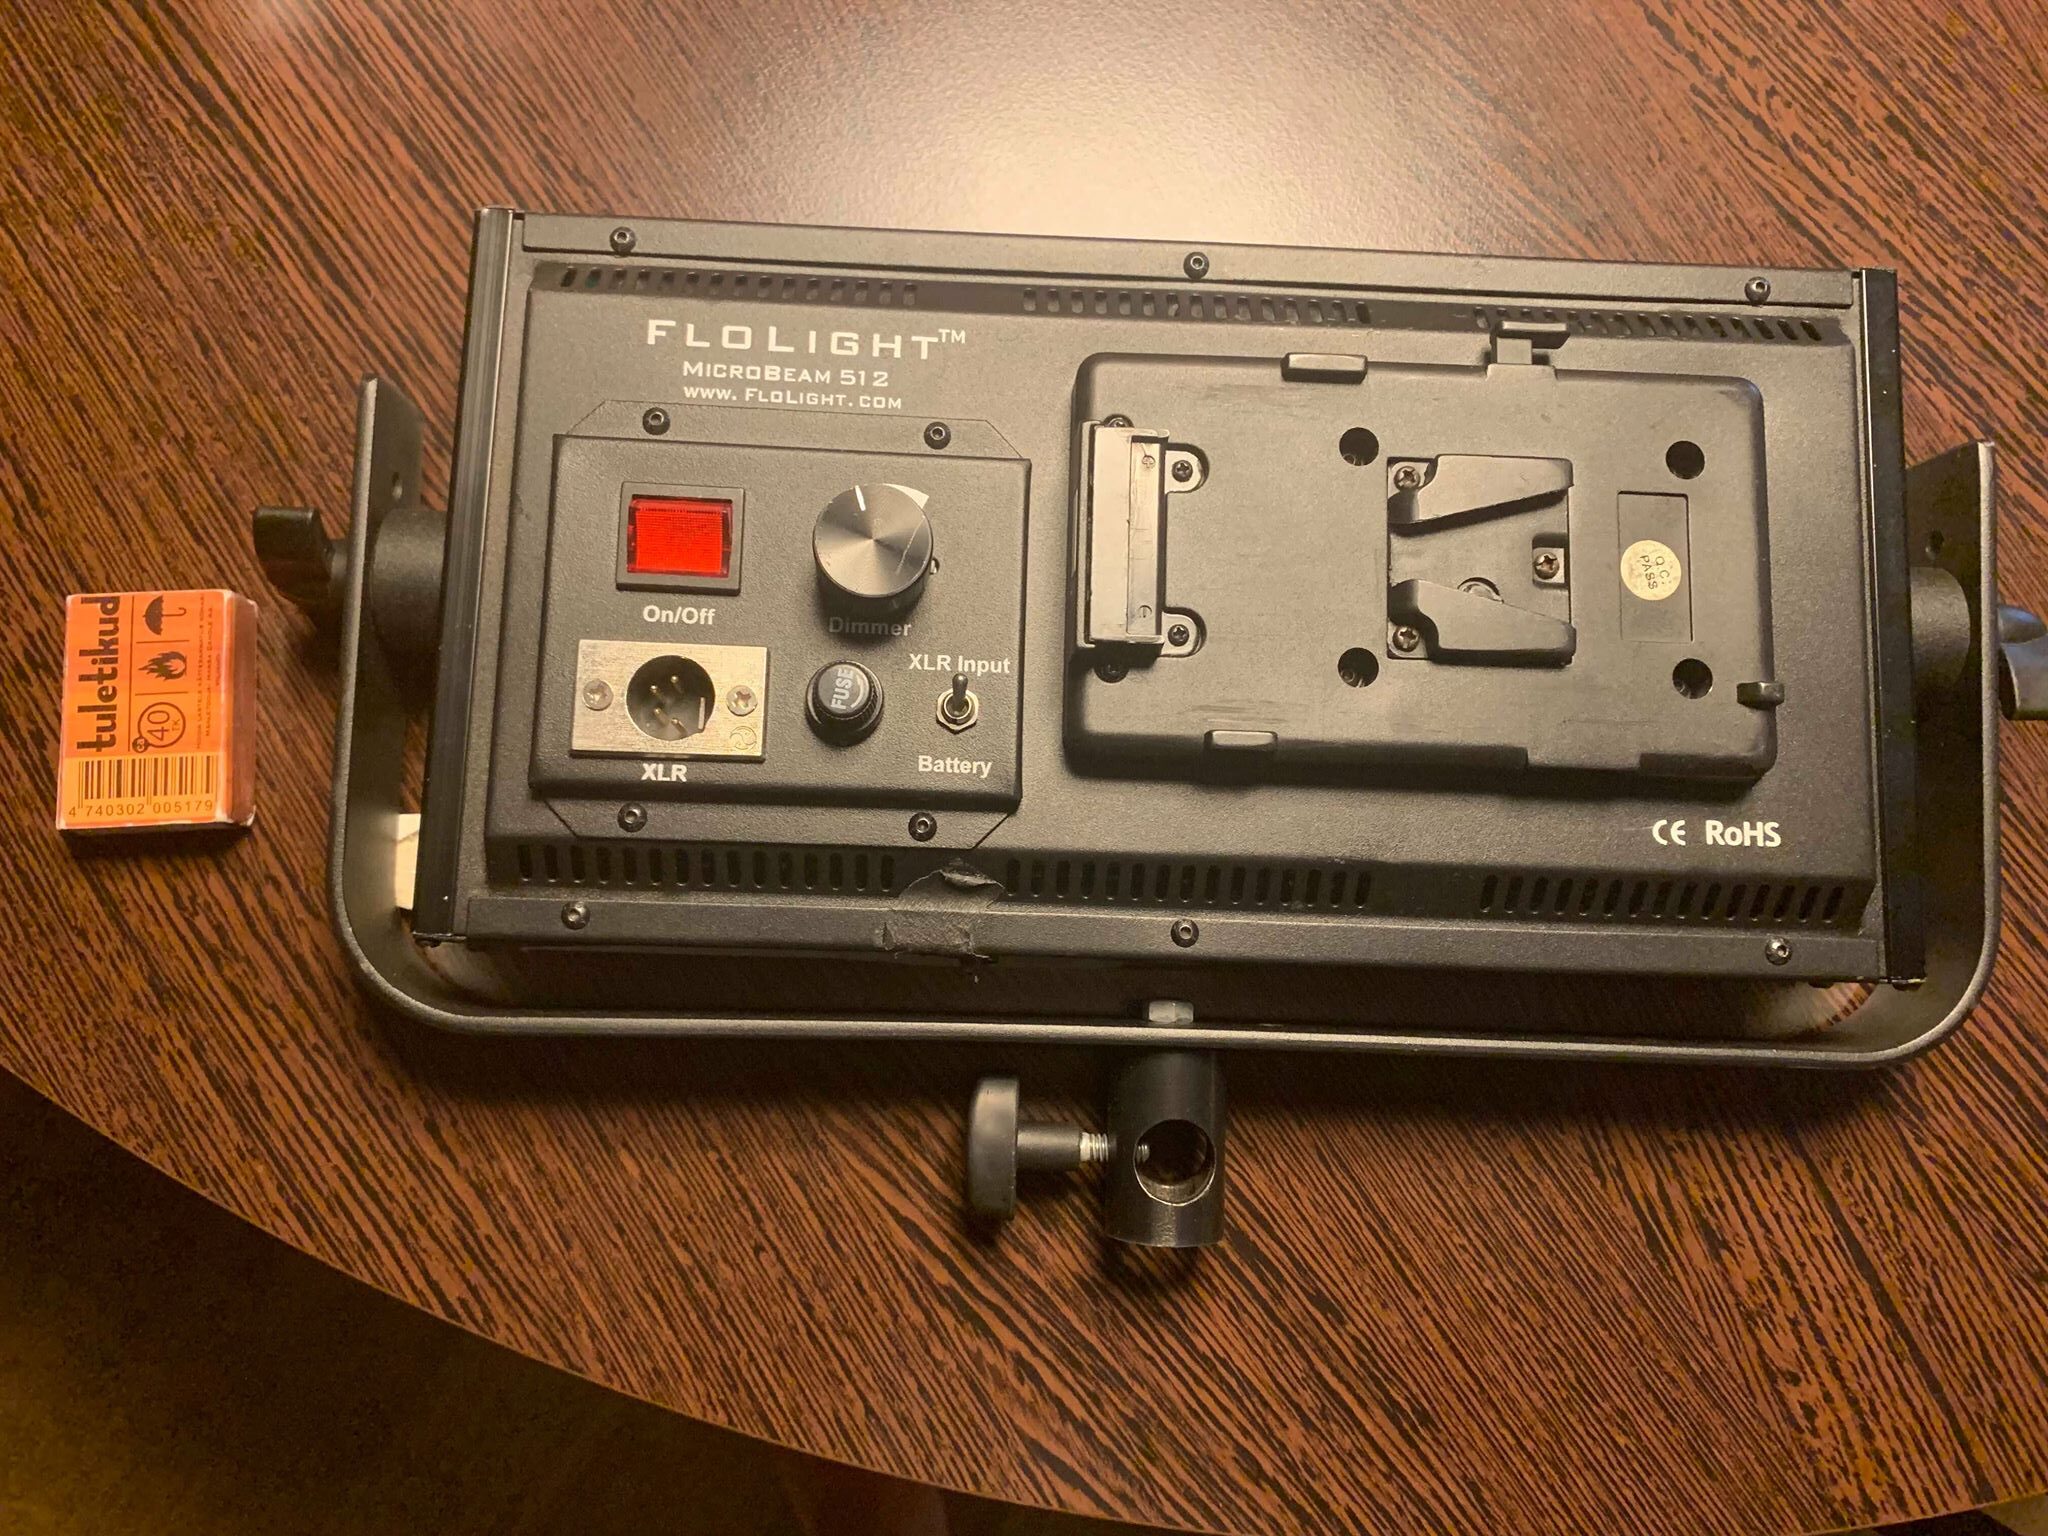
FLOLIGHT Microbeam 512 LED light (used)
€ 275.00€ 341.00 (incl. VAT)IN STOCK -
 -23%USED EQUIPMENT
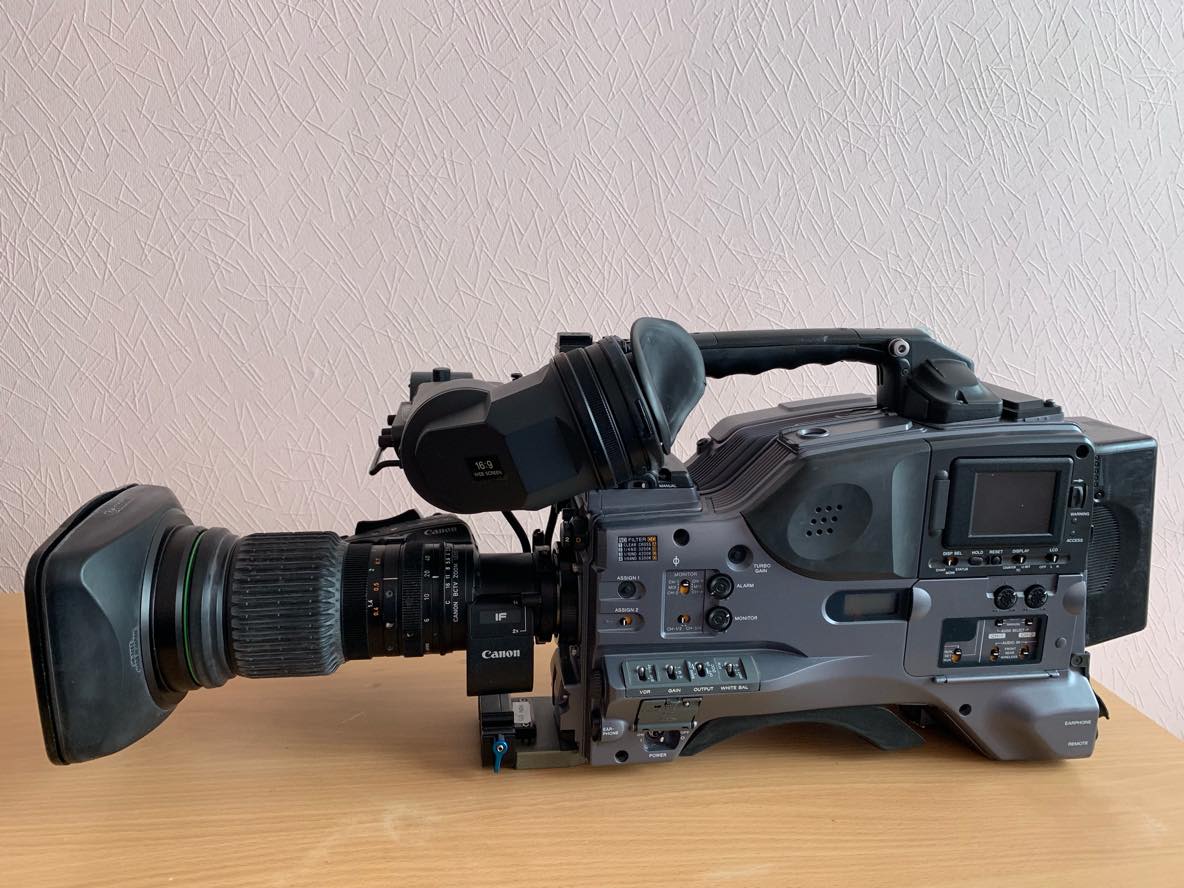
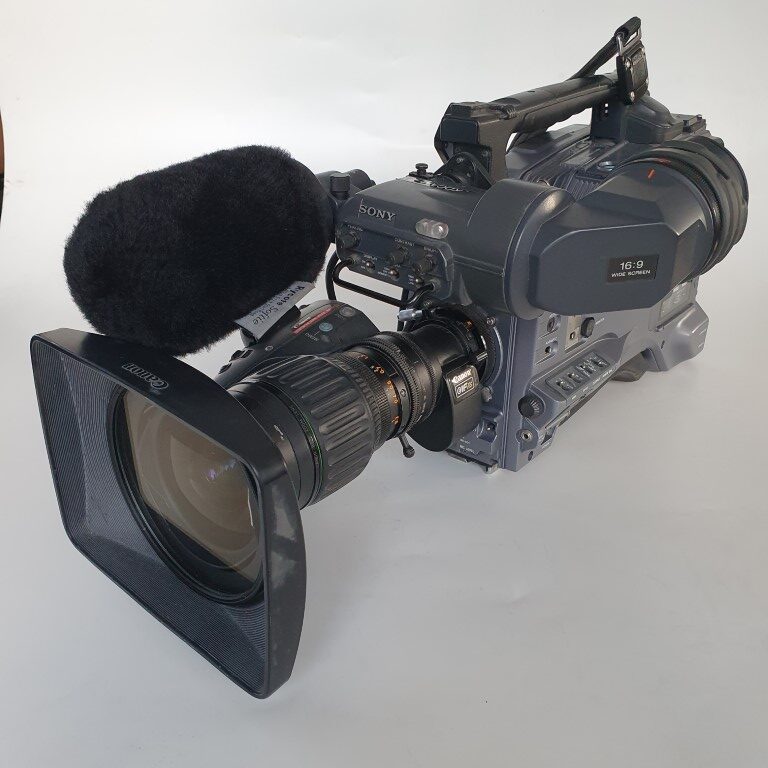
SONY PDW-530P XDCAM Camera Kit with Canon Lens (used)
Original price was: € 3 250.00.€ 2 500.00Current price is: € 2 500.00.€ 3 100.00 (incl. VAT)IN STOCK -
-38%USED EQUIPMENT
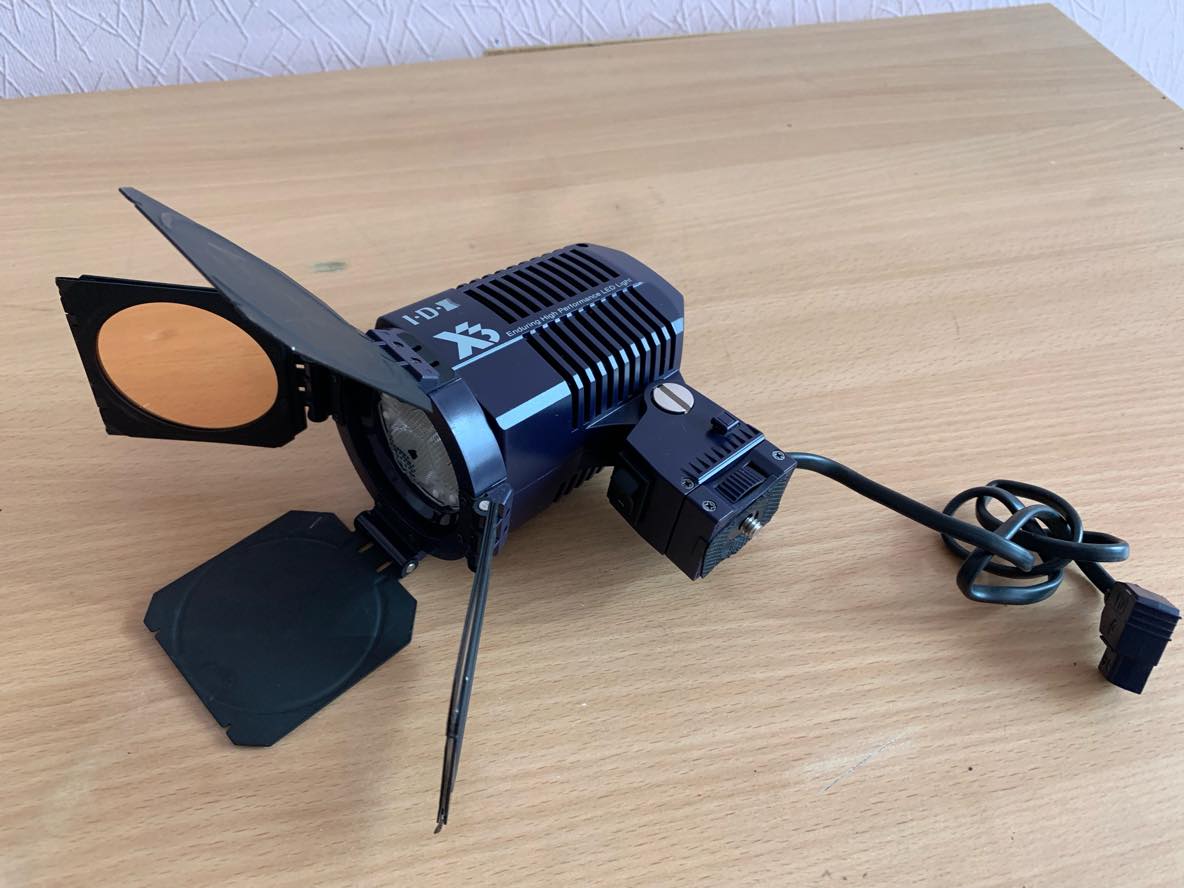
IDX X3-Lite 35W high performance LED camera light (used)
Original price was: € 80.00.€ 50.00Current price is: € 50.00.€ 62.00 (incl. VAT)IN STOCK
Complete Your Kit with Safe Accessories and Broadcast Gear
Building a complete rig requires dependable power, storage, and transport solutions. When buying used storage media, confirm card slots read cards smoothly and sustain target write speeds. Review our guide on how to choose a memory card for video to ensure your cards support high-bitrate recording.
Protecting pre-owned gear in transit requires proper protection. Use a padded video equipment bag or a hard case to protect delicate sensors and glass. If you fly to shoots, review our guide on traveling with video gear on a plane to manage lithium batteries and security checks safely.
-
-20%USED EQUIPMENT
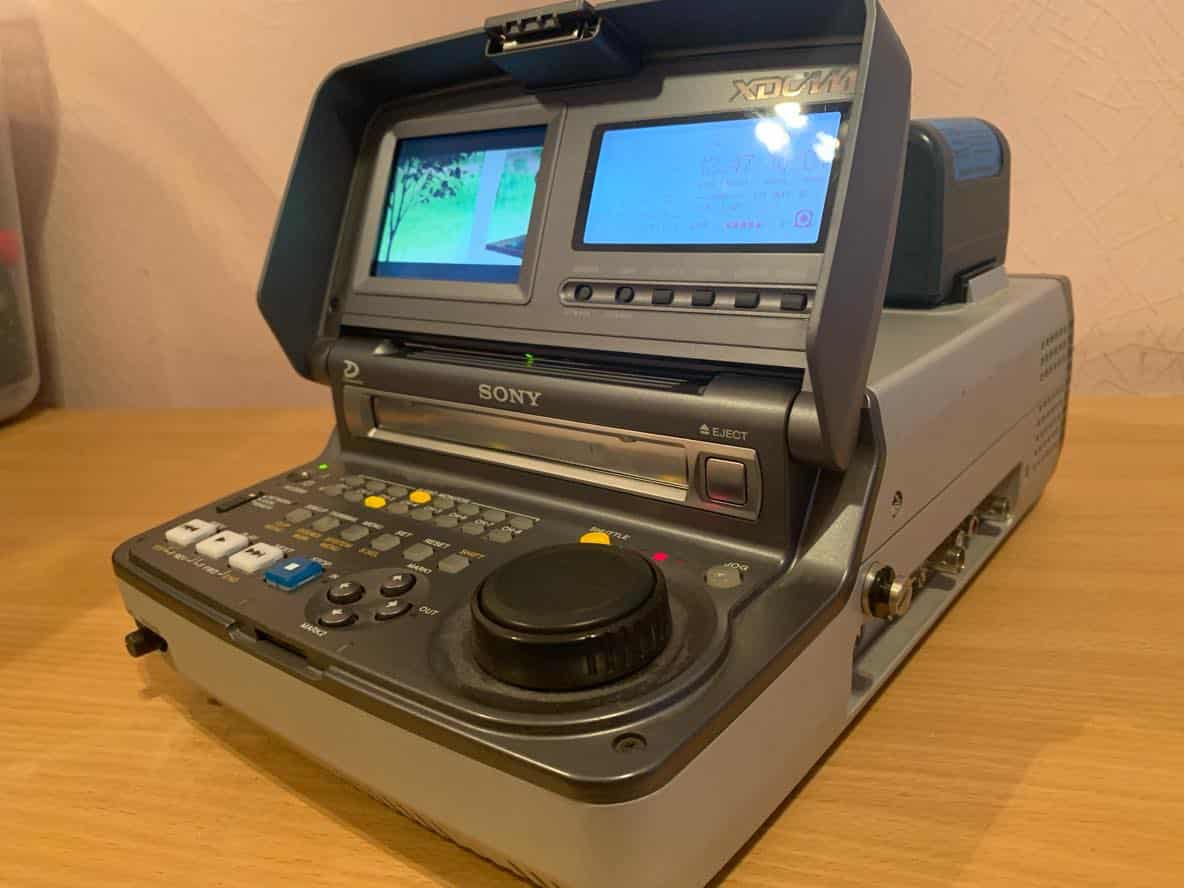
SONY PDW-V1 XDCAM Professional Disc field viewer (used)
Original price was: € 1 990.00.€ 1 600.00Current price is: € 1 600.00.€ 1 984.00 (incl. VAT)IN STOCK -
 USED EQUIPMENT
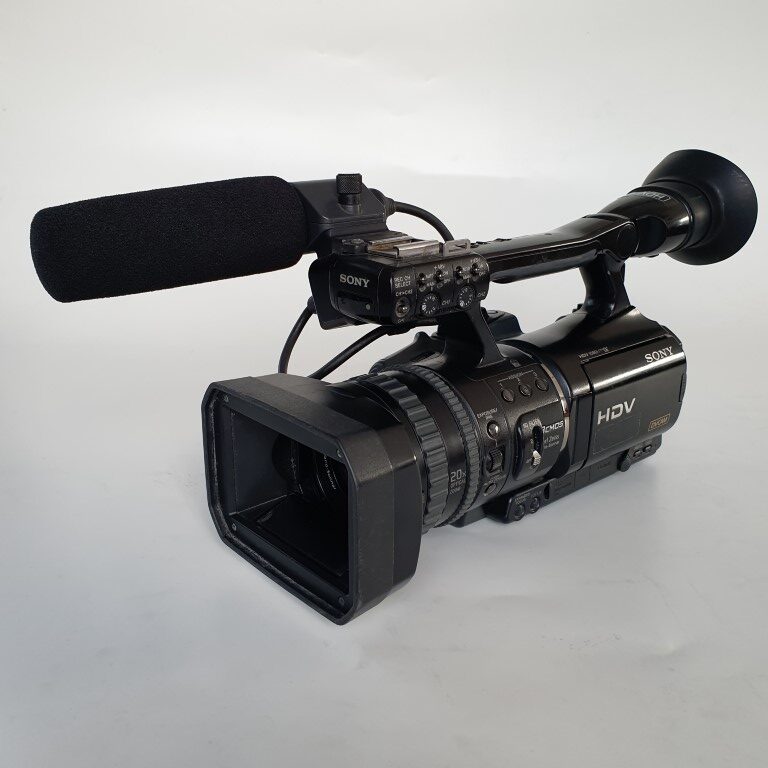
SONY HVR-V1E HDV/DVCAM camera kit (used)
€ 350.00€ 434.00 (incl. VAT)IN STOCK -
 USED EQUIPMENT
SONY DVW-790WSP Digital Betacam camera kit (used)
IN STOCK -
USED EQUIPMENT
SONY PDW-530P XDCAM camera kit (used)
IN STOCK
Inspection Checklist for Pre-Owned Gear
Use this inspection checklist when reviewing pre-owned video equipment in person or upon delivery:
| Component | Inspection Task | What to Look For |
|---|---|---|
| Camera Body | Sensor test shot at f/22 | Dead pixels, sensor scratches, laser burns, dust spots |
| Ports & Power | Plug in HDMI, SDI, XLR, power cables | Loose jacks, intermittent connections, bent pins |
| Lens Optics | Shine bright light through elements | Fungus, haze, glass separation, heavy internal dust |
| Lens Mechanics | Turn focus, zoom, and aperture rings | Smooth motion, no grinding, proper electronic communication |
| LED Lights | Dim light output from 0% to 100% | No flickering, dead LEDs, or sudden color shifts |
Key Takeaways
- Sourcing from verified pro AV sellers eliminates scam risks and provides clear return guarantees.
- Always pay via credit card on secure HTTPS websites to protect your payment.
- Test camera bodies at small apertures like f/22 to reveal hidden sensor defects and dead pixels.
- Inspect lenses with a bright light source to identify internal fungus and element separation.
- Protect your secondhand equipment with dedicated cases and safe battery transit practices.
Ready to expand your production setup with reliable pre-owned equipment? Browse our full catalog of tested used equipment or contact our team at info@mediagear.ee to find the right gear for your next shoot.