Master the 3-Point Video Lighting Setup for Pro Results
Recording indoor video and getting grainy, flat results is incredibly frustrating. When we step onto a new set, the first thing we look at is not the camera – it is the lights. Professional lighting is the true foundation of image clarity. Relying purely on overhead room lamps forces your camera to boost its internal sensitivity. This introduces distracting digital noise that degrades your footage.
A classic three-point setup solves this problem instantly. By balancing three primary sources, you actively control the shadows rather than letting ambient lighting dictate your image. We have relied on this exact framework in countless corporate environments and studio builds. It consistently produces three-dimensional depth on a two-dimensional screen.
If you are exploring video lighting for beginners, learning this configuration is the fastest way to elevate your production value. It helps you build immediate viewer trust.
The Key Light: Shaping the Subject
The key light is your main source of illumination. It is the brightest light on set. This single fixture dictates the overall exposure of your scene. Placing this light directly in front of your subject on the exact centerline flattens their facial features.
Instead, position your key light 15 to 45 degrees off-axis to either side of the camera. Raise the fixture slightly above eye level. Then, angle it downward at roughly 45 degrees toward the face. This creates a natural, flattering shadow on the opposite side of the face. It restores vital shape and dimension to your subject.
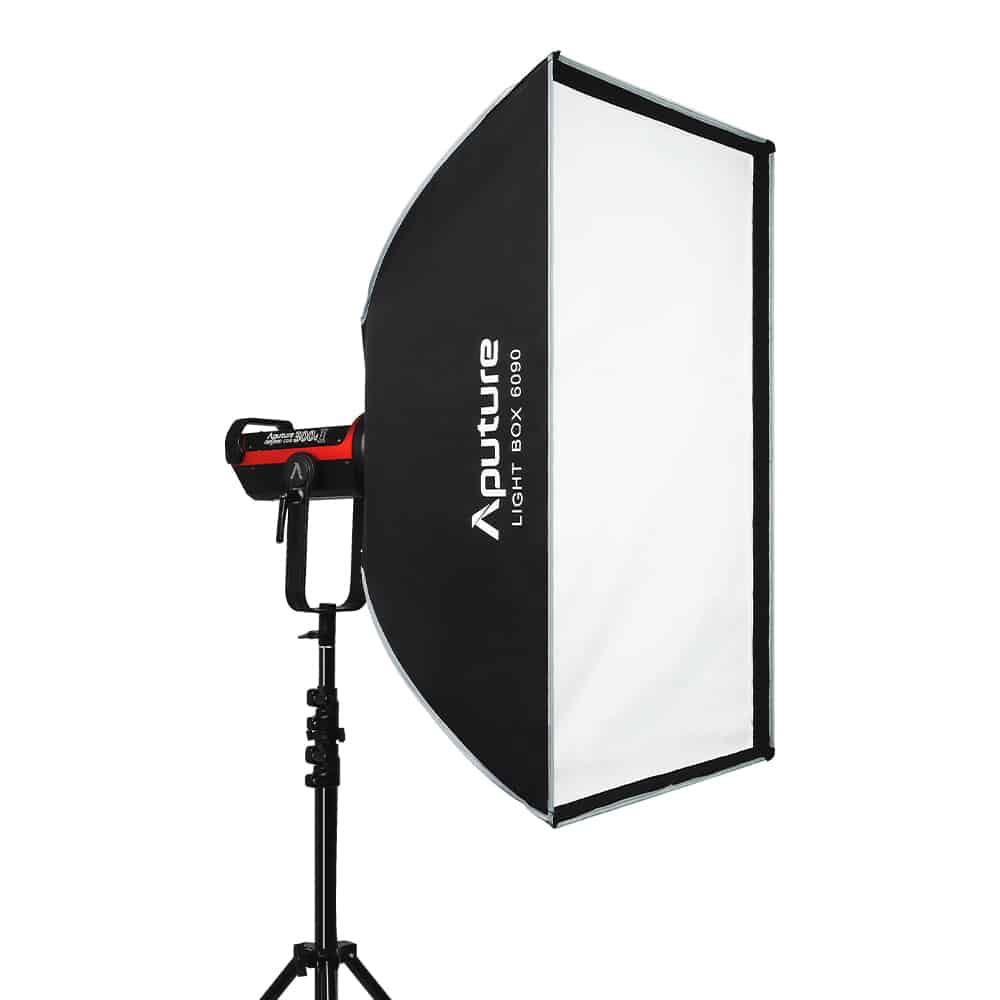
You want this primary light to be soft. Bare, raw LEDs create harsh hotspots and shiny skin. Attach light modifiers like a softbox to drastically increase the fixture’s surface area. Moving a diffused light closer to your subject actually wraps the light around their features. This makes it highly forgiving on skin textures. Understanding this delicate balance is the first step in learning how to light a subject for video.
The Fill Light: Controlling Contrast
Your key light introduces shadows. Your fill light controls how dark those shadows get. Position the fill light on the opposite side of the camera from the key. Keep it near the lens axis and at a similar 45-degree angle. This placement avoids creating a second, competing set of shadows.
A common mistake is turning the fill light up too high. A completely shadowless face looks flat and unnatural. For a classic broadcast look, dial your fill fixture to roughly 50% of your key light’s brightness. This creates a reliable 2:1 key-to-fill intensity ratio. It softens harsh contrast while preserving the three-dimensional shape of the face.
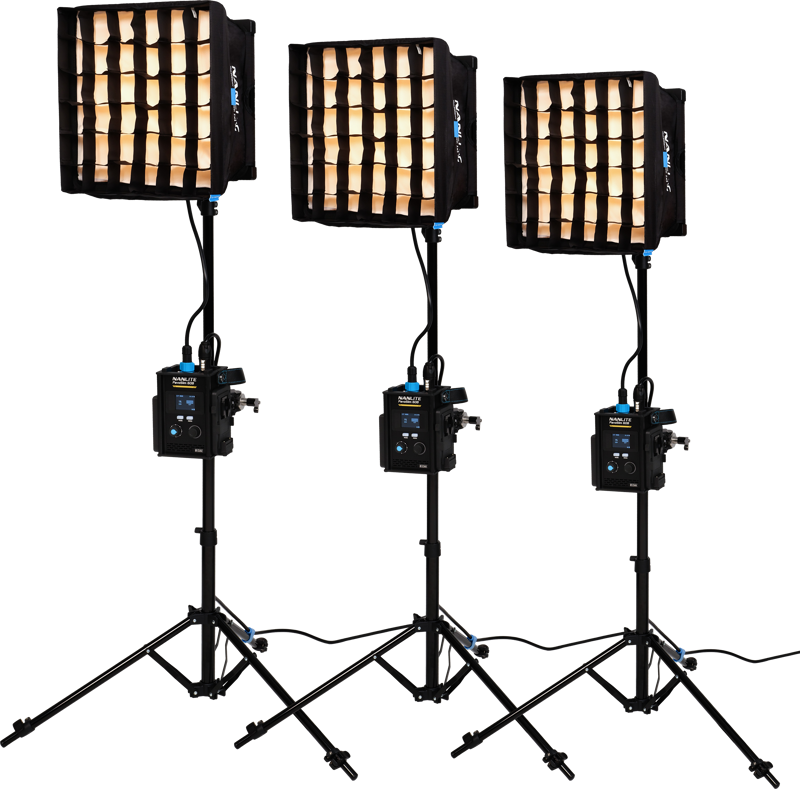
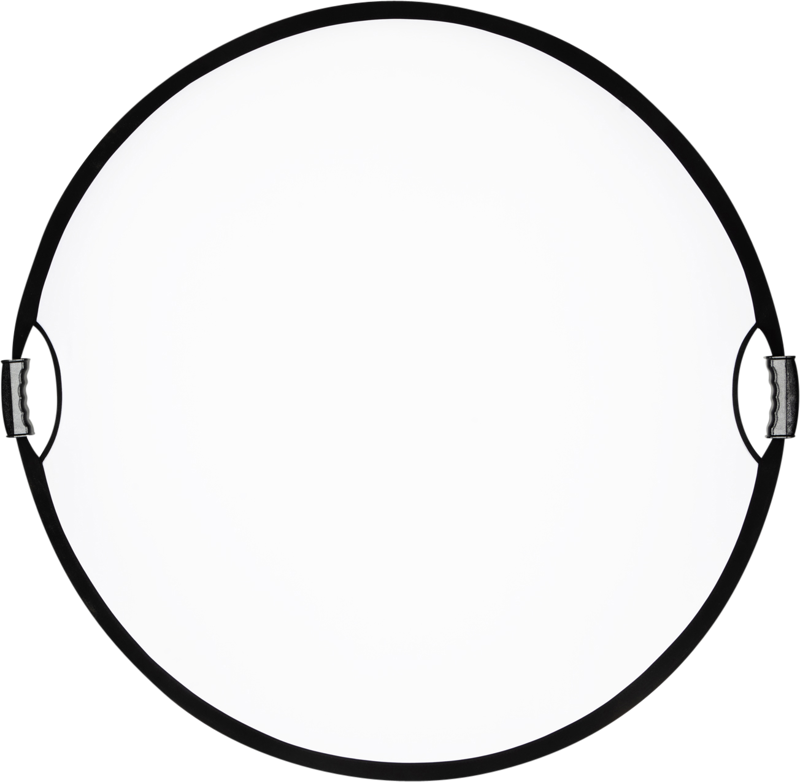
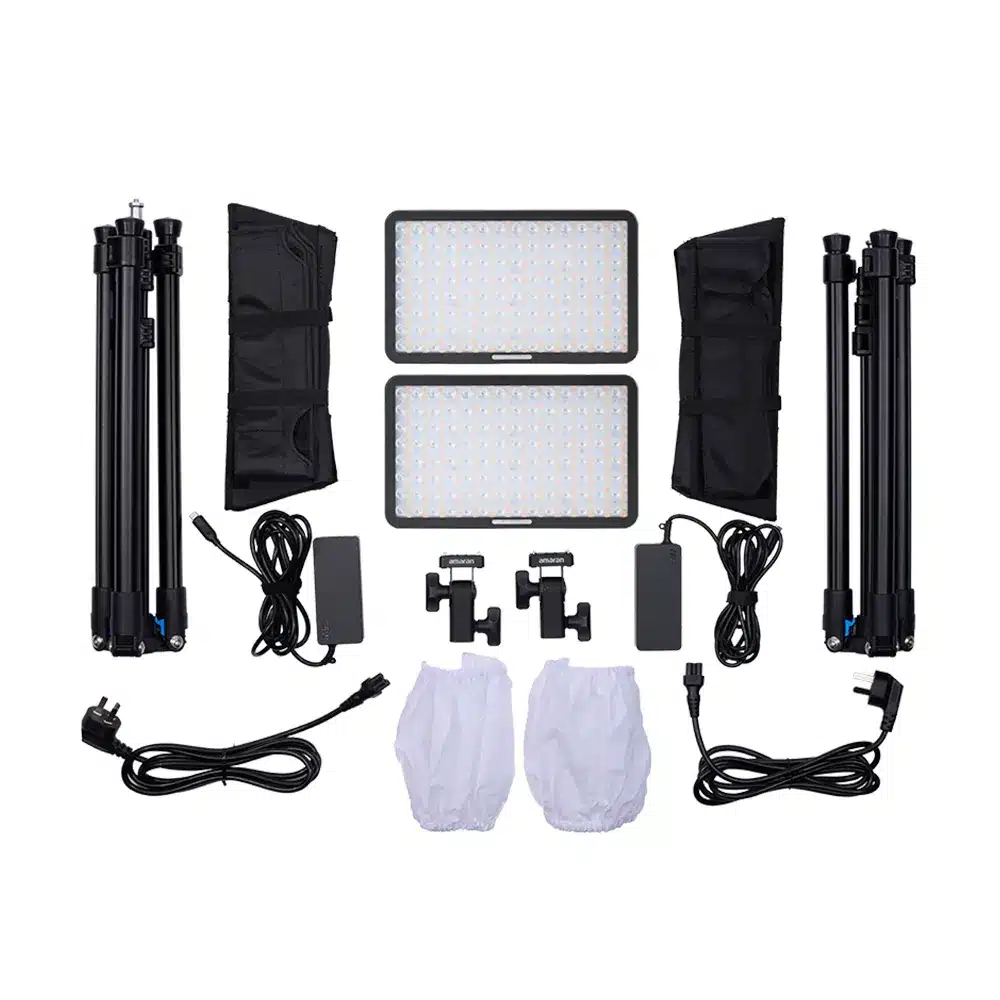
You do not always need a second heavy fixture to achieve this. In a smaller room, a simple collapsible reflector works perfectly. It bounces the ambient key light back onto the shadowed cheek. If you do utilize a powered fixture, wide LED panels offer a broad, soft flood of light. This serves beautifully as a fill source.
The Back Light: Creating Depth
The back light is the specific element that elevates an image from amateur to professional. It is frequently called a rim, kicker, or hair light. Its only job is to separate your talent from the background. By carving out a subtle luminous halo around the subject’s head and shoulders, you introduce immediate depth.
Place this light behind your subject. We typically set it at roughly a 45-degree angle opposite the key light. Keep it slightly above head height. Keep the stand out of the frame and aim the fixture downward. Start with a low power setting. Increase it slowly until you see a crisp but controlled rim of light. If you push the power too high, you risk over-exposing the edges of the hair.
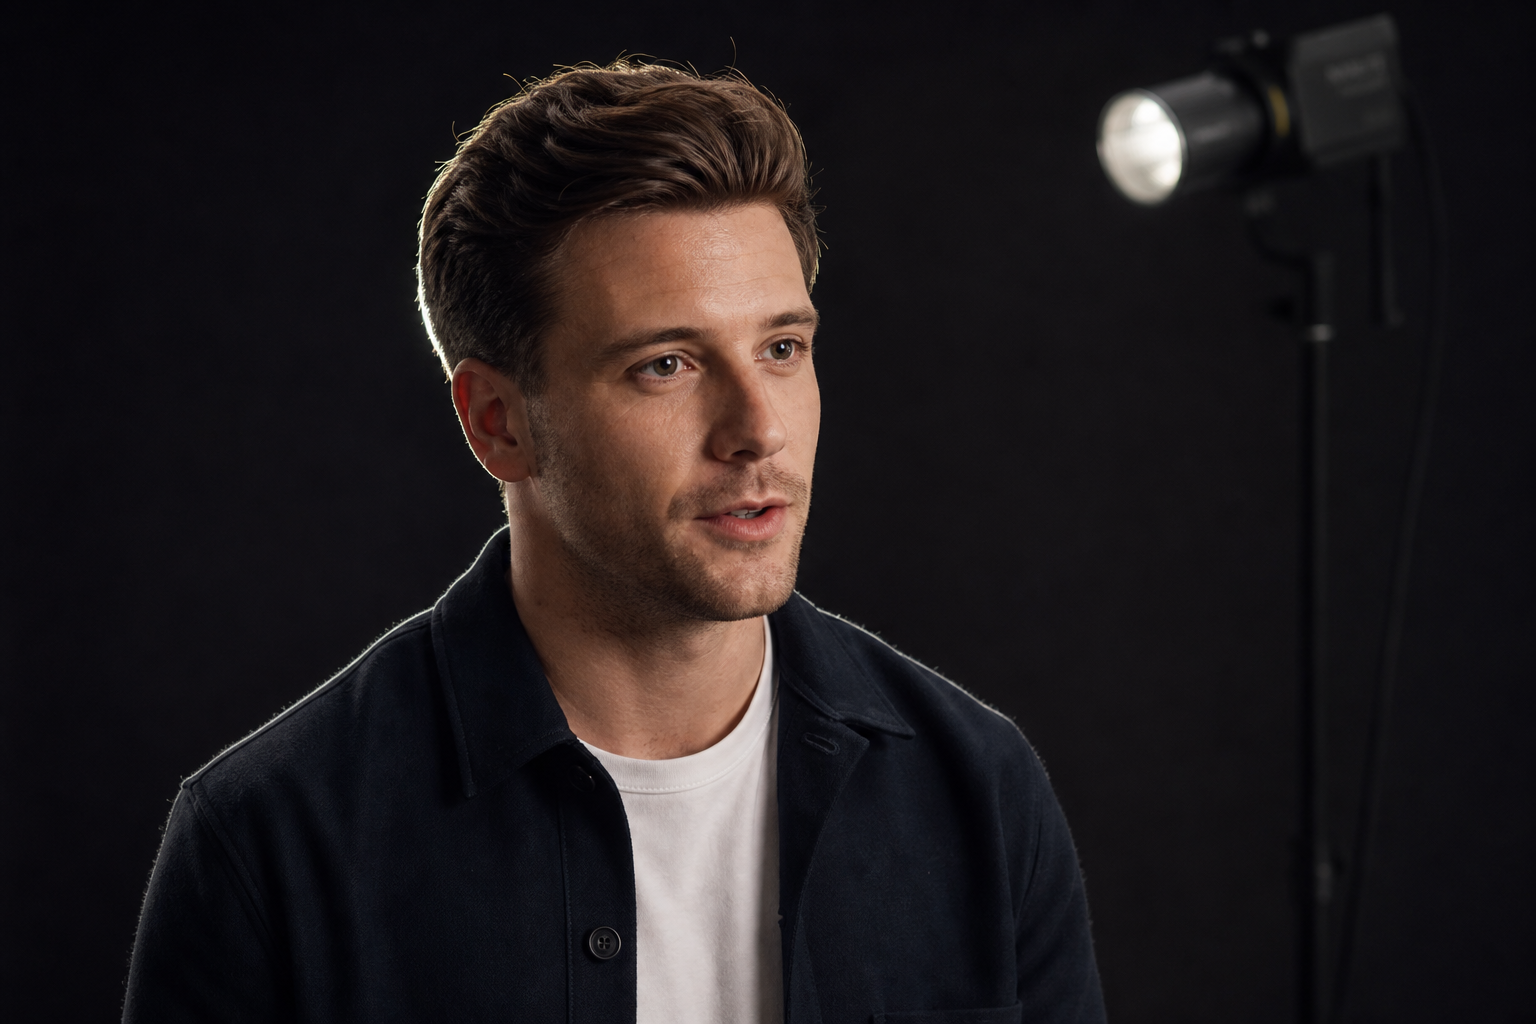
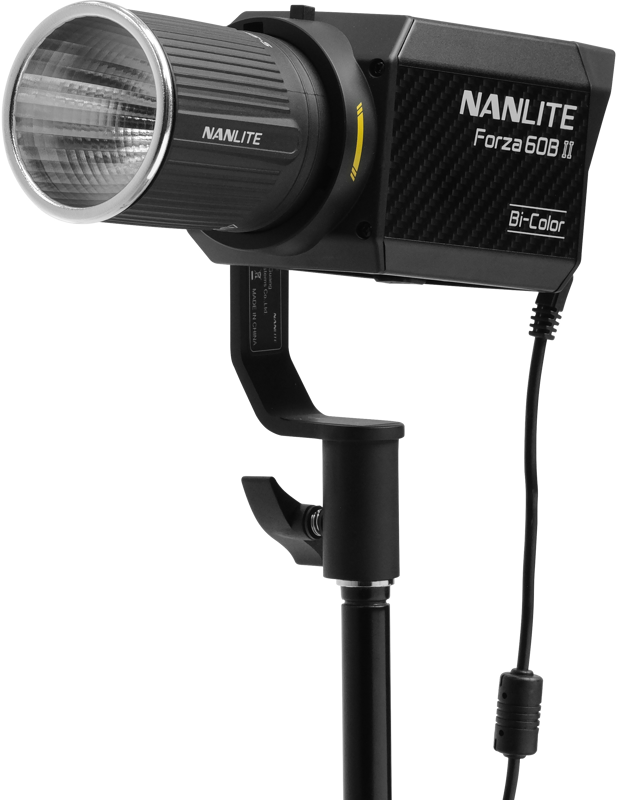
Unwanted light spill is the biggest hazard here. If your back light hits the camera lens, it causes washed-out flares. Use spot lights fitted with barn doors or honeycomb grids to narrow the beam. This ensures the light just touches the shoulders without spilling forward onto the face. This tactic is especially useful when figuring out how to light an interview in a tight corporate space.
Positioning, Distance, and Reliable Support
Lighting placement relies heavily on the physical properties of light. Light loses power quickly over distance. If you double the distance between your light and your subject, the brightness drops to just one-quarter. This is a massive loss of two full f-stops. Small physical adjustments will drastically change your exposure and the softness of your shadows.
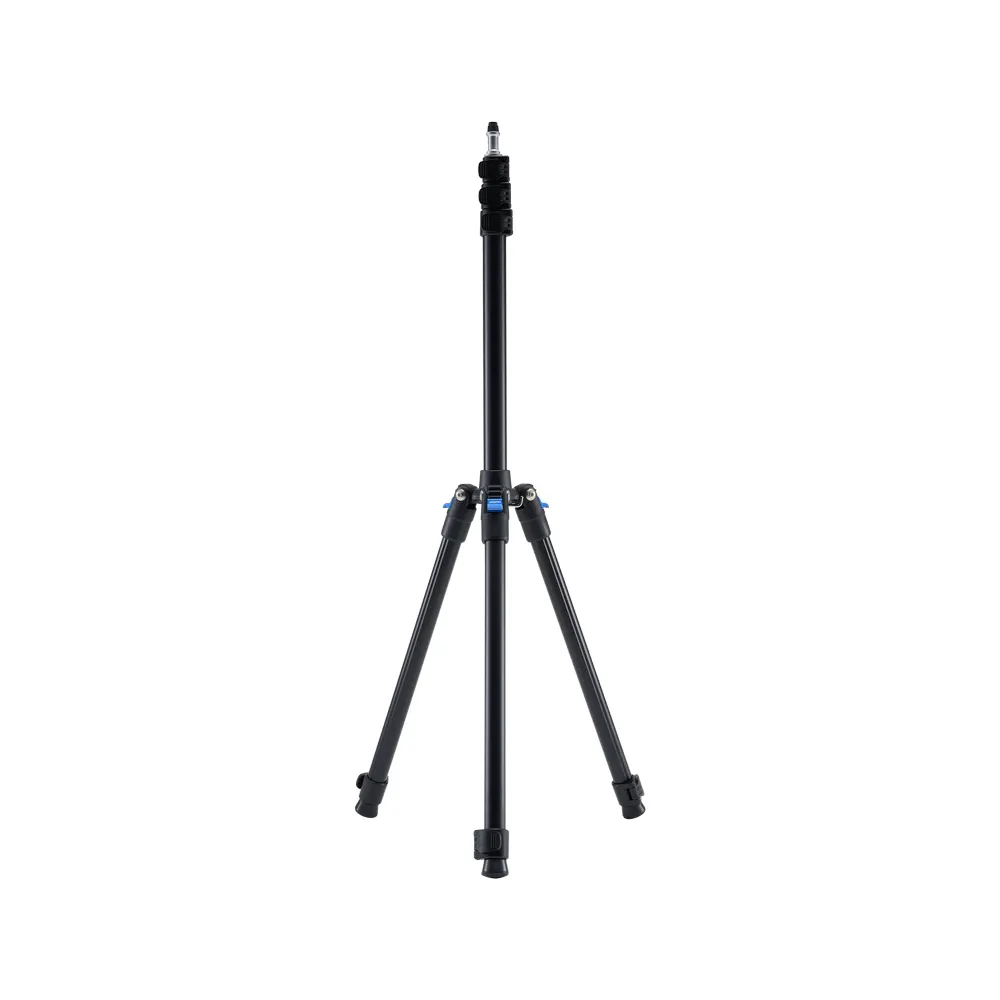
Because precision matters, reliable light stands are non-negotiable. You must use stands capable of bearing the full weight of your fixtures and modifiers without bowing or tipping.
When you plan how many lights for video production you need, consider the floor space required for sturdy bases. Once you nail your perfect setup, mark the stand legs on the floor with tape. This allows you to recreate the exact scene for future shoots. We cover more on stand selection in our guide to choosing a light stand for video.
Balancing Your Color Temperature
Mixing different light colors muddies your footage. Before setting intensity levels, ensure your key, fill, and back lights match the room’s ambient color temperature.
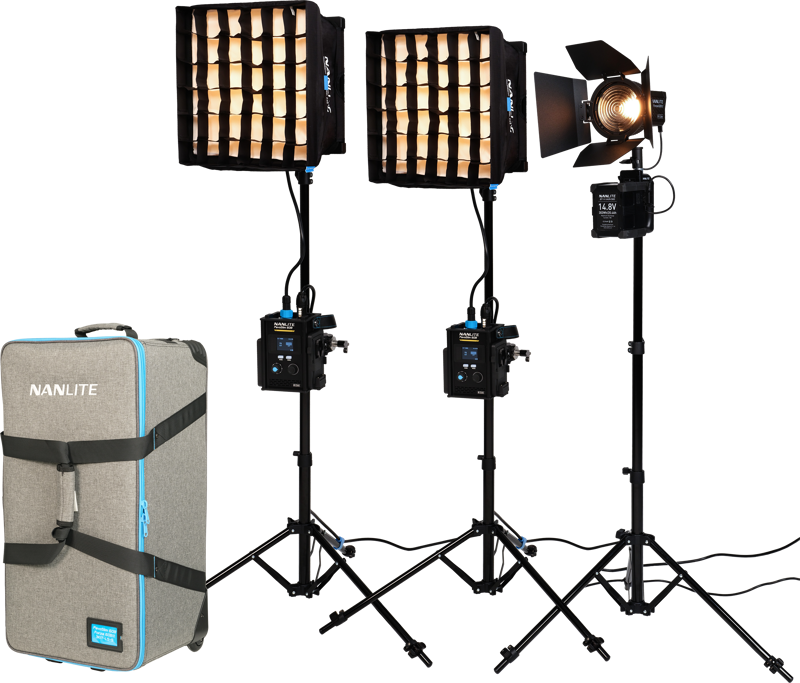
If you shoot near a window, adjust your bi-color fixtures to 5600K. This simulates daylight seamlessly. For indoor practical tungsten lamps, you need roughly 3200K. If you are stuck under standard office fluorescents, set your fixtures between 4000K and 5000K. Establishing a matching baseline allows you to white balance your camera accurately. This captures faithful, natural skin tones.
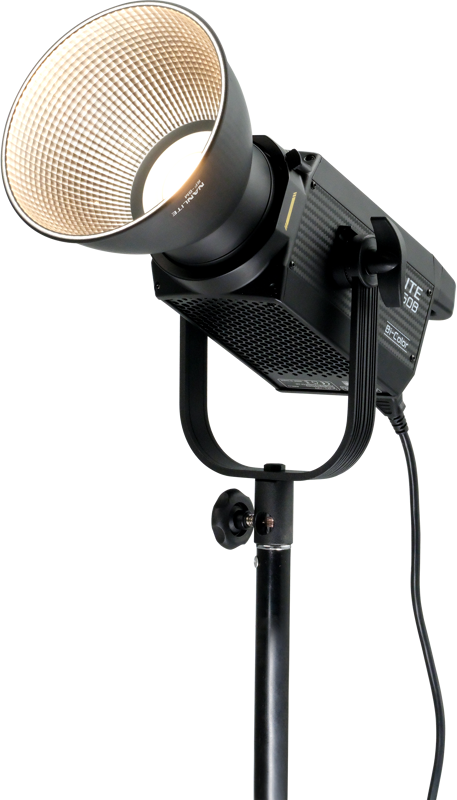
If you need a punchy, daylight-balanced beam through a window, read our breakdown on choosing an LED panel vs Fresnel light for video. It explains how different fixtures project color and intensity. Understanding colour temperature for video lighting keeps your skin tones looking healthy and professional.
Common Lighting Mistakes and Fixes
Even with a strong three-point framework, certain environments present unique challenges. Here is how to troubleshoot the most frequent lighting issues quickly.
| Problem | Likely Cause | Solution |
|---|---|---|
| Glare on glasses | Key light is positioned too low or too direct. | Raise the key light higher and tilt it further downward. Angle it slightly further to the side of the subject. |
| Harsh wall shadows | Subject is sitting too close to the background. | Increase the distance between your subject and the back wall to let the shadow fall out of frame. |
| Flat facial features | Key light is placed on the exact centerline. | Move the key 45 degrees off-axis to create dimensional shape on the shadowed side of the face. |
| Washed-out background | Key light is spilling onto the walls. | Add a honeycomb grid to your softbox to narrow the beam angle and direct light only at the talent. |
For a deeper dive on controlling spill and softening output, see our guide on how to use light modifiers for video. You can also read our comparison of a ring light vs softbox for video to choose the right tool for your space.
Key Takeaways
- Position your key light 15–45 degrees off-center and slightly above eye level. Utilize a softbox to wrap the face in flattering light.
- Set your fill light to half the brightness of your key. This 2:1 ratio controls shadows without flattening the image entirely.
- Aim a back light at the subject’s shoulders from behind. This creates a subtle rim that separates them from the background.
- Match your lighting fixtures’ color temperature to the room’s ambient light before white balancing your camera.
- Ready to upgrade your studio? Browse our selection of curated lighting equipment or contact our technical team for custom AV installation and setup advice.