Wireless Mic Frequency & Interference Guide for Live Sound
Unwanted RF noise, audio dropouts, and static can ruin a live event. Setting up reliable wireless microphones requires careful planning. It takes more than just picking an open channel on a receiver.
In our experience, most wireless audio failures do not come from faulty gear. They happen because of poor frequency coordination, bad antenna placement, or heavy RF congestion. Venue Wi-Fi, LED video walls, and smartphones constantly compete with stage audio.
This guide explains how wireless frequencies work, how to coordinate clear channels, and how to eliminate signal interference before your show starts.
Understanding Wireless Microphone Bands
Selecting the right frequency spectrum is your first defense against wireless interference. Different frequency bands offer distinct trade-offs in range, wall penetration, and signal congestion.
| Frequency Band | Typical Range | Wall Penetration | Congestion Risk | Best Use Case |
|---|---|---|---|---|
| UHF (470–698 MHz) | High (Up to 100m+) | Excellent | Low to Moderate | Professional Live Events |
| 2.4 GHz | Low (15–30m) | Poor | High (Wi-Fi/Bluetooth) | Small Stages & Simple Mics |
| 1.9 GHz / DECT | Medium (30–50m) | Moderate | Low | Presentations & Corporate |
TV-Band UHF (Ultra High Frequency)
Professional live sound relies heavily on the UHF band. UHF signals travel far and pass through stage structures, human bodies, and concrete walls better than higher frequencies.
Modern UHF systems operate across wide switching bandwidths. This allows you to scan for clear channels even in dense cities. Spectrum rules vary across Europe, but quality UHF gear gives you mission-critical stability. Learn more about selecting hardware in our wireless microphone system for video guide.
2.4 GHz Band
Systems on the 2.4 GHz band offer license-free global operation. However, this spectrum is heavily crowded by venue Wi-Fi routers, Bluetooth gear, and smartphones.
Under equal power, a UHF system provides greater range and stability than a 2.4 GHz system. We recommend reserving 2.4 GHz systems for small corporate rooms with short distances.
Digital UHF vs. Analog UHF
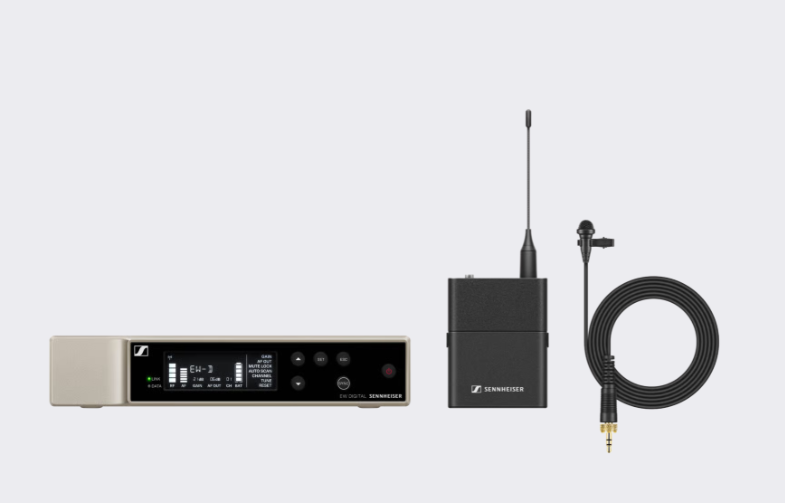
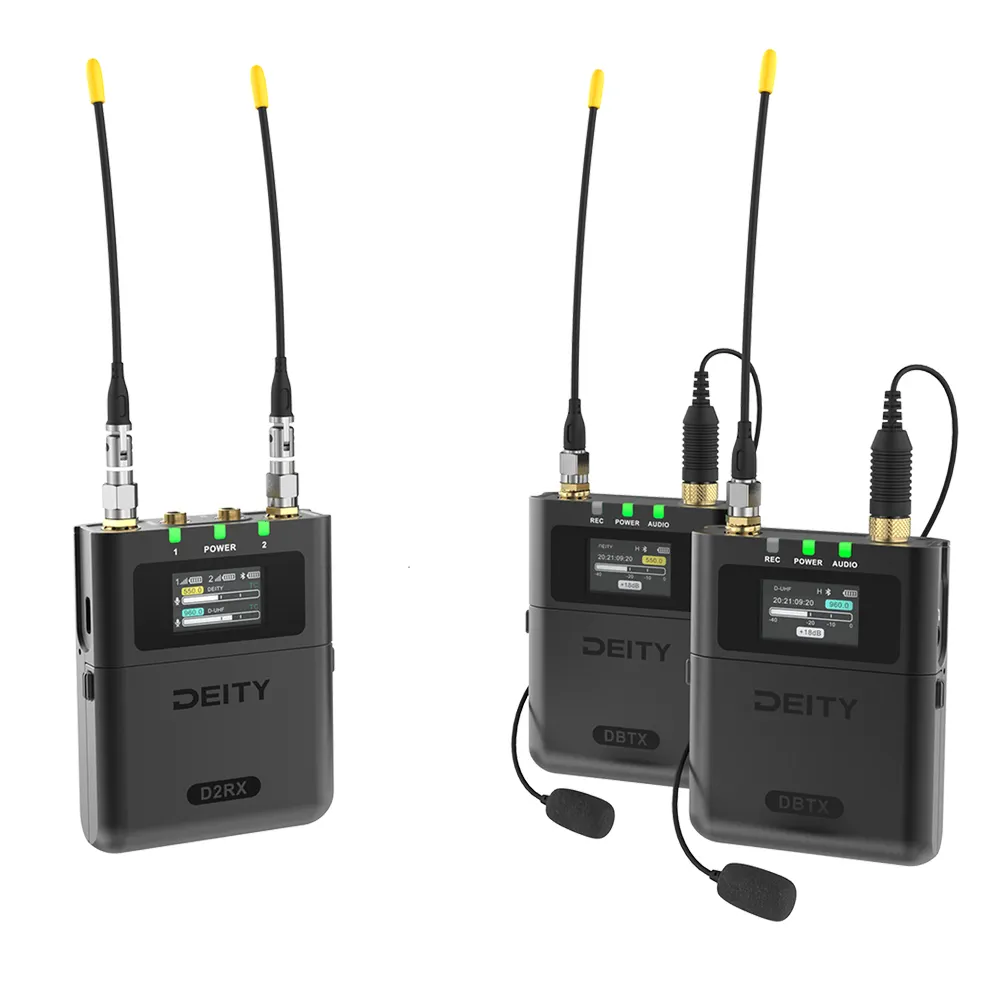
Digital UHF systems convert audio into digital data before transmission. This provides wider dynamic range and flat frequency response. The audio stays clear right up to the edge of your range. Digital systems also allow tighter channel spacing, so you can fit more channels into narrow spectrum gaps.
To explore professional digital and analog wireless solutions, browse our selection of wireless microphones.
Common Causes of Signal Interference
Identifying signal disruptions helps you fix RF issues before they reach your main speakers or recording mix.
- Intermodulation Distortion (IMD): Operating multiple active transmitters close together causes RF signals to mix in transmitter output stages and receiver inputs. This interaction generates phantom frequencies that interfere with other wireless channels.
- Physical Body Blocking: Human bodies are mostly water, which absorbs high-frequency RF signals. When a performer covers an internal antenna or turns away from the receiver antenna, dropouts occur.
- Venue Electronics: High-density LED video walls, digital dimmers, power racks, and video processors emit electromagnetic interference.
- Local Broadcast TV Channels: High-power TV transmitters share spectrum with UHF wireless microphones. Operating on an active TV channel causes severe static and audio loss.
When working around complex stage equipment, monitoring your mic signals in real time with headphones for audio monitoring helps you catch RF clicks before they reach the audience.
Step-by-Step RF Frequency Coordination
Proper frequency coordination ensures every wireless system operates on an isolated, compatible frequency. Simply spacing channels at equal mathematical intervals actually increases intermodulation risks.
Step 1: Perform an RF Site Survey
Before assigning channels, scan the RF environment in your venue using your receiver or a spectrum analyzer. According to Shure’s wireless system planning guide, site scans should reflect actual operating conditions.
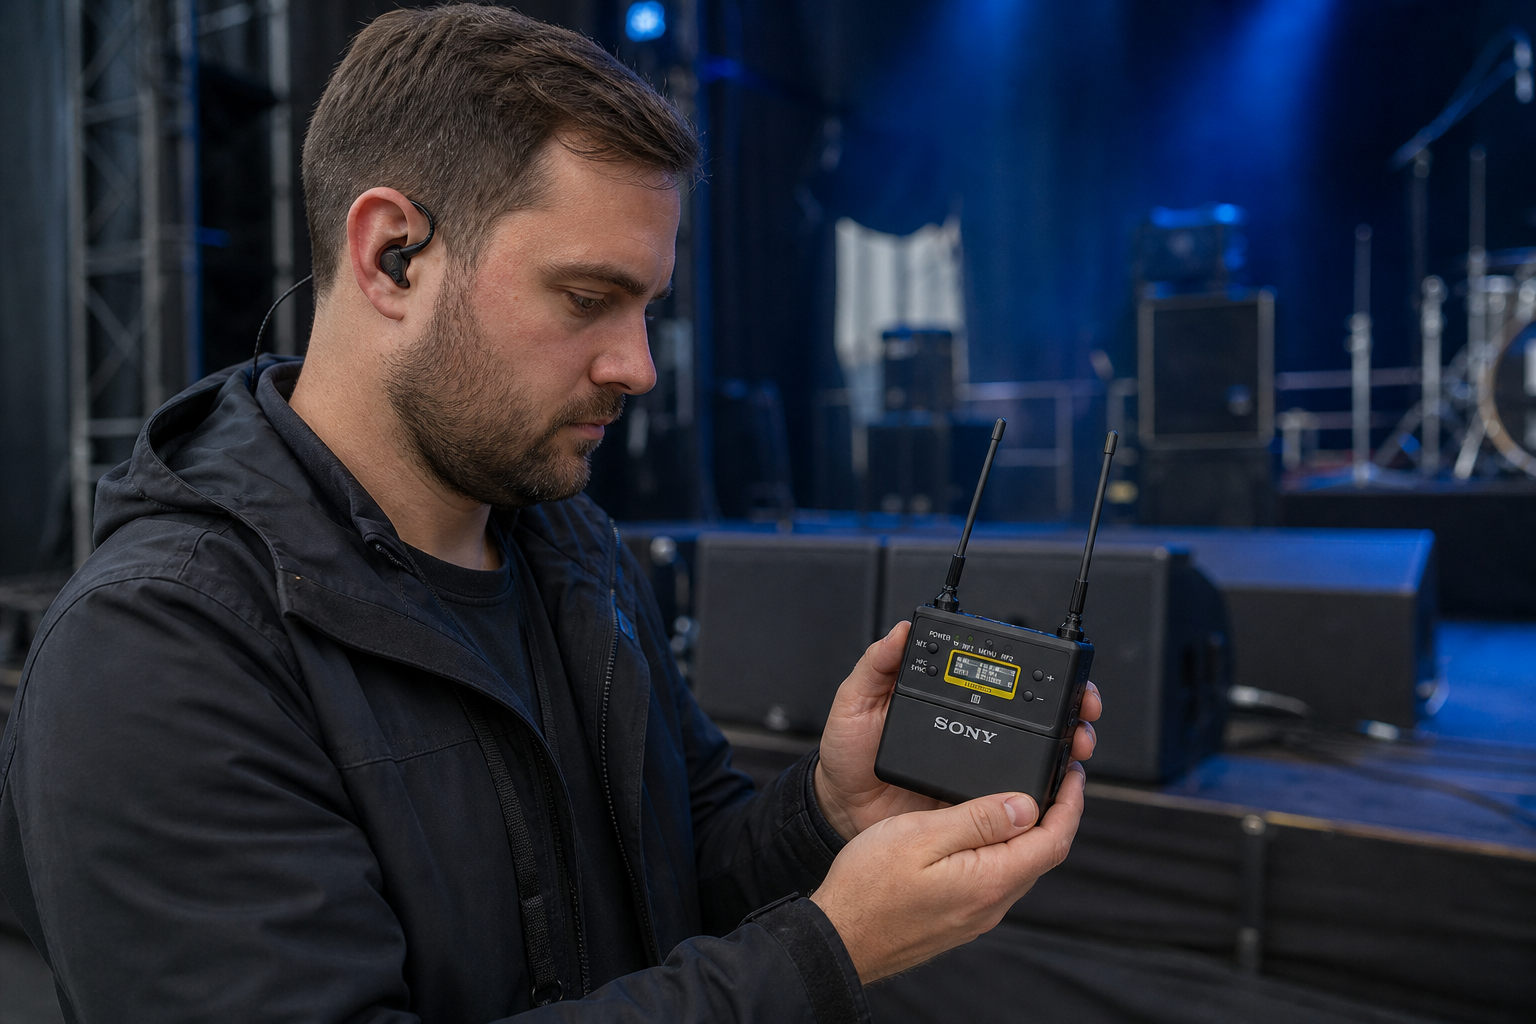
Turn on all LED walls, video processors, digital consoles, and stage lights before scanning. Walk the stage area with a mobile scanner to detect local RF noise sources.
Step 2: Use Frequency Coordination Software
Manual calculation is impractical for multi-channel setups. Professional systems connect to software platforms like Sennheiser Wireless System Manager (WSM) or Shure Wireless Workbench.
According to Sennheiser WSM documentation, coordination follows a clear sequence:
- Scan the local RF spectrum through your network-connected receivers.
- Analyze candidate frequencies to exclude active TV channels and noise.
- Calculate an intermodulation-free channel list for all transmitters and in-ear monitor systems.
- Assign and deploy the calculated channels automatically to receivers across the network.
Step 3: Perform Physical Transmitter Checks
Once receivers are set up, turn on each transmitter one by one. Confirm that each transmitter activates only its intended receiver. Keep active transmitters at least 1 meter apart from each other. Maintain at least 5 meters between transmitters and receiving antennas to avoid overloading receiver inputs.
Antenna Placement and Distribution
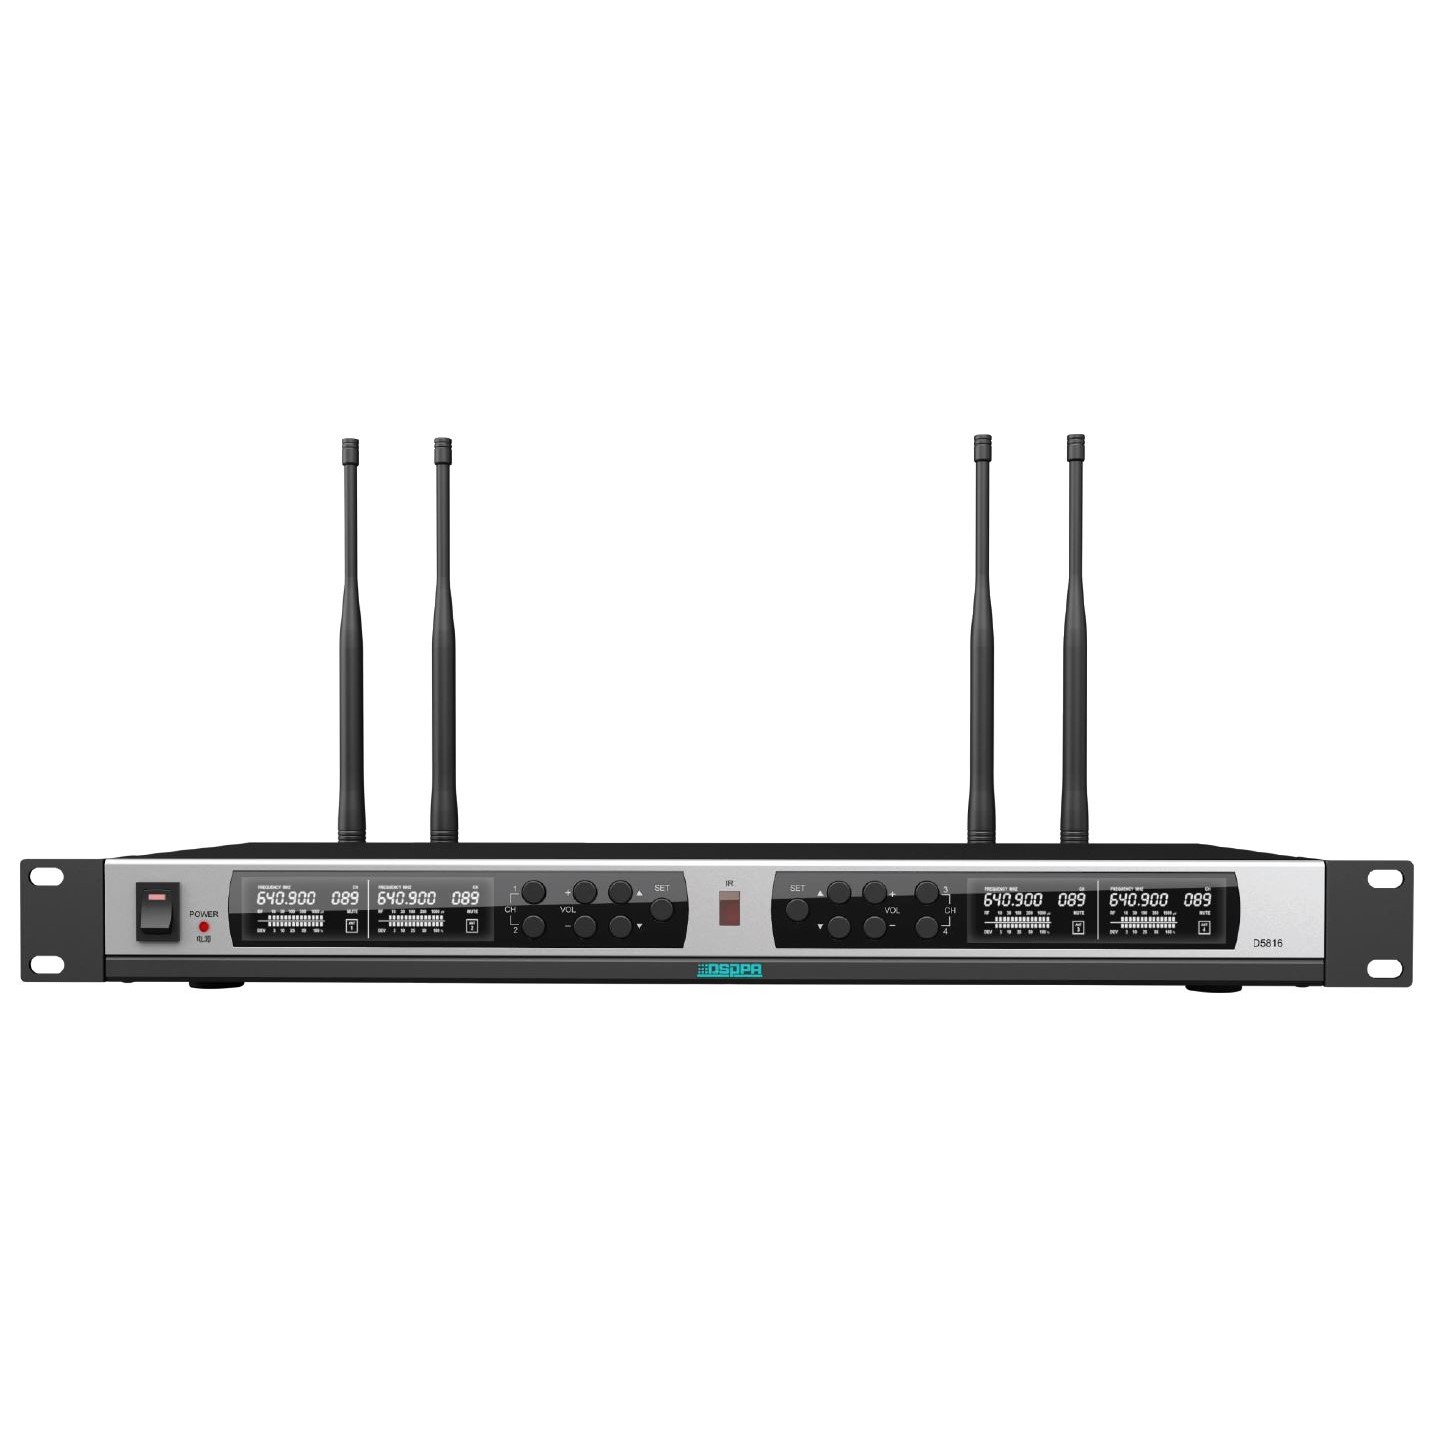
Antenna placement directly impacts your system stability and operating range. Poor antenna setup causes most stage dropouts.
| Antenna Strategy | Best Practice | Risk to Avoid |
|---|---|---|
| Line-of-Sight | Place antennas elevated over the audience | Obstructing signal paths with metal or stage walls |
| Antenna Spacing | Keep diversity antennas more than 1 wavelength apart | Placing antennas directly side-by-side |
| Cable Loss Compensation | Boost inline gain to match cable length | Over-amplifying the RF noise floor |
| Multi-Receiver Rigging | Use active antenna distribution splitters | Daisy-chaining passive antenna splitters |
Maintain Line of Sight
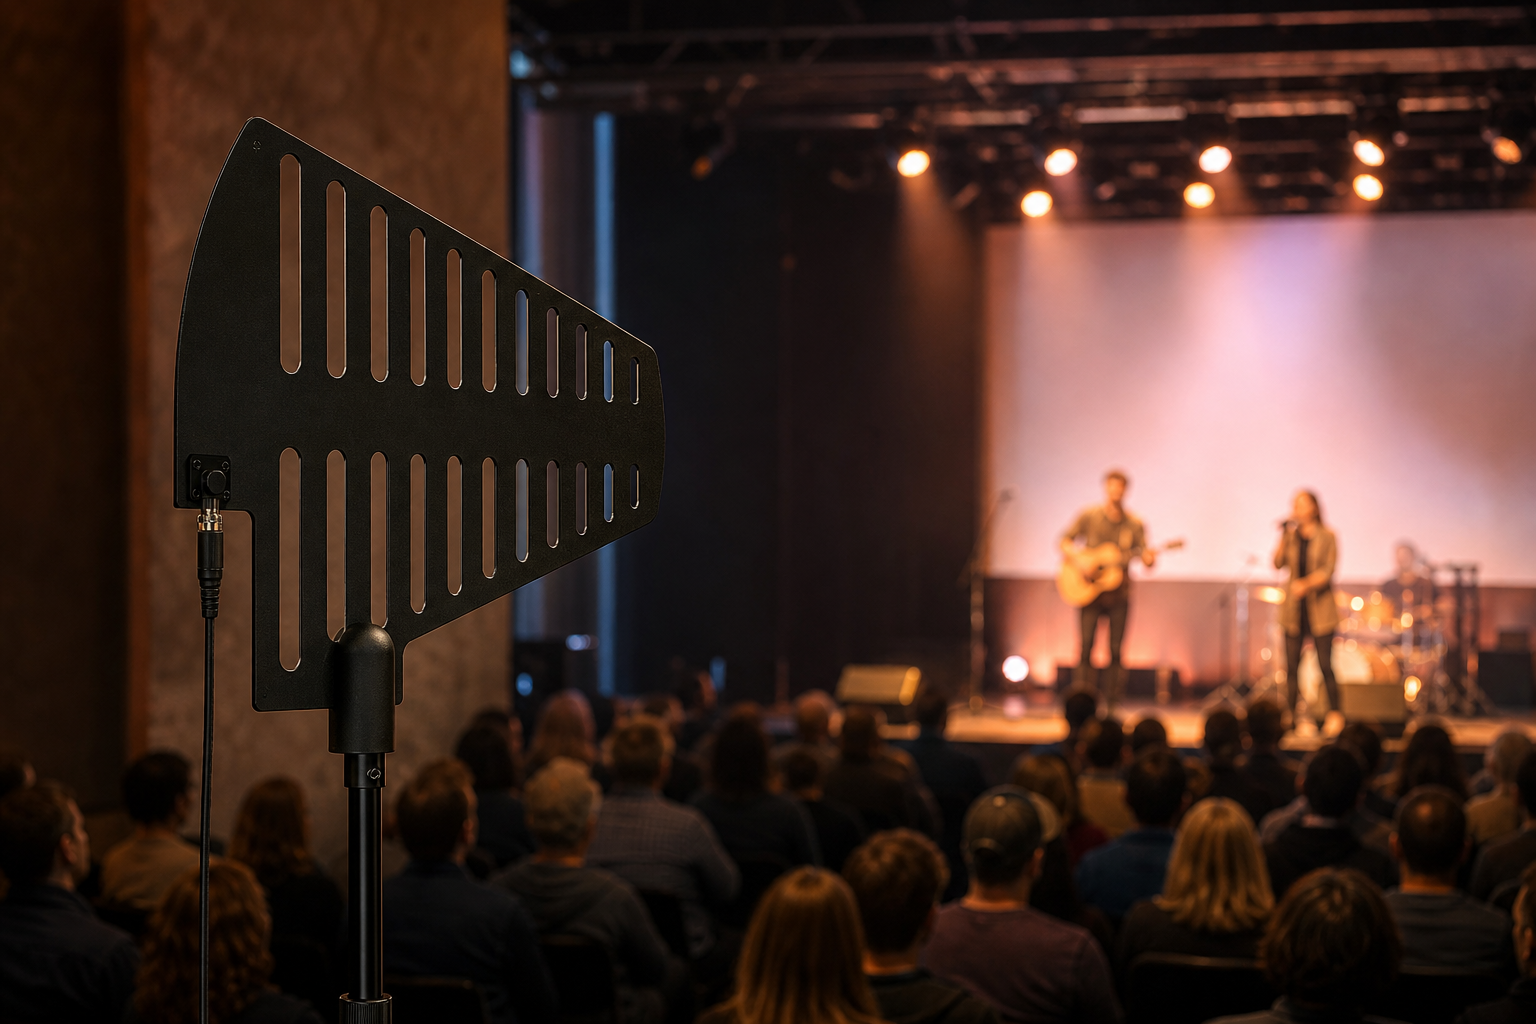
Always place receiving antennas in direct line of sight of the stage. Elevate antennas above head height so crew and audience members do not block the signal path.
Maintain Diversity Antenna Spacing
True-diversity receivers use two antennas to combat multipath interference. To ensure proper diversity protection, space receiver antennas by at least one-quarter wavelength. For optimal performance, separate them by one full wavelength (about 45–60 cm for standard UHF bands).
Choose the Right Antenna Type
- Omnidirectional Antennas: Best for short-range setups where transmitters move around the receiver in all directions.
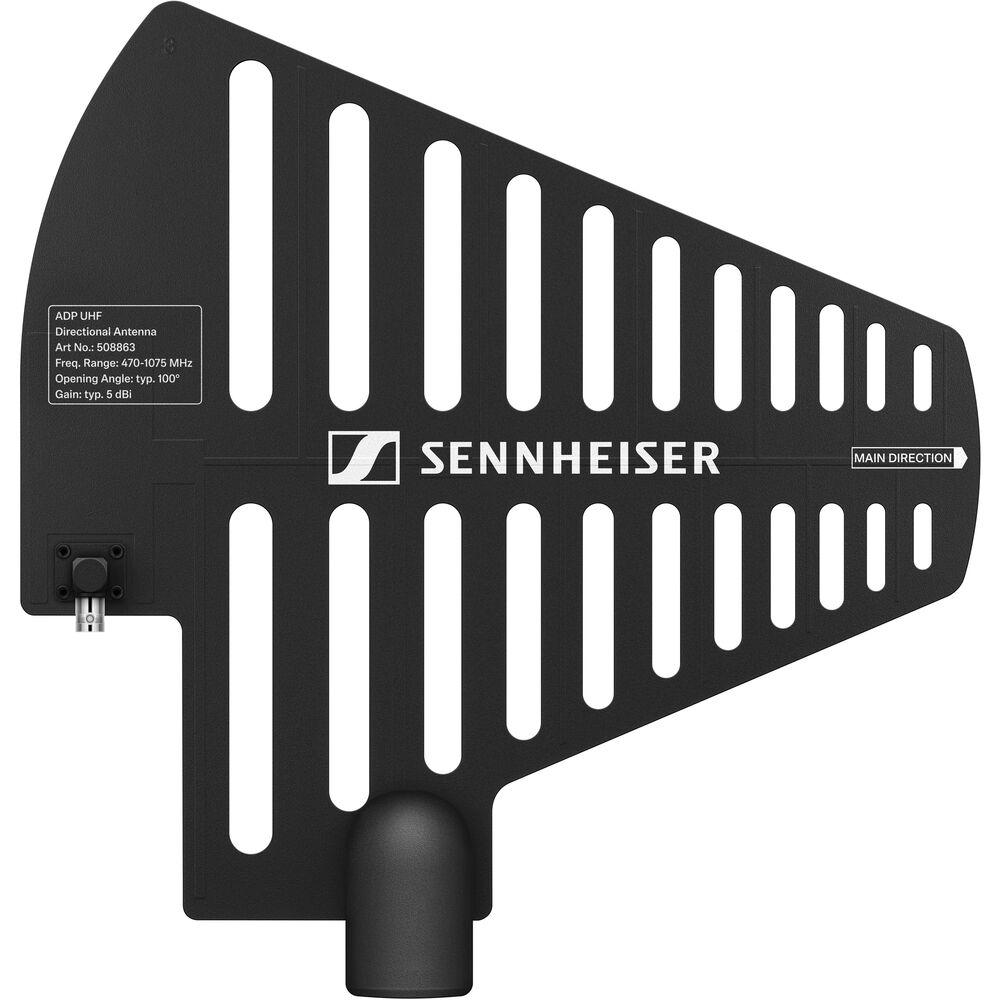
- Directional Antennas: Ideal for live stages. They block RF signals coming from behind the antenna while increasing reception gain toward the stage.
Manage Antenna Distribution and Gain
When running multiple wireless receivers, do not clutter equipment racks with standard whip antennas. Use an active antenna distribution unit to feed multiple receivers from one pair of directional antennas.
When using long coaxial cables, add inline RF amplifiers strictly to compensate for calculated cable loss, as outlined in Shure’s antenna amplifier guidelines. Excess RF gain does not increase reception range. It raises the noise floor and worsens intermodulation.
Find active distribution splitters, mounting hardware, and cables in our audio accessories section.
Fine-Tuning Receiver Settings and Squelch
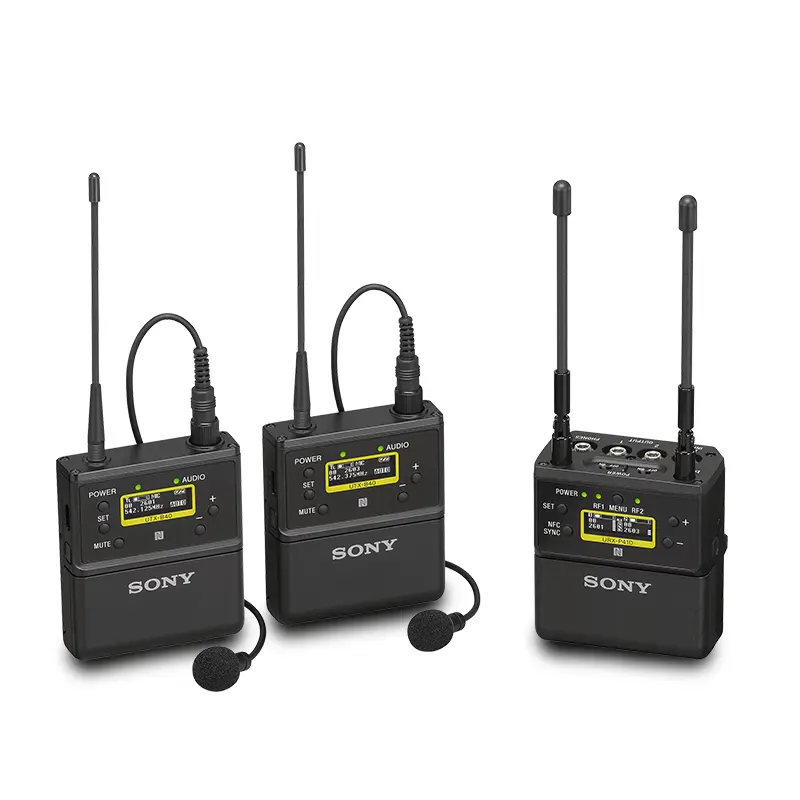
Modern receivers offer key internal settings to manage weak signals and avoid interference.
Adjusting Receiver Squelch
The squelch control acts like a noise gate for RF energy. It mutes receiver audio output if the incoming RF signal drops below a set threshold or encounters strong noise.
If you hear static bursts when a mic is powered off, raise the squelch setting. Keep in mind that raising squelch reduces total range. If a speaker moves far across the stage, high squelch might mute their microphone.
Setting RF Power Output
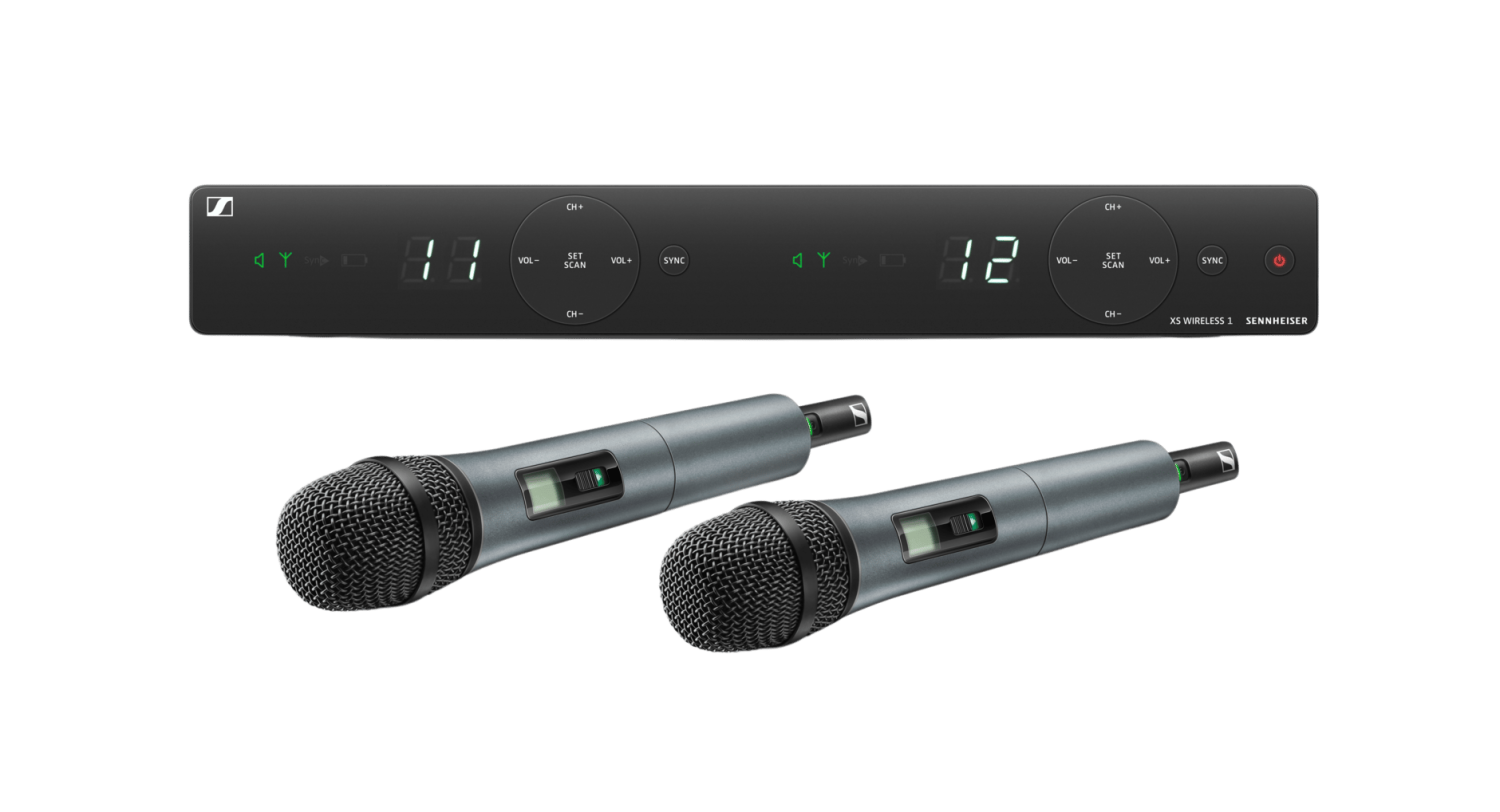
Many bodypack and handheld transmitters let you select RF output power, usually between 10 mW and 50 mW. Higher power increases range and stability, but it creates stronger intermodulation and drains batteries faster. Use 10 mW to 30 mW for indoor stages. Save 50 mW for large outdoor venues.
Choosing the right microphone capsule also helps control handling noise and stage gain. Read our detailed comparison on lavalier vs. handheld microphones to choose the right gear for your event.
Live Music and Multi-Channel Event Workflows
When recording live music or handling multi-channel broadcasts, RF stability directly affects your multitrack recording. As explained in our guide on how to record live music for video, live music setups combine high stage volume with crowded RF environments.
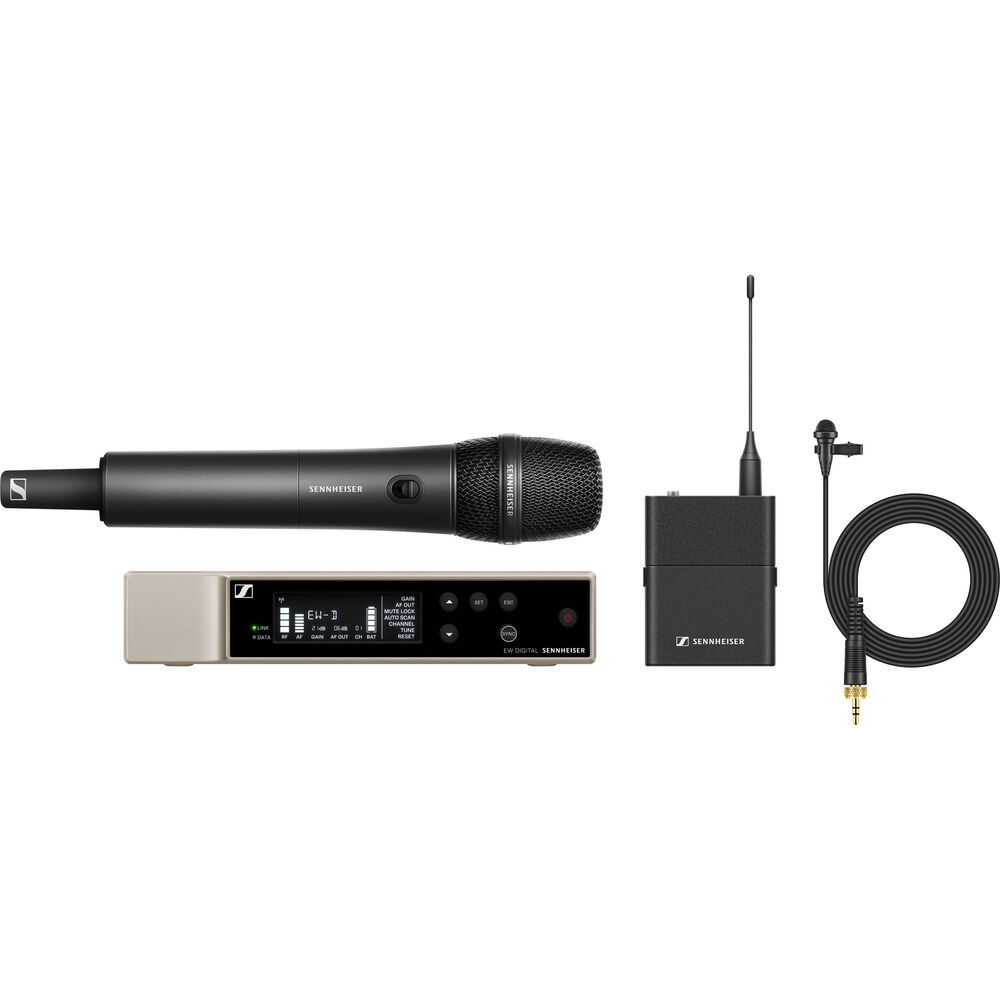
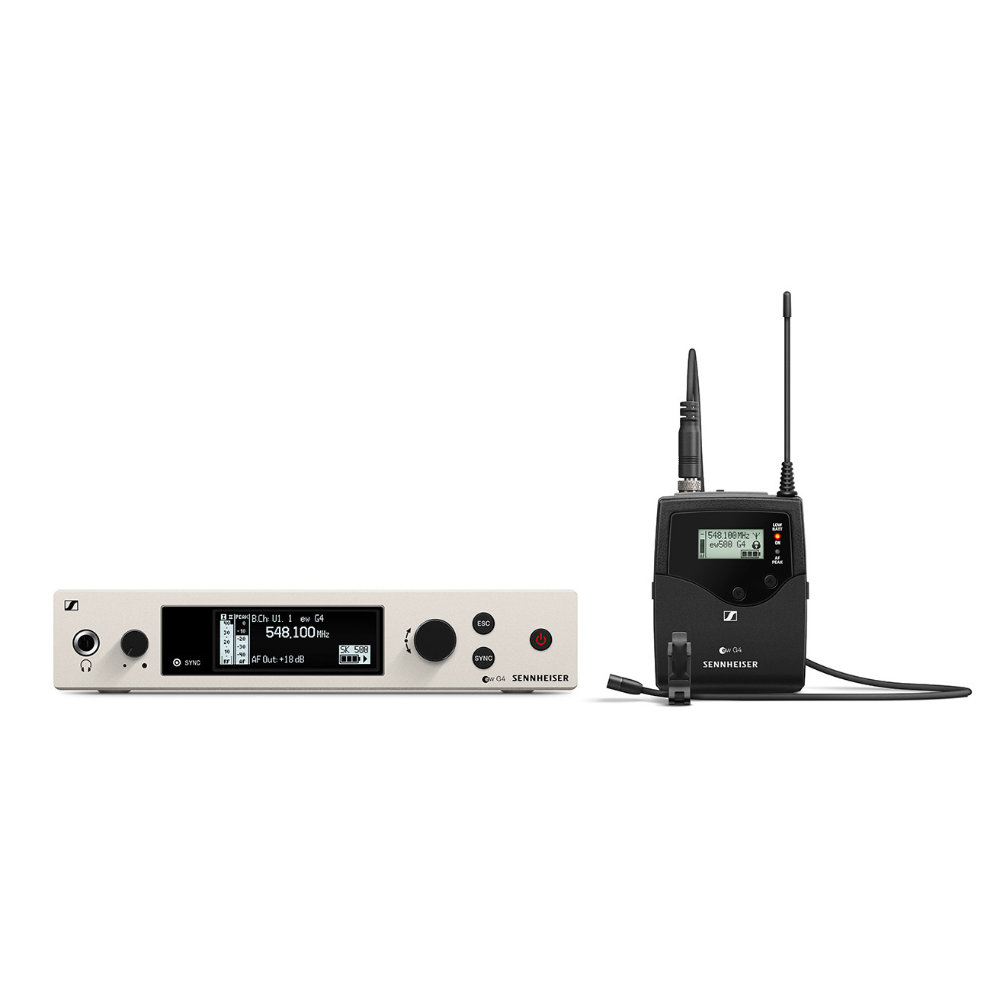
For complex live events, explore professional wireless gear on our dedicated Sennheiser brand page.
Operational Checklist for Show Day
- Fresh Power: Install fresh batteries in all transmitters before soundcheck. Monitor real-time battery levels on control software.
- Mute Inactive Gear: Keep receiver channels muted on the mixing console until dedicated transmitters are powered on.
- Perform Walk Tests: Walk each active transmitter across the stage while checking RF signal meters and listening for audio drops.
- Isolate Transmitters: Keep bodypack transmitters at least 15–20 cm away from internal IEM receivers to prevent cross-talk.
Key Takeaways
- Prioritize UHF Bands: Use professional UHF digital or analog systems over 2.4 GHz systems for critical live events requiring long range and wall penetration.
- Avoid Equal Frequency Intervals: Use coordination software to calculate intermodulation-free channel lists rather than spacing frequencies evenly.
- Position Antennas Correctly: Maintain clear line of sight, elevate antennas above head height, and separate diversity antennas by at least one full wavelength.
- Balance RF Transmission Power: Use the lowest necessary RF output power and amplifier gain to minimize intermodulation distortion and preserve battery life.
- Scan Under Full Stage Power: Perform your RF site survey with LED screens, stage lighting, and venue Wi-Fi turned on to capture an accurate environment scan.
Upgrade Your Wireless Audio Setup
Achieving reliable wireless audio requires proper frequency planning and dependable hardware. Whether you need wideband UHF digital systems, directional active antennas, or complete multi-channel wireless kits, MediaGear stocks professional audio equipment tailored for demanding AV crews.
Need help selecting compatible frequency bands or building an antenna distribution rig for your venue? Contact our technical specialists today for expert advice and custom setup solutions.