





How to Use False Color to Expose Video Correctly
False color turns your monitor image into an exposure map. Each colour stands for a brightness band. You adjust aperture, ISO, ND or lights until your subject sits in the right colour and nothing important turns red or purple.
The catch: there is no universal legend. Atomos, ARRI, RED, Blackmagic and Feelworld all use different palettes. So the first job is always to read the scale on your own screen. This guide shows you how, using real values from manufacturers.
The quick version:
- Turn on false color and show the colour scale.
- Find the colour for middle grey (18% grey) and for your subject’s skin.
- Expose until the subject lands in that colour.
- Check key areas for red highlight warnings or purple shadow warnings, using your palette’s legend.
- Turn false color off before you record through HDMI or SDI.
This guide covers the false color overlay only. For waveforms and vectorscopes, read our video scopes guide. To make the screen itself accurate, see our monitor calibration guide.
What false color shows you
False color recolours each pixel by its brightness. Normal colours disappear. You see the exposure, not the picture.
That is useful because your eyes lie. Room light, screen brightness and a bright sky all change how an image looks. Canon makes the same point in its guide to exposure tools: ambient light affects how bright a monitor looks, so tools like false colours give a more consistent read than your eyes.
False color also differs from the other tools:
- Zebras mark one brightness level or range.
- Waveform plots brightness across the width of the frame.
- False color maps many brightness bands onto the picture, so you see where each one sits.
Use false color to place subjects fast. Use a waveform when you need the exact distribution.
How to read the false color legend
Most monitors show the legend as a strip on the side of the screen. Turn it on. Do not guess.
Here is what manufacturers publish.
| Colour | ARRI (stops) | ARRI (video signal) |
|---|---|---|
| Purple | Noise floor | 0 to 2.5% |
| Blue | Edge of shadow detail | 2.5 to 4% |
| Green | 18% middle grey | 38 to 42% |
| Pink | 1 stop above 18% grey | 52 to 56% |
| Yellow | 2/3 stop below clipping | 97 to 99% |
| Red | 1/3 stop below clipping | 99 to 100% |
Sources: ARRI LogC false color specification for the stop definitions and EBU’s ARRI Amira summary for the percentages. ARRI notes that these colours are categories only. They say nothing about the real colour of the scene.
Other makers differ:
- Atomos uses an IRE scale. Its support page gives green as 44 to 47 IRE (mid grey) and purple as -7 to 2 IRE (underexposed). Overexposed areas run to red.
- RED has a video mode where green is 41 to 48 IRE, pink is 61 to 70 IRE and red is 99 to 100 IRE.
- Blackmagic says in its camera manual that pink is the optimum exposure for lighter skin tones, and green suits darker skin tones.
Notice the pattern. Green sits near middle grey on most scales. Red can indicate overexposure or proximity to clipping; ARRI’s stop-based palette places it 1/3 stop below clipping. Purple or blue means shadows with little or no detail. But the exact numbers, and what pink means, change from brand to brand. A 52 to 56% band on one scale is not the same band on another.
Step by step: exposing with false color
Use this routine on every new camera and monitor pairing.
- Set the camera output. Pick the picture profile you will record in. Turn off any overlays you do not want on the signal.
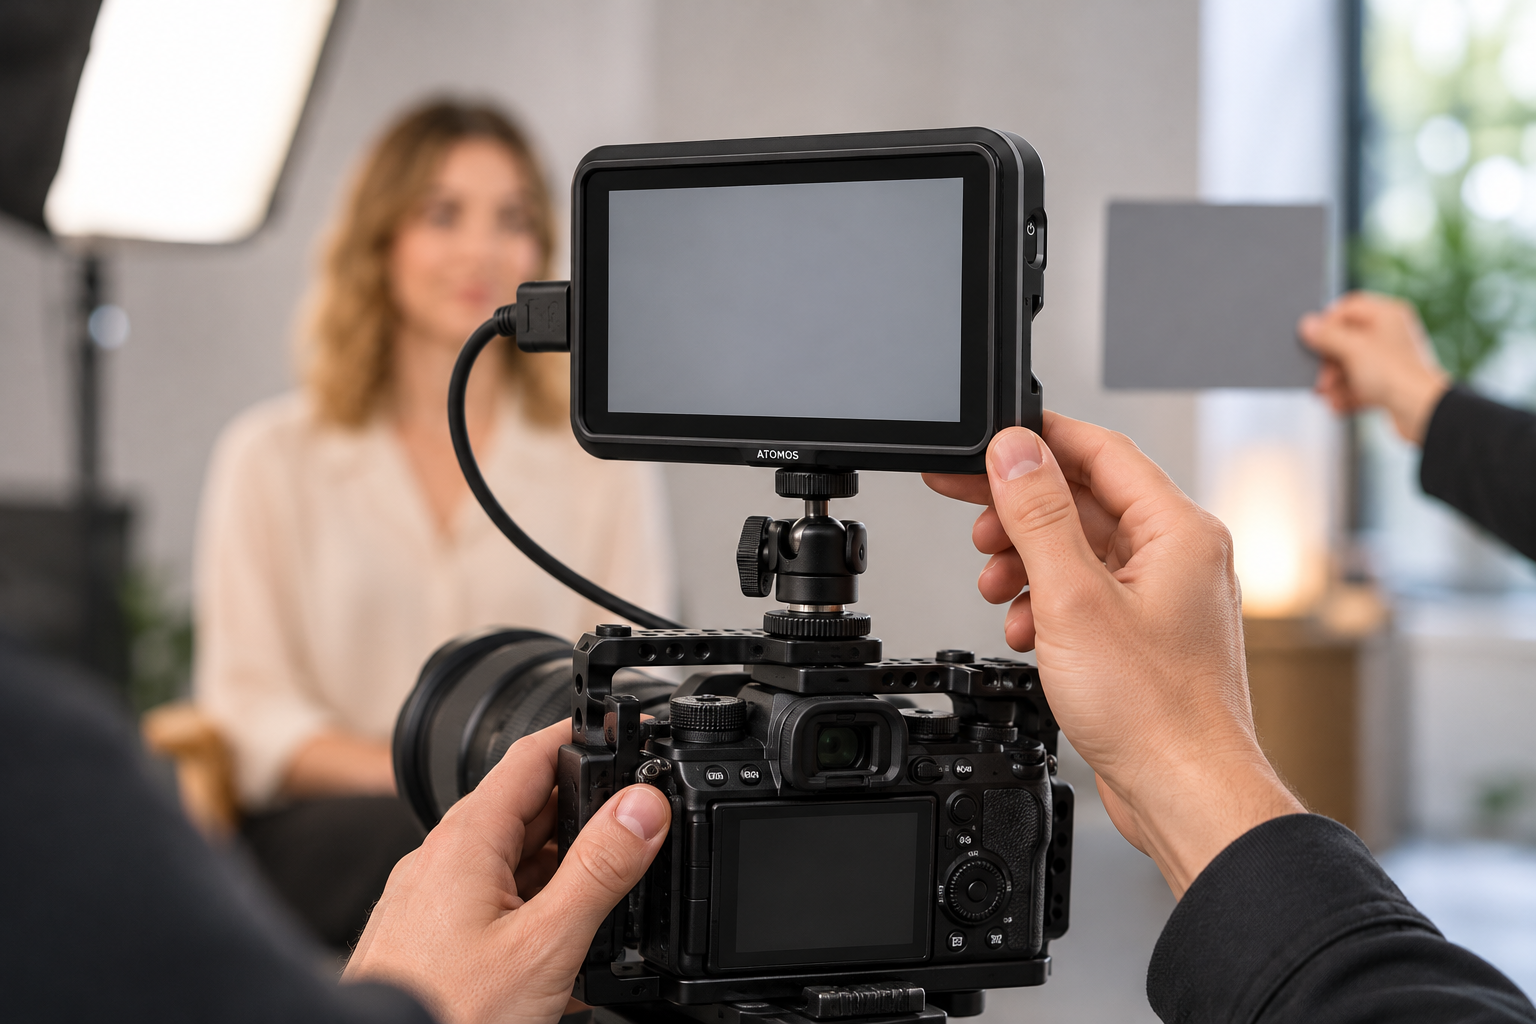
- Switch on false color and the legend. On Atomos monitors, tap the Monitor icon, swipe the icons left and pick the False Color icon.
- Check the mode. Many monitors offer more than one palette. The Feelworld F5 Pro X, for example, offers Normal and ARRI modes.
- Place a grey card in your key light. Fill the frame with it. Adjust until it reads in the middle-grey colour (green on most scales).
- Move the card out and frame your subject. Look at the face. Adjust until skin sits in your target band (see below).
- Scan for red and purple. If a window, lamp or sky is red, check the selected palette: ARRI’s stop-based red band warns of exposure 1/3 stop below clipping, not definite clipping. Decide if that matters for the shot. If a dark area is purple, it has no usable detail.
- Switch the overlay off if your recorder takes its signal from the same output.
If the face and the background cannot both fit, fix the scene, not the camera. Add fill light, flag the window or move the subject. False color shows you the problem. Lighting solves it.
Log, Rec.709 and LUTs: why your reading can be wrong
This is where most false color mistakes begin. The same scene gives different readings depending on the signal the tool measures.
ARRI explains that middle grey is 39% in LogC3 and 28% in LogC4. On the ALEXA 35, the Rec.709 output puts the same grey at 40%, as long as no look file changes the signal (ARRI manual). Sony sets S-Log3 so 18% grey sits at 41%.
So a “40% grey” rule means different things on different signals. The fix is simple: make sure false color reads the signal you care about.
- Sony FX5 example: Sony says false color there reads the S-Log3 output with the LUT off, whatever LUT settings you use (Sony help guide).
- RED example: RED offers one mode that reads the image after looks and LUTs, and another that reads the log image before them (RED documentation).
- Atomos: its support article says LUTs are disabled while false color is on screen. It also says the ARRI and EL Zone options only work with Log or RAW input.
Worked example. You shoot S-Log3 on a Sony camera. You want a skin tone around one stop above middle grey. Middle grey sits at 41%. One stop higher lands in the high 40s, according to a workflow guide from Aspect. You would not aim for the 60 to 70 IRE that people quote for light skin in Rec.709. On a log signal, that target would push the face far too bright and risk clipping.
If you shoot log, use a log-aware false color mode, or put a grey card in the frame and match it to the green zone for that mode.
EL Zone: false color in stops
Atomos monitors also offer EL Zone. It was developed by cinematographer Ed Lachman. Instead of IRE bands, it gives each colour a position in stops above or below 18% grey. Atomos says it assigns colours to exact exposure values the way a camera sees exposure.
Think of it as a spot meter for the whole frame. It suits log and RAW work, where IRE numbers move with the curve. It is not available on a standard Rec.709 signal.
Getting skin tones right
Faces are what viewers judge first. False color helps you place them, but no single value is correct.
Practitioner guides suggest these starting points:
- Lighter skin: about 60 to 70 IRE.
- Darker skin: about 40 to 52 IRE.
These come from Videomaker’s skin tone guidance. A Feelworld SC6 tutorial puts darker skin at roughly 45 to 55 IRE in Rec.709. Treat all of these as ranges, not targets.
Keep skin detail as your real test. Do not clip the highlights on a pale face. Do not crush the shadows on a dark one. If two people with different skin tones share a frame, check both faces. Often you need to light them differently.
Common mistakes
- Leaving the overlay on while recording. RED warns that false color modes can be recorded into SDI video when tools are enabled. Blackmagic gives the same warning in its Video Assist manual: overlays on the camera’s HDMI or SDI output are recorded with your image. Always record a clean feed.
- Trusting the screen brightness. False color reads signal levels, not how bright your screen looks. It is most valuable outdoors and in bright rooms, where screen glare makes judging by eye hard.
- Mixing up legends. If you move between a camera menu and an external monitor, check both scales.
- Reading false color on a LUT-treated image without knowing if the tool measures before or after the LUT.
- Treating one tool as enough. Use false color to place the image, a waveform to check the spread.
Which monitors have false color?
You do not need a cinema monitor. But you do need to know what the tool offers.
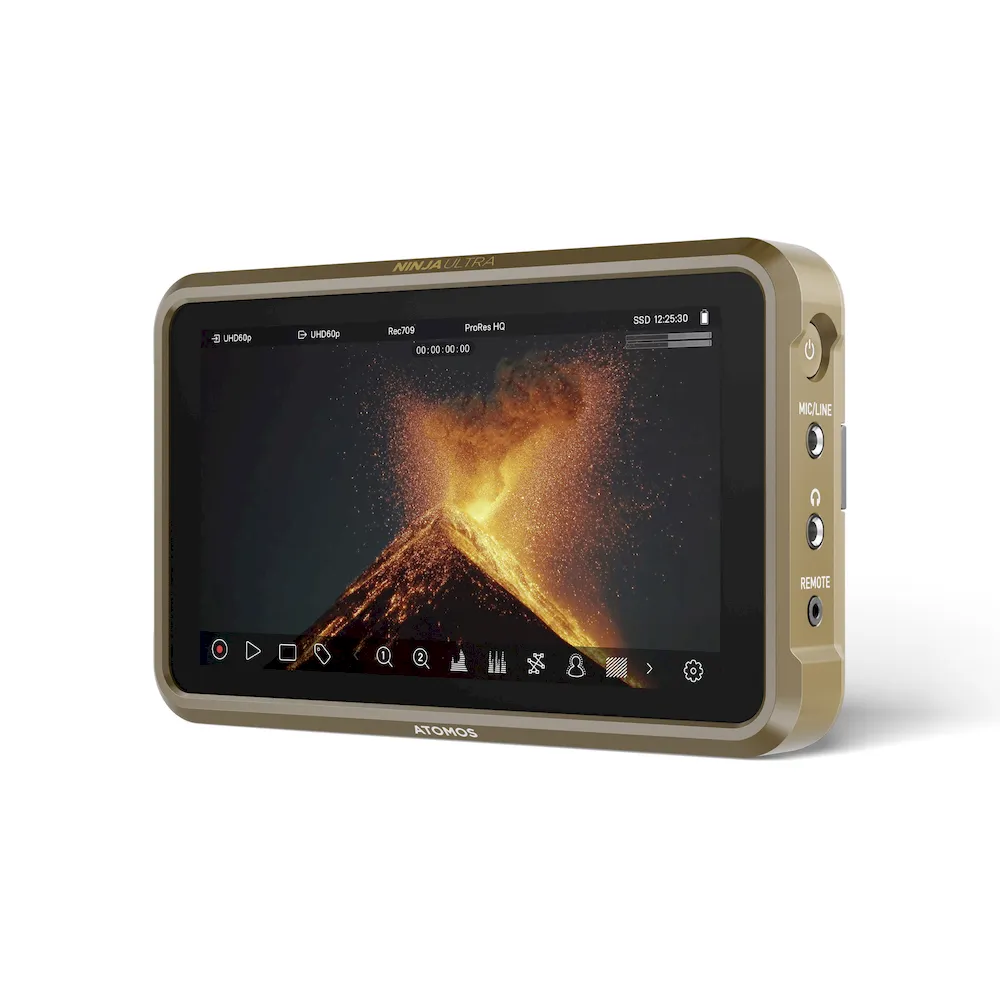
Atomos. The Shinobi II lists Atomos and ARRI false color plus EL Zone in its tech specs. That covers IRE and stop-based work on one 5-inch screen. If you also need to record ProRes RAW, look at a monitor-recorder such as the Ninja Ultra. Our external recorder guide explains when that makes sense. Browse the full Atomos range.

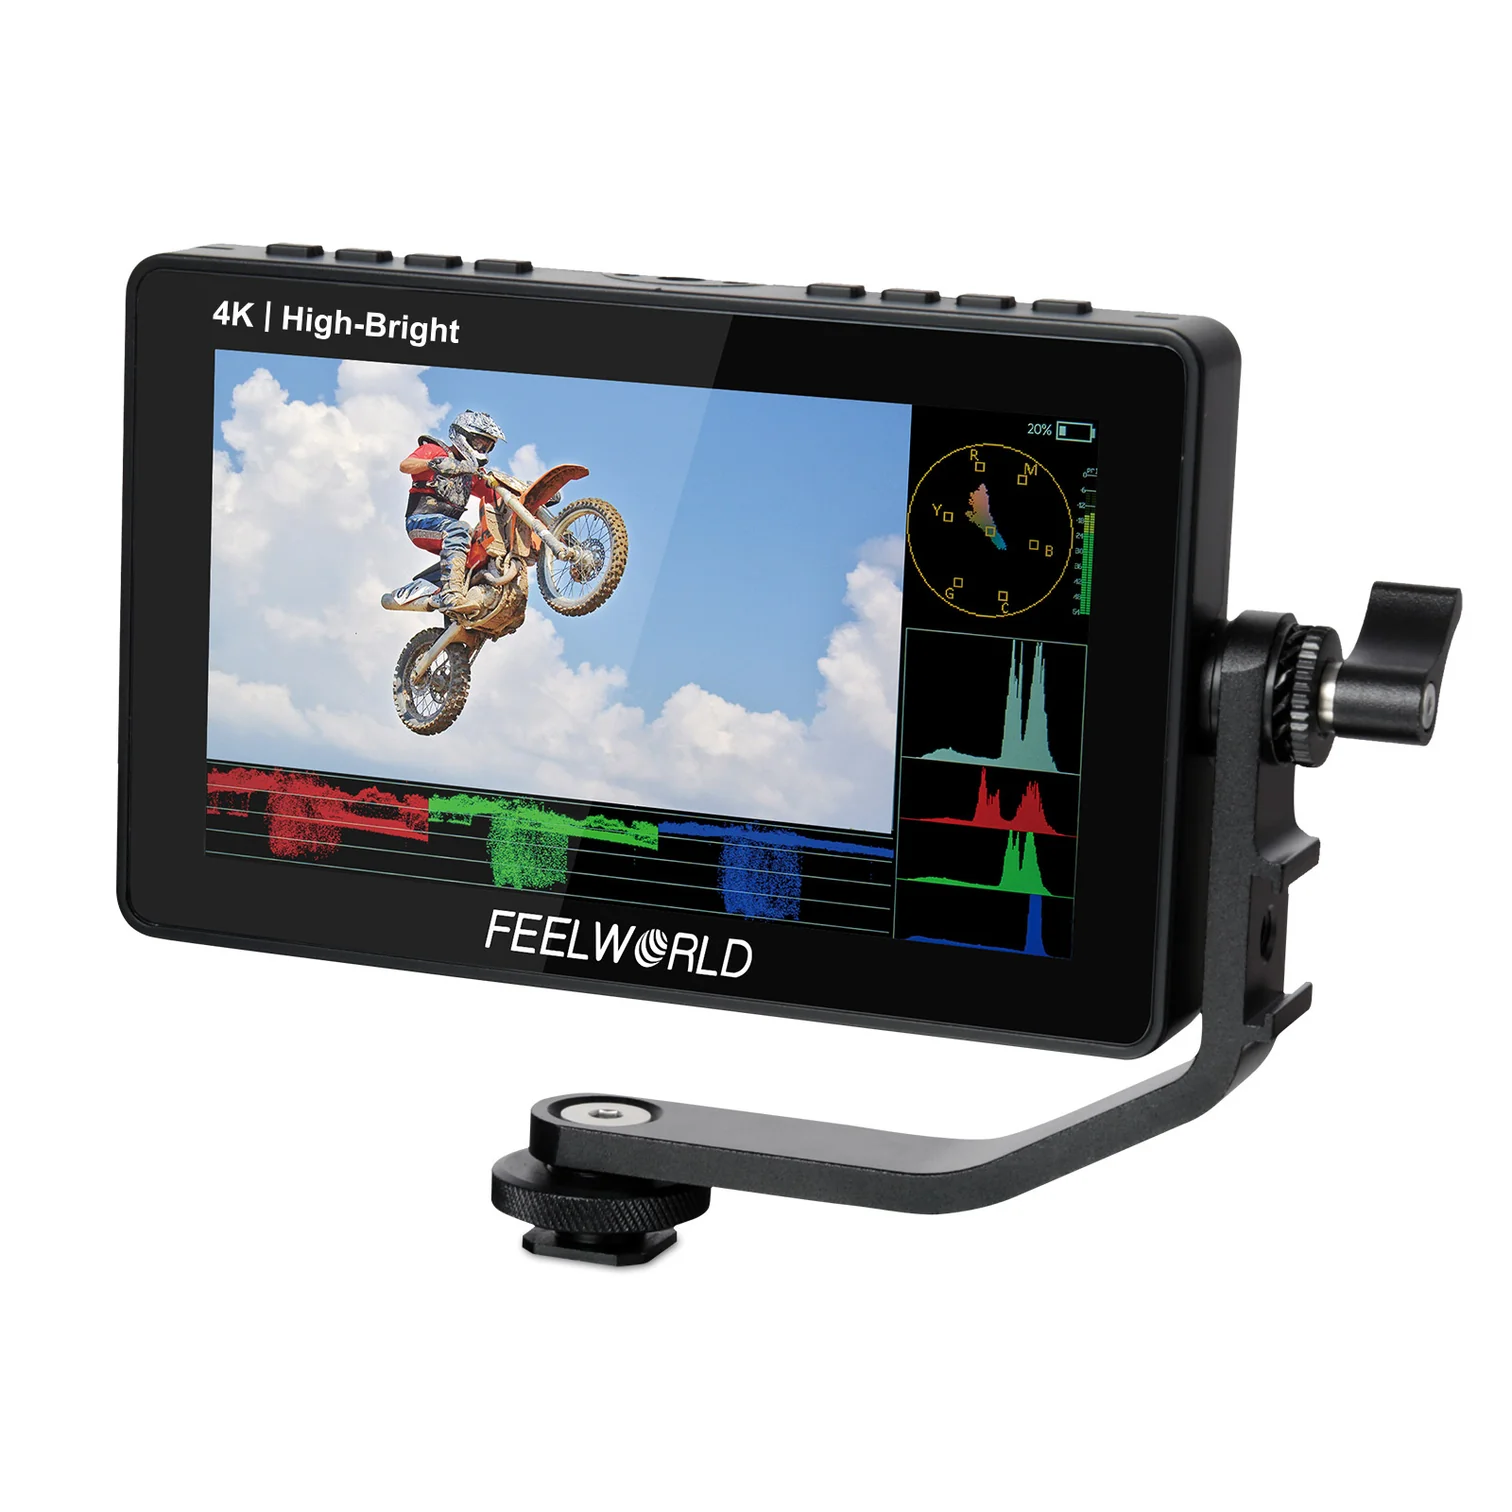
Feelworld and Portkeys. Both brands offer ARRI-style false color. The Feelworld F5 Pro X offers Normal and ARRI false color modes. Portkeys’ BM5 III offers ARRI false color and a user-defined mode. The BM7 II DS adds a Log Stops tool that shows log exposure zones as false color or zebra; Portkeys says automatic recognition currently supports Sony cameras. Check the manual for how each tool treats a LUT on your signal.
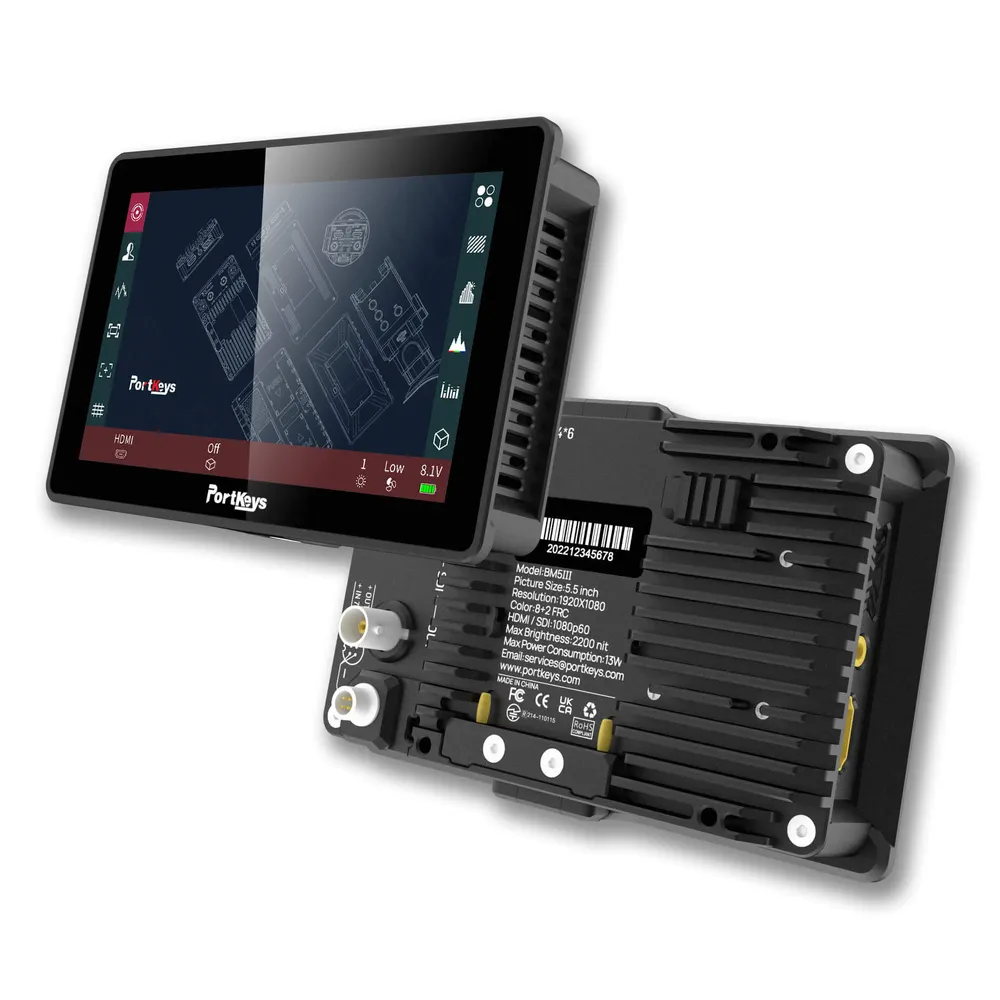
Not sure which size or brightness fits your rig? Our on-camera monitor guide and field monitor guide compare them.
Key Takeaways
- False color has no standard palette. Read the legend on your own monitor before you trust it.
- Green usually marks middle grey. Red marks a highlight warning, which may mean near-clipping rather than clipping, depending on the palette. Purple and blue mark crushed shadows.
- Check what signal the tool measures: log, Rec.709, before or after a LUT. Middle grey sits at 28%, 39%, 40% or 41% depending on the curve.
- Use skin tone ranges as starting points, then judge by the detail you keep in the face.
- Turn the overlay off before you record through HDMI or SDI.
Need a monitor with ARRI false color or EL Zone? Contact the MediaGear team. We will match a monitor to your camera and your log profile.


