How to Calibrate a Monitor for Video Production
You spend hours fine-tuning skin tones, balancing contrast, and matching camera angles. Yet, when your video plays on a client’s TV or a viewer’s phone, the image looks washed out or oversaturated.
In our experience, this frustrating disconnect almost always comes down to uncalibrated displays. A monitor that has not been properly aligned will lie to you about contrast, color saturation, and exposure.
Calibrating your display bridges the gap between what you see in the edit suite and what your audience sees at home. This guide breaks down essential color standards, hardware requirements, and a step-by-step workflow to calibrate your monitors for accurate video editing.
Mastering Delivery Standards: Rec.709 vs Web sRGB
Before placing a sensor on your screen, you must choose the correct calibration target. Video standards depend directly on where your final master will be viewed.
For traditional HDTV and broadcast delivery, the global standard is Rec.709. This specification requires a D65 white point (6500K color temperature), a peak brightness of 100 nits (cd/m²), and a BT.1886 EOTF (gamma curve of 2.4). Gamma 2.4 is tailored for dim editing environments, ensuring smooth shadow transitions on living room televisions.
Web platforms present a different challenge. Computer screens and mobile phones usually operate in bright ambient light. For web-first projects, colorists frequently target sRGB with a gamma curve of 2.2. While Rec.709 and sRGB share identical color primaries, guidelines like Netflix color critical display calibration guidelines emphasize that sRGB uses a slightly brighter curve in the dark shadows to prevent crushed blacks on computer screens.
| Parameter | Broadcast Standard (SDR) | Web Delivery Standard |
|---|---|---|
| Color Gamut | Rec.709 | Rec.709 / sRGB |
| White Point | D65 (6500K) | D65 (6500K) |
| Gamma / EOTF | BT.1886 (Gamma 2.4) | Gamma 2.2 / sRGB curve |
| Target Luminance | 100 nits | 100 – 120 nits |
| Viewing Room | Dim (5 nits ambient) | Normal office light |
When you set up your suites, matching your display target to the distribution standard prevents sudden exposure shifts down the line. To learn how white point correlates with scene lighting, read our guide on color temperature for video lighting.
Essential Calibration Hardware and Software
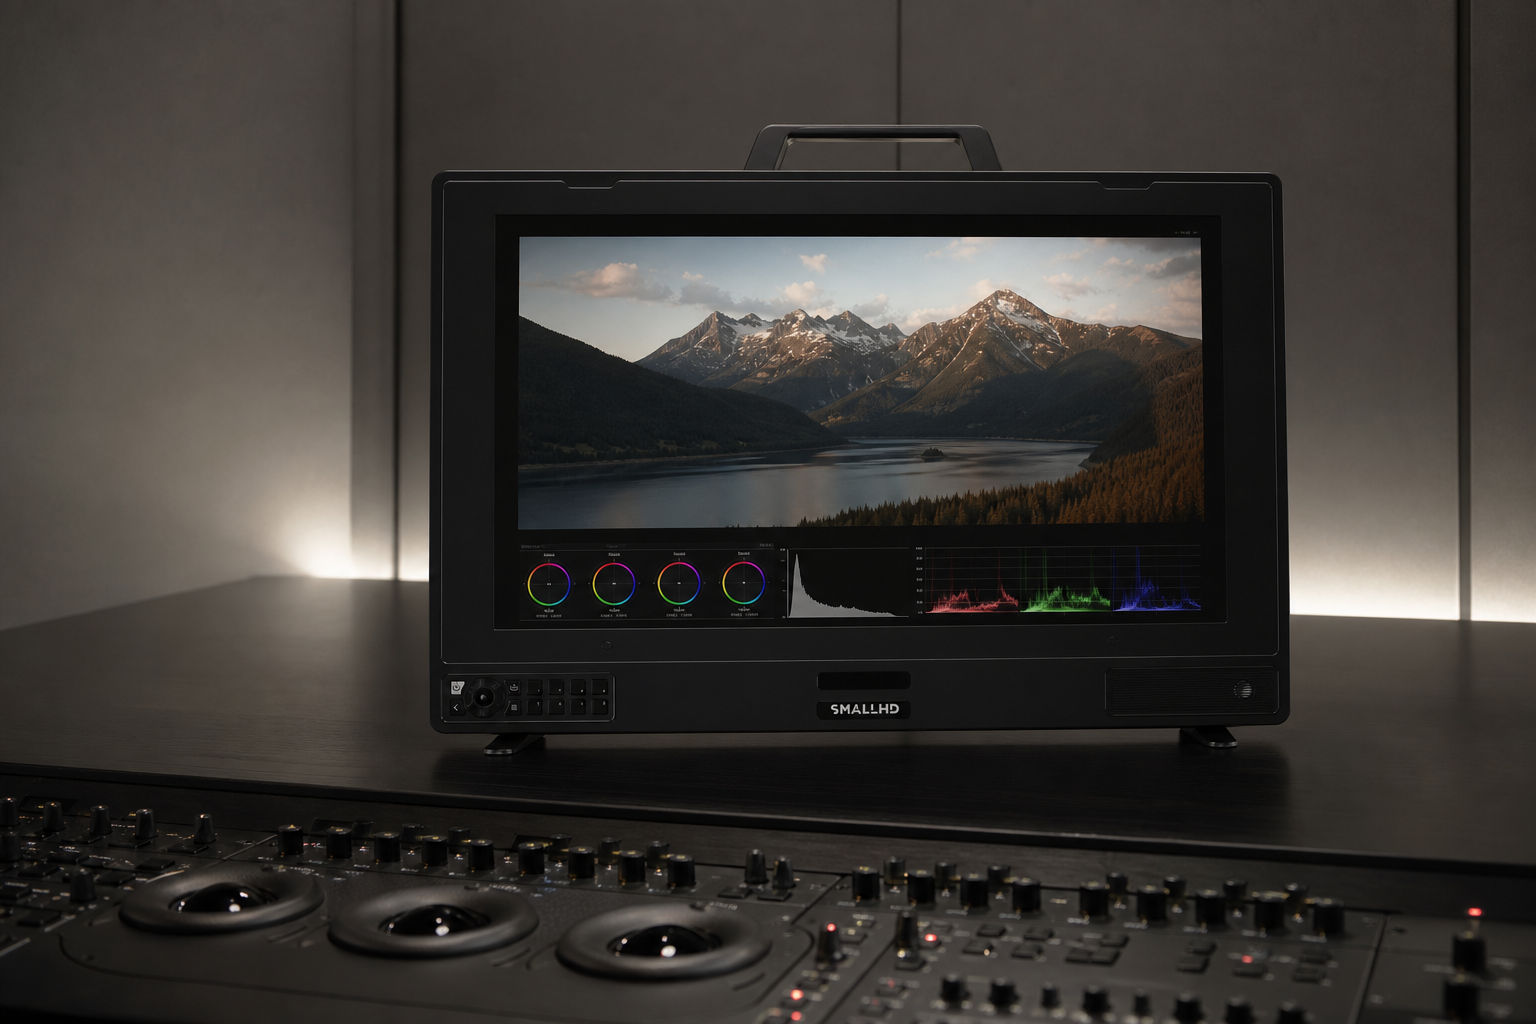
Visual adjustments or software slider tweaks are never sufficient for color-critical work. Human vision constantly adapts to ambient light, making manual color judgment unreliable over time. Accurate calibration requires hardware measurement tools and dedicated profiling software.
Measurement Devices and Color Sensors
You need a hardware sensor mounted to the surface of your screen to read light output accurately:
- Colorimeters: Fast and highly sensitive at low light levels. They use visual filters to measure Red, Green, and Blue light values. Modern colorimeters work exceptionally well on standard IPS and LED displays.
- Spectroradiometers: Highly accurate devices that measure full spectral radiance. They serve as reference meters to benchmark and profile colorimeters across complex display panel technologies like OLED.
Calibration Software and 3D LUT Support
Calibration software sends controlled color patches to your display, measures sensor readings, and calculates variances. The software generates correction tables, known as 3D LUTs (Look-Up Tables), to realign display output.
While budget monitors rely on software-level operating system profiles, professional editing screens store 3D LUTs directly inside internal hardware memory. Hardware-level loading avoids operating system color management bugs and works reliably across all editing applications.
For studio editing environments requiring dedicated hardware calibration and broad format support, professional displays offer built-in 3D LUT import tools and robust input pipelines.
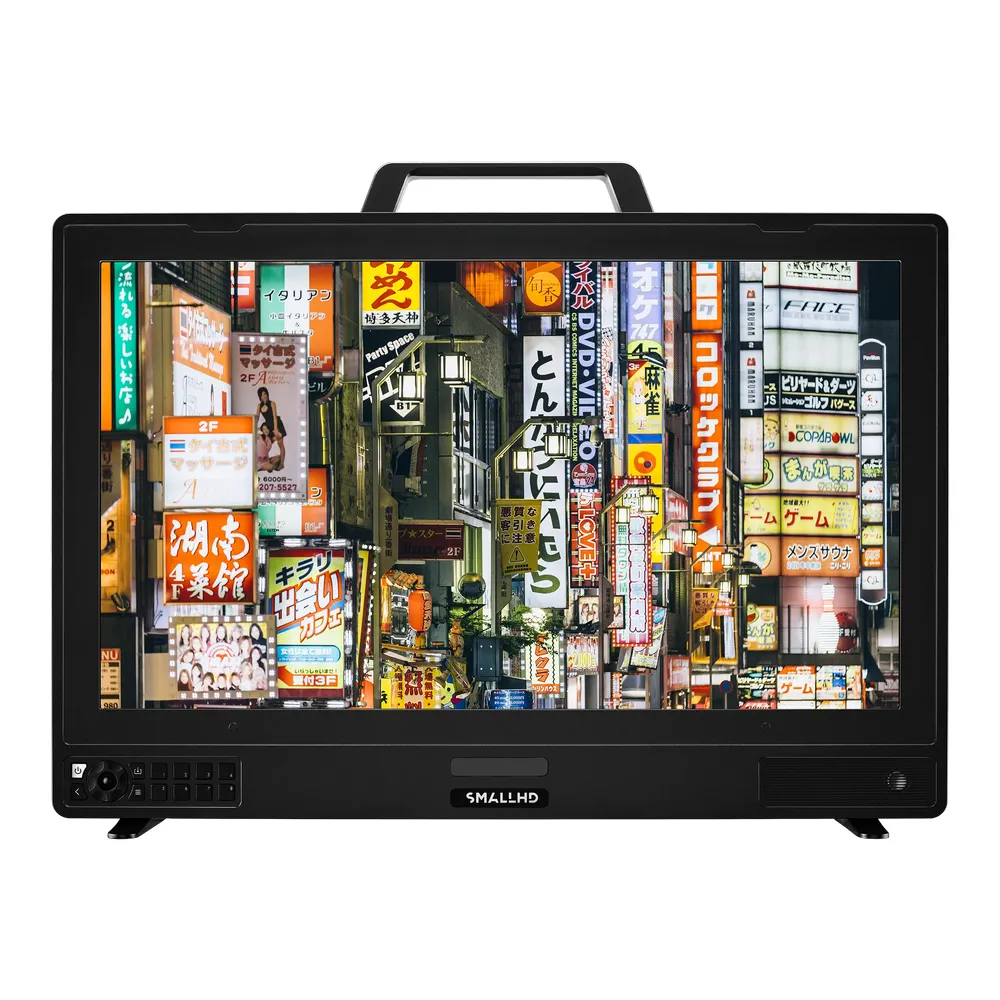
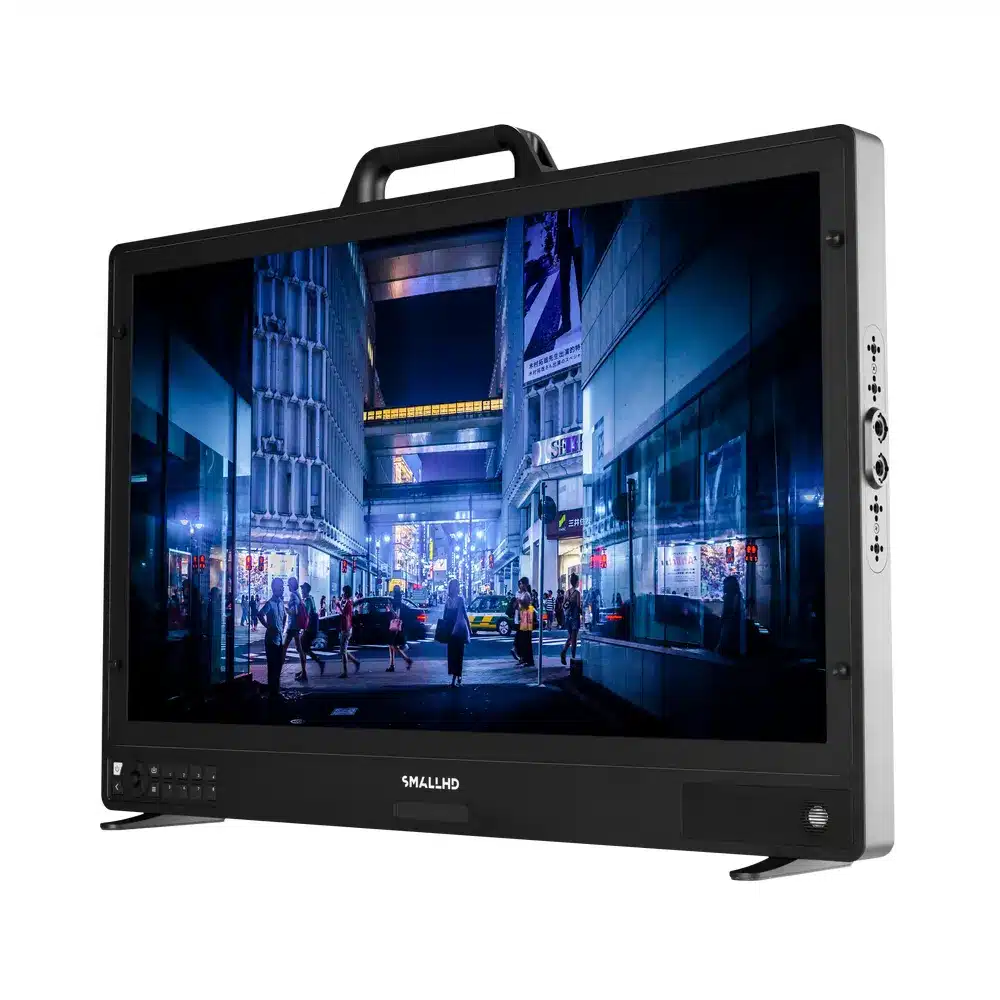
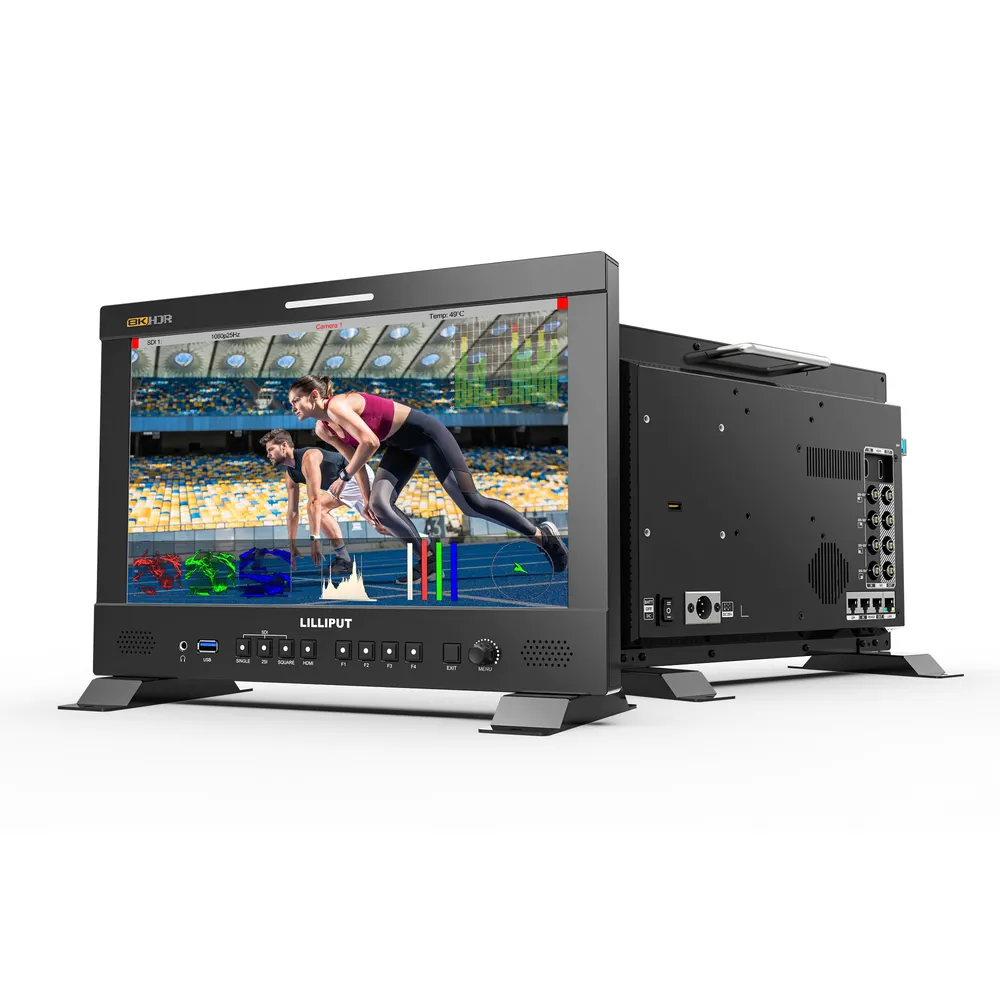
If you need to connect your computer or camera to reference monitors, selecting the correct signal transport is vital. Learn more in our comparison of HDMI vs SDI for video.
Preparing Your Suite and Video Signal Path
Calibration measures the entire signal chain from source file to screen surface. We have seen calibrations fail simply because ambient light or operating system color settings altered the signal during setup.
Step 1: Control Your Ambient Lighting
Your room light directly influences how you perceive shadow depth and highlight detail.
- Eliminate direct sunlight and reflections from the screen.
- Paint walls neutral gray (Munsell N7 or N5 matte) to prevent color cast reflections.
- Install neutral D65 surround lighting behind the display set to roughly 5 nits of brightness. Standards such as SMPTE RP 2080-2 highlight the importance of controlled ambient surround to reduce eye fatigue.
Step 2: Warm Up the Display
Monitors shift color balance and luminance as they heat up. Turn on your monitor at least 30 minutes before taking any calibration measurements so the panel can thermally stabilize.
Step 3: Secure a Clean Signal Output
Computer operating systems frequently apply hidden color profiles, night-mode filters, or dynamic contrast adjustments. For color grading, bypass GPU graphics drivers entirely by sending a clean feed through a dedicated I/O output device directly into your video display.
If you shoot on location or use external hardware to record direct camera feeds, review our guide on choosing an external video recorder for camera workflows. For essential hardware add-ons, browse our monitor accessories category.
Step-by-Step Monitor Calibration Workflow
Once your suite is prepped and your screen is warm, follow this standard five-step calibration process.
- Define Target Standard (Rec.709, D65, Gamma 2.4)
- Hardware Manual Setup (Brightness, Contrast, RGB)
- Display Profiling (Automated Patch Measurement)
- Generate & Load 3D LUT (Hardware or Software)
- Verification & Quality Control Pass
Select Target Parameters
In your calibration software, choose your target standards before taking measurements:
- Color Space: Rec.709
- White Point: D65 (x = 0.3127, y = 0.3290)
- Luminance: 100 nits (or up to 120 nits for brighter rooms)
- Gamma: BT.1886 or 2.4
Manual Hardware Adjustments
Before creating automated correction tables, adjust your monitor’s On-Screen Display (OSD) controls to bring the panel as close to target as possible:
- Set Black Level: Use a PLUGE test pattern. Lower monitor brightness until the below-black bar vanishes while keeping shadow details visible just above black.
- Set White Level: Adjust the screen backlight control while taking continuous measurements with your colorimeter until peak white hits your target (typically 100 nits).
- Coarse White Balance: Measure a 100% white patch and adjust the monitor’s RGB Gain controls to hit the D65 coordinate without clipping highlights.
Automated Display Profiling
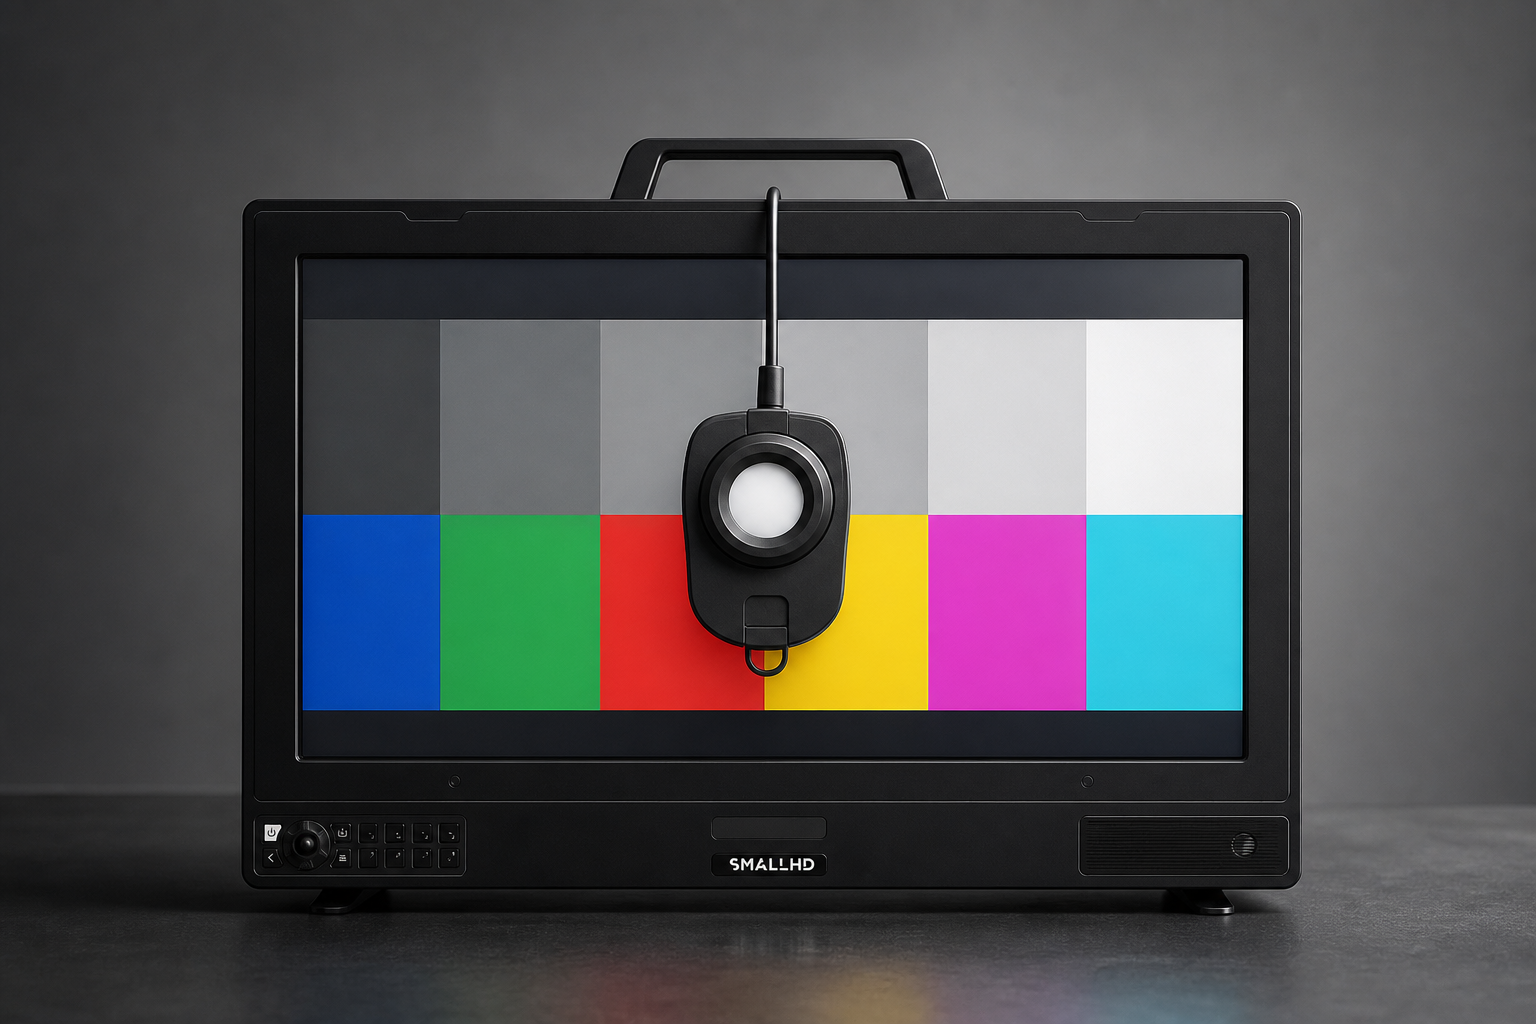
Place your colorimeter flat against the center of the screen. Ensure no ambient light leaks under the sensor contacts. Run the software’s patch generator sequence. The software will cycle through hundreds of color patches, measuring greyscale tracking, gamma response, and primary/secondary color targets.
3D LUT Generation and Export
When measurement completes, the software calculates discrepancies and generates a calibration 3D LUT.
- If your monitor supports hardware LUTs, upload the file directly into the display internal memory slot.
- If your display lacks internal hardware LUT storage, load the LUT into an external hardware LUT box placed in the signal path between your computer I/O and the monitor.
Verification Pass
Never skip verification. Run a fresh patch measurement sequence through the active calibration LUT. The software will calculate Delta E values, which represent perceived color error. An average Delta E value below 2.0 indicates accurate calibration where color differences are imperceptible to the human eye.
On-Set vs Post-Production Calibration Standards
Calibration requirements differ between production sets and edit suites. In post-production, precision master control demands strict adherence to ITU standards. On set, field monitors face changing environments, direct sunlight, and demanding battery constraints.
While field monitors must contend with extreme ambient brightness, maintaining color accuracy across all camera feeds remains crucial for focus pullers, directors, and DITs.
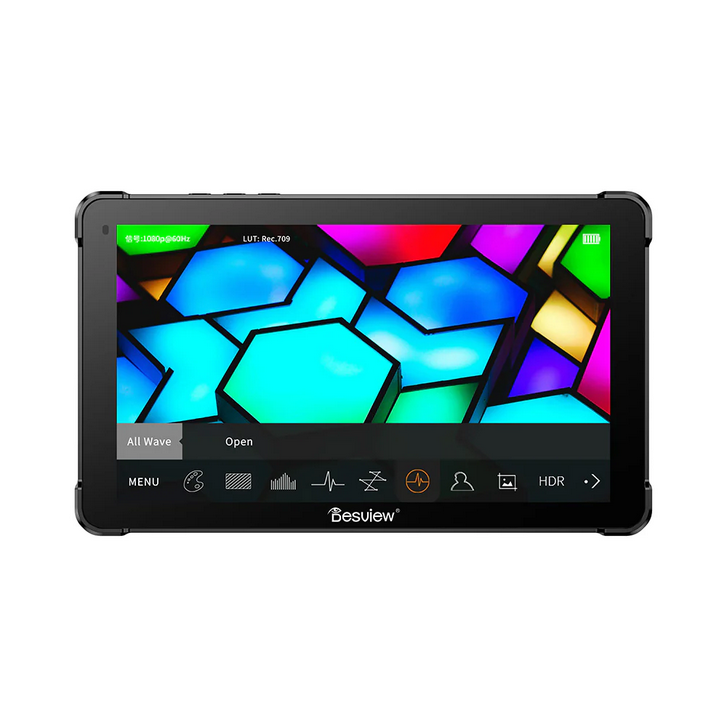
To balance visibility with color fidelity, modern high-bright field displays offer factory calibration profiles alongside custom 3D LUT loading capabilities.
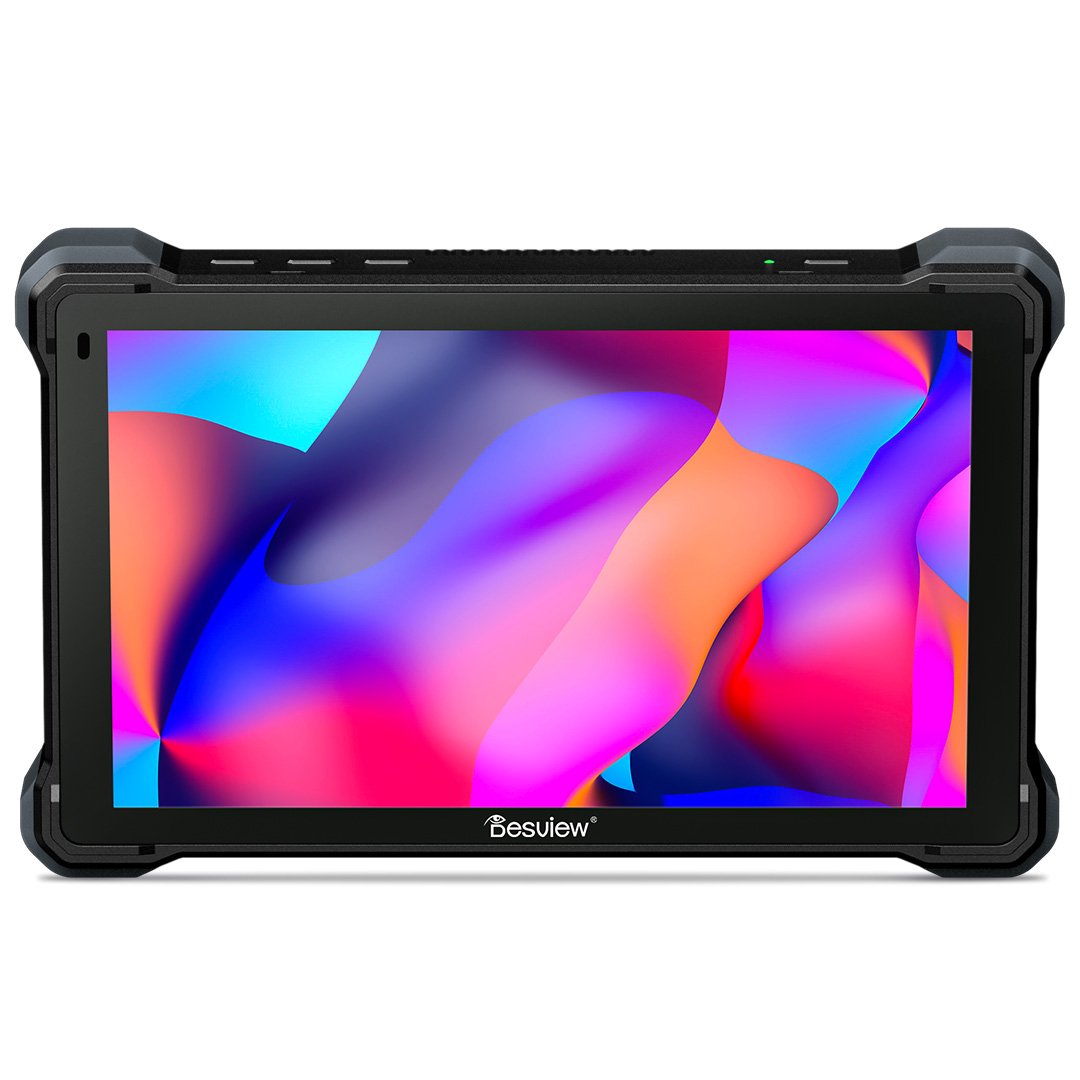
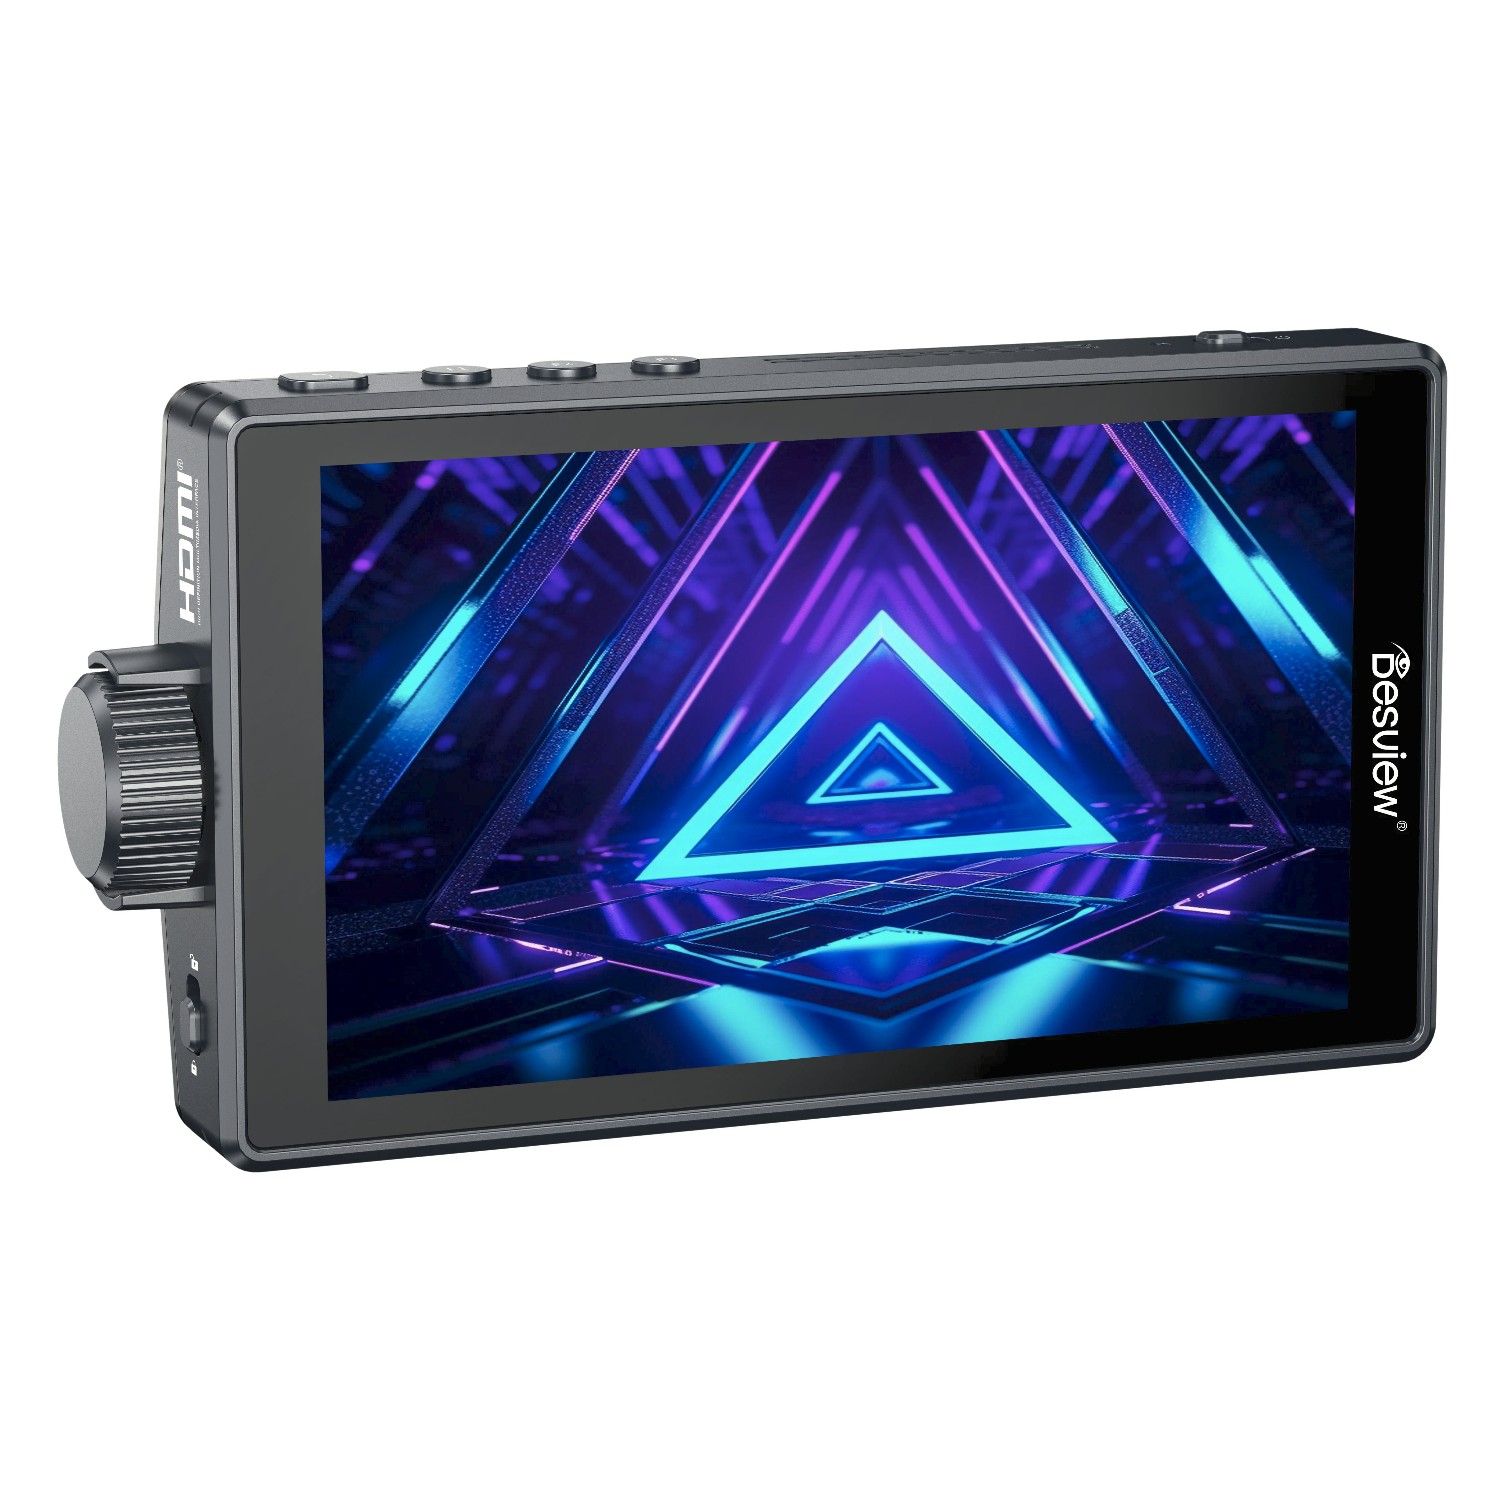
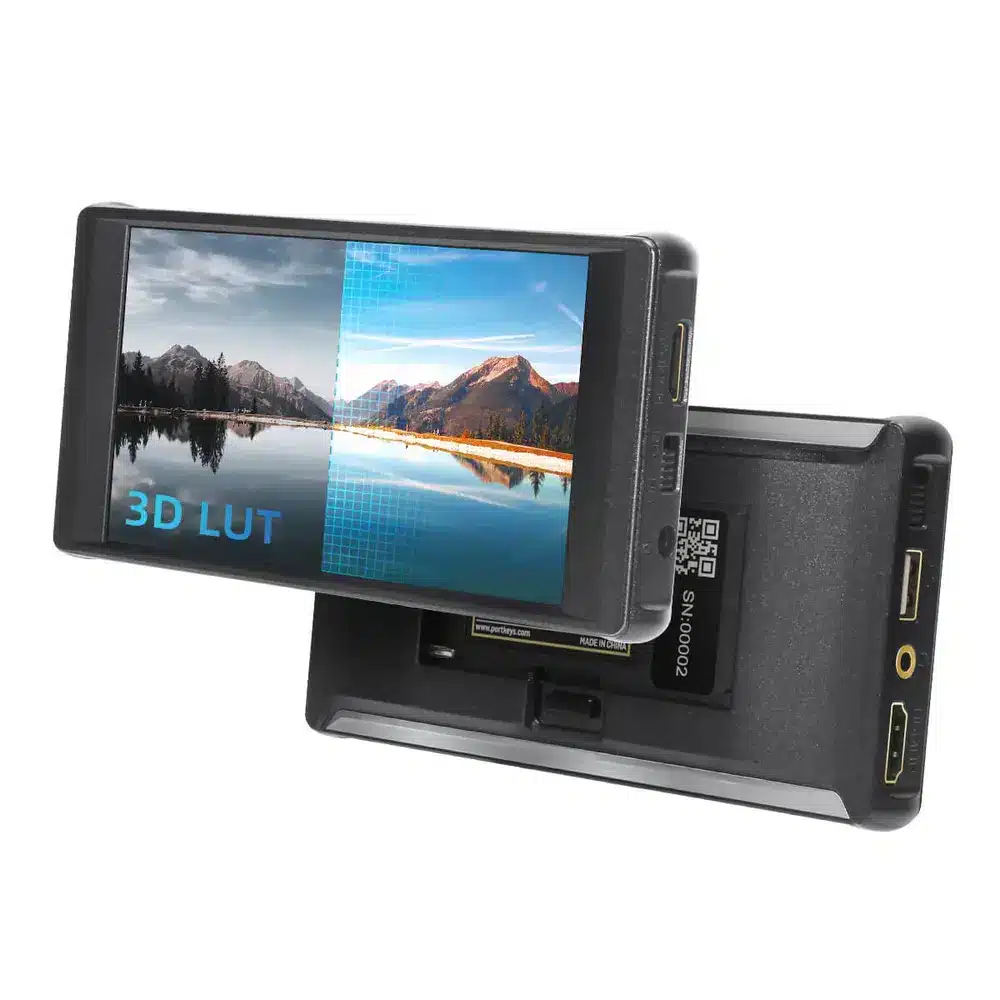
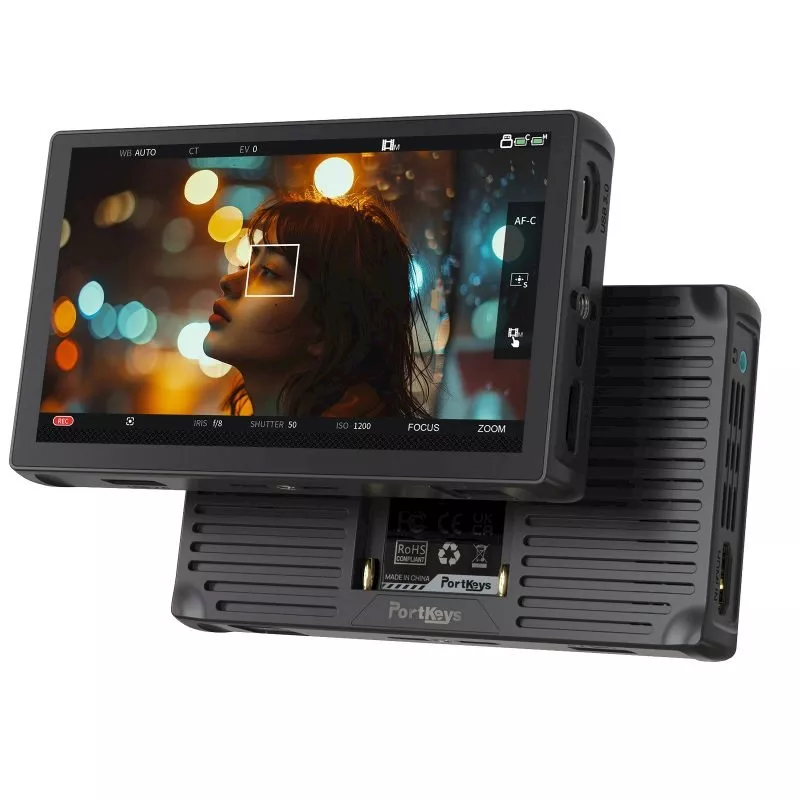
Compact touchscreens on camera rigs let operators judge scene contrast accurately without guessing exposures. For choosing portable production screens, read our guides on finding the right field monitor for video or a lightweight on-camera monitor for video.
For larger director displays and field gear, browse dedicated options in our video monitors category, or examine field-ready recording displays in recording monitors.
Key Takeaways
- Target the Right Standard: Use Rec.709 with BT.1886 (Gamma 2.4) EOTF at 100 nits for broadcast delivery; target sRGB or Gamma 2.2 for web-first content.
- Isolate Your Signal: Bypass operating system graphics drivers by using clean video output hardware via SDI or HDMI connections.
- Control Your Suite: Warm up your display for 30 minutes and maintain neutral matte gray walls with dim D65 ambient lighting.
- Rely on 3D LUT Hardware: Upload hardware-level 3D LUTs directly to reference displays to bypass software color management errors.
- Verify Periodically: Re-calibrate your reference displays monthly or whenever measured Delta E values drift past 2.0.
Need help building a color-accurate workflow or picking the right hardware display for your suite? Explore our full collection of video monitors or contact our technical team at MediaGear for custom setup advice.