How to Light a Green Screen for Clean Chroma Keys
We have seen video productions lose countless hours in post-production trying to salvage a poorly lit green screen. Masking out harsh shadows, correcting uneven exposure, and fighting green colour spill on a subject’s face are tedious processes. These problems drastically degrade your final image quality and slow down your editing timeline.
A clean chroma key starts on set, not in software. When your camera sensor receives a uniform block of colour behind a distinctly separated subject, the keying software can remove the background with a single click.
In our experience outfitting broadcast environments and providing complete AV integration solutions for studios, achieving this perfect result relies on physics and discipline. You must separate your lighting zones, use the right fixtures, and lock in your camera settings.
Here is the professional framework for lighting a green screen consistently and correctly.
Separate Your Subject From the Background
The most common mistake when setting up video lighting for beginners is trying to light the subject and the green screen with the same fixtures. This guarantees failure.
To achieve a clean key, you must treat your setup as two entirely independent lighting zones. Your background lights should never hit your subject, and your subject lights should never hit your background.
To make this possible, you need physical distance. Position your subject 6 to 10 feet away from the green screen. This separation serves two critical functions:
- It eliminates cast shadows: The further away the subject stands, the lower the chance their body will cast a hard shadow onto the green backdrop.
- It reduces colour spill: Light bounces. A brightly lit green screen acts as a massive green reflector. If your talent stands too close, green light will bounce onto their shoulders and hair. This spill makes it nearly impossible for software to distinguish the subject’s edges from the background.
Achieve Even Illumination on the Screen
Your goal for the background is absolute uniformity. The green screen must be exposed evenly from edge to edge. It should be entirely free of wrinkles, hot spots, or dark corners.
To do this, use large, diffuse light sources. We recommend LED panels over point-source lights. As we outline in our guide comparing LED panel vs. Fresnel lights, a panel naturally delivers a wide, soft flood of light that minimizes harsh gradients.
Place two matching lights at 45-degree angles to the screen, one on each side. Ensure they are the exact same make, model, and colour temperature. Position them far enough back that their beams spread and overlap smoothly across the canvas. If the lights are too close to the fabric, they will create bright hot spots right behind the edges of your frame.
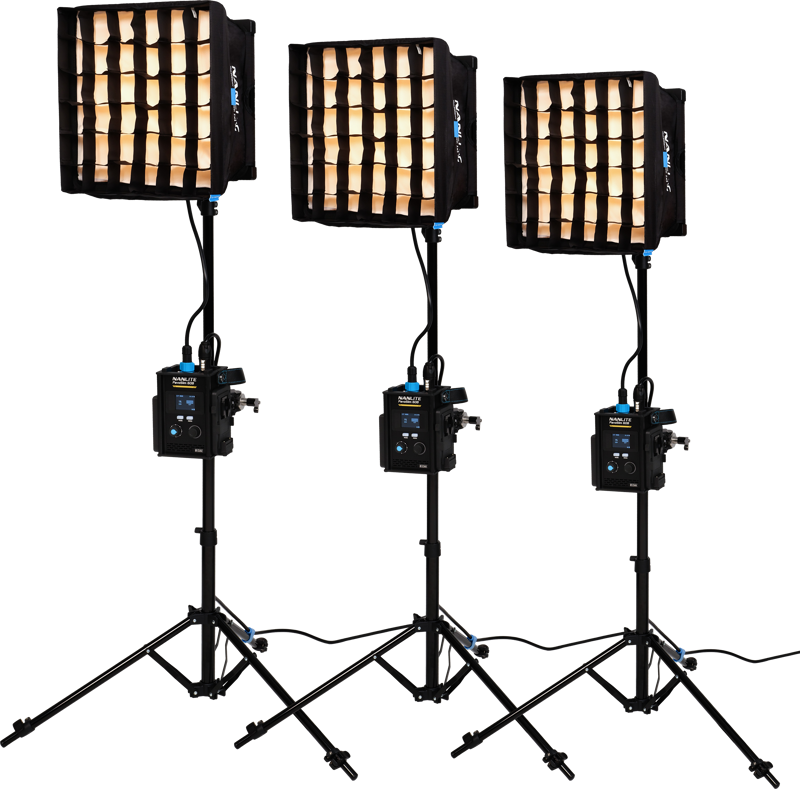
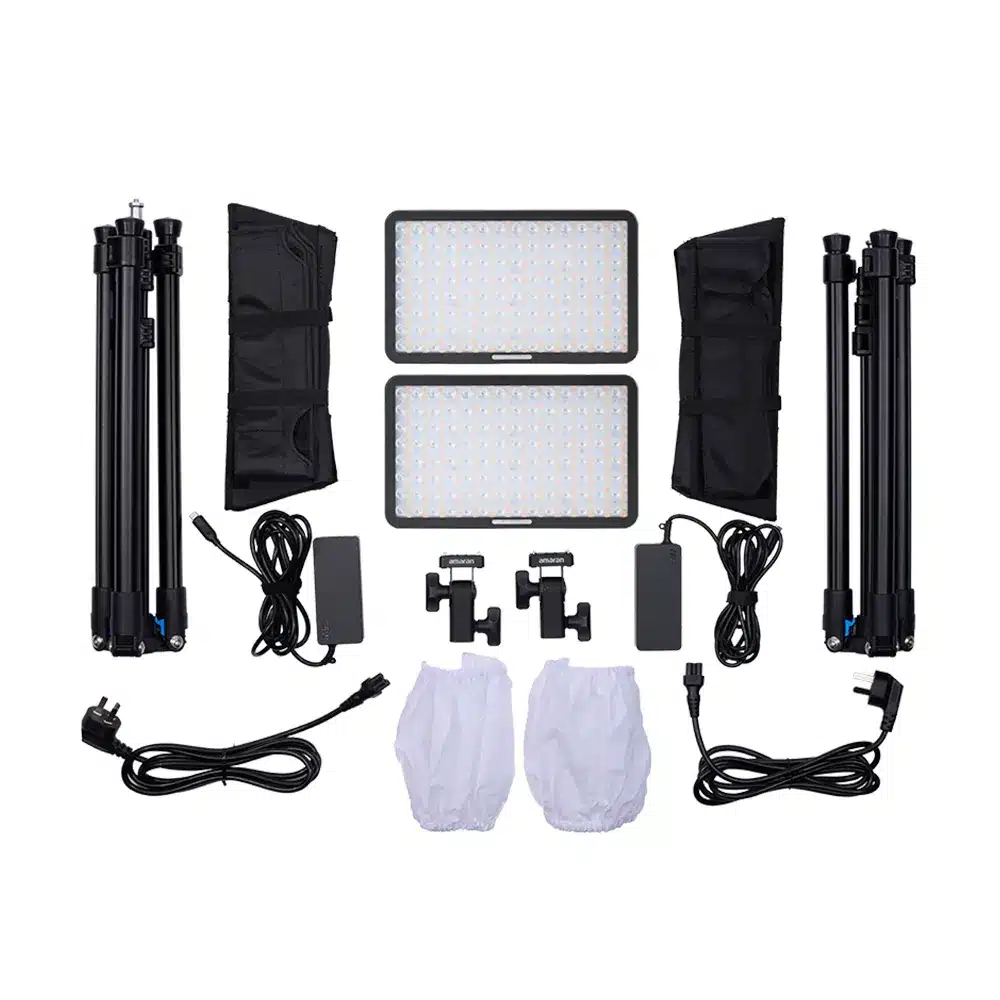
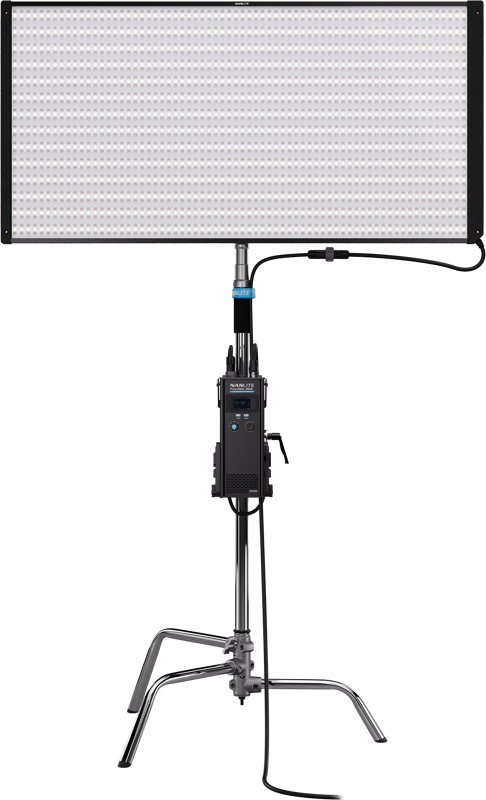
For larger cycloramas or expansive background frames, a two-light setup may not provide enough coverage. In these demanding scenarios, you must introduce additional high-output soft panels from above or below. This extra power maintains edge-to-edge consistency.
Measure the Light Mathematically
Do not trust your eyes to judge even illumination. Human vision naturally compensates for contrast variations that a camera sensor will record precisely.
Instead, use a waveform monitor to evaluate your exposure. When panning your camera across the green screen, your waveform should display a tight, straight horizontal band. If the line curves up in the centre or dips at the edges, your lighting is uneven. Adjust the physical distance or dimming output of your panels until that waveform band is flat.
Light Your Subject for Contrast and Separation
Once your background is perfectly uniform, turn those screen lights off. It is time to light your talent.
You should approach this phase just as you would light any subject for video. A standard three-point setup using a key, fill, and backlight remains the industry standard. Treat this layer as a completely separate project.
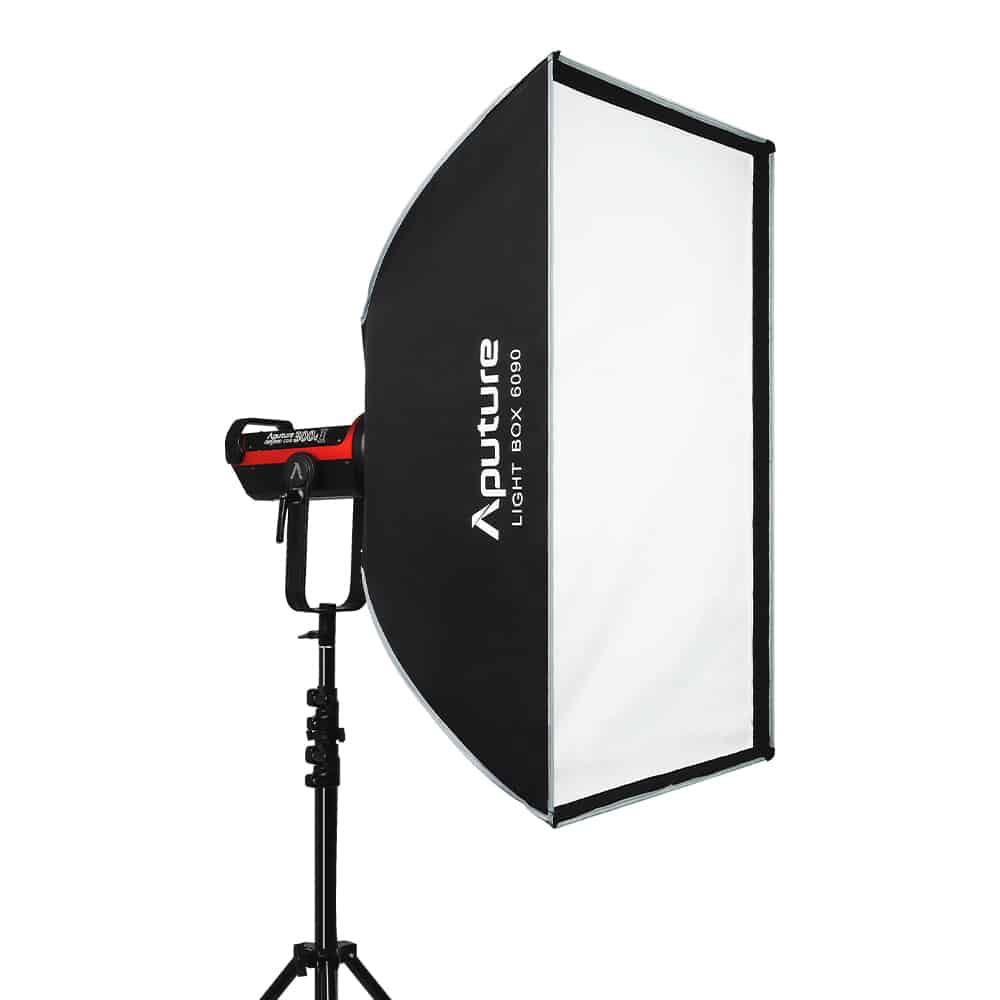
When choosing modifiers for your key light, rely on softboxes rather than bare bulbs or ring lights. As noted in our ring light vs. softbox breakdown, softboxes provide the controlled, flattering wrap required for professional video work.
Build Separation With a Rim Light
The secret weapon in any green screen setup is a strong backlight. Professionals often call this a rim light or hair light.
By placing a fixture behind the subject, aimed at the back of their head and shoulders, you create a bright outline. This physical contrast separates them from the background and gives your keying software a hard edge to track. A strong daylight or slightly magenta rim light will also neutralize any residual green light trying to spill onto the talent’s shoulders.
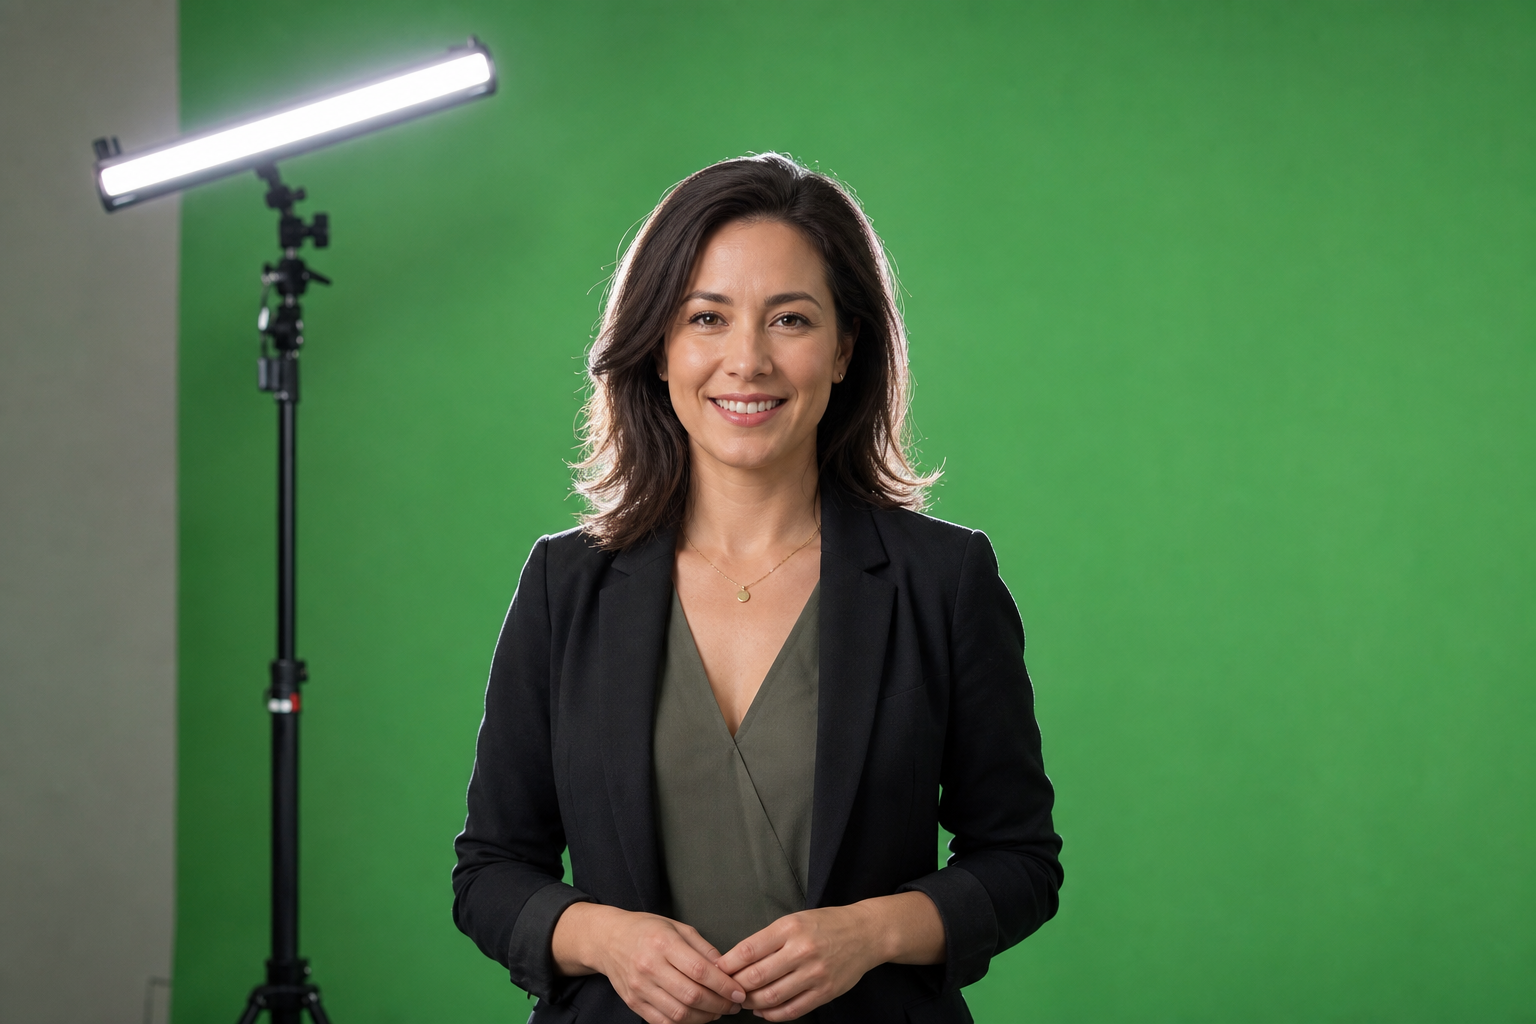
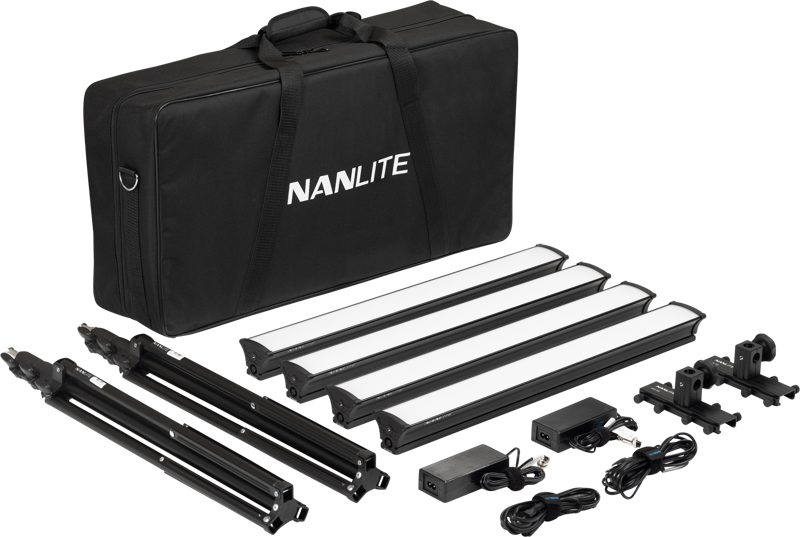
Certain studio kits are designed specifically to solve this workflow. For example, you can mount a multi-light strip configuration directly above the background frame to act as a dedicated, low-profile rim light.
Control Spill and Manage Shadows
Light management is about subtraction just as much as addition. If you cannot get your talent far enough away from the screen due to room constraints, you must rely on light modifiers and lighting accessories to control where the photons travel.
Use these tools to shape your output and protect your background:
- Barndoors: Attach these to your fixtures to physically cut the light beam. This prevents your key light from striking the green screen behind the subject.
- Honeycomb Grids: Snap a grid onto your softbox or LED panel to force the light forward in a straight path. Grids drastically reduce lateral spill.
- Flags and Floppies: Mount large, opaque fabric flags on heavy-duty light stands to block green reflections from hitting the side of your talent’s face.
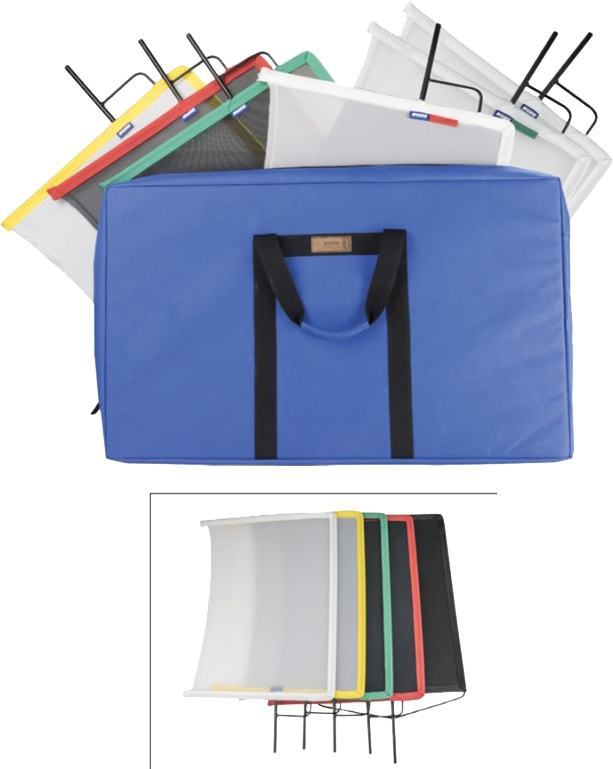
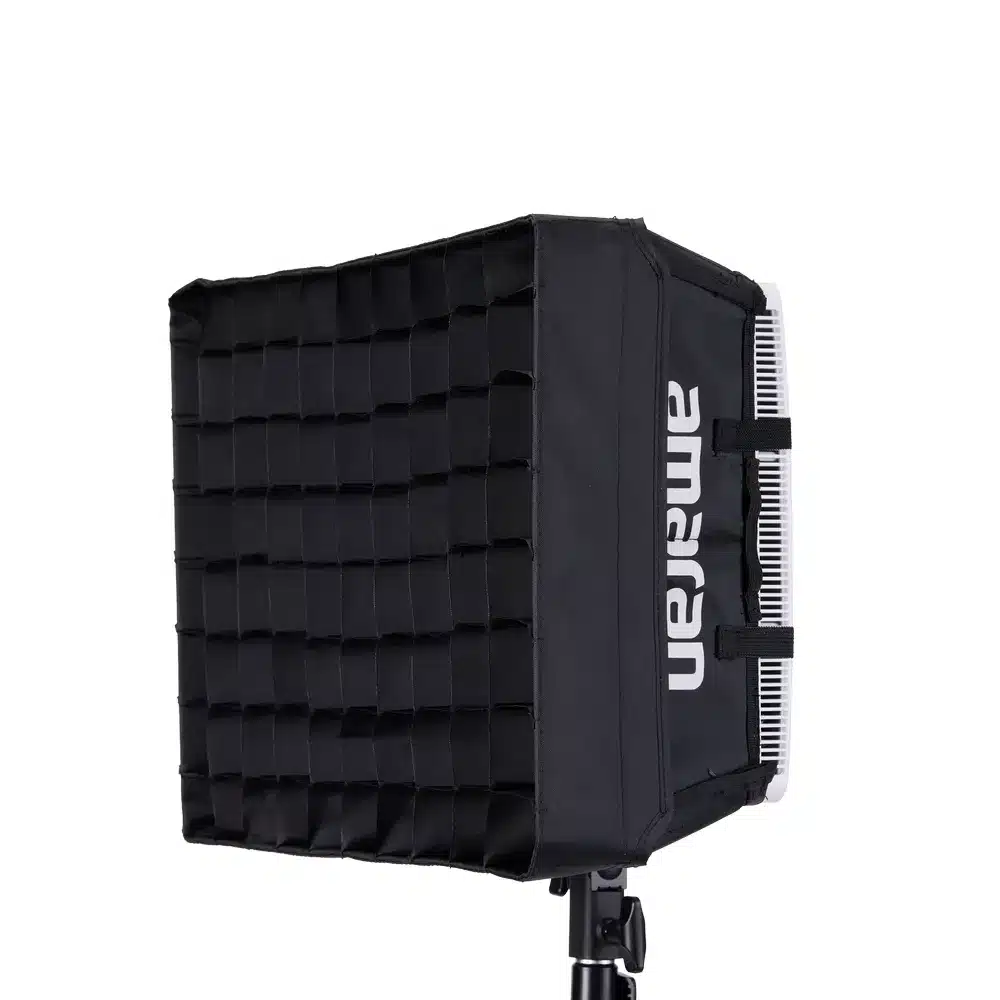
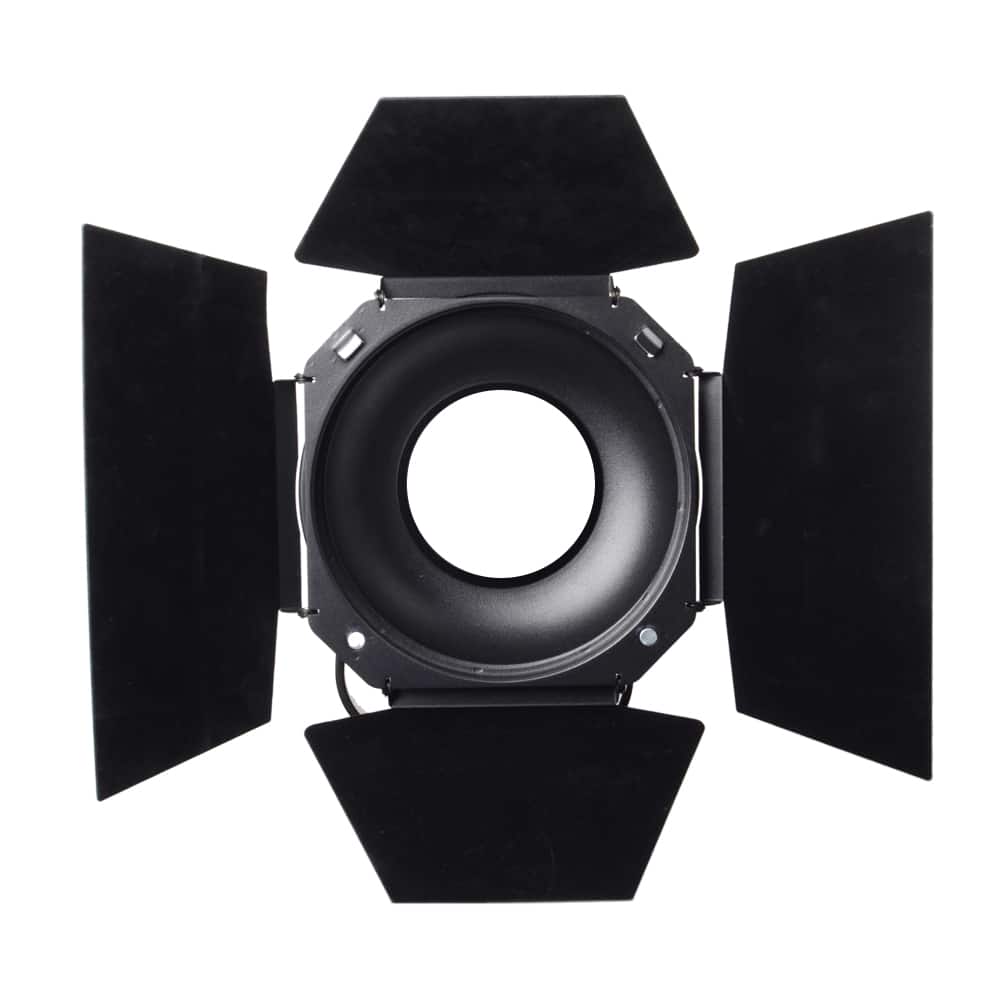
A highly controlled set requires robust support. If you are flying flags or large modifiers over your talent, prioritize heavy-duty rigging. Standard aluminium tripods will flex under the weight, so rely on a proper C-stand for video production to secure your grip gear safely.
Lock Down Your Camera Settings
Even the most meticulous lighting setup can be undone by poor camera configuration. Auto settings will constantly shift exposure and colour balance as your subject moves. This creates a flickering background that breaks your key.
To guarantee a clean result, switch to full manual mode and implement these settings:
| Setting | Professional Standard | Why it Matters |
|---|---|---|
| ISO | Base or lowest native ISO | High ISOs introduce digital noise into the image. Noise creates flickering pixels on the green screen, making it difficult for software to process a clean, stable matte. |
| White Balance | Manually matched to fixtures | Colour shifts destroy chroma keys. If your lights are set to 5600K, lock your camera to 5600K. Review our guide on colour temperature for video lighting to ensure your practicals and panels align. |
| Shutter Speed | Faster than 180° rule | Motion blur creates semi-transparent edges around hands and clothing where the green mixes with the subject. Faster shutter speeds freeze motion, delivering sharper borders for edge detection. |
| Codec | 10-bit, 4:2:2 (or RAW) | 8-bit codecs compress colour data heavily. Shooting in 10-bit 4:2:2 retains significantly more colour information. This allows your editing software to isolate the specific green hue without artifacting. |
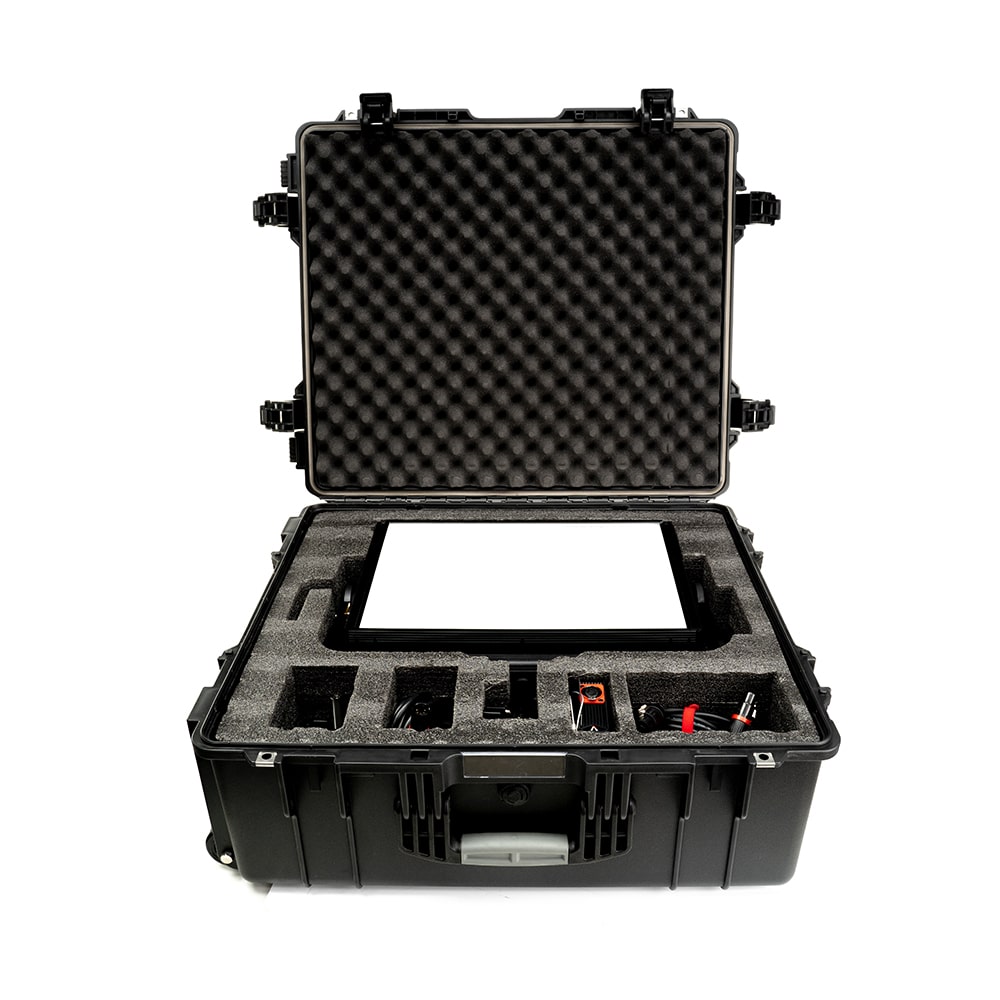
If you travel frequently to shoot corporate interviews, maintaining these controlled settings becomes harder in unpredictable rooms. In those cases, bringing a portable lighting kit for video ensures you have the reliable output necessary to overpower ambient light and stick to your optimal camera settings.
Key Takeaways
- Maximize subject distance: Place your talent 6 to 10 feet away from the green backdrop to eliminate cast shadows and minimize colour spill.
- Light the screen evenly: Use matching, broad LED panels set at 45-degree angles to create a flat, uniform background exposure, verifying the results with a waveform monitor.
- Carve out the talent: Employ a dedicated backlight to create a bright rim around your subject, sharpening their edges and neutralizing green reflections.
- Lock manual camera settings: Shoot at a low ISO, lock your white balance, and increase your shutter speed to reduce motion blur.
Proper studio infrastructure pays for itself by eliminating hours of tedious post-production masking. If you are building a new broadcast space, upgrading an educational facility, or outfitting a corporate recording room, MediaGear provides complete integration solutions, planning, and installation of professional AV equipment. Contact our technical team today to discuss a custom lighting solution that meets your exact production needs.