How to Sync Audio and Video Without the Headache
You capture stunning 4K visuals. But the lips on screen move a fraction of a second before the words come out. This slight delay immediately breaks the illusion for your viewer.
Professionals record high-quality audio on dedicated field recorders rather than straight into the camera. This double-system sound approach gives you pristine preamps and flexible routing. However, it creates a new challenge. You must line up separate audio and video files perfectly in post-production.
We have seen editors waste hours dragging clips around on a timeline trying to match sound to picture. It does not have to be a frustrating process. You can streamline your workflow using automatic software tools, precise manual techniques, or professional timecode systems.
Understand the Root Causes of Desynchronization
Before you start dragging clips, you need to know why audio and video refuse to line up. In our experience, synchronization issues usually stem from incorrect hardware settings on set rather than errors in the editing bay.
The most common culprit is a sample-rate mismatch. Video production universally standardizes on 48 kHz for audio. If your camera records audio at 44.1 kHz and your field recorder captures at 48 kHz, the tracks will progressively drift apart. You must ensure every device shares this exact setting before you roll the camera. You can explore correct signal routing in our guide to choosing an audio mixer for video production.
Another major issue is recording in a Variable Frame Rate (VFR). Smartphones and screen recording software commonly use VFR to save storage space. Because the frame rate constantly changes, the video progressively drifts away from the constant timeline of your audio.
| Common Problem | Root Cause | Workflow Solution |
|---|---|---|
| Sample-rate mismatch | Devices record at different kHz values. | Set all cameras and recorders to 48 kHz. |
| Variable Frame Rate | Recording devices alter frame rates dynamically. | Convert footage to Constant Frame Rate before editing. |
| Progressive drift | Hardware clocks run at slightly different speeds. | Use NLE rate-stretch tools for long takes. |
Method 1: Automatic Waveform Synchronization
Most modern video editing software includes a built-in tool to automatically sync your files. The software analyzes the low-quality “scratch” audio recorded by your camera’s internal microphone. It then matches those waveform peaks to your high-quality external audio file.
This is the fastest method, but it requires your camera to capture clear reference sound. If the camera microphone only picks up wind noise, the software will fail to find a match.
Here is how you trigger automatic sync across popular platforms:
- Adobe Premiere Pro: Place both clips on your timeline, select them both, right-click, and choose Synchronize. Set the synchronize point to Audio. Premiere will analyze the reference track and align the clips automatically.
- Final Cut Pro: Select your clips in the browser. Choose Clip > Synchronize Clips to access the automatic audio synchronization options.
- DaVinci Resolve: Select the clips in the Media page, right-click, and select Auto Sync Audio. Choose the Waveform option. Keep the option to retain embedded audio checked if you want to keep the camera’s original scratch track as a backup.
Method 2: Precise Manual Synchronization
Automatic sync does not work reliably in all cases. When heavy background noise ruins your camera’s scratch audio, you must align the tracks manually. This is exactly why professionals clap their hands or use a clapperboard at the start of every take. The visual impact creates a loud, distinct spike in the audio waveform.
To sync manually, import your camera video and external audio onto separate timeline tracks. Increase the track height and zoom in closely. You need to see the audio waveform peaks and valleys clearly.
Find the precise video frame where the visual clap closes. Next, nudge your external audio clip left or right until the loud waveform spike from the clap aligns exactly with that visual frame.
Play back the clip in real time to verify the sync. Watch the subject’s lips and listen carefully. If you left the camera’s scratch audio unmuted, listen for echoes or comb filtering. Make sub-frame nudges until speech and movement feel naturally locked. Finally, mute the scratch audio and link the video and external audio together. This ensures you do not accidentally move them out of sync later in your edit.
Method 3: Deploying Timecode Generators
Manual and automatic waveform methods work perfectly for simple shoots. However, if you run a multi-camera interview or record dozens of short clips in a day, matching waveforms becomes a massive bottleneck. Professional sets solve this by using timecode.
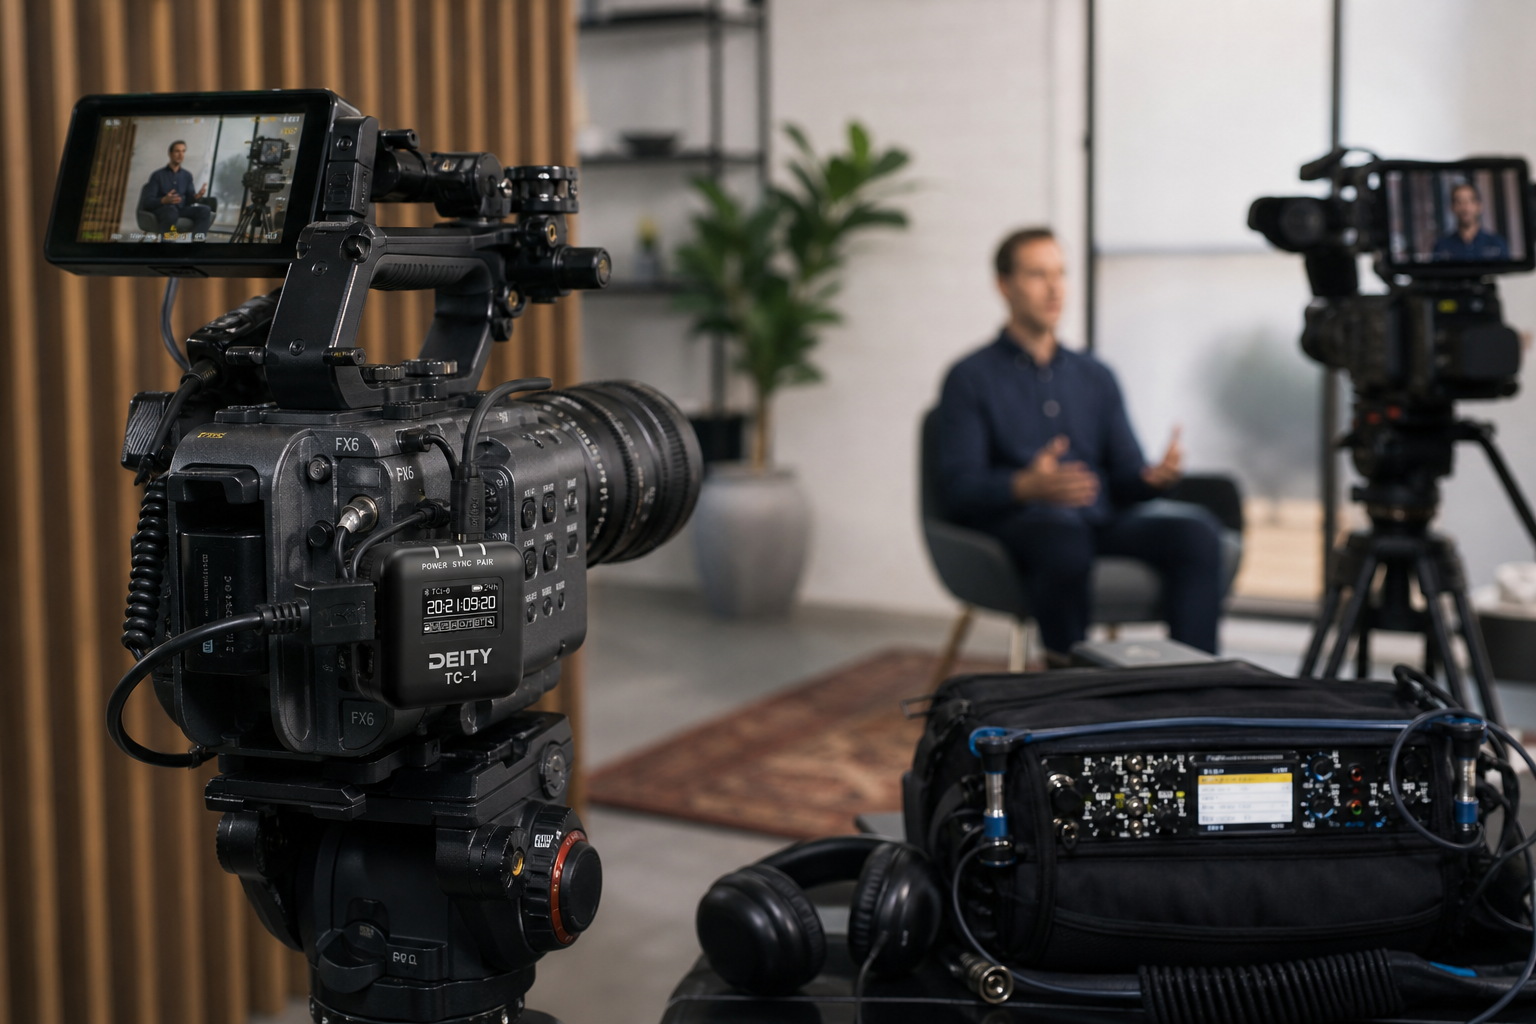
Timecode acts as a shared digital clock. It labels every single frame of video and audio with a specific timestamp. When you import these files into your editor, the software simply reads the metadata and snaps everything into place instantly. You attach a timecode generator box to every camera and audio recorder on set. Modern wireless systems allow you to jam-sync multiple boxes via Bluetooth, ensuring every device reads the exact same time.
-
 Camera accessories
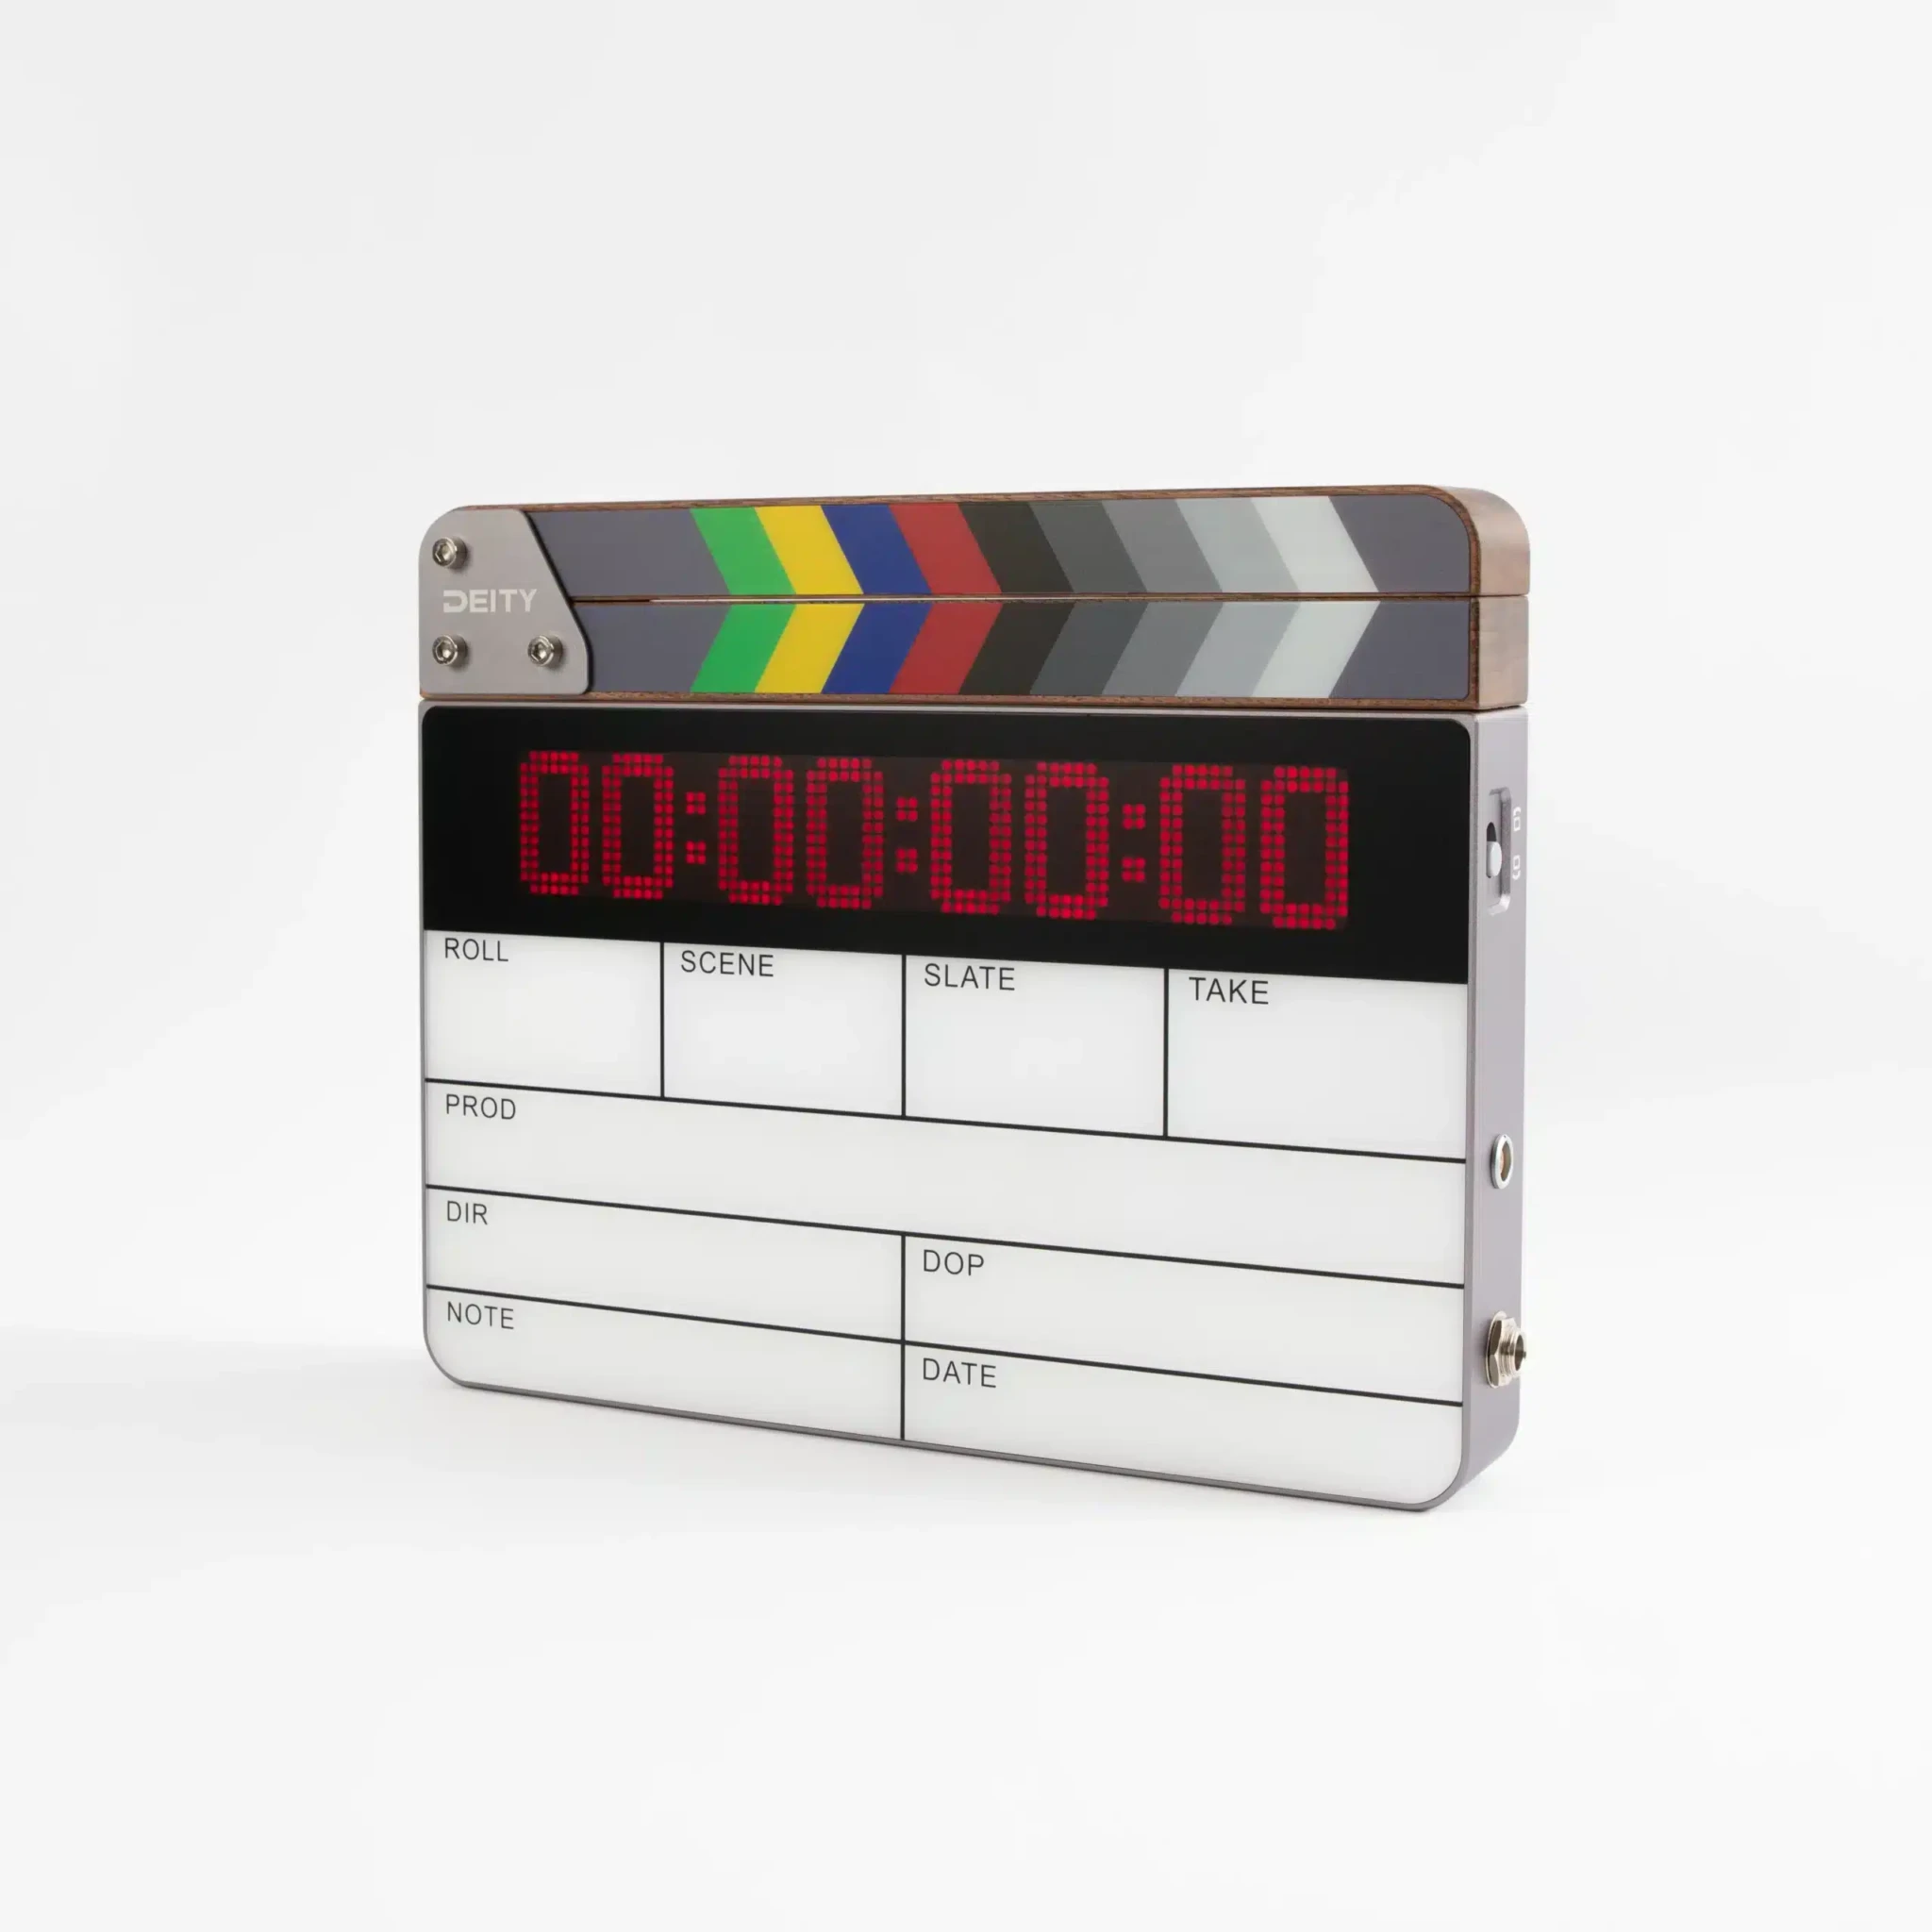
DEITY TC-SL1 timecode slate
€ 800.00€ 992.00 (incl. VAT) -
 -8%Camera accessories
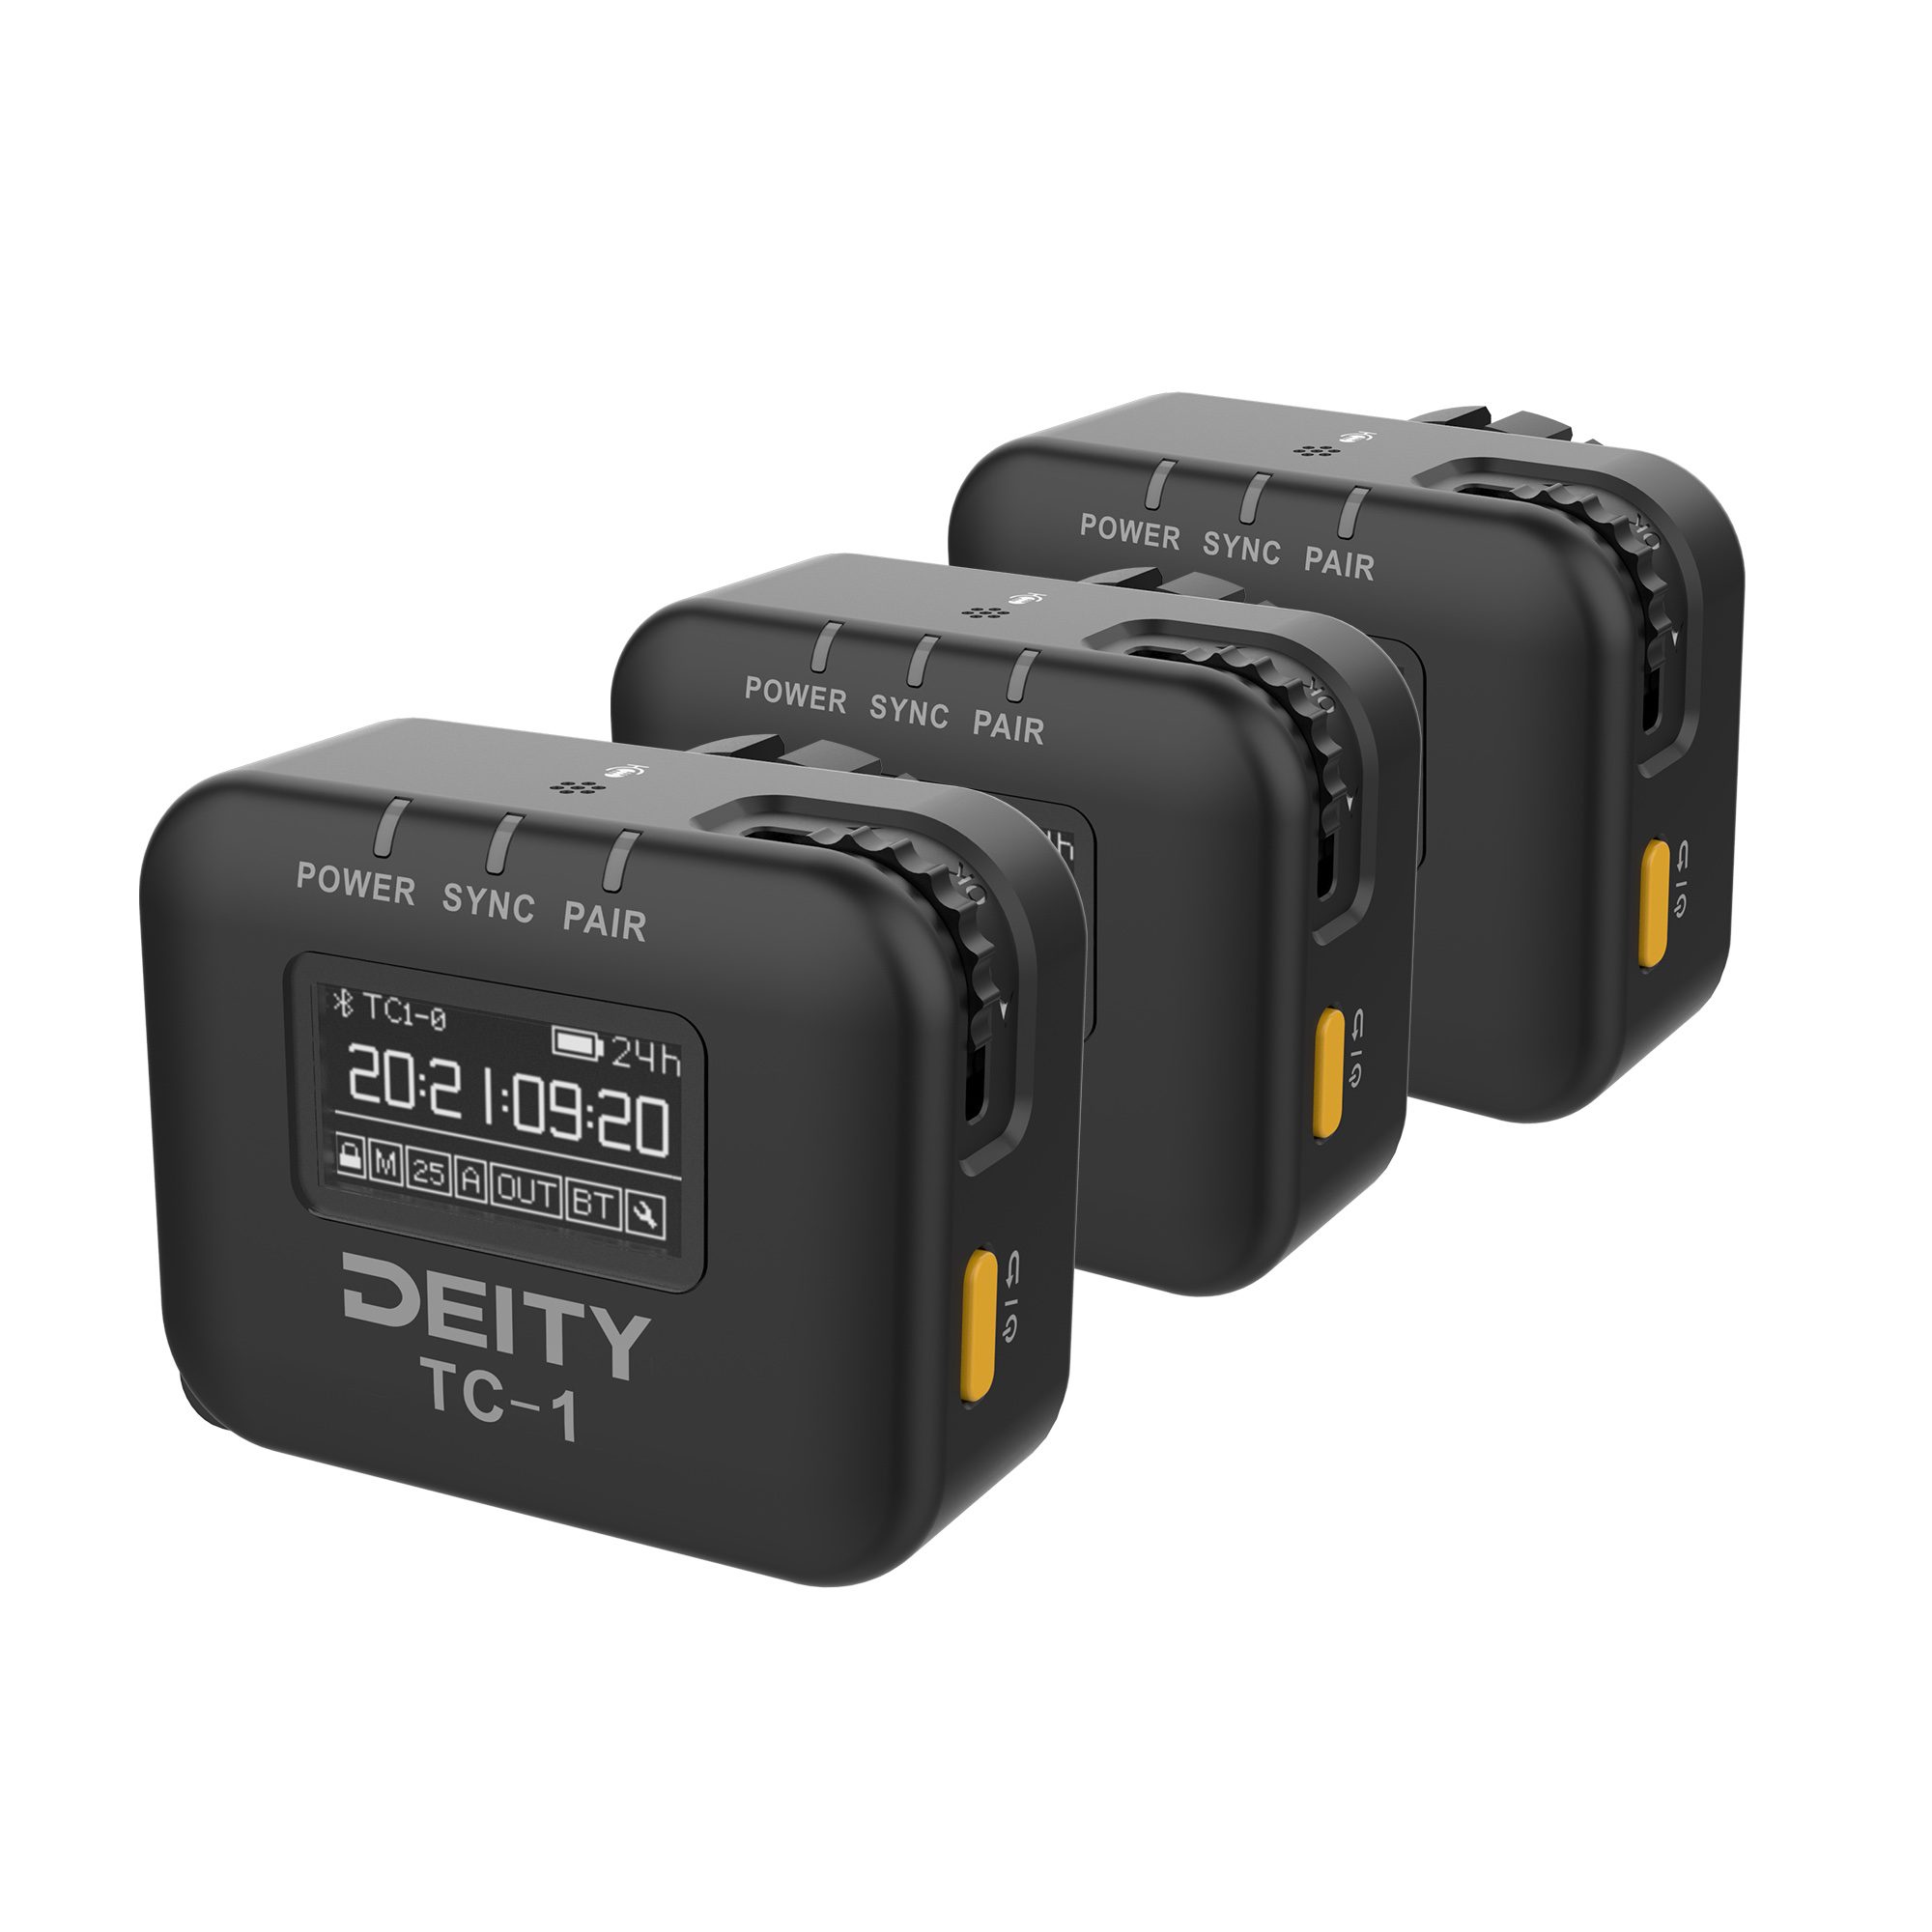
DEITY TC-1 Wireless Timecode Box 3-KIT
Original price was: € 475.00.€ 439.00Current price is: € 439.00.€ 544.36 (incl. VAT) -
 -16%Camera accessories
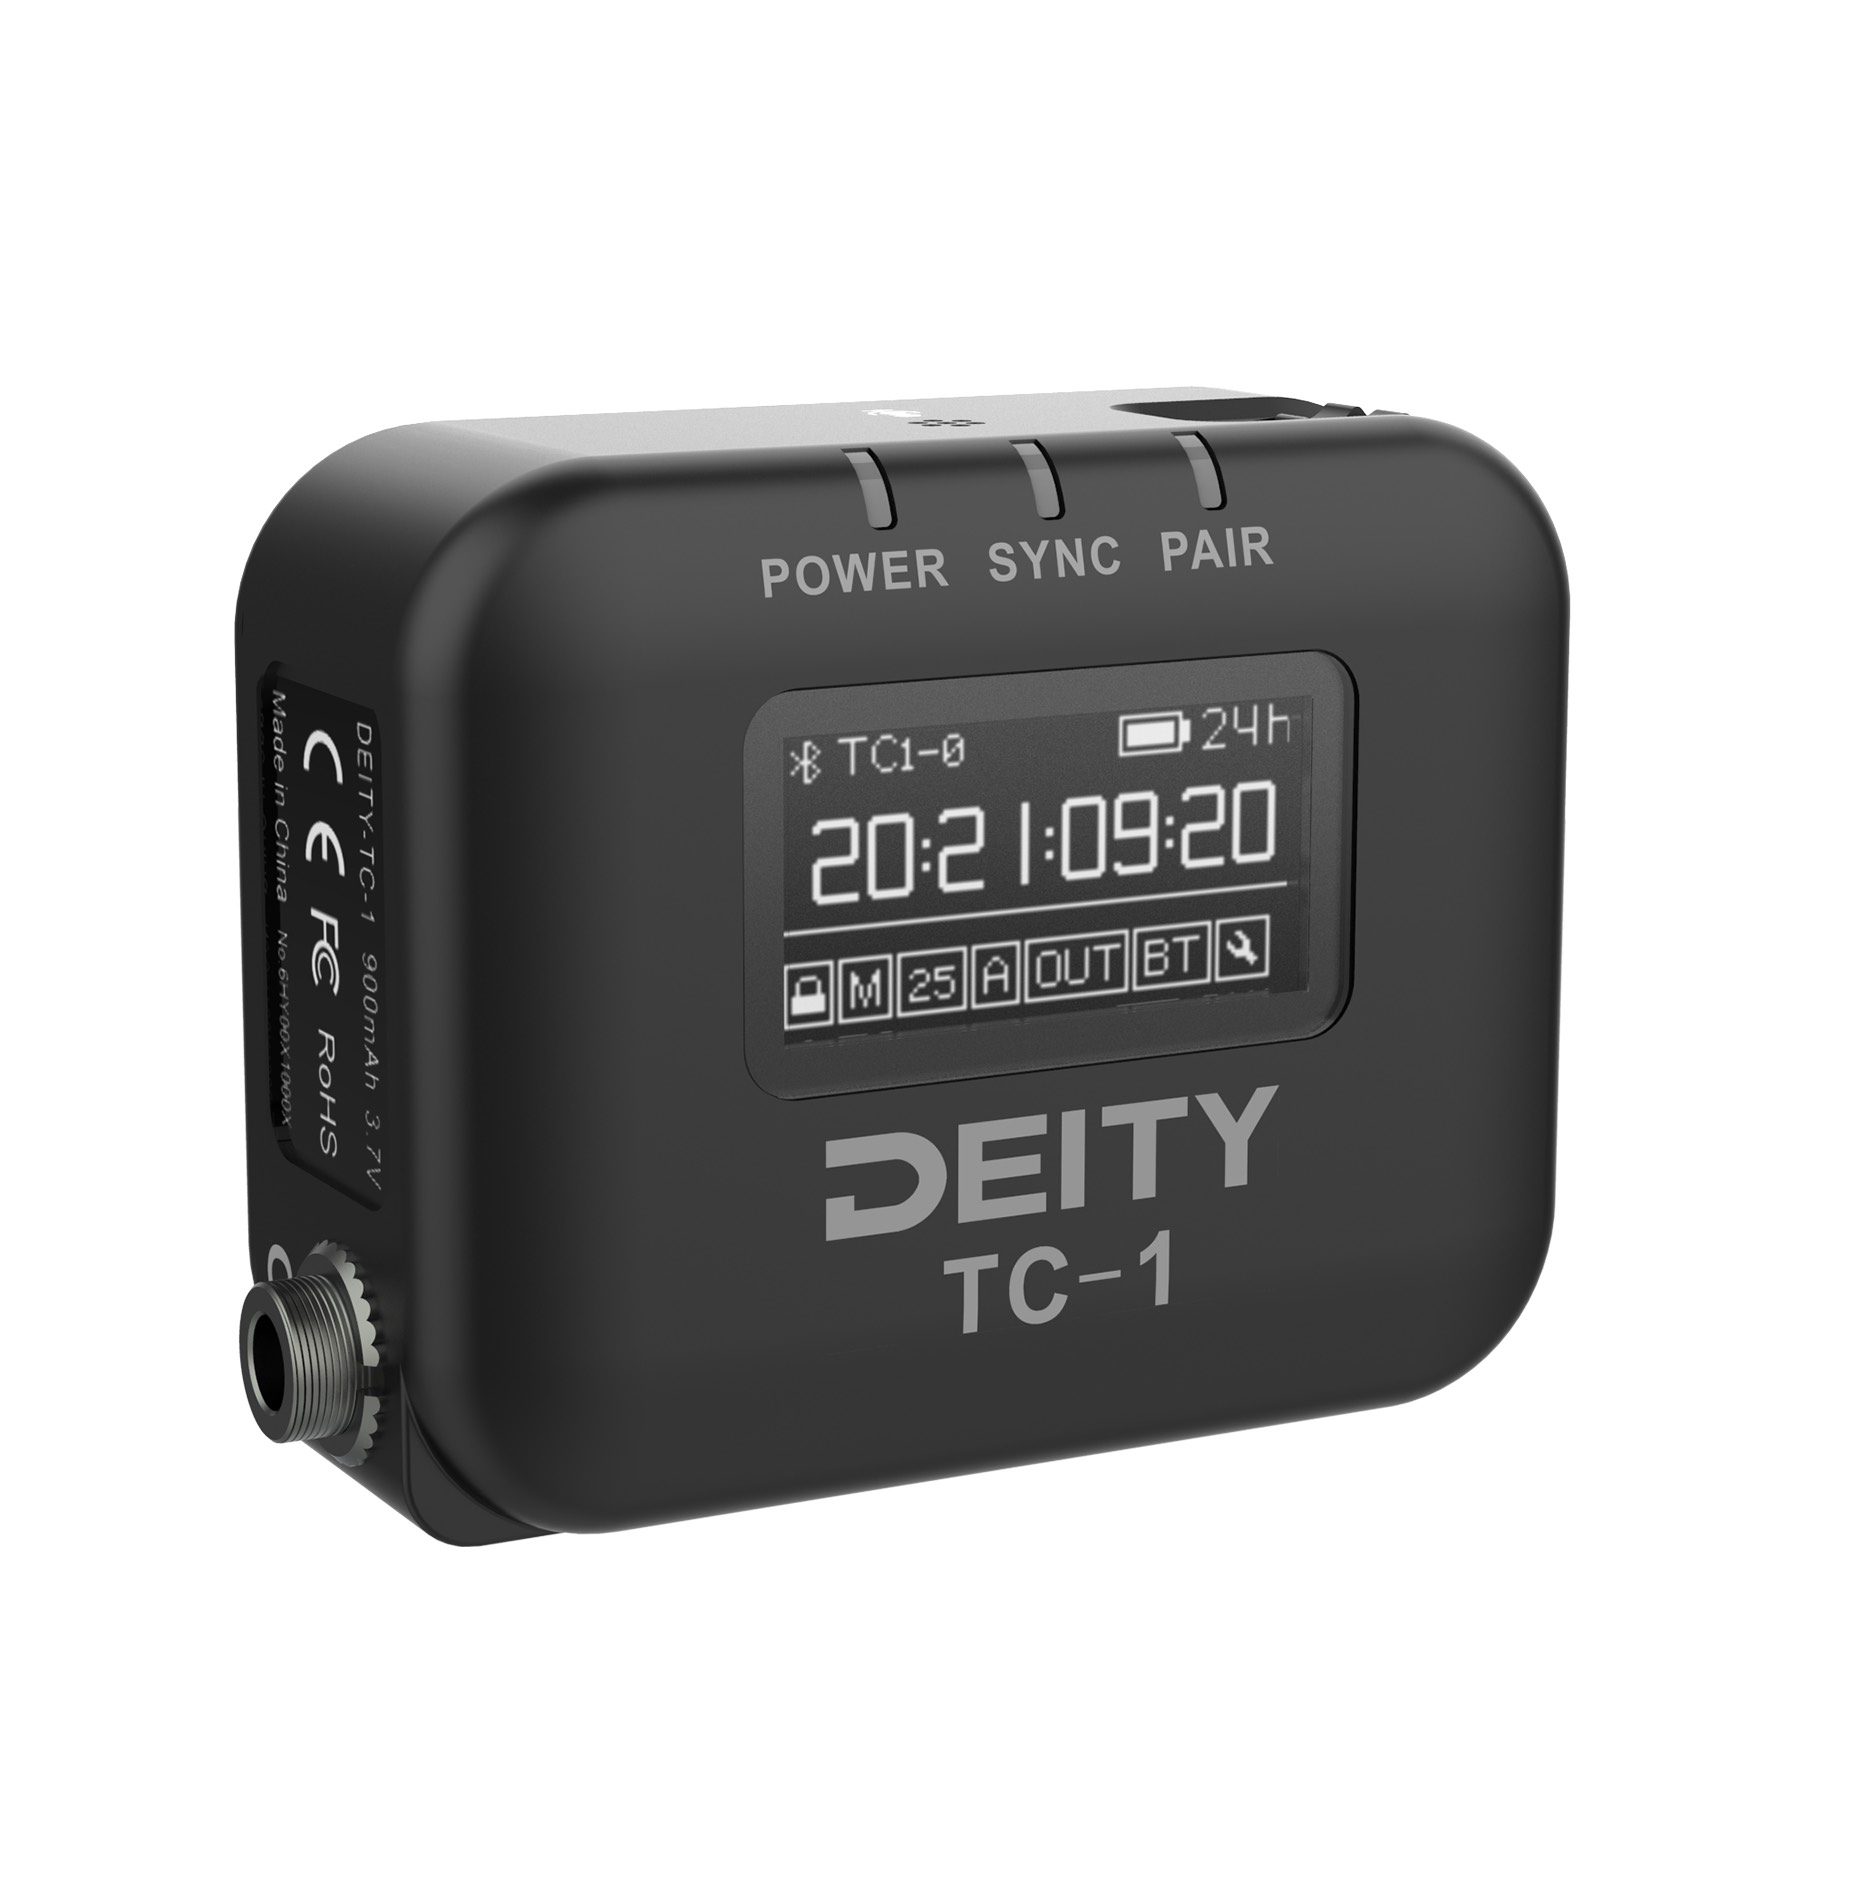
DEITY TC-1 Wireless Timecode Box 1-KIT
Original price was: € 189.00.€ 159.00Current price is: € 159.00.€ 197.16 (incl. VAT)IN STOCK
Many modern audio recorders and wireless systems now feature built-in timecode capabilities. This eliminates the need for an external box on the audio side. You can pair a timecode-enabled pocket recorder or wireless receiver directly with your main camera setup for a seamless post-production workflow. Read more about building a reliable signal chain in our guide on selecting a wireless microphone system for video.
-
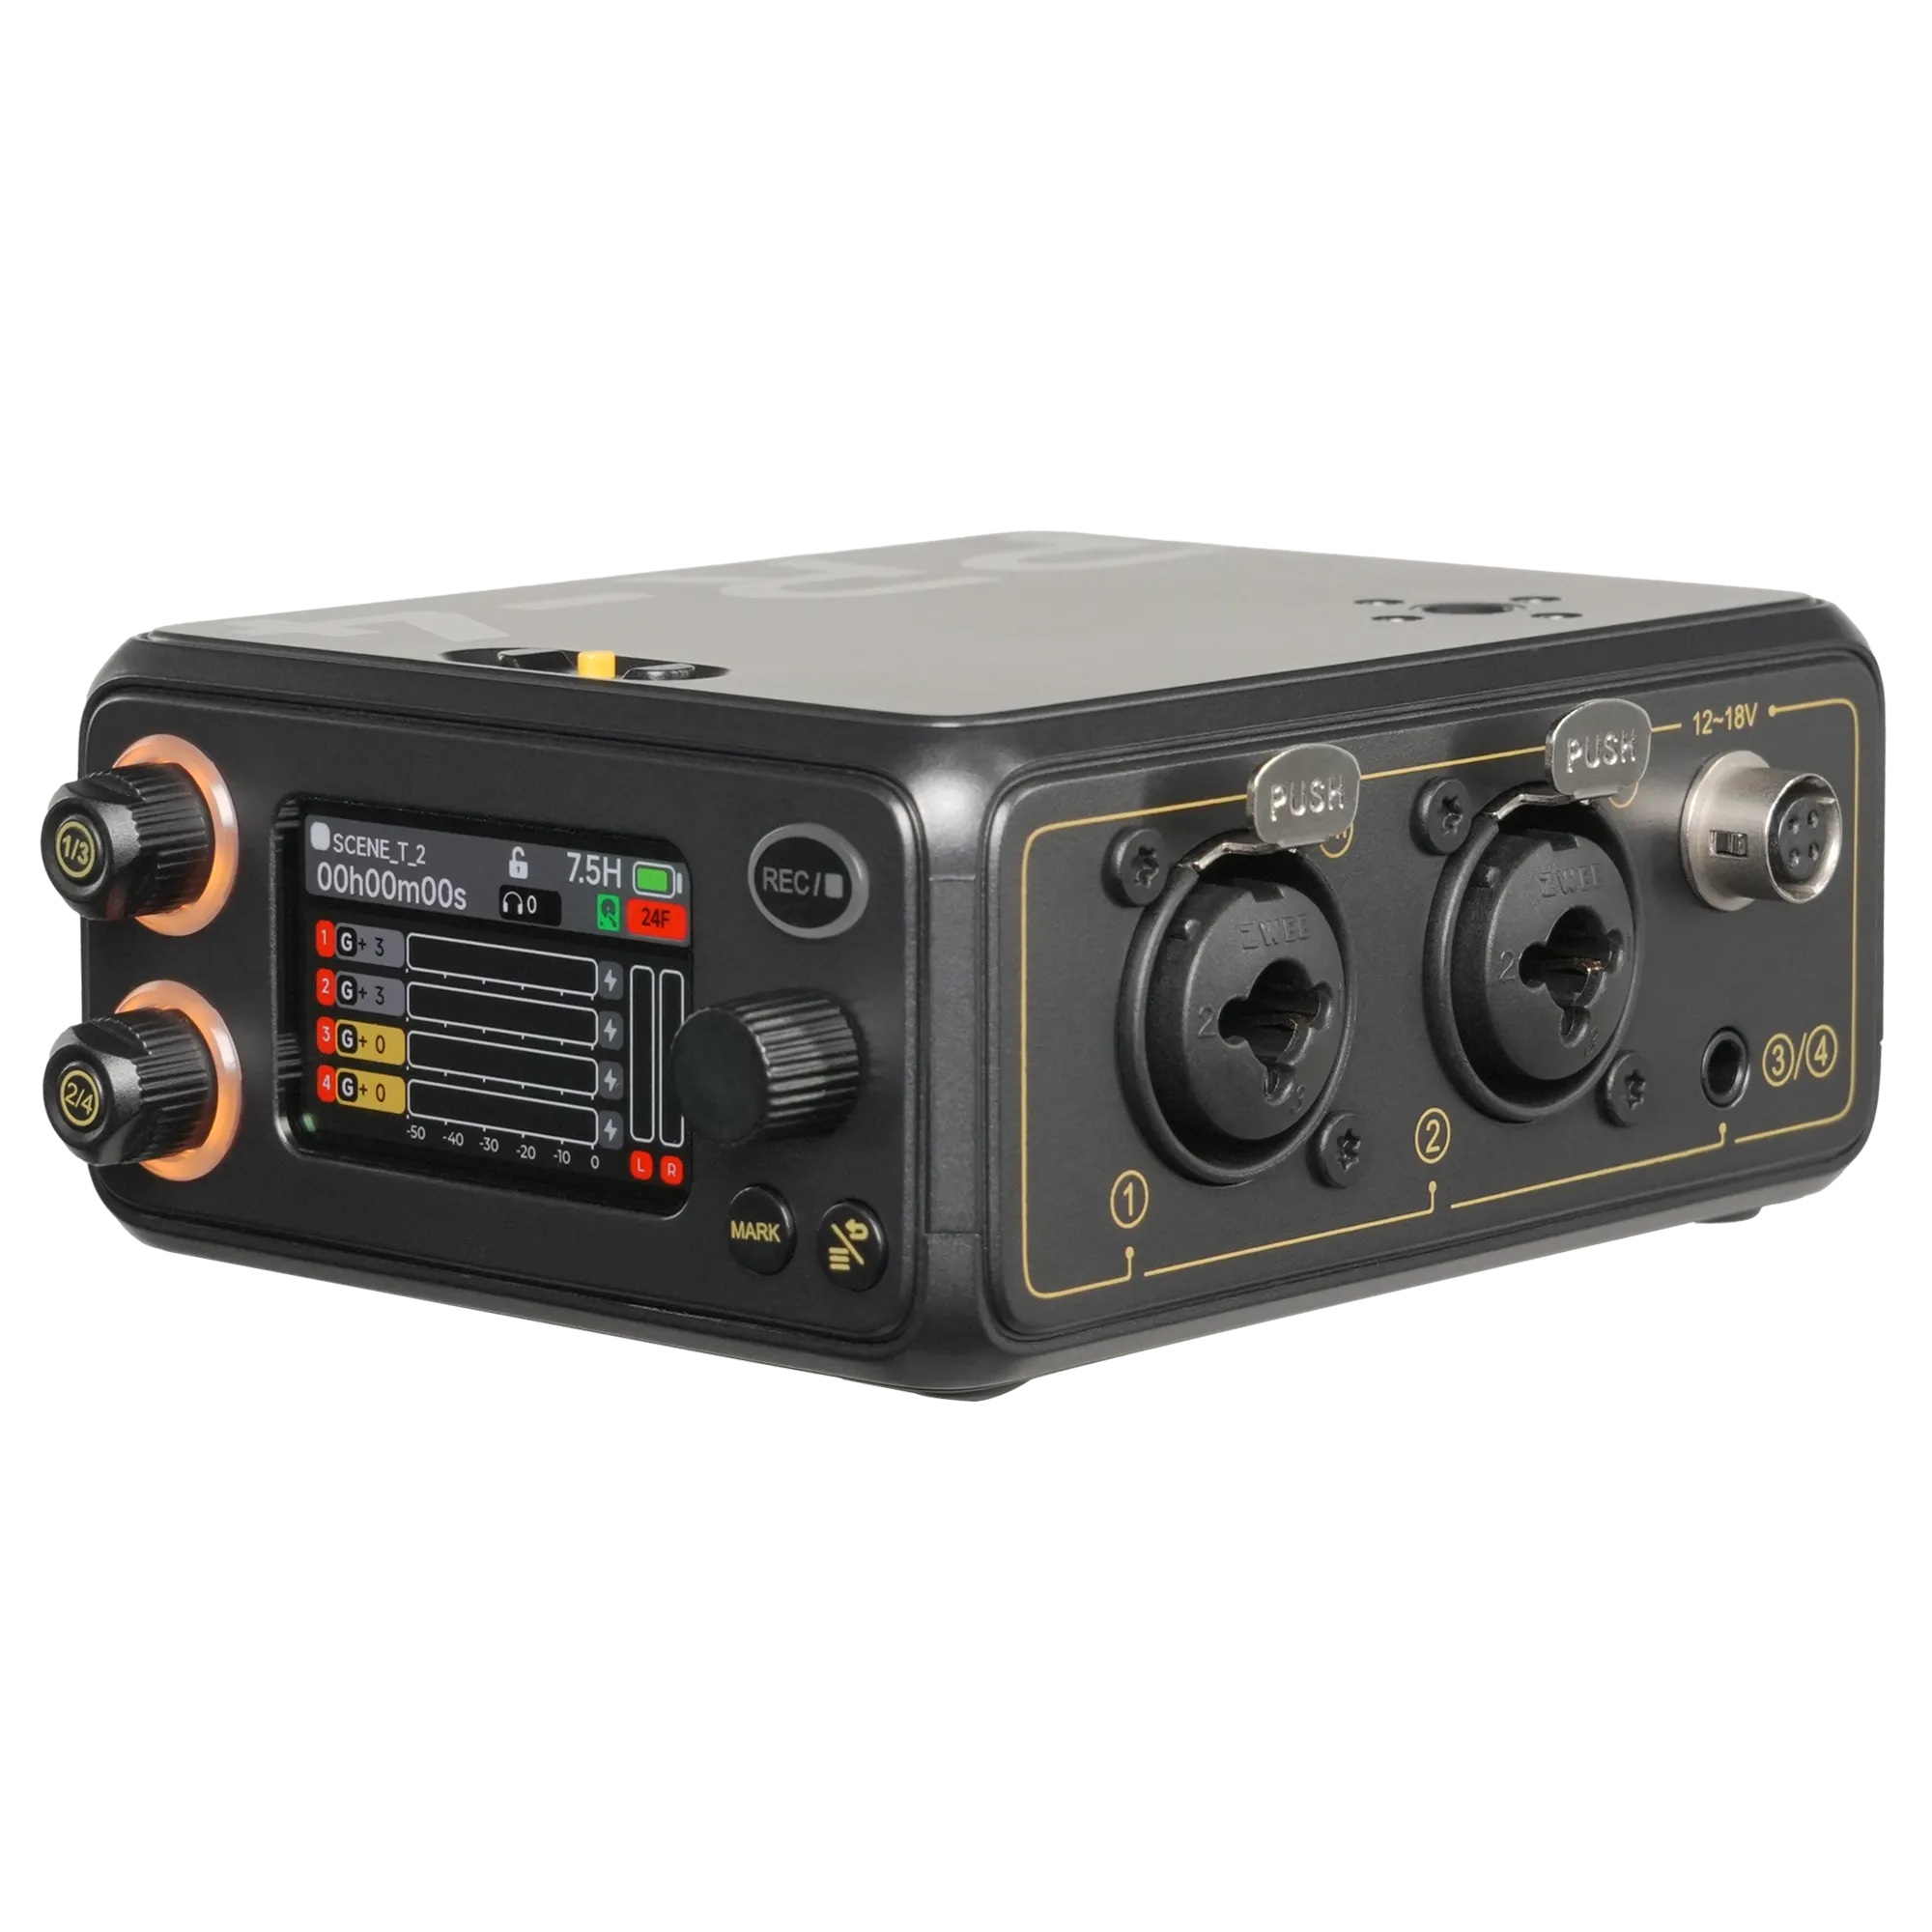
new!Audio recorders
DEITY PR-4 Portable 4-Input 32-Bit Float Field Recorder
€ 399.00€ 494.76 (incl. VAT)IN STOCK -
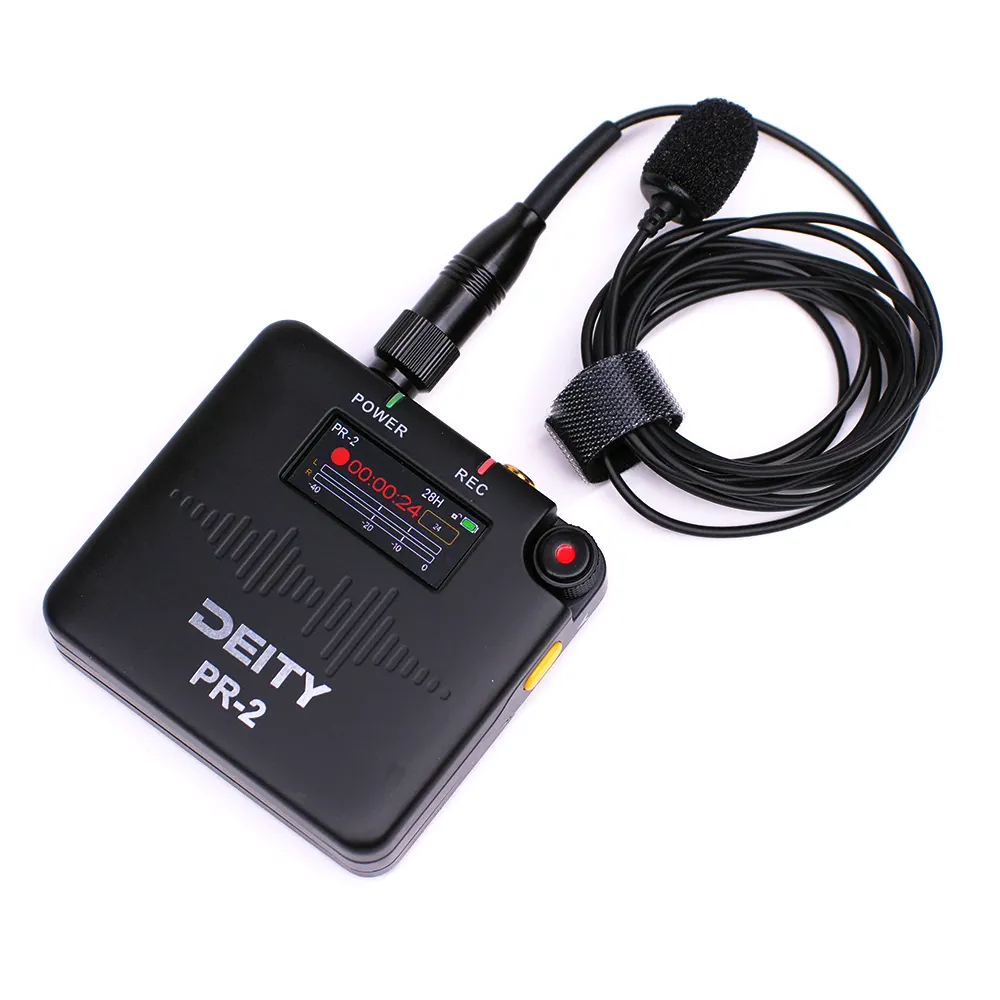
 Audio recorders
DEITY PR-2 Stereo Pocket Recorder with Lavalier Mic (Global)
€ 200.00€ 248.00 (incl. VAT)IN STOCK -
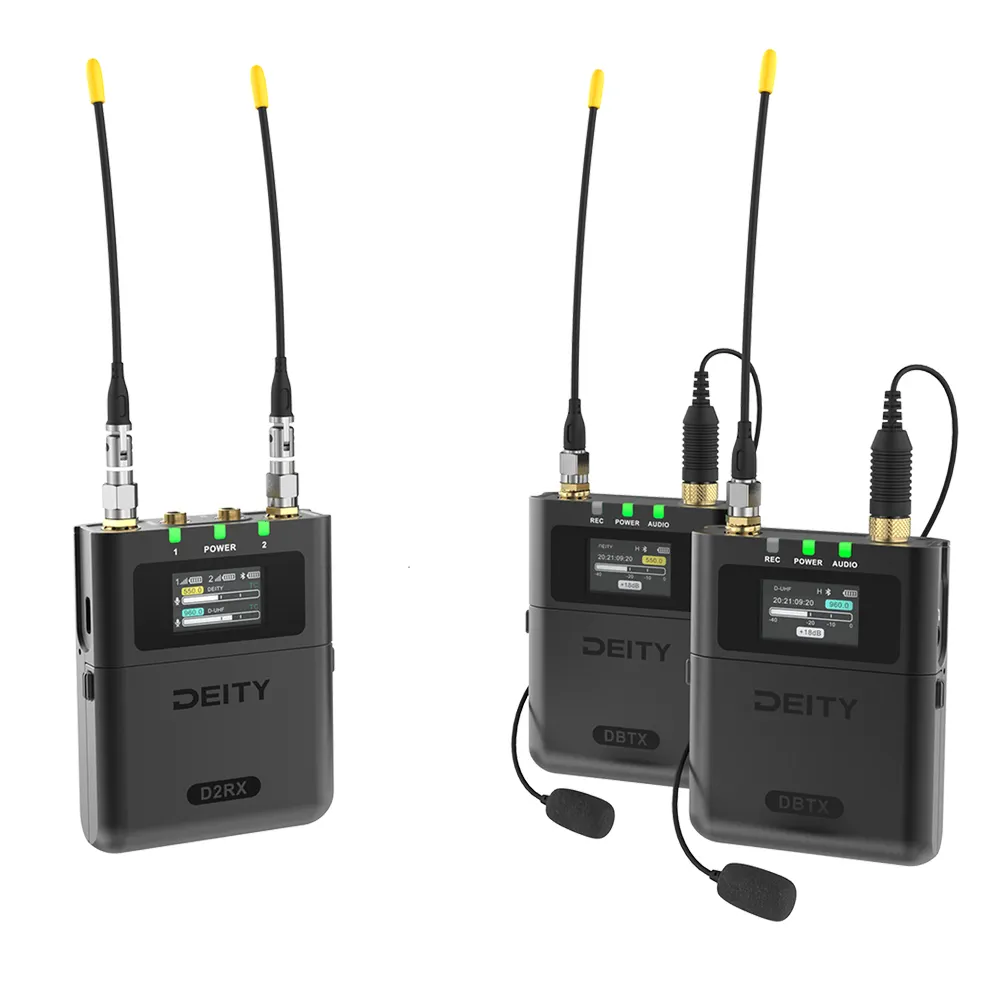
-20%Audio recorders, Microphones
DEITY Theos Digital Wireless 2ch Kit
Original price was: € 1 090.00.€ 872.00Current price is: € 872.00.€ 1 081.28 (incl. VAT)
Fixing Progressive Audio Drift in Long Takes
Sometimes your audio and video start perfectly in sync but gradually drift apart over a long interview. This happens because individual recording devices have internal clocks that run at slightly different speeds. Timecode alone does not synchronize hardware clocks; it only labels the files. Without a genlock connection, long recordings will eventually drift.
When you edit long takes, check the sync at multiple points. Look at the start, the halfway mark, and the end of the timeline.
If drift appears, you can correct it easily using your editor’s rate-stretch tool. Sync the beginning of the clip using the clapperboard spike. Go to the end of the take and find another reference sound. Use the rate-stretch tool to slightly speed up or slow down the external audio track until the final waveform spike aligns with the camera’s reference audio. This tiny speed adjustment keeps the entire clip locked tight without noticeably affecting the pitch.
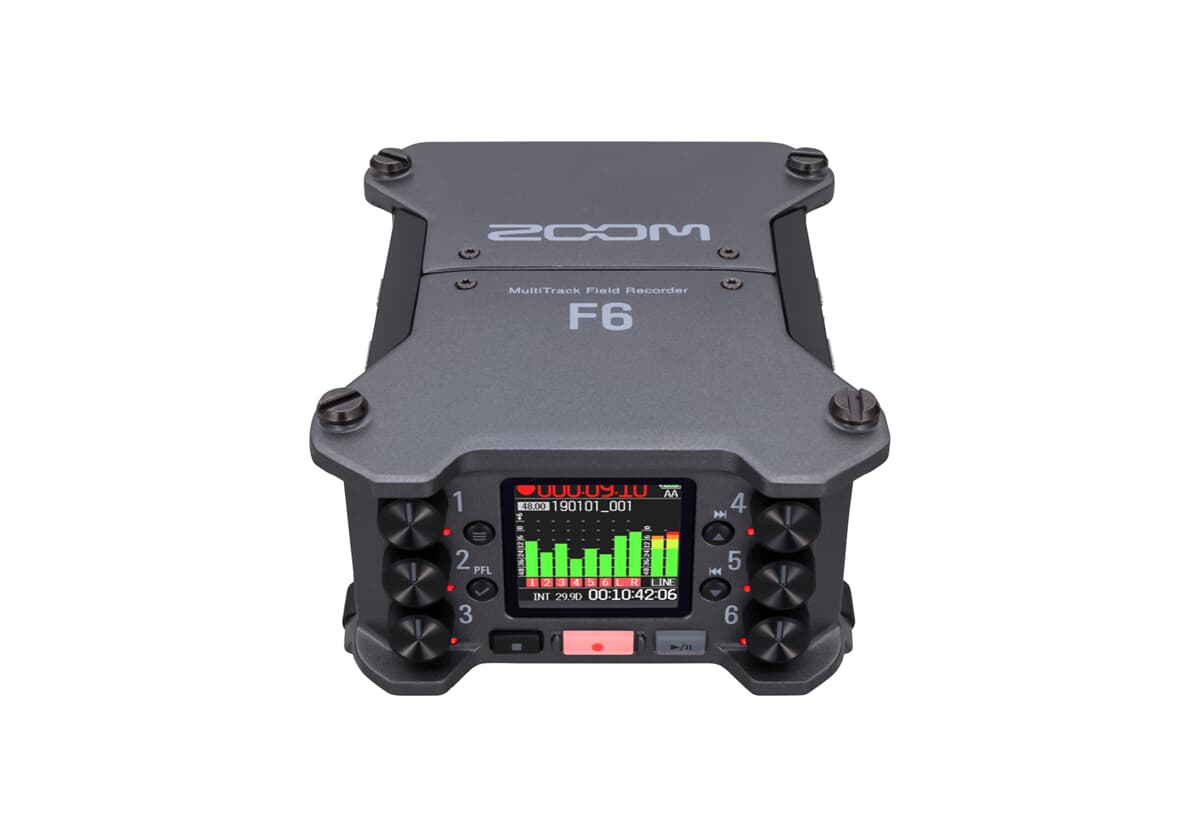
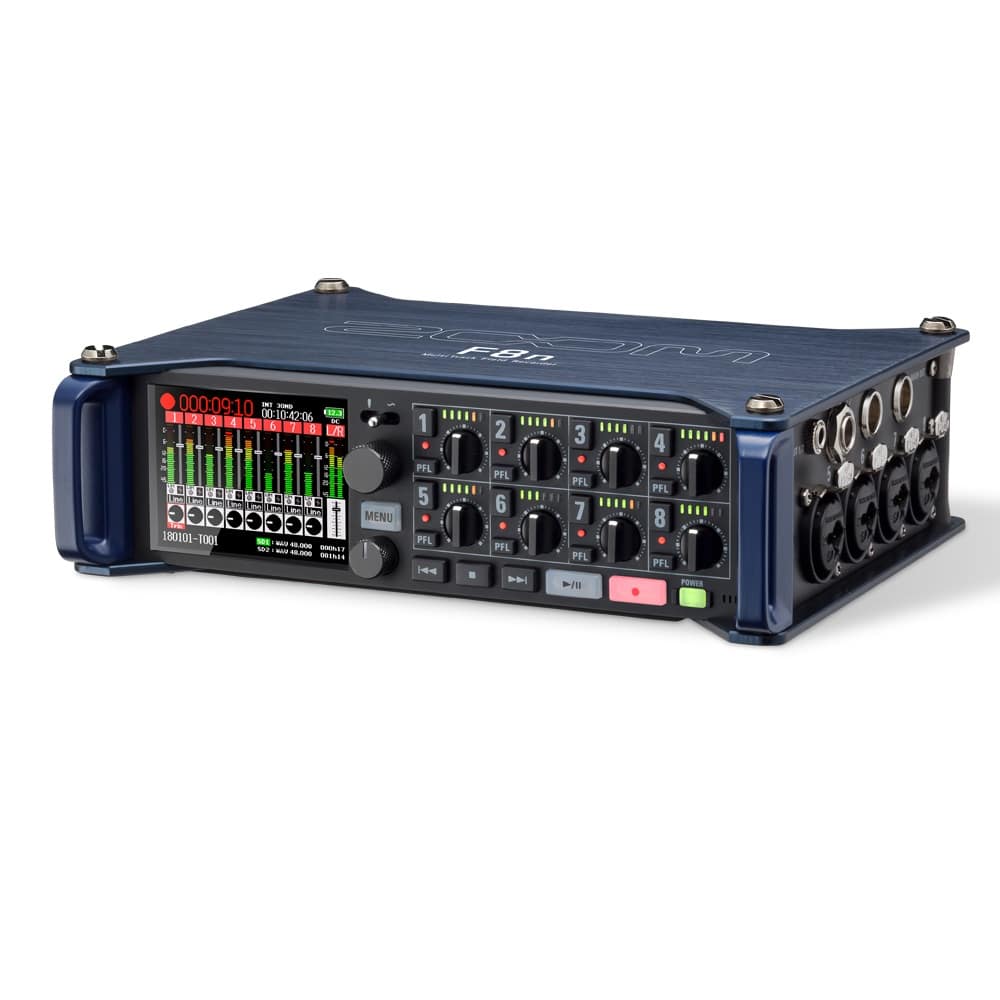
If you frequently shoot long-form content, invest in professional multi-track field recorders. High-end units utilize advanced internal oscillators that maintain highly accurate clocks, drastically reducing drift over long runtimes. See our recommendations for the best portable audio recorder for video.
Key Takeaways
- Always record scratch audio: Your camera needs a reference track to allow editing software to analyze and align waveforms automatically.
- Use a visual clapperboard: A sharp, visible sound at the start of every take guarantees you can manually sync clips if automatic methods fail.
- Standardize your hardware settings: Ensure all devices record audio at 48 kHz and avoid Variable Frame Rate video to prevent progressive drift.
- Link your clips immediately: Once you verify the sync by watching lip movements, merge the clips so you do not accidentally shift them while editing.
- Upgrade to timecode for complex shoots: Use wireless timecode systems on multi-camera setups to skip manual syncing entirely and save hours in post-production.
Ready to capture pristine, edit-ready sound that aligns flawlessly with your visuals? Browse our professional selection of audio recorders and microphones to build a bulletproof audio workflow for your next production.