How to Use a Boom Mic for Clear Video Audio
Poor audio ruins good video faster than a blurry lens ever could. Audiences forgive imperfect lighting or minor color issues, but harsh room reverb and muffled dialogue force viewers to click away. When you hear clean, intimate speech in a video, you are hearing the result of a properly positioned boom microphone.
Capturing professional voice tracks requires precise placement, controlled handling, and proper wind protection. In our experience, audio issues on set rarely stem from faulty gear. Instead, they usually happen because of minor placement errors or physical handling mistakes. This guide explains how to set up, position, and operate a boom microphone to capture crisp sound on every take.
What Is a Boom Microphone Setup?
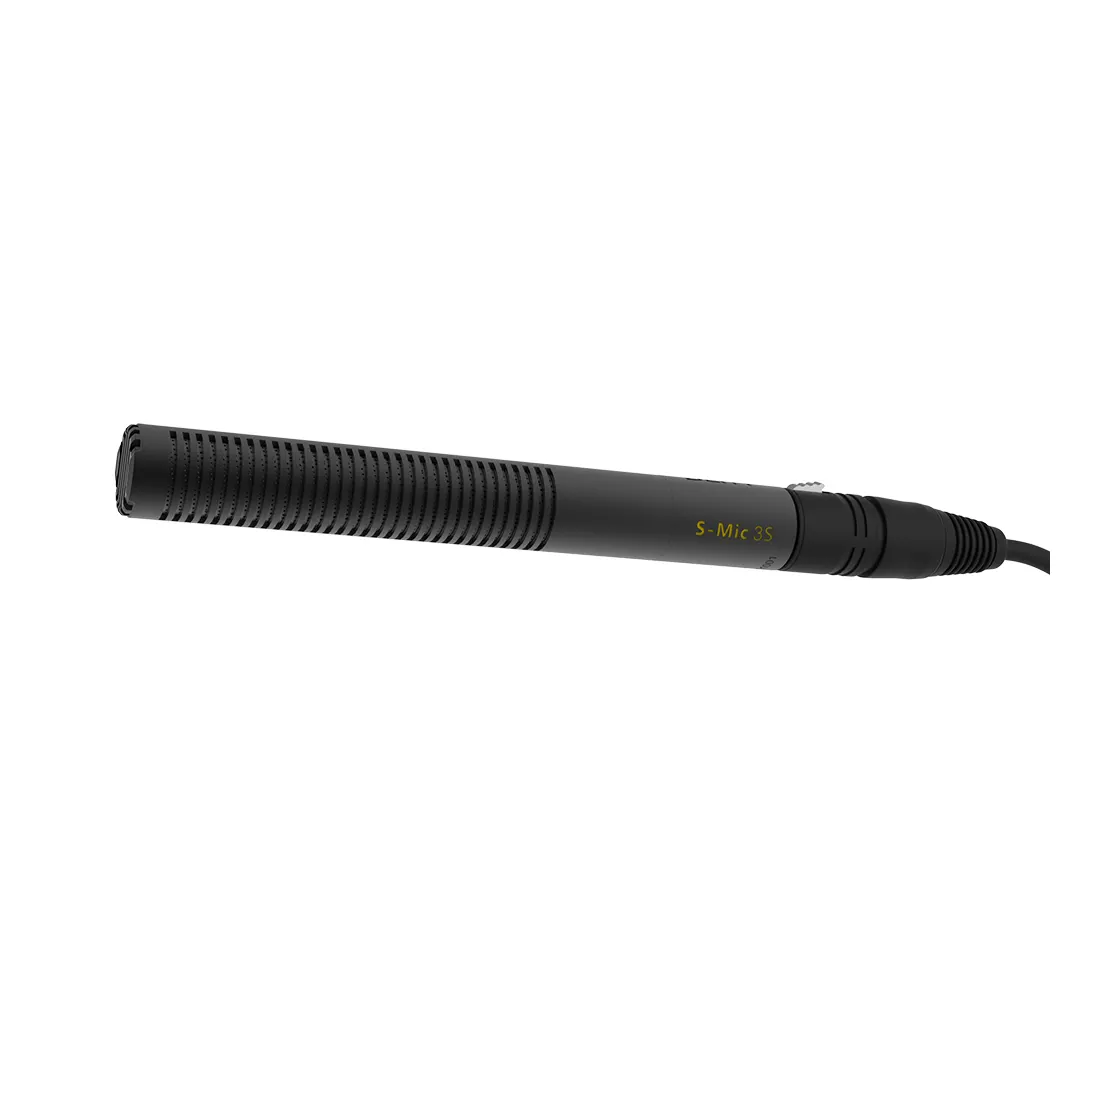
A boom microphone system places a directional microphone on an extendable pole. This configuration positions the capsule close to the speaker while keeping the equipment outside the camera frame.
A complete boom setup relies on four core components:
- Directional Microphone: A shotgun or hypercardioid capsule that captures target speech while rejecting side noise. You can explore our breakdown on shotgun mic vs condenser mic for video to select the right pick pattern for your shooting space.
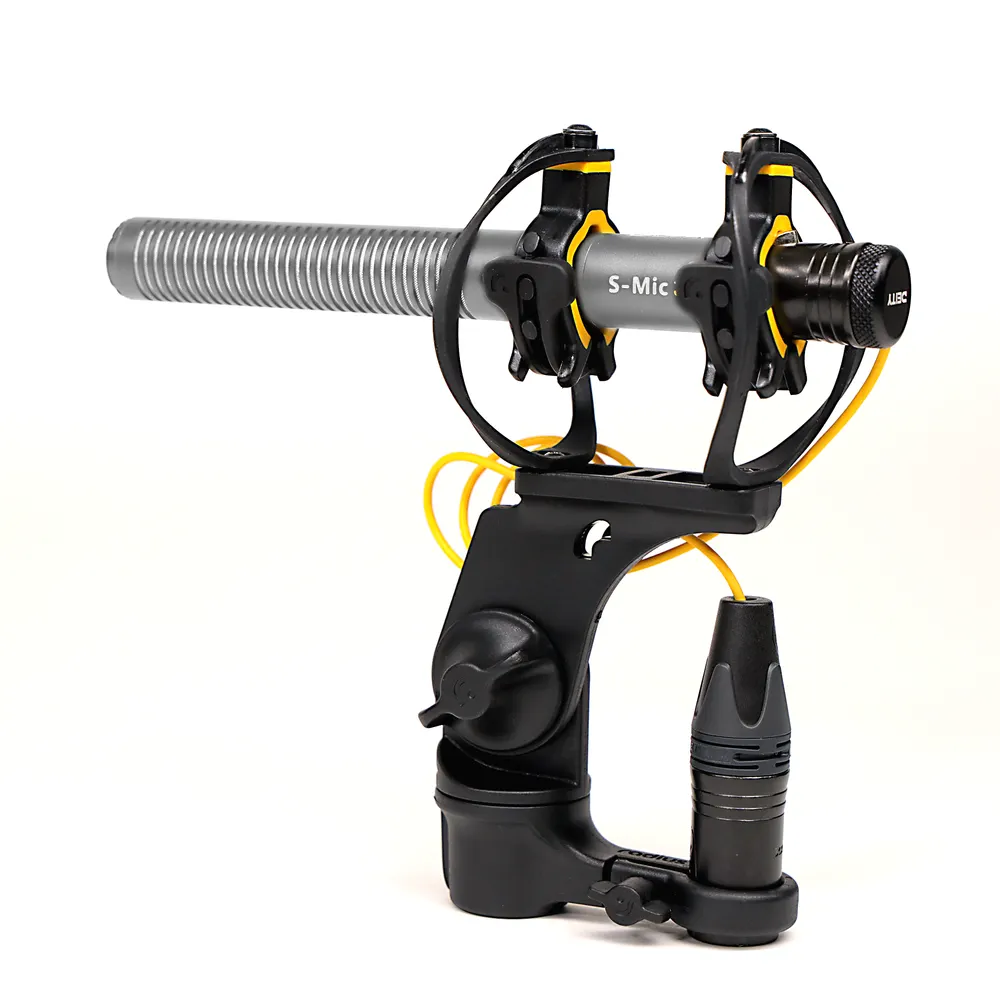
- Shockmount: A suspension mount that decouples the microphone from the pole to eliminate mechanical handling vibrations.
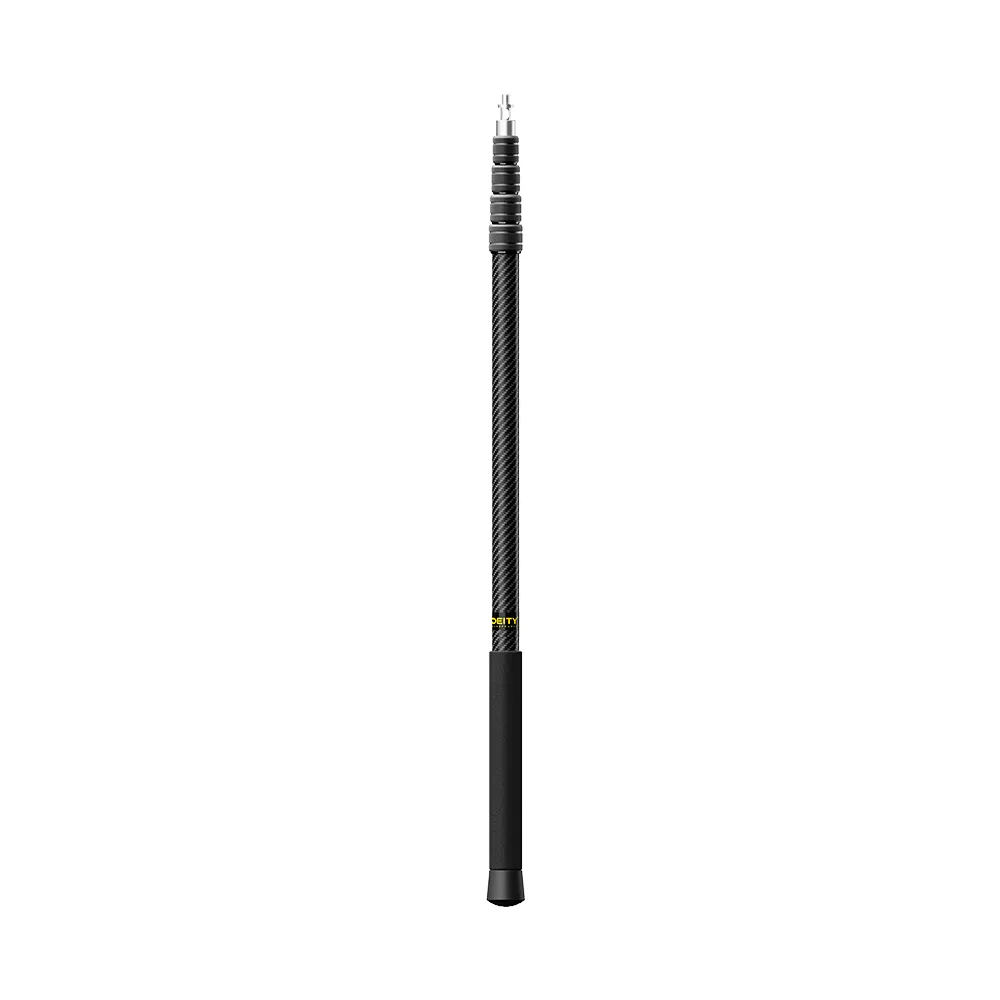
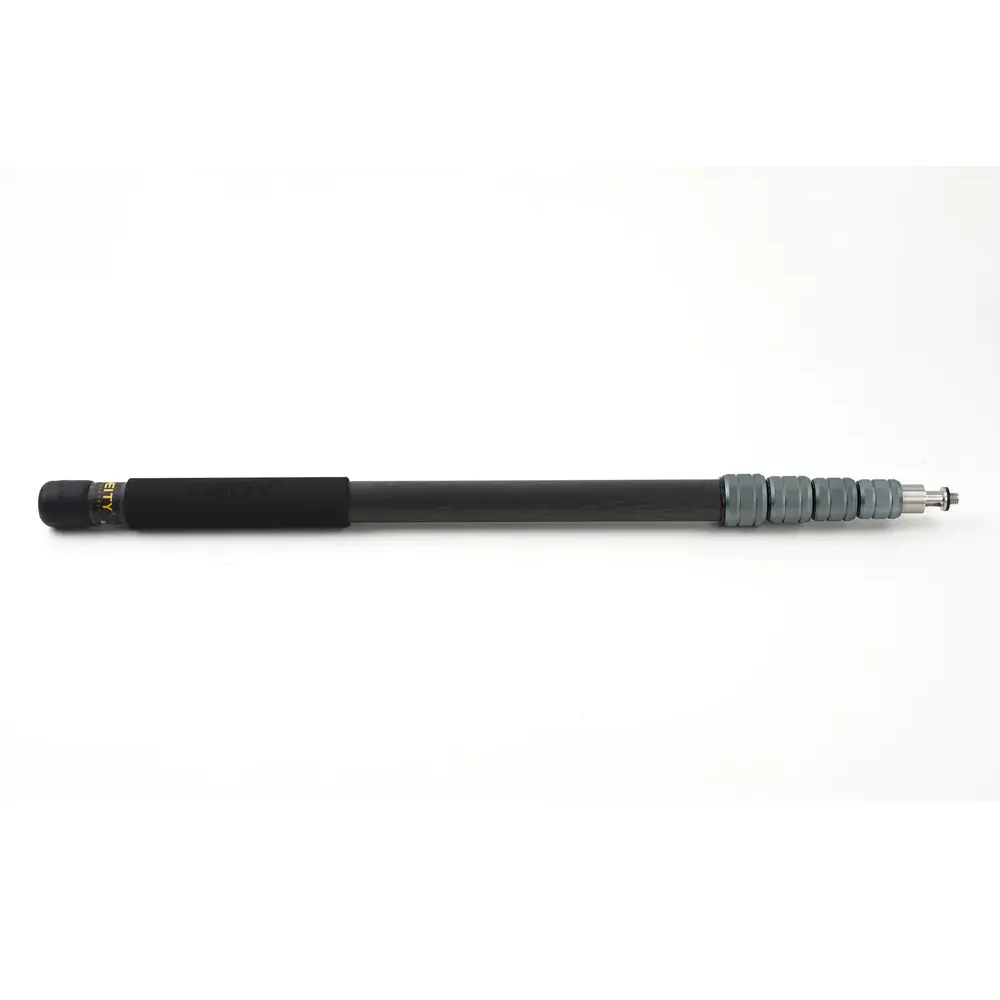
- Boom Pole: A telescoping pole built from aluminum or carbon fiber that extends your reach over the set.
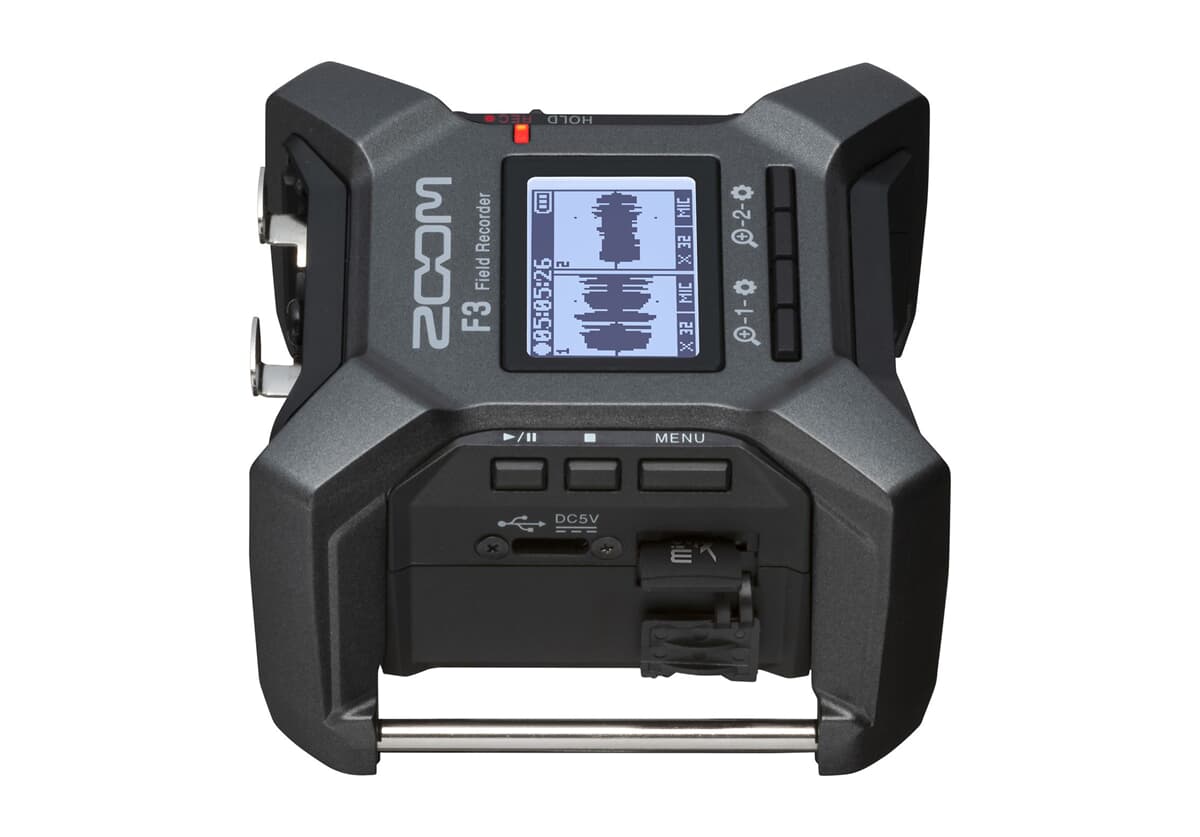
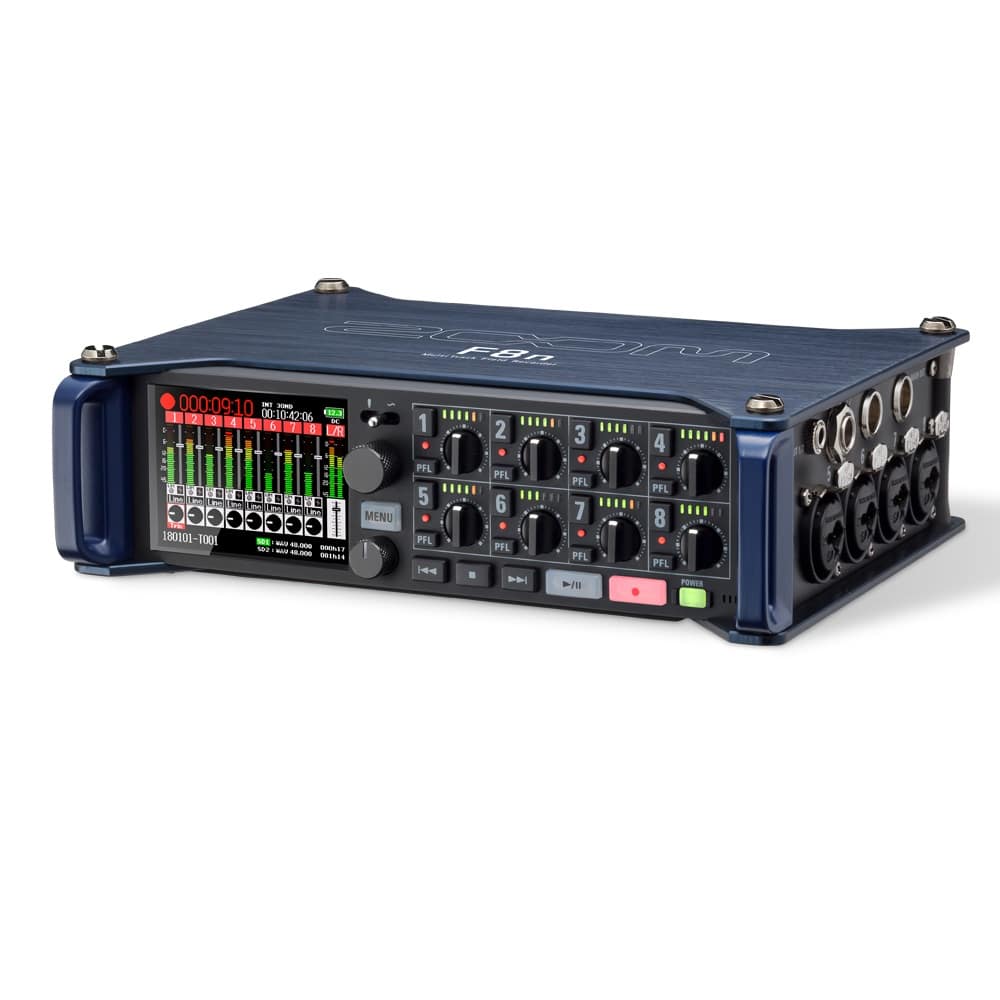
- Audio Recorder or Camera: A recording unit that supplies phantom power and records the incoming audio signal.
We recommend browsing our range of professional microphones to choose the right capsule for your production environment.
How to Position a Boom Mic for Dialogue
Microphone positioning determines the overall audio quality of your project. Halving the physical distance between the talent’s mouth and the capsule increases the direct voice signal by 6 dB relative to background room noise. Close placement creates rich vocal presence and suppresses ambient sound.
Booming from Above
Overhead placement is the standard method for recording film and video dialogue. Position the microphone directly above the talent, slightly in front of their forehead. Angle the capsule down at roughly 45 degrees toward the mouth and chin.
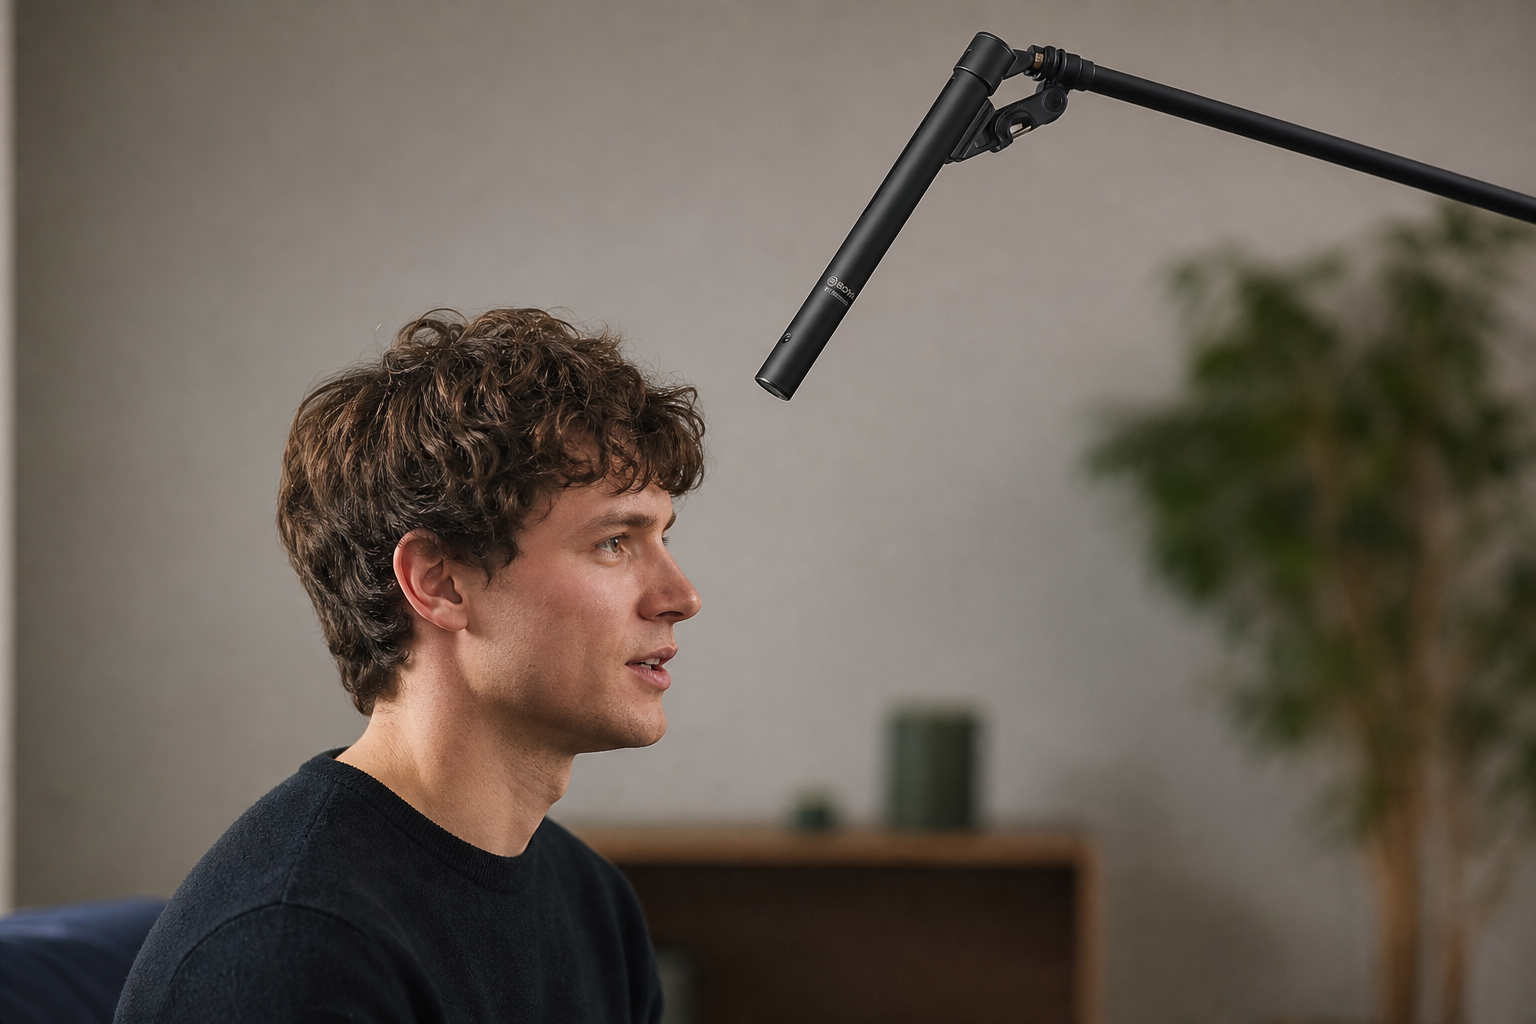
- Aim directly at the mouth: Treat your directional microphone like a spotlight beam. Point the tip directly at the speaker’s lower chin or mouth area.
- Hover near the frame line: Lower the microphone until it enters the shot, then lift it slightly until the camera operator confirms it is clear. Maintain a distance of 15 to 30 cm from the speaker whenever possible.
- Avoid ceiling reflections: Pointing the microphone downward directs off-axis sound rejection toward soft flooring or rugs rather than reflective ceiling surfaces.
Booming from Below
Some locations present difficult challenges like low ceilings or ceiling light fixtures that cast boom shadows. In these rare cases, you can position the boom pole below the frame line and point the capsule up toward the actor’s chin.
Be cautious when booming from below. This angle can capture unwanted chest resonance and nasal tones. Use this technique only when overhead placement is physically impossible.
Tracking Multiple Speakers
During dialogue scenes between two or more actors, avoid holding the microphone stationary in the center. Static placement leaves both speakers off-axis, making all dialogue sound thin and distant.
Pivot the boom pole to cue the dialogue. Turn the capsule toward the next speaker slightly before they speak. Anticipating the lines ensures that every word lands cleanly on-axis. On complex sets, sound crews frequently combine an overhead boom with wireless lavaliers for extra protection, as detailed in our guide on recording audio in a noisy environment.
Boom Pole Handling and Stance
Holding an extended boom pole for long takes demands proper posture. Poor physical form leads to muscle fatigue, which causes hand slipping, pole drift, and physical handling noise on the audio track.
The “Capital H” Operating Position
Stand with your feet shoulder-width apart to create a stable base. Lift the boom pole high above your head so your arms form a “Capital H” shape.
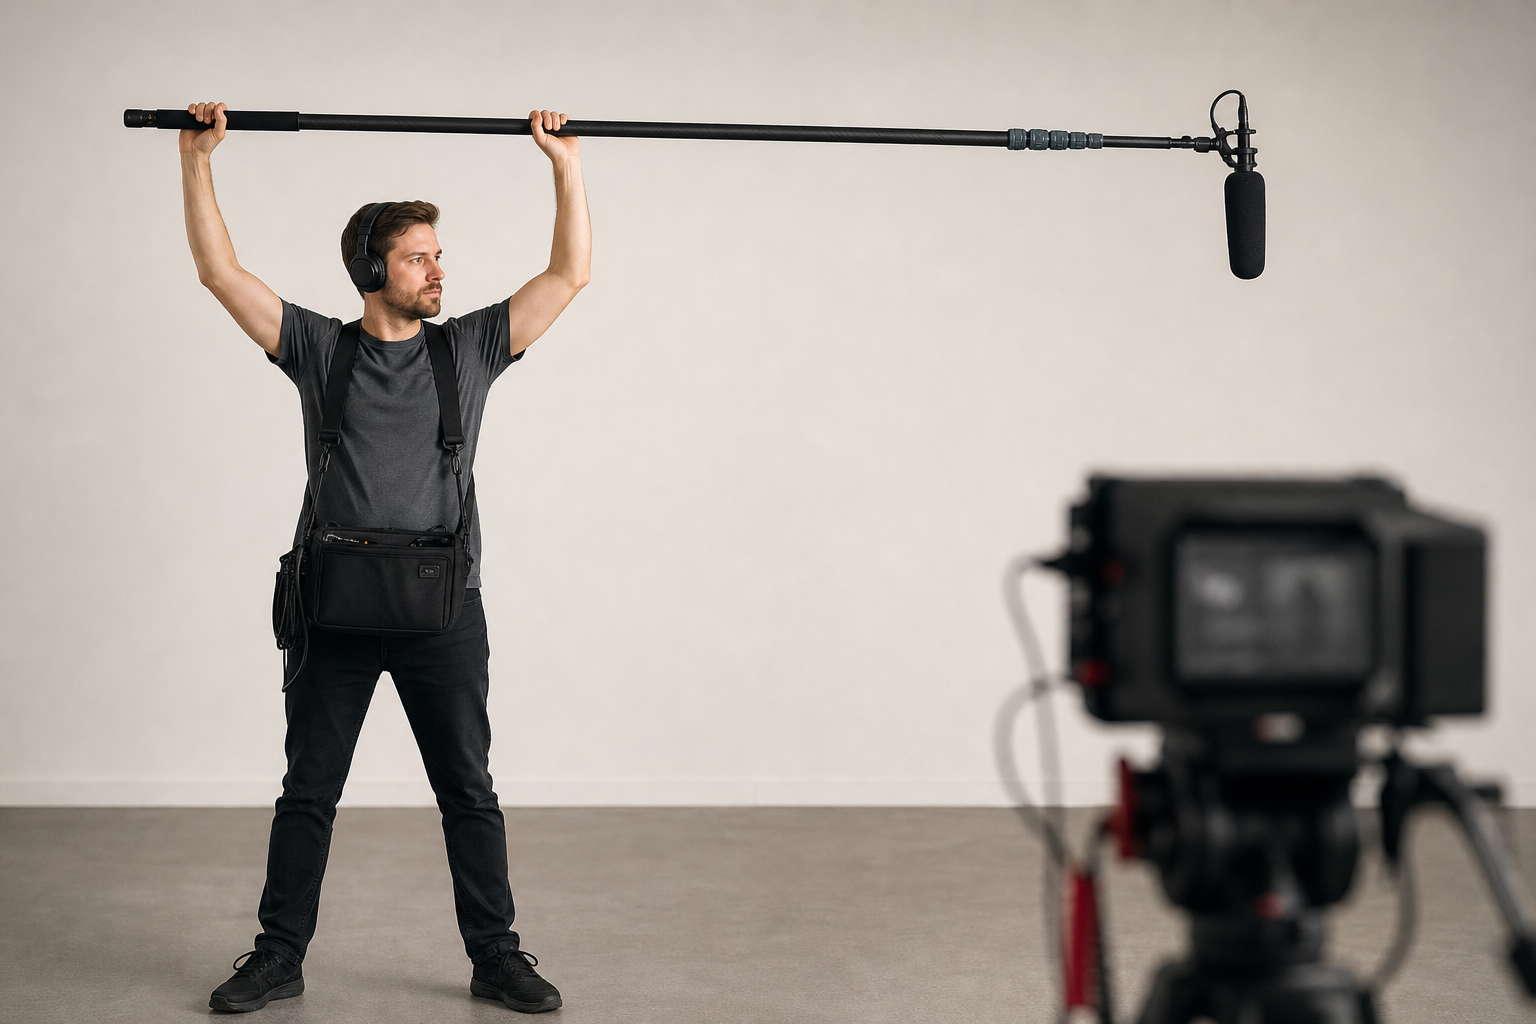
- Front Arm: Place your front hand near the pole’s balance point to serve as a fulcrum. Keep your front elbow slightly bent to absorb arm movements.
- Rear Arm: Use your rear hand behind your head to steer, pan, tilt, and rotate the microphone.
- Resting Stance: Between takes, lower the pole and rest the base against your hip or on a protective rubber end pad.
Preventing Handling Noise
Every movement on a boom pole translates into low-frequency rumble on your recording. Small adjustments in your grip can prevent mechanical vibrations from reaching the capsule.
Grip the pole firmly using your fingertips rather than clamping your whole palm around the shaft. Never slide or rub your hands along the pole while recording. When panning between actors, gently rock the pole in the crook of your thumb and forefinger.
Using rigid materials helps control mechanical vibration. Carbon fiber poles provide high rigidity at a light weight, making long shooting days far more manageable.
Essential Gear: Shockmounts and Wind Protection
Good physical form cannot stop wind noise or physical bumps. You must pair your boom pole with dedicated audio accessories to keep your signal clear.
Shockmounts
Never mount a shotgun microphone directly to a boom pole with a rigid plastic clip. Hand movements and pole vibrations will travel straight into the capsule as low-end thumps.
A quality shockmount uses rubber or thermoplastic suspensions to isolate the microphone body. This isolation absorbs handling vibrations and boom movement before they reach your recorder.
Wind Protection
Moving air across a microphone capsule causes severe low-frequency distortion. Select your wind protection based on your recording environment:
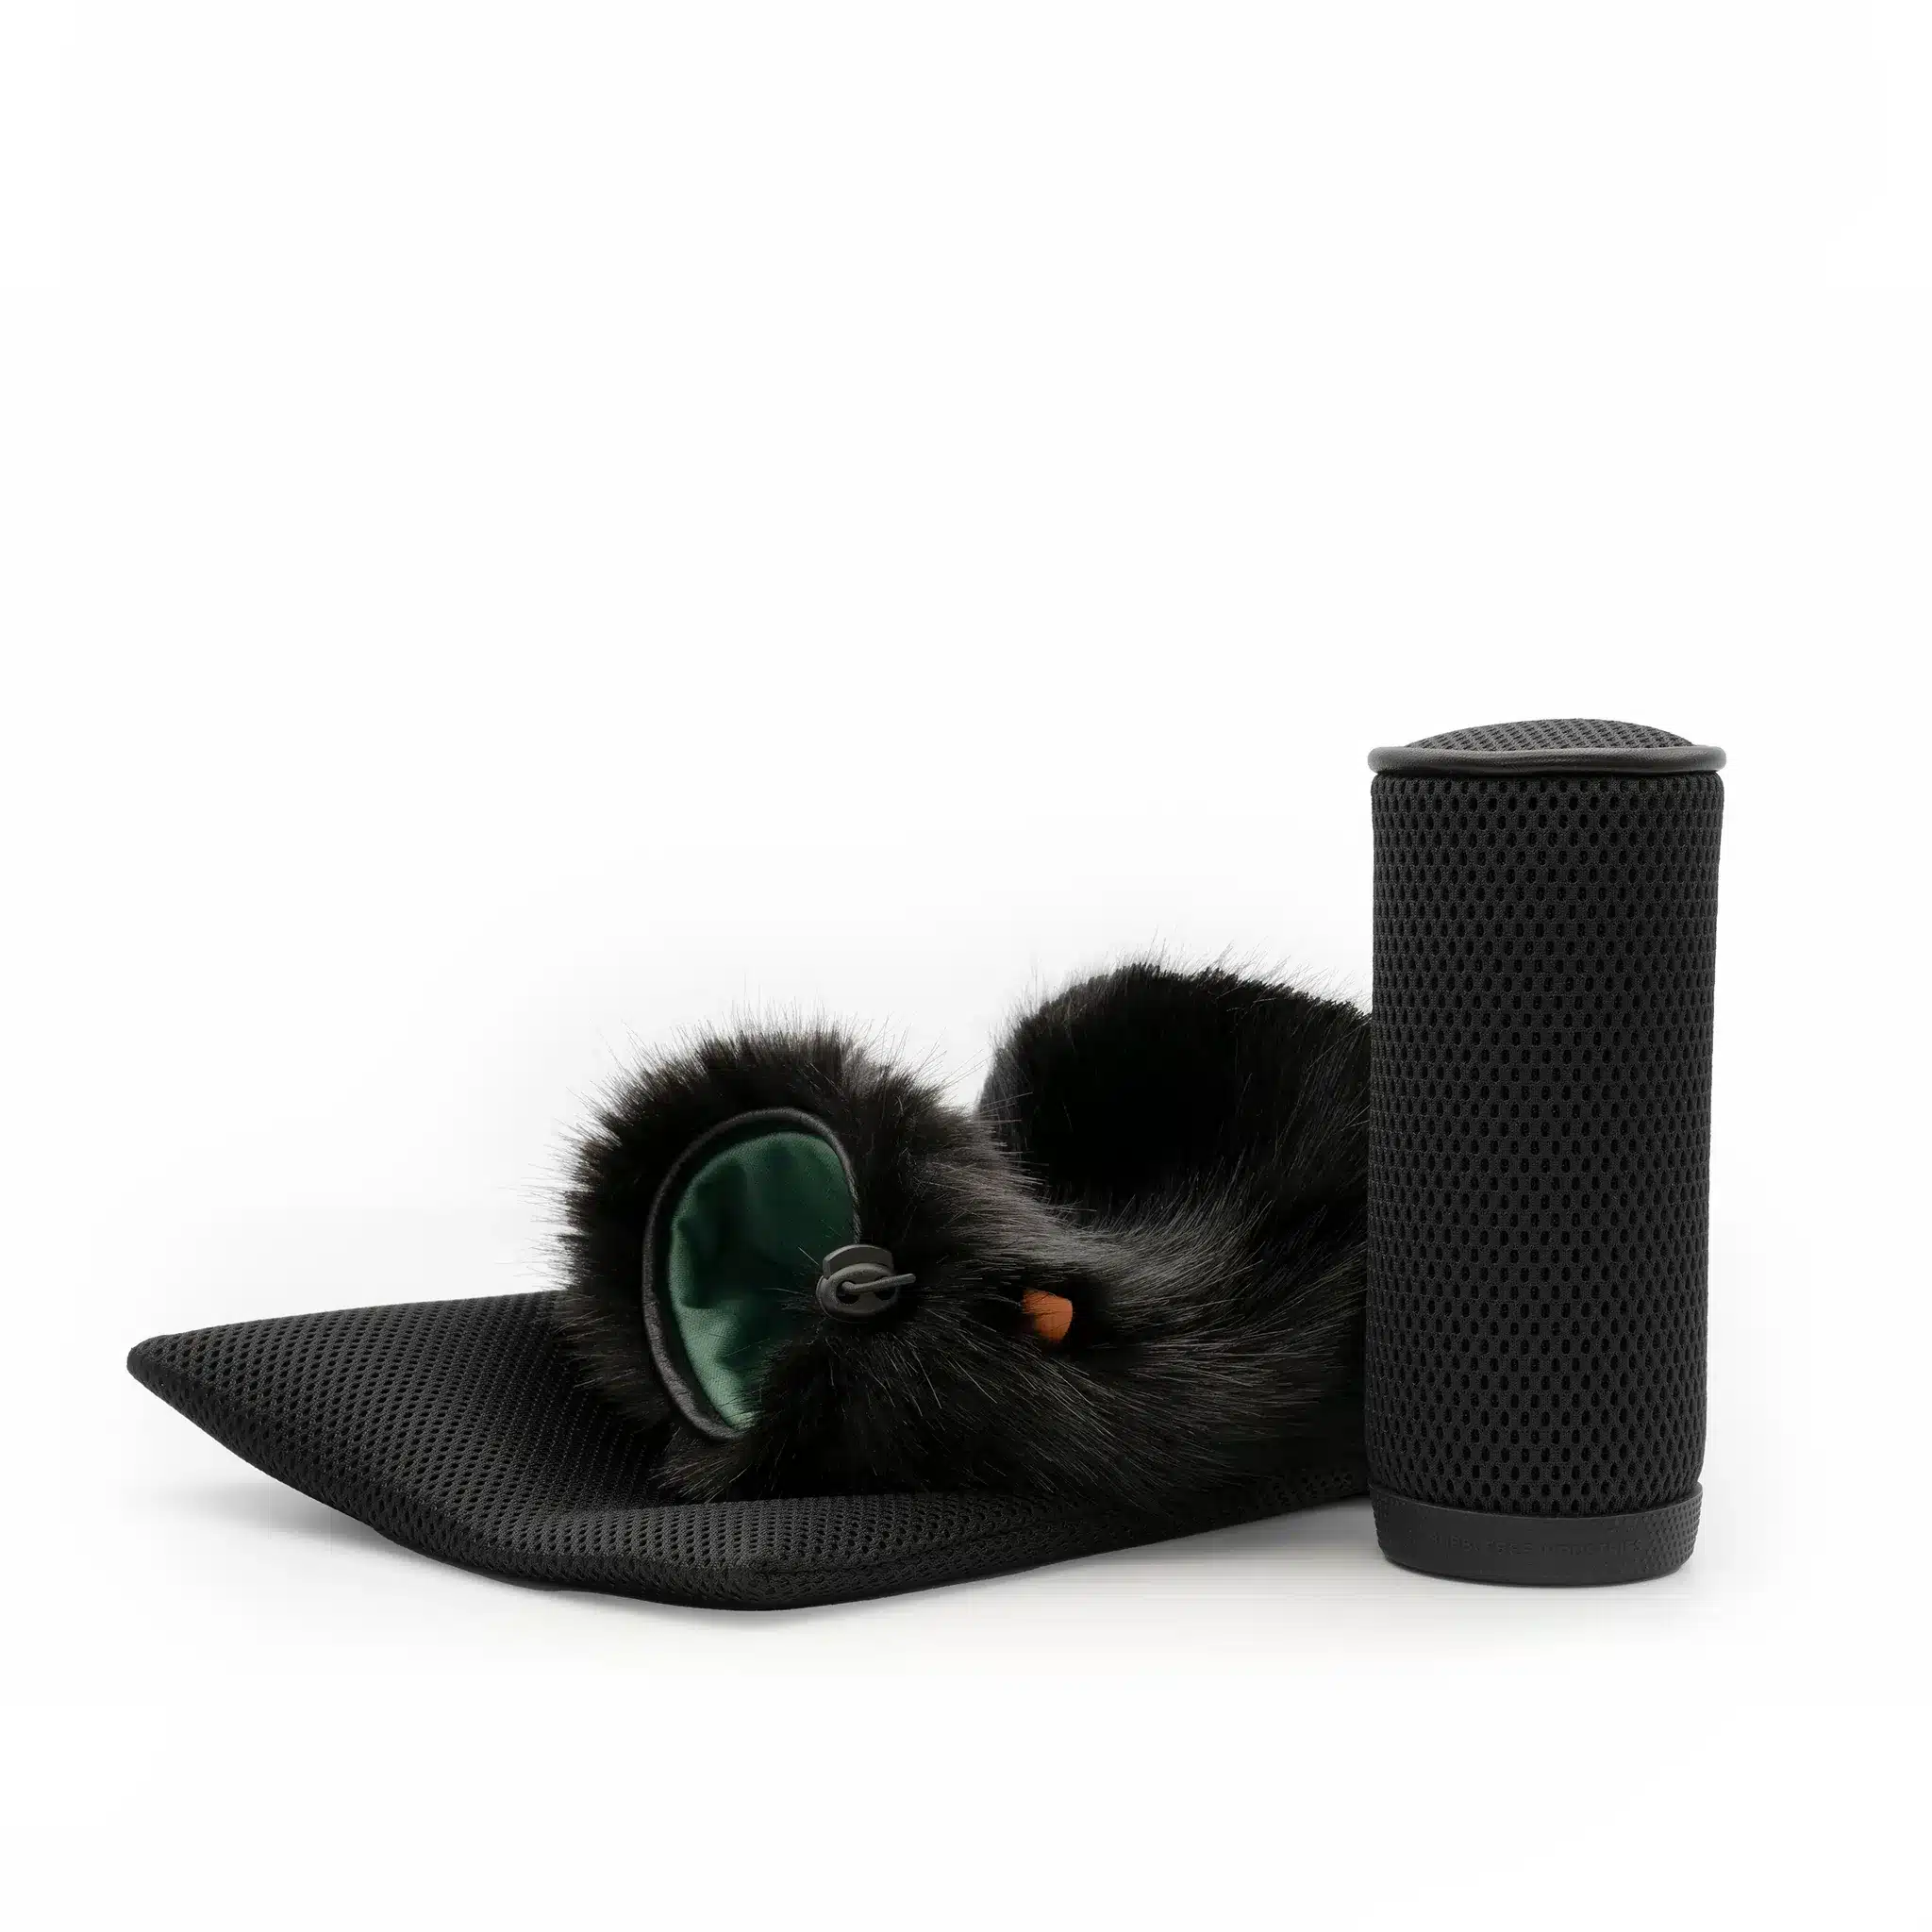
- Indoor Spaces: A basic foam windscreen prevents vocal plosives and air gusts caused by fast boom swings.
- Outdoor Locations: Always install a furry windshield or softie cover. The synthetic fur diffuses wind velocity before air impacts the diaphragm.
If you struggle with harsh room acoustics during indoor shoots, review our practical guide on how to reduce echo when recording audio.
Setting Levels, Monitoring, and Field Recording
Proper microphone placement requires a clean recording workflow. Bypassing camera preamps and using audio recorders ensures low-noise signal chains and stable gain staging.
Setting Audio Levels
Set your input gain so average dialogue levels hover around -20 dBFS. Allow loud vocal peaks to reach -12 dBFS. This headroom prevents harsh digital clipping when an actor shouts or laughs unexpectedly.
Modern field recorders featuring 32-bit float audio capture extreme dynamic range, making digital clipping nearly impossible. You can read our roundup of the best portable audio recorder for video to pick the right unit for your production rig.
Real-Time Monitoring and Room Tone
Always wear closed-back headphones for audio monitoring during takes. Listening continuously lets you catch handling noise, ambient rumble, or camera frame dips immediately.
Before moving to a new location, record at least 30 seconds of room tone. Room tone captures the natural ambient noise floor of the space with the boom mic in its final position. Editors use room tone in post-production to cover dialogue edits and seamlessly sync audio and video.
Key Takeaways
- Boom Overhead: Position the microphone above the talent, angled 45 degrees down toward the mouth and chin.
- Stay Near Frame: Keep the capsule as close to the top frame line as possible without entering the camera view.
- Isolate Vibrations: Use dedicated shockmounts and lightweight carbon fiber poles to eliminate physical handling noise.
- Apply Wind Protection: Use foam windscreens indoors to absorb pole swings, and switch to furry windshields outdoors.
- Monitor Audio Live: Wear closed-back headphones, set safe gain levels around -20 dBFS, and capture 30 seconds of room tone at every set.
Are you ready to capture cleaner dialogue on your next production? Explore our complete line of professional microphones, audio accessories, and audio recorders at MediaGear, or contact our specialist team for personalized gear guidance.