How to Build a Home Video Studio: Step-by-Step Guide
Creating clear video content at home does not require a massive budget. Whether you film YouTube tutorials, corporate updates, or online courses, a dedicated studio space helps you publish consistent results.
In our experience, many creators buy an expensive camera first. They feel disappointed when their videos still look flat and sound echoey. A functional home studio relies on room choice, controlled lighting, clear audio, and reliable mounting gear working together.
This guide walks you through setting up a practical video studio at home step by step.
Choose and Prepare Your Studio Space
The room you select dictates your baseline audio and visual quality. Look for a quiet space away from busy streets, air conditioners, or family common areas.
Room Selection and Acoustics
Sound reflects off hard surfaces like glass, hardwood floors, and bare plaster. These reflections bounce back into your microphone and create unpleasant echo. You can fix this issue by introducing soft materials into the room:
- Place a thick carpet or rug over hard floors.
- Cover windows with heavy curtains.
- Position soft furniture, like a cloth sofa or bookshelves, in open areas.
To control mid-frequency reverberation, cover 20% to 30% of your wall space with absorptive acoustic panels. If you want a detailed acoustic guide, explore our tips on how to reduce echo when recording audio.
Visual Background Setup
Avoid sitting directly against a bare wall. Stand or sit at least three feet forward from your background. This gap creates natural separation, creates depth of field, and prevents harsh shadows behind you.
Keep your background clean and simple. You can add floating shelves, framed art, or subtle practical lights to make the frame engaging without distracting your viewers.
Position Your Camera and Hardware
Your camera choice depends on your workflow, but mounting it securely at the right height is critical for every setup.
Camera Placement and Framing
Place your camera lens at eye level or slightly above, tilted down toward your face. Positioning the lens too low creates an unflattering angle for talking-head content.
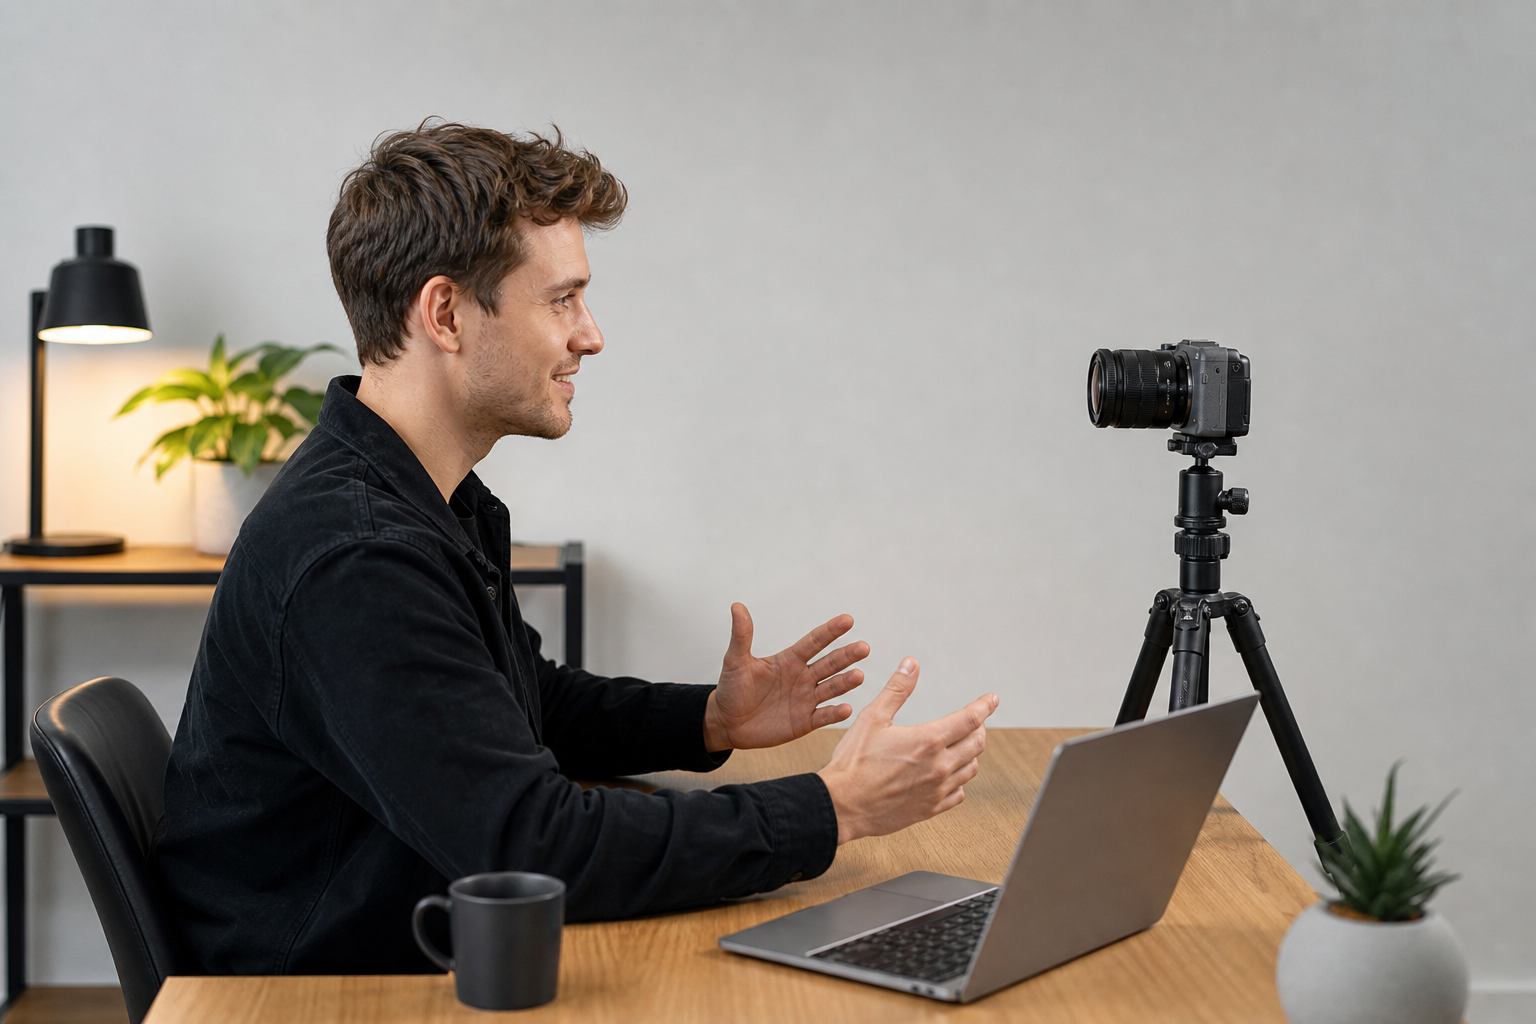
Center yourself in the frame. Align your eyes near the upper horizontal third of the frame, and ensure your face occupies roughly one-third of the screen height.
Selecting the Right Camera
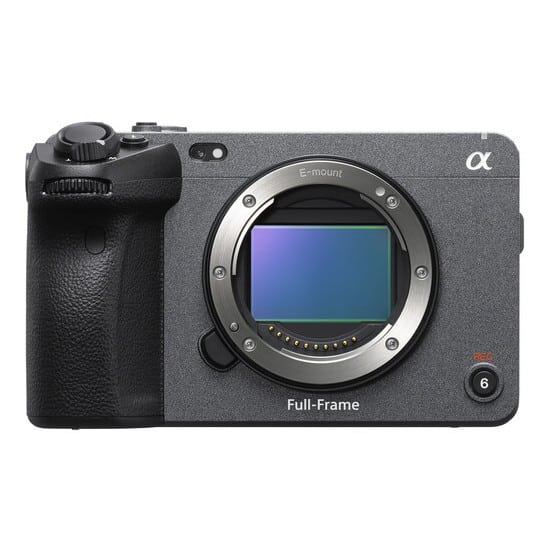
For quick calls and simple desk recording, high-quality webcams offer quick setup. However, dedicated video cameras provide superior image sharpness, better low-light capability, and natural background blur.
For talking-head videos, record in 1080p or 4K resolution at 24 or 30 frames per second. These specifications align with standards from the International Telecommunication Union. Look for cameras with reliable eye autofocus, clean HDMI output, and active cooling to prevent overheating during long recording sessions.
Mounting and Camera Supports
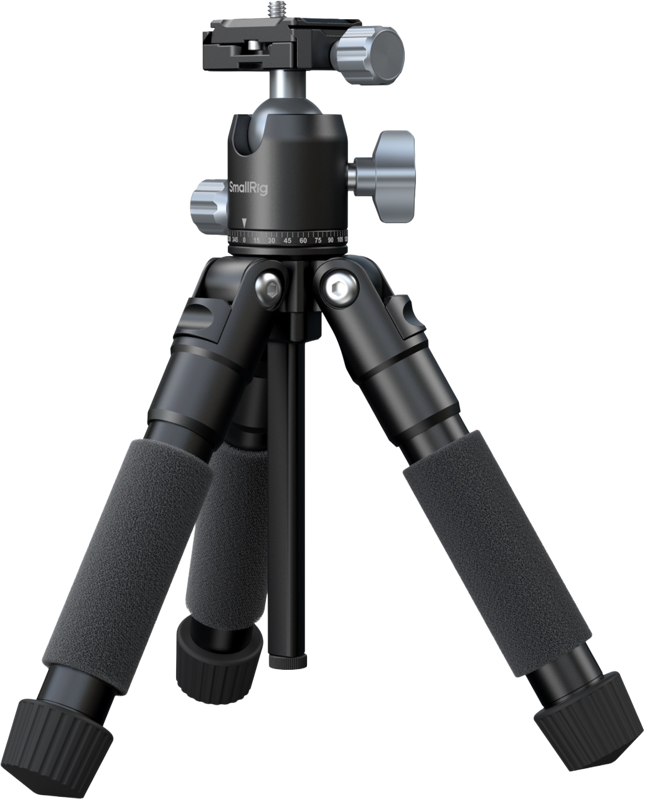
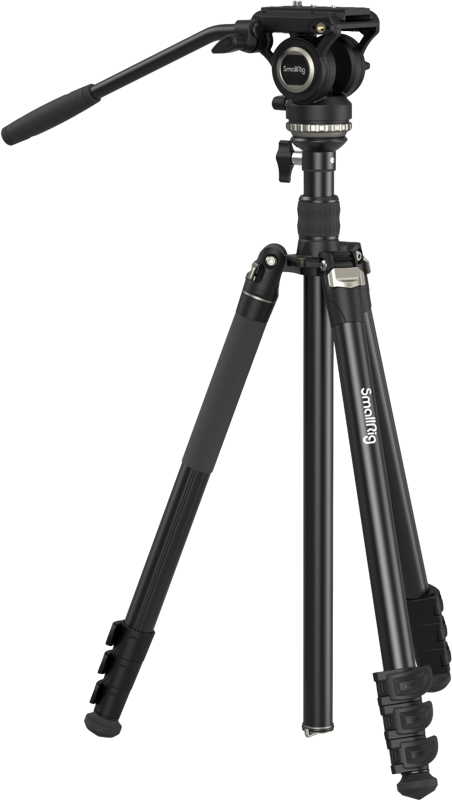
A stable support is essential for clear footage. In-body image stabilization cannot replace a weighted support on a fixed set. Choose fluid head tripods for smooth framing, or desktop tripods if working in tight spaces.
Implement Professional Studio Lighting
Good lighting transforms simple shots into high-quality production footage. Uncontrolled daylight changes every time clouds pass, making color matching nearly impossible in editing.
The Three-Point Lighting Setup
A traditional three-point lighting structure gives you complete control over your subject:
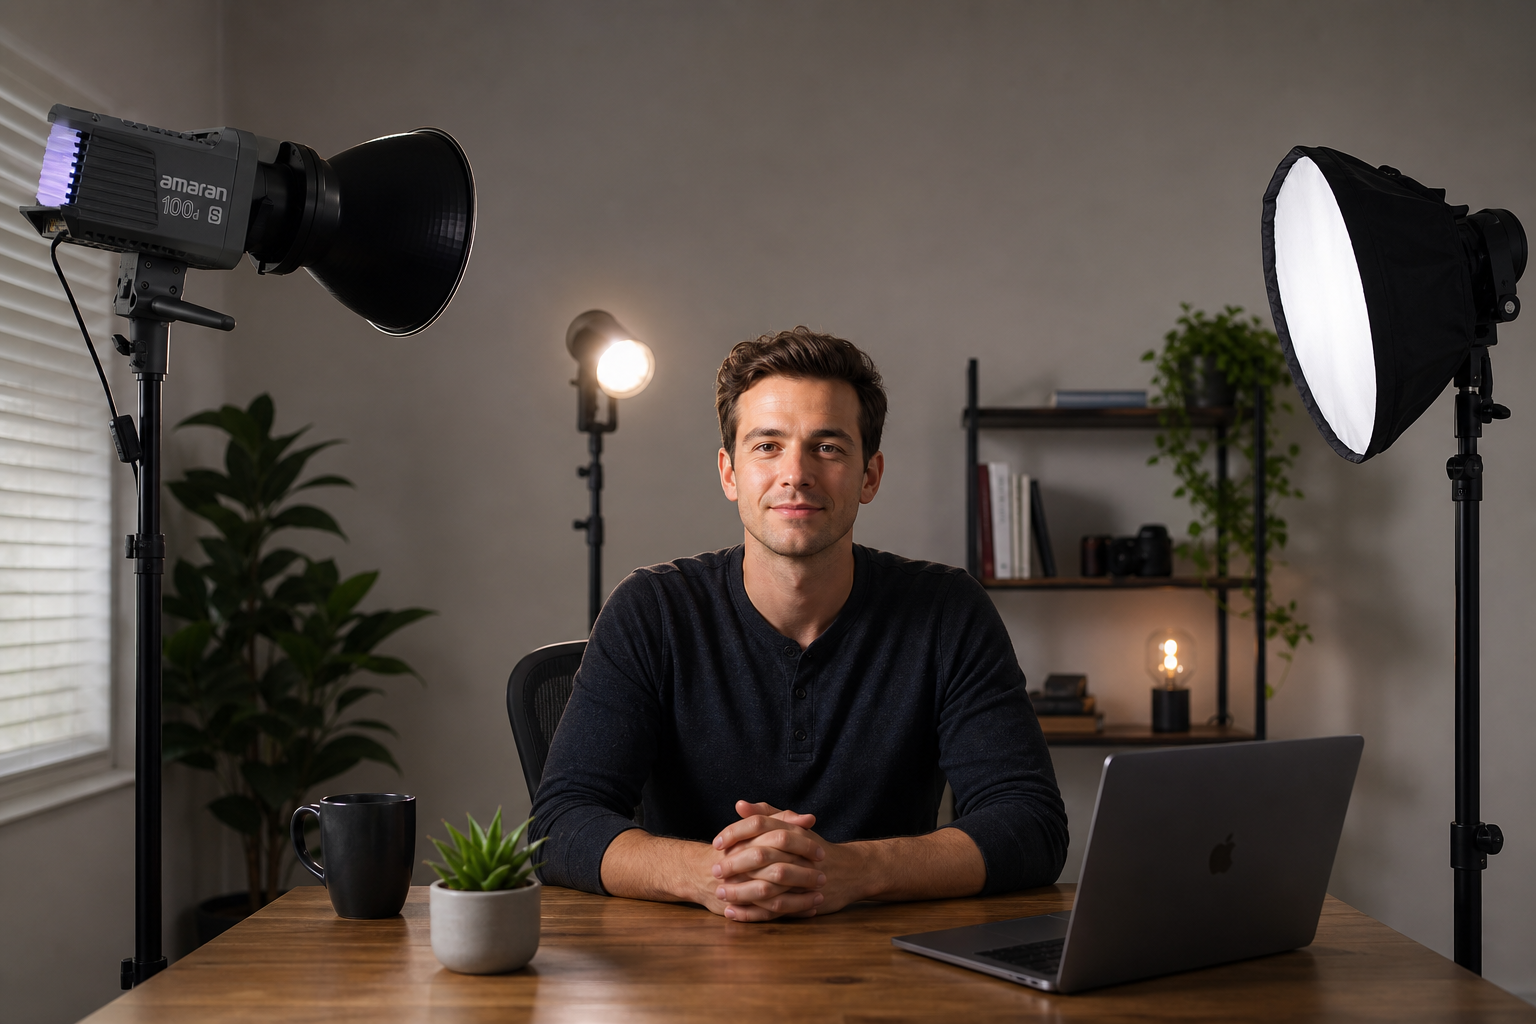
- Key light: Your primary light source. Place it 30 to 45 degrees to one side of the camera, slightly above eye level, angled down at your face. Use a softbox to diffuse the light and soften shadows.
- Fill light: Placed on the opposite side of the key light at eye level. Set its output lower, roughly 30% to 50% of the key light, to lift facial shadows gently.
- Back light: Positioned behind you and aimed at your head and shoulders. This fixture creates a thin outline that separates you from the background.
Color Temperature and Fixture Selection
We often see creators mix cool window daylight with warm ceiling bulbs. This mixture creates unnatural skin tones that are hard to correct.
Set all studio lights to match the same color temperature. Standard daylight sits at 5600K and produces a clean, crisp look. Read our guide on colour temperature for video lighting to learn more about Kelvin values. If you need to simulate daylight indoors, check our operational guide on how to simulate natural light with artificial lighting.
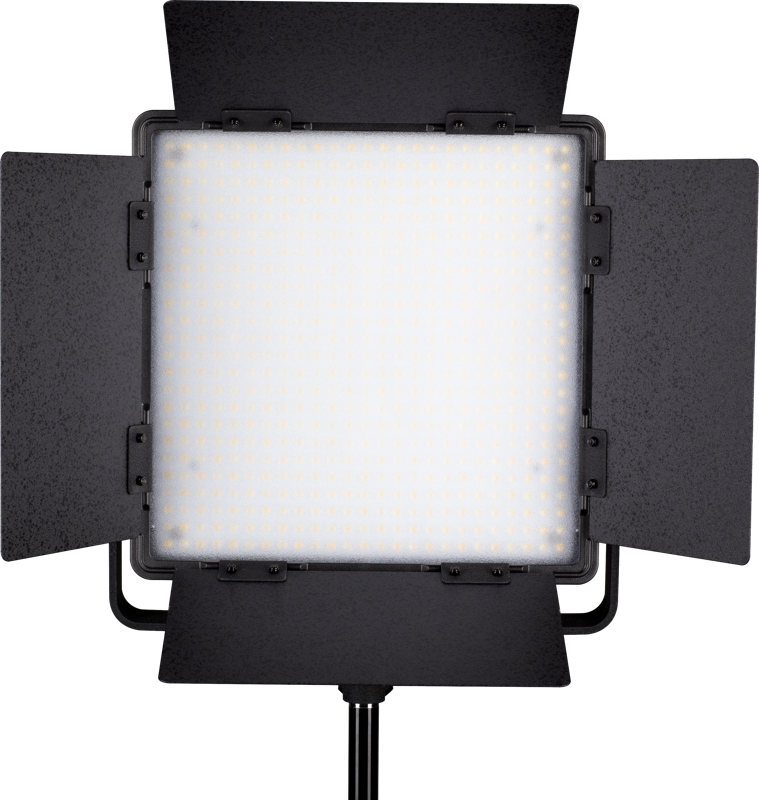
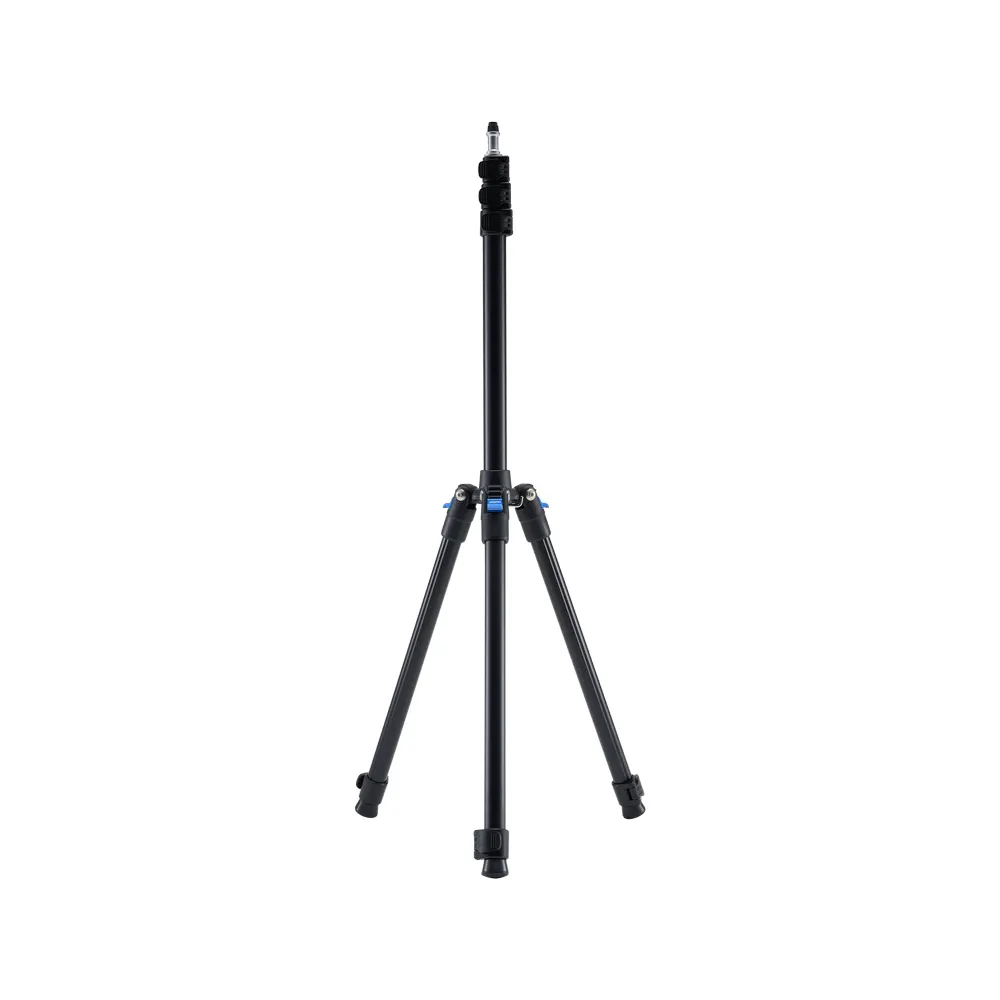
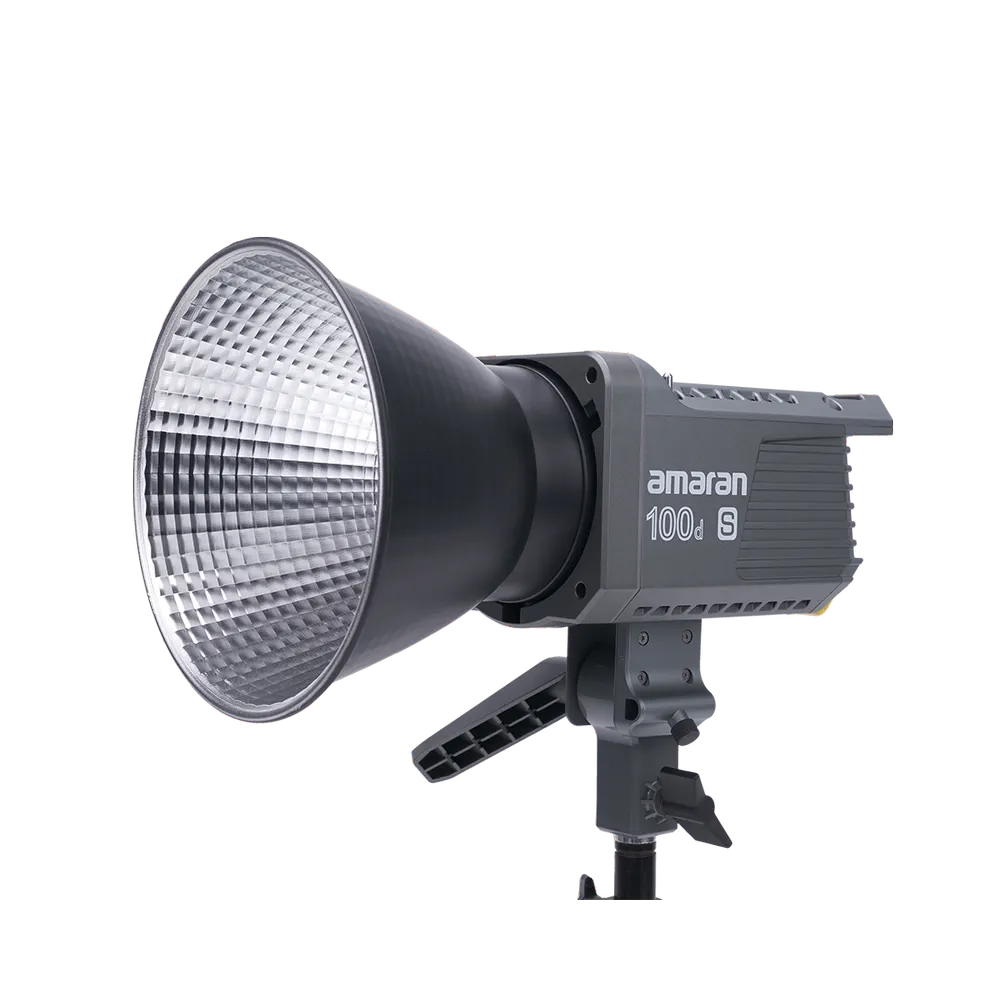
For direct key lighting, flexible point-source daylight lamps deliver strong output. For broad fill and background illumination, compact LED panels and focused spot lights work exceptionally well. Secure all lights on sturdy light stands to maintain set safety.
Configure Clear Audio Capture
Viewers will tolerate average video, but harsh audio makes them leave your video instantly. Moving the microphone closer to your mouth is the fastest way to increase clarity.
Microphone Selection and Placement
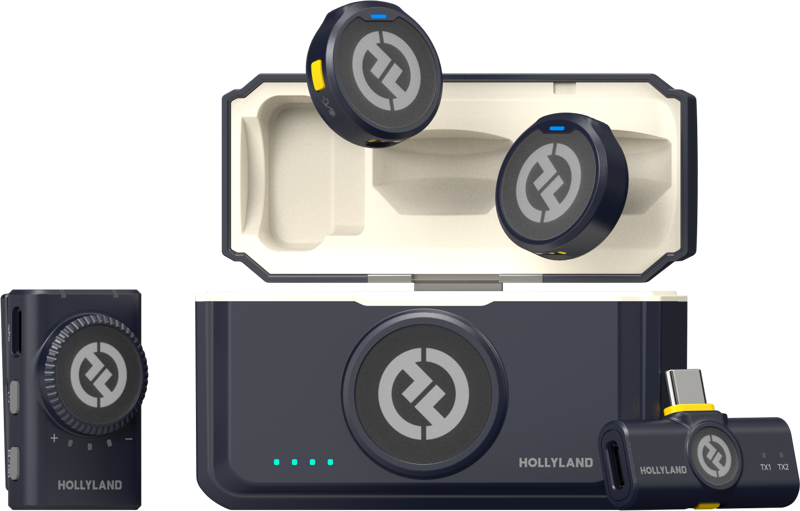
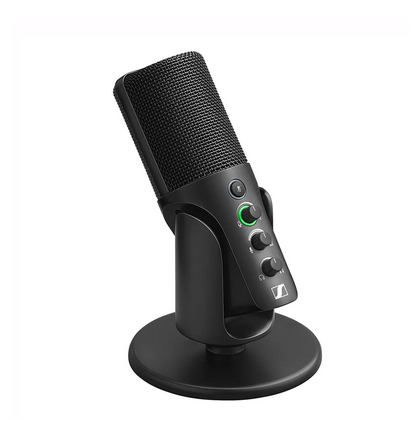
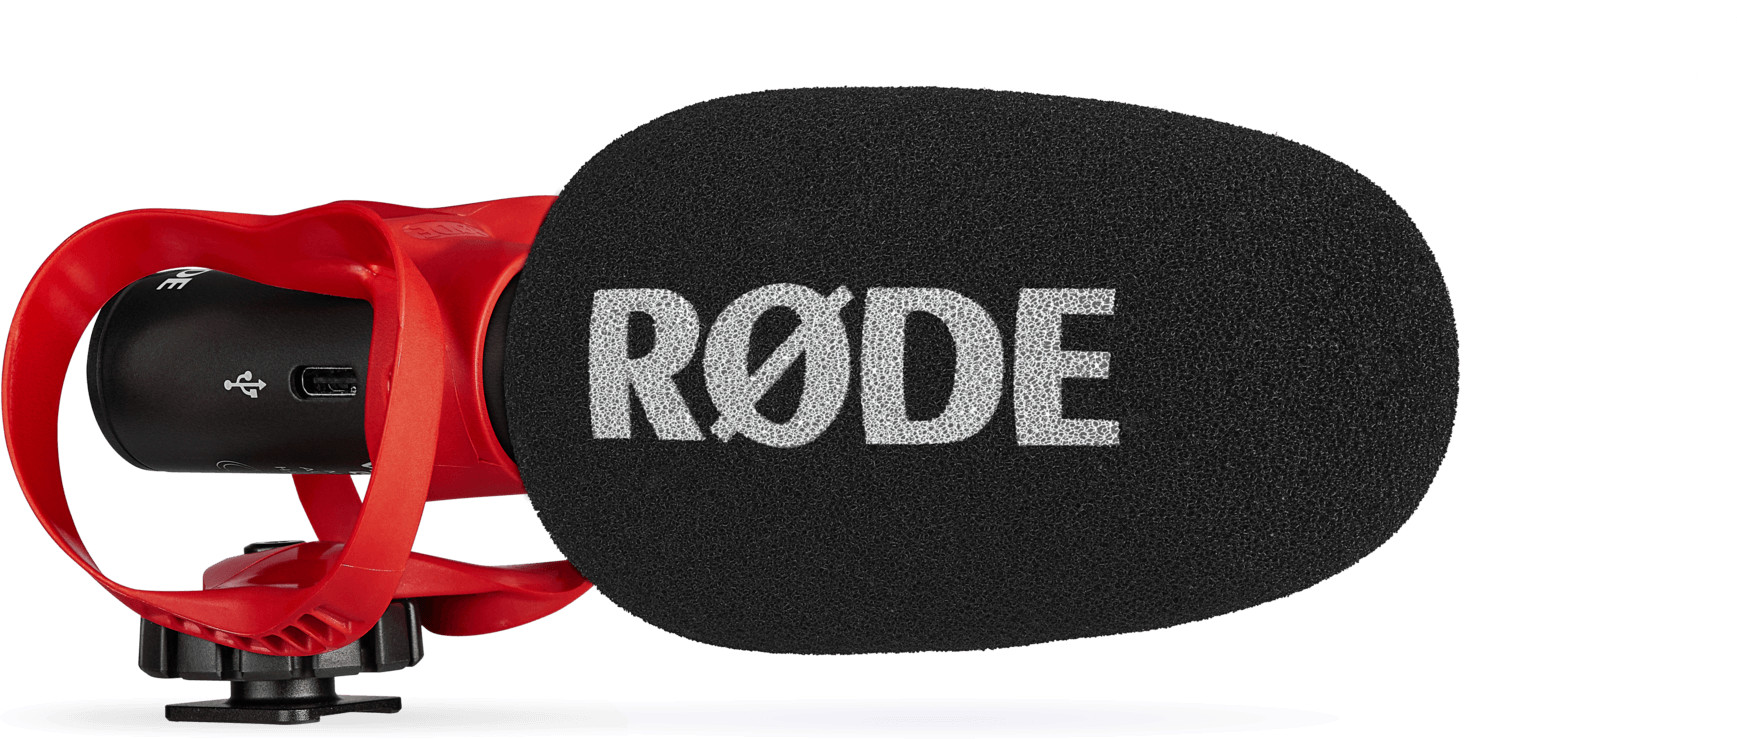
Select a microphone based on your room acoustics and presentation style:
- USB microphones: Connect directly to your computer. They suit simple desktop setups.
- Lavalier microphones: Clip onto your clothing 6 to 8 inches below your chin. They work well if you move during filming.
- Shotgun and condenser microphones: Mount on an overhead boom arm 18 to 24 inches from your mouth. They stay out of the frame while delivering rich vocal tone.
To select the right polar pattern for your room, consult our guide on shotgun mic vs condenser mic for video. Explore our full range of microphones to find your setup.
Gain Staging and Monitoring
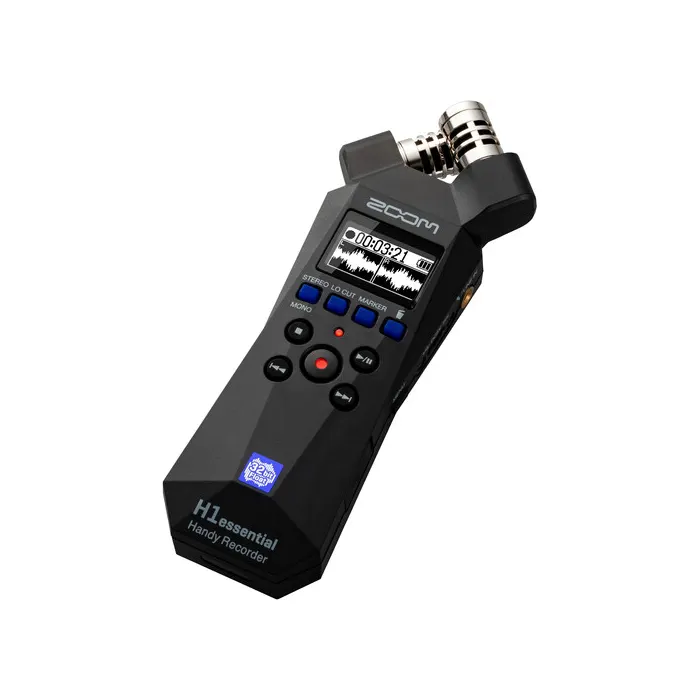
Avoid connecting professional microphones directly into basic camera audio inputs with noisy preamps. Instead, route your signals through dedicated audio recorders for low-noise recording.
Adjust your gain so speech peaks reach around -12 dBFS on your audio meter. This headroom prevents digital distortion during loud moments. Record a ten-second test clip and listen on dedicated headphones for audio monitoring to detect background noise before shooting.
Optimize Your Workflow with Teleprompters
Once your camera, lighting, and audio are set, workflow accessories help speed up your production and build confidence on camera.
Maintaining Direct Lens Contact
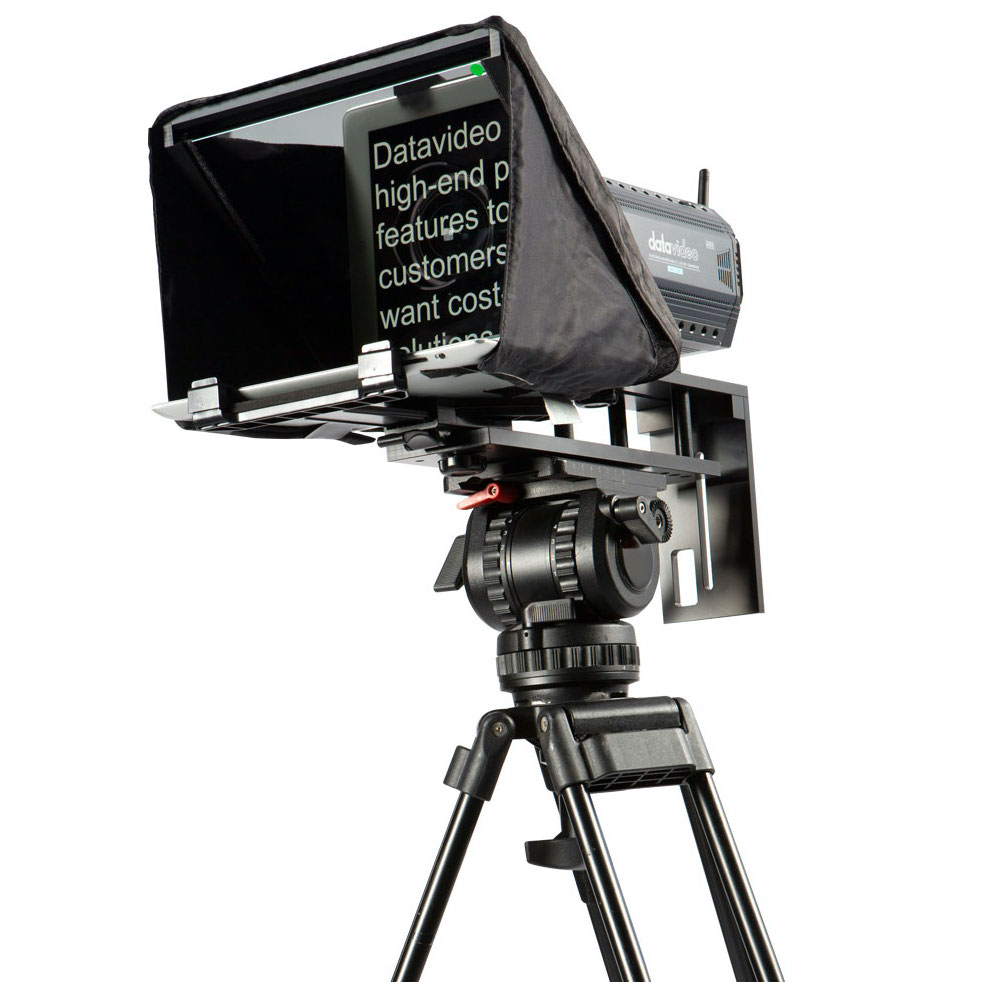
Memorizing long scripts causes repeated takes and unnatural pauses. A studio teleprompter uses beam-splitter glass mounted directly in front of your camera lens. The glass reflects your script while allowing the camera lens to shoot through without affecting image clarity.
Using a teleprompter lets you maintain continuous eye contact with your audience while delivering accurate scripts. Check our selection of teleprompters, and review our tutorial on how to use a teleprompter for effective scripting techniques.
Key Takeaways
- Control sound echoes by adding rugs, curtains, or absorptive panels before buying new audio hardware.
- Use a three-point lighting setup with a soft key light positioned 45 degrees off-camera, and match all light fixtures to one color temperature.
- Keep your microphone close to your mouth and adjust gain so vocal speech peaks average around -12 dBFS.
- Sit or stand three feet away from your background to eliminate harsh shadows and create natural depth.
Building an efficient studio requires matching equipment to your room constraints. If you need assistance selecting hardware or planning your layout, contact our team today for expert technical advice.