Green Screen Studio Setup: How to Get Clean Chroma Keys
Bad green screen keying ruins good video productions. In our experience, teams waste countless hours in post-production simply because a backdrop was lit unevenly or talent stood too close to the screen.
Achieving a clean chroma key does not require expensive software tricks. It requires careful studio layout, accurate physical positioning, and proper lighting control. When you understand how light behaves on camera, pulling a seamless key becomes fast and reliable.
The Two-Zone Lighting Rule
The most common mistake in studio design is treating the talent and the backdrop as a single lighting space. To get consistent results, you must treat your studio floor as two completely separate lighting zones.
Zone one is the backdrop zone. Zone two is the subject zone. Light aimed at your backdrop must never spill onto your talent. Likewise, key light meant for your subject must never strike the green canvas.
When you isolate these two zones, you eliminate harsh cast shadows and gain full control over contrast ratios. For a deeper look at background fixture selection, review our guide on background lighting for video and our detailed breakdown of how to light a green screen.
Studio Layout and Subject Distance
Physical distance is your best line of defense against green spill. When light strikes a bright green surface, that canvas acts as a reflector. It bounces green light back onto the edges of your subject, tinting their hair, skin, and wardrobe.
Position your talent 2 to 3 metres (6 to 10 feet) away from the green screen. This physical separation gives you two major technical advantages:
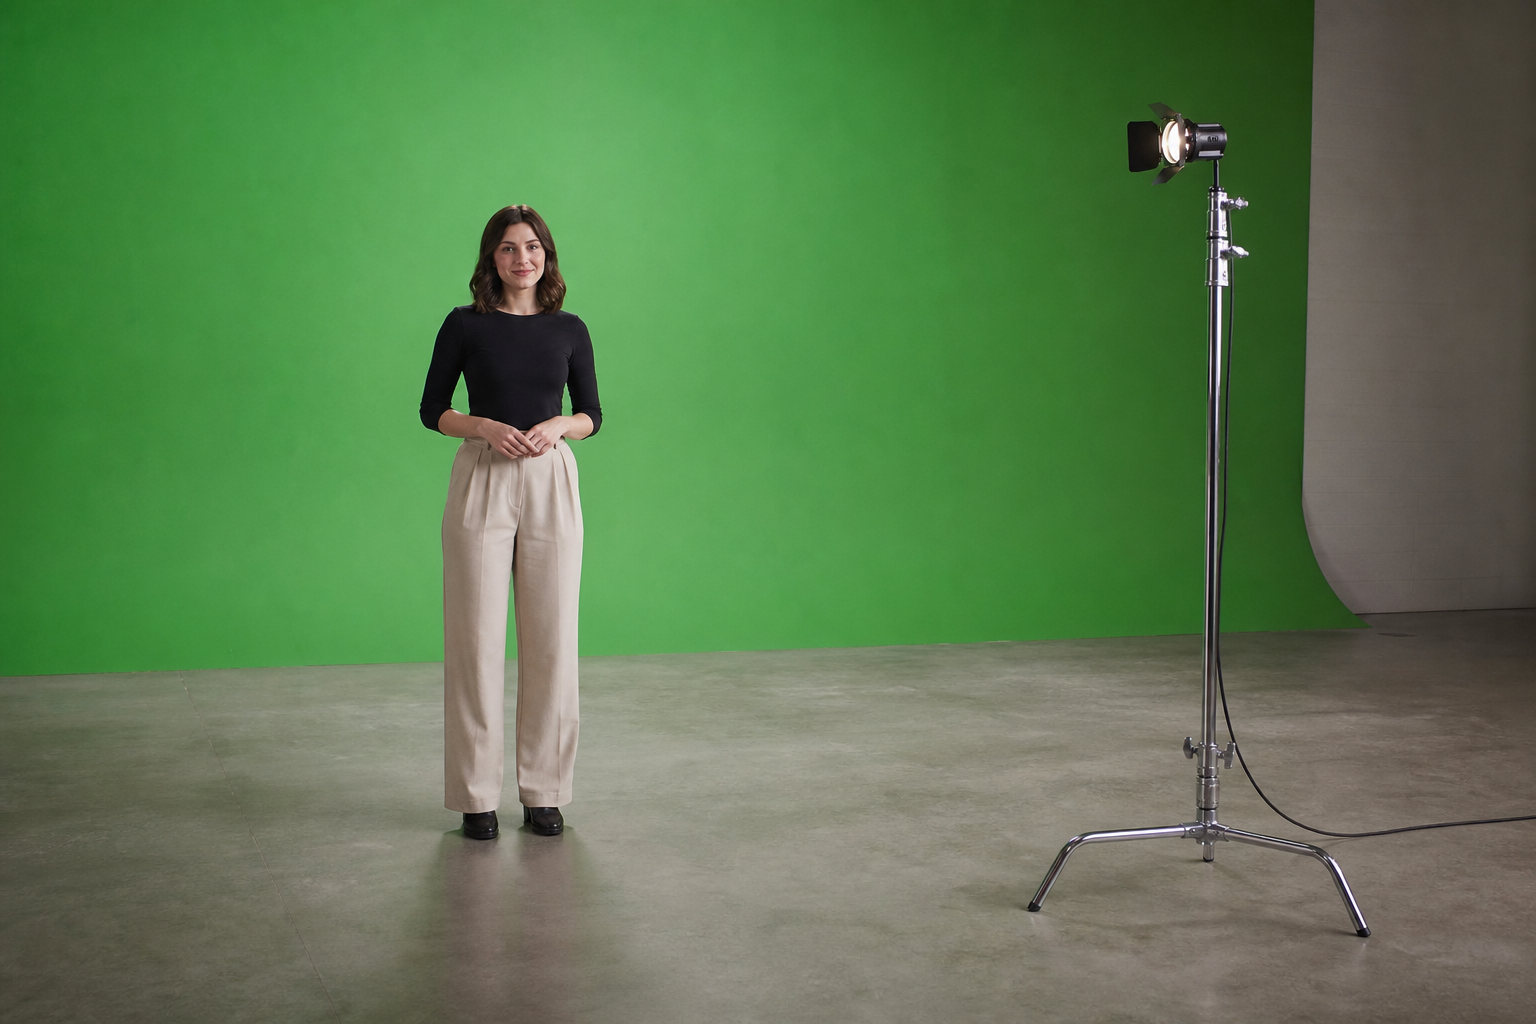
- It allows green light bounce to fall off naturally before reaching your subject.
- It gives you ample space to position subject lights without throwing talent shadows onto the screen.
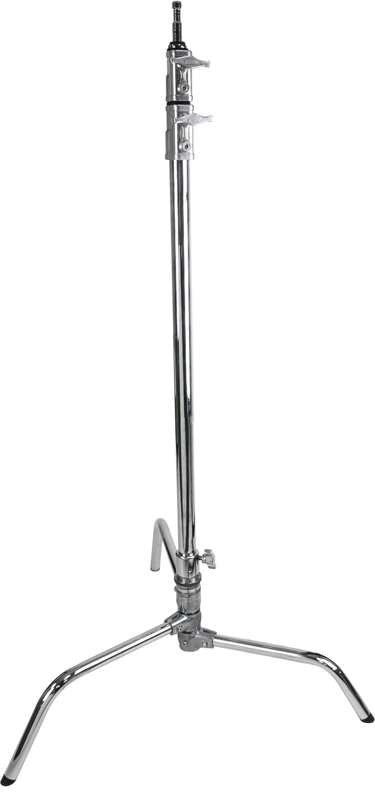
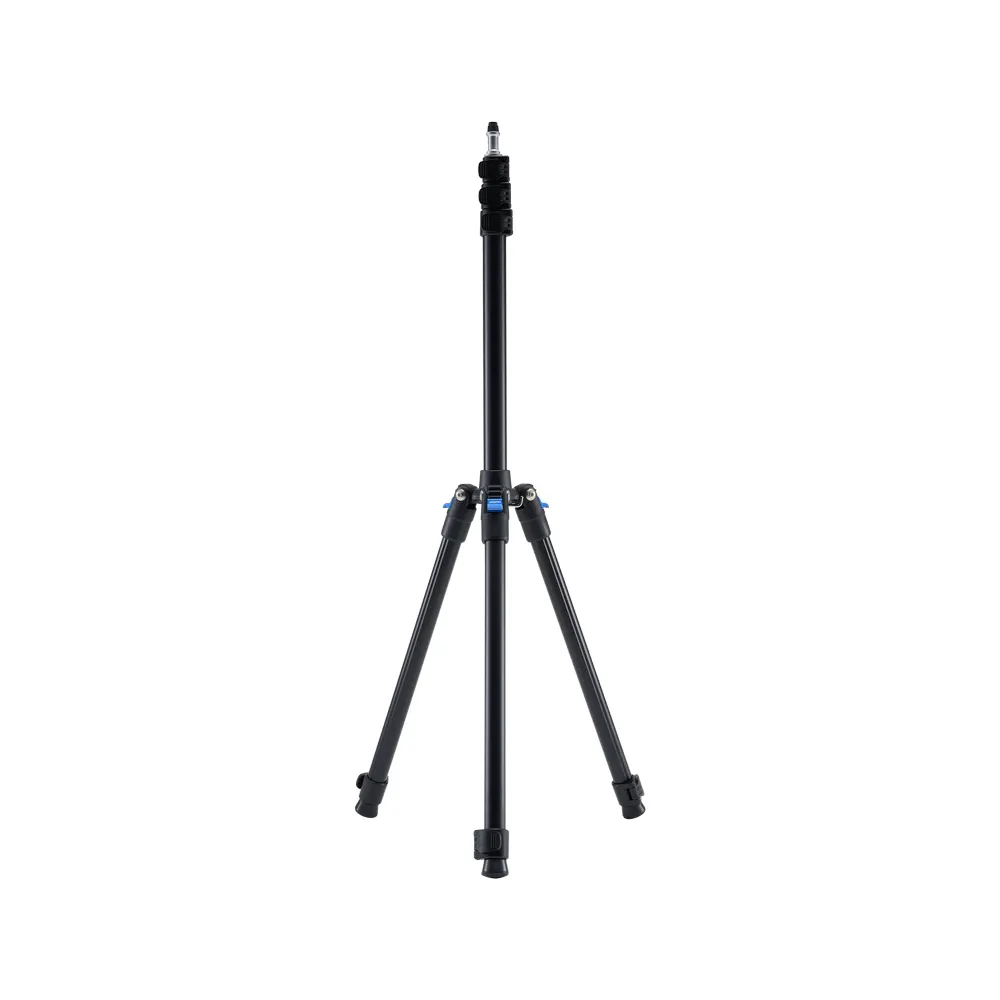
Proper mounting equipment keeps your floor clear and your crew safe. Heavy fixtures placed on high stands can tip over easily in tight studios. Secure your fixtures using sturdy light stands or heavy-duty C-stands equipped with detachable turtle bases. If you want to select the right grip gear for your room, read our guide on choosing a C-stand for video production.
How to Light the Green Backdrop Evenly
Chroma key software isolates green based on colour uniformity. If your backdrop has bright hot spots in the center and dark shadows in the corners, post-production software struggles to separate edges cleanly.
To achieve a flat, uniform wash across your entire canvas:
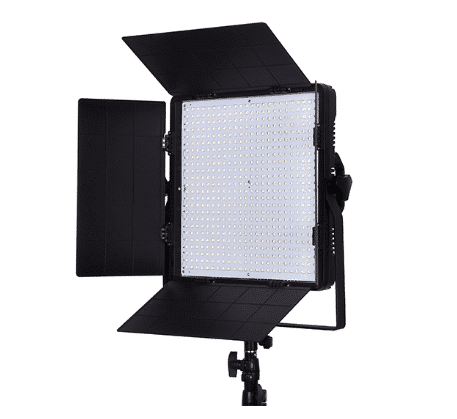
- Choose broad LED panels rather than focused point-source lights, as diffuse panels spread photons evenly across wide surfaces. Read our breakdown on LED panel vs Fresnel light for video to see how beam dispersion impacts backdrop coverage.
- Place two matching fixtures on opposite sides of the screen, angled at roughly 45 degrees to the canvas. Position them far enough back so their light beams overlap smoothly across the middle.
- Set both backdrop fixtures to the exact same Kelvin rating. Daylight settings (5600K) offer high consistency for studio environments. To master colour balancing across fixtures, consult our guide on colour temperature for video lighting.
You can verify backdrop lighting using your camera’s built-in waveform monitor. When panning across an evenly lit green wall, the waveform display shows a flat, tight horizontal band rather than a curved line.
Lighting the Talent and Controlling Spill
Once your backdrop exposure is locked in, turn your attention to your talent. A classic three-point lighting setup provides excellent subject depth, but chroma keying requires a few specific modifications.
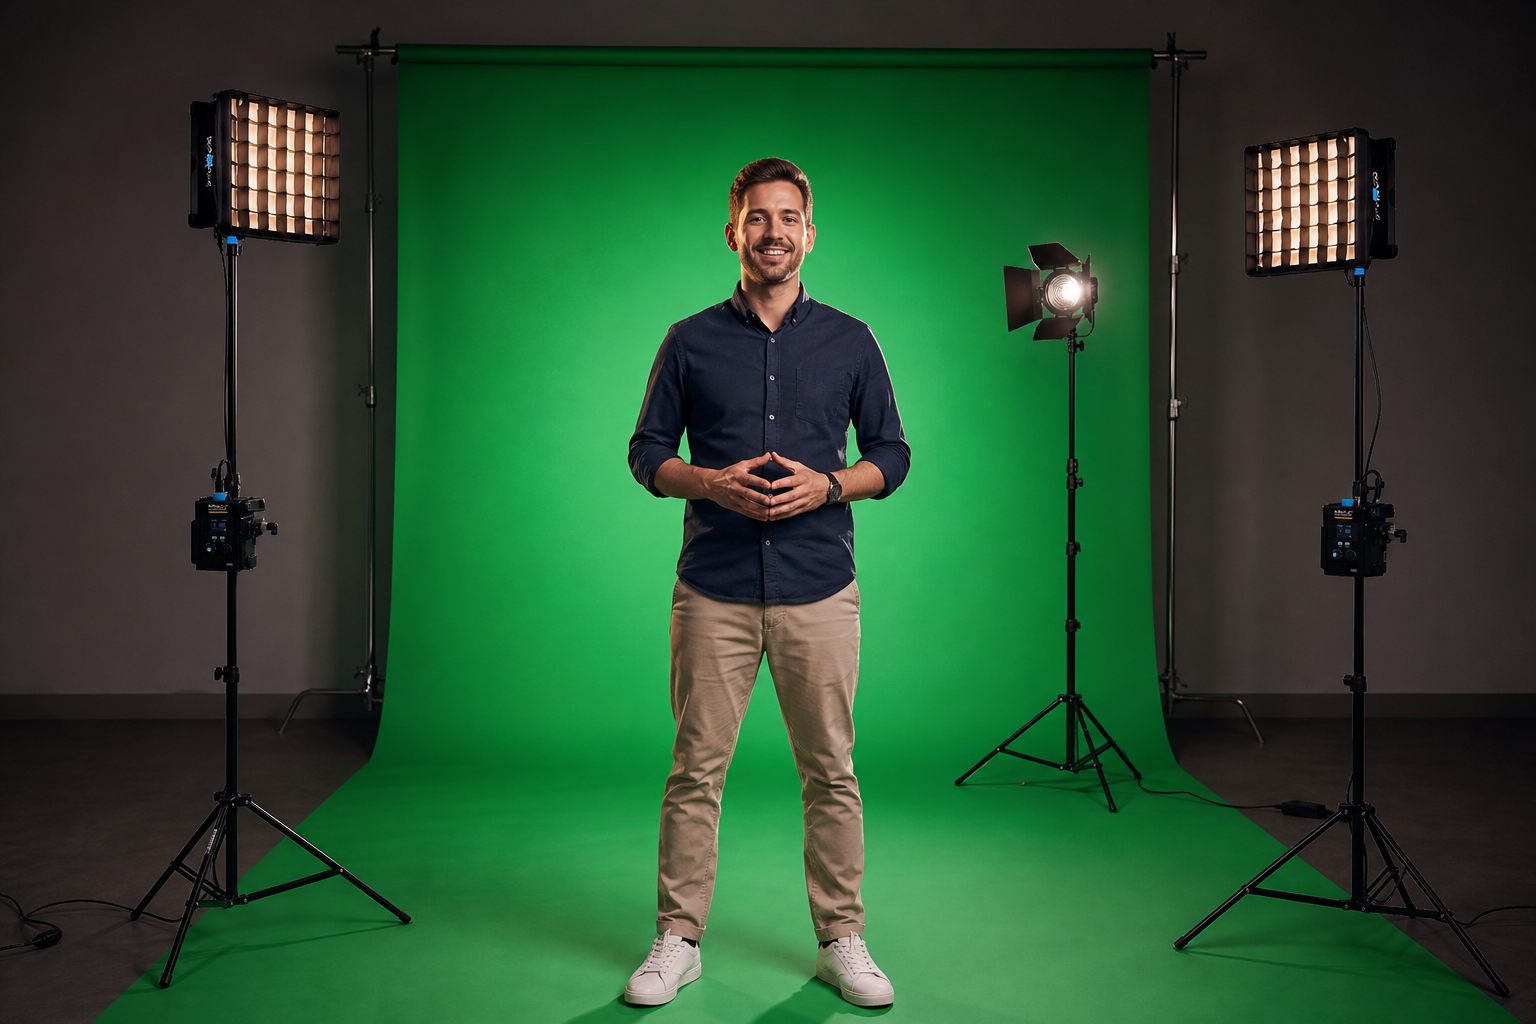
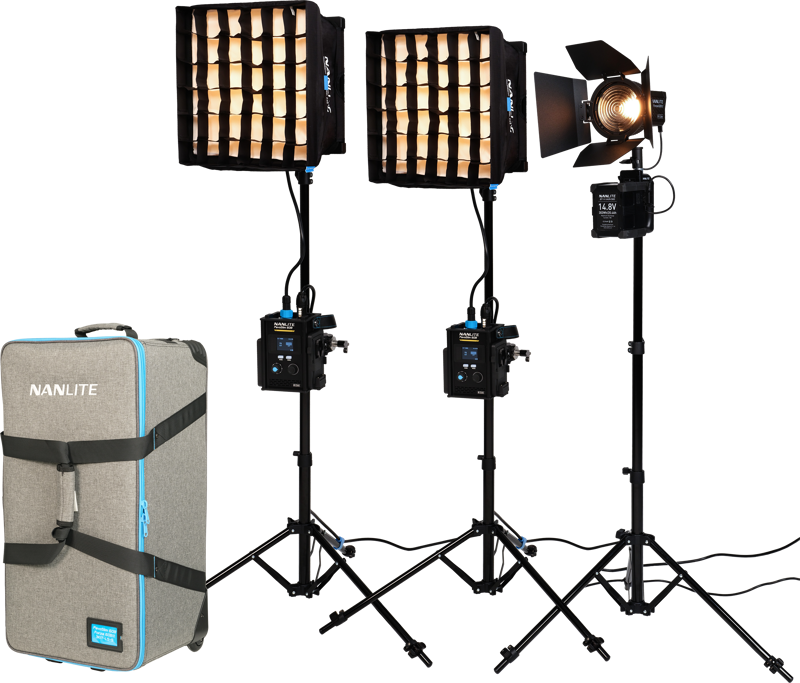
Start with softboxes on your key and fill lights to keep facial shadows soft and natural. If you are setting up your first studio, our tutorial on video lighting for beginners covers key-to-fill ratios in detail.
To keep your subject edges crisp and prevent green bounce:
- Attach honeycomb grids to your key light softboxes to force light forward and prevent side spill onto the backdrop.
- Position a strong backlight directly behind and above the subject, aimed at their head and shoulders to create a bright rim that neutralizes green edge reflections.
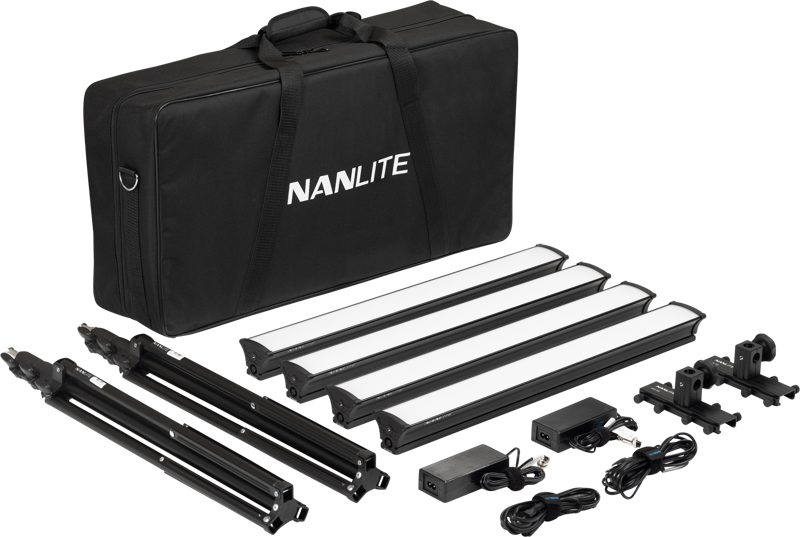
- Use specialized strip lights mounted directly onto the green screen frame to deliver a clean outline along the top and sides of your subject.
- Set up solid black flags or floppies beside your talent to cut off lateral green bounce hitting skin tones.
Camera Settings and Wardrobe Rules
Proper physical lighting is only half of the solution. Your camera setup and talent wardrobe determine the quality of signal your post-production software receives.
Recommended Camera Settings
| Setting | Target Value | Practical Purpose |
|---|---|---|
| Exposure Mode | Full Manual | Prevents auto-exposure shifts from altering key thresholds mid-take. |
| White Balance | Preset (e.g., 5600K) | Ensures consistent colour balance across all recorded clips. |
| ISO | Base Native ISO | Keeps digital sensor noise low to prevent key edge flickering. |
| Shutter Speed | 1/100s or faster | Cuts motion blur on fast movements for sharper keying boundaries. |
| Chroma Subsampling | 10-bit 4:2:2 or higher | Provides four times the colour data of standard 8-bit video. |
Recording in low-compression formats like ProRes 422 or DNxHR gives keying algorithms precise pixel data for fine details like fine hair, as detailed in industry standards on chroma subsampling standards.
Wardrobe Guidelines
Your subject must never wear clothing that contains green hues. Avoid olive, teal, turquoise, or khaki garments. Small green logos or patterns on shirts will key out, creating distracting holes in your subject.
Advise talent to avoid shiny or reflective fabrics such as satin, silk, or metallic materials. Highly reflective surfaces capture ambient green bounce from the backdrop, creating keying artifacts. Choose matte, opaque fabrics to maintain high contrast, following standard green screen wardrobe rules.
Key Takeaways
- Separate backdrop and subject lights into two distinct physical zones to prevent spill and cast shadows.
- Keep talent at least 2 to 3 metres away from the green canvas to allow light bounce to fall off naturally.
- Use diffuse LED panels positioned at 45-degree angles to create a flat, uniform light distribution verified by a waveform monitor.
- Apply honeycomb grids, barndoors, and dedicated rim lighting to sharpen subject edges and block unwanted reflections.
- Record in full manual mode at 10-bit 4:2:2 with a low ISO setting to feed your keying software clean pixel data.
Ready to outfit your production space for professional keying? Browse our full selection of studio lighting fixtures and grip equipment, or reach out to our team for personalized studio setup advice.