How to Light Product Videos Without Glare or Shadows
Light Quality and Surface Reflections
When you point a small, bare light at a product, photons bounce off the surface at a single harsh angle. This creates direct glare that hides fine product details and casts dark, muddy shadows. In our experience, uncontrolled glare is the single most common issue that ruins product videos.
To eliminate glare, you need to make your light source larger relative to your subject. Moving a softbox or diffusion panel close to your product turns harsh hot spots into smooth, beautiful gradients across the surface. Instead of displaying a tiny blinding highlight, the product reflects a soft, broad diffusion screen.
Color accuracy is equally vital when showcasing products. If your video colors do not match the physical item, customer trust drops. While CRI measures how human eyes see color, the Television Lighting Consistency Index (TLCI) measures how video camera sensors record color spectrums. We recommend choosing lights with a TLCI rating of 90 or higher to save hours of color correction in post-production.
Before adjusting fixture angles, match your camera white balance to your light sources. You can review our guide on colour temperature for video lighting to align your fixture settings with your camera sensor properly.
Essential Gear for Product Video Lighting
Building an effective product lighting setup does not require dozens of fixtures. You need versatile lights that offer smooth dimming, high color accuracy, and standard modifier mounts.
- Point-source COB lights: Concentrated LED lights that accept Bowens-mount modifiers. They serve as ideal primary key lights when paired with softboxes.
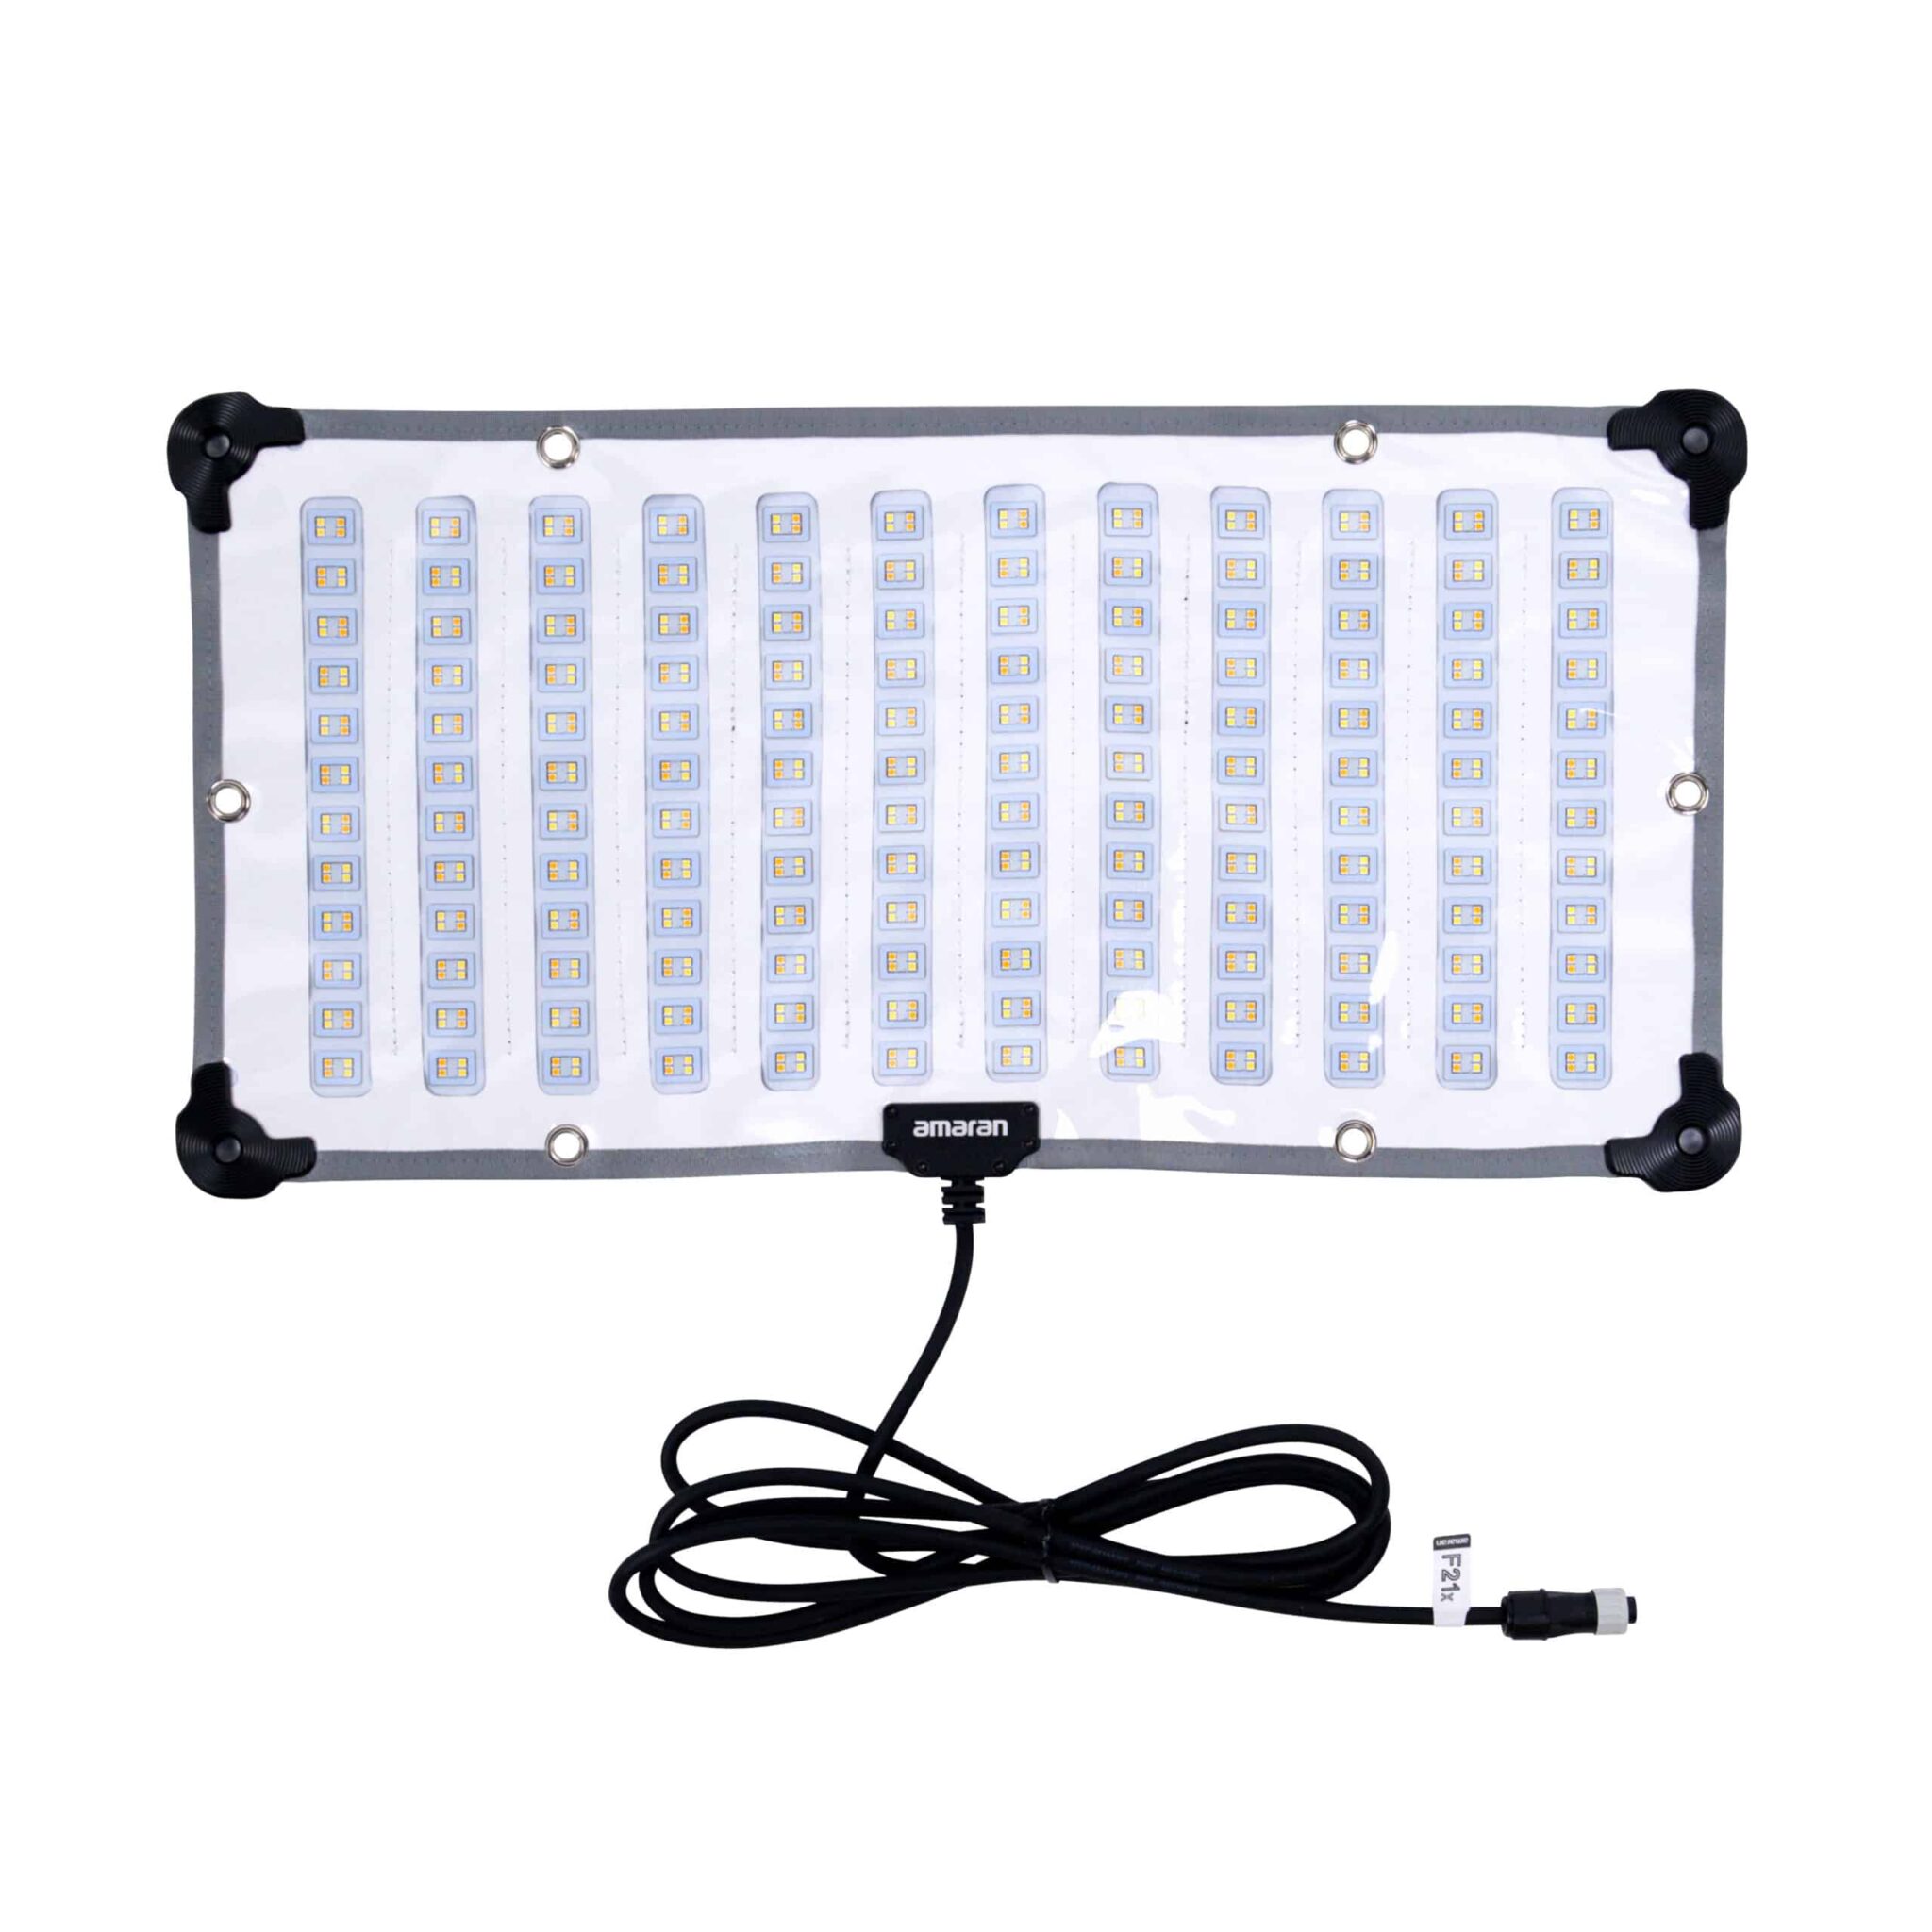
- LED panels and flexible mats: Flat light arrays that fit into compact studios. Flexible LED mats fit into tight tabletop spaces without taking up floor space.
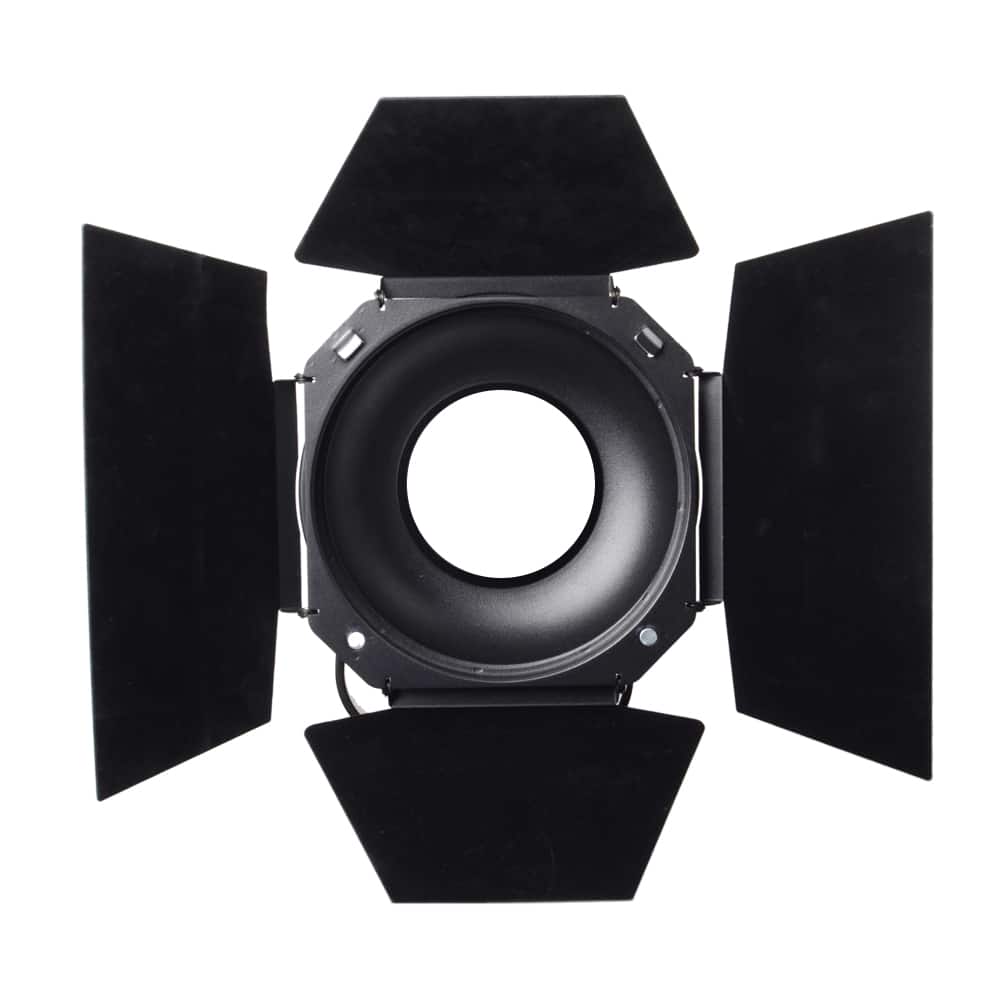
- Light modifiers: Softboxes, diffusion sheets, and grids that soften light beams and prevent light spill onto backdrops.
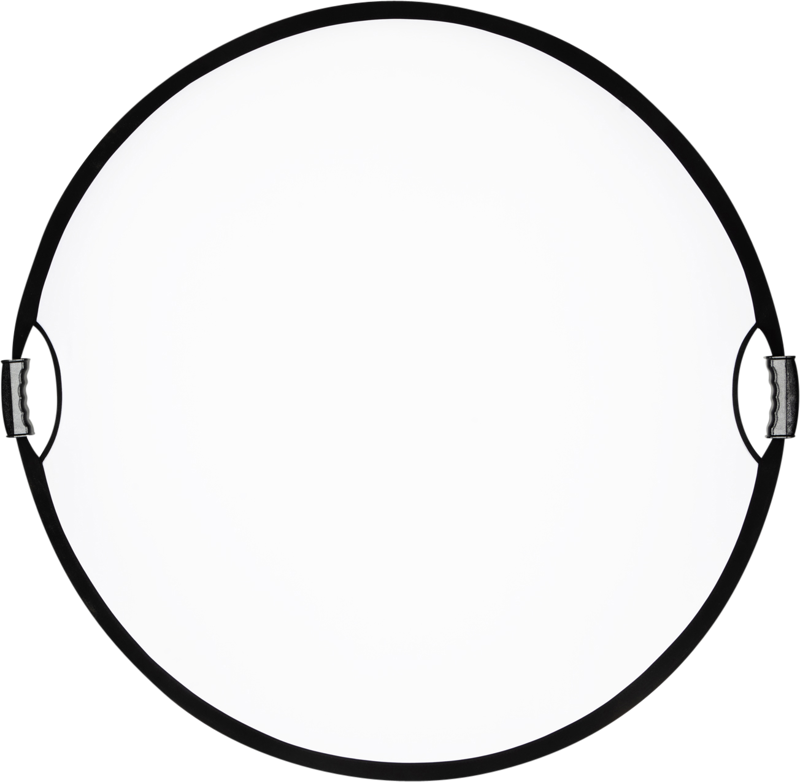
- Flags and reflectors: Solid black cards that absorb unwanted reflections, and white bounce boards that fill dark shadows gently.
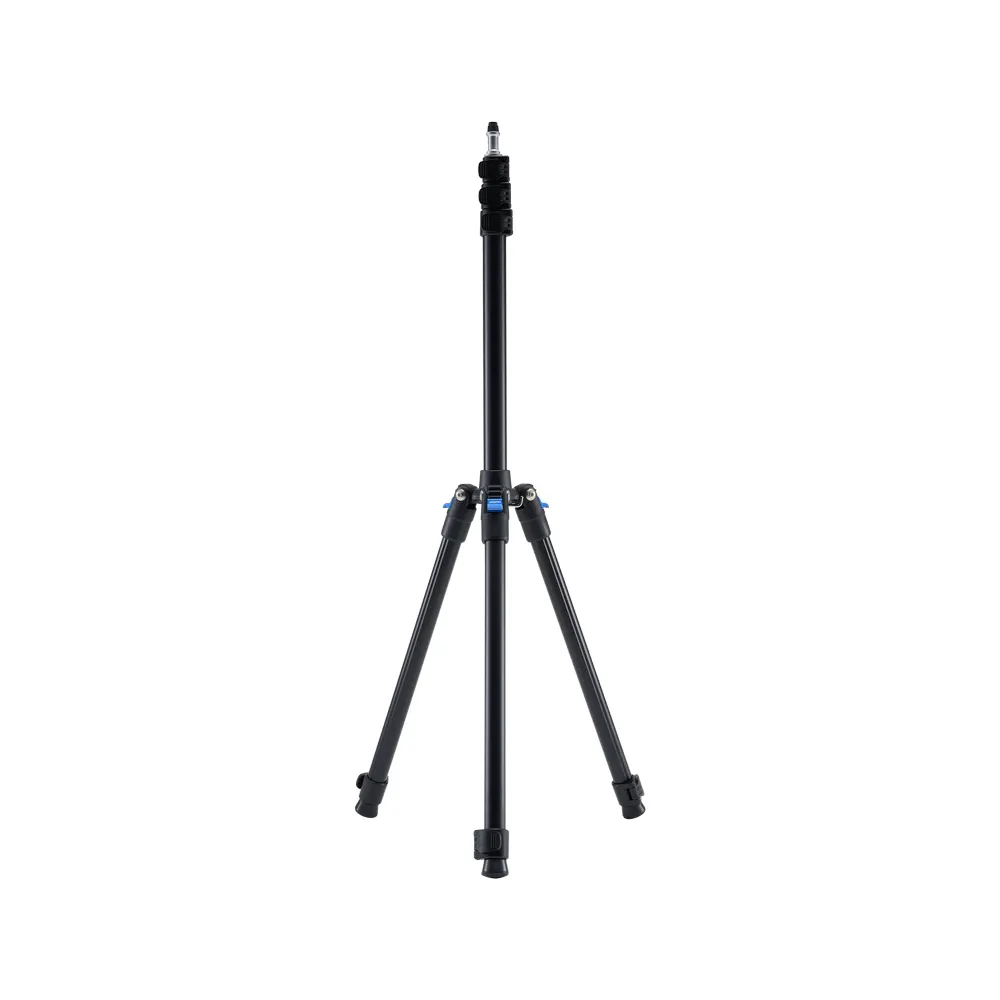
- Stands and grip gear: Heavy-duty stands that hold heavy lights and softboxes securely over your set.
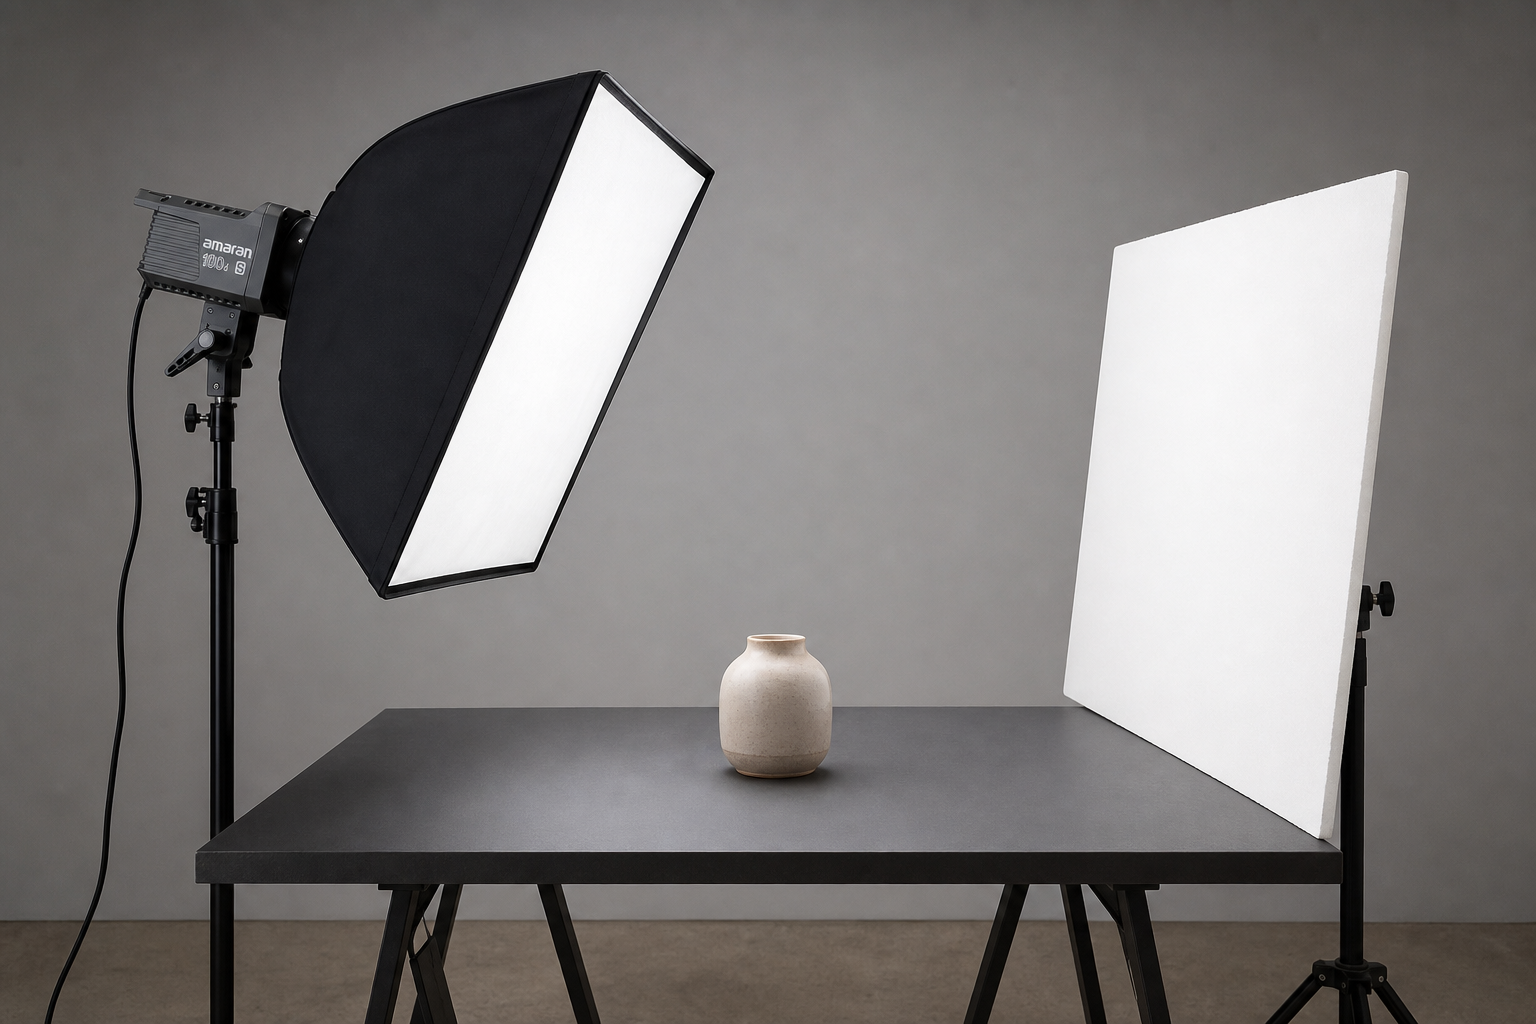
For creators starting out, pairing point-source lights with rectangular softboxes gives you maximum control over surface reflections.
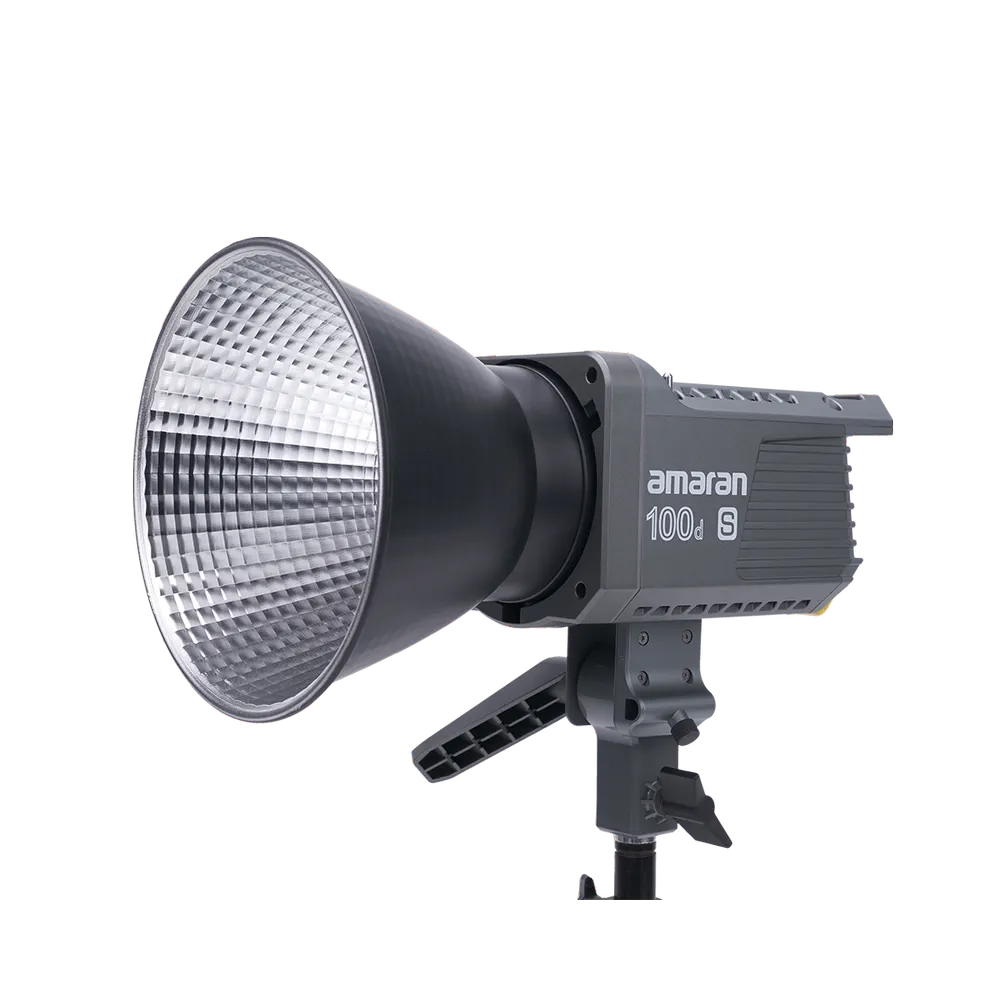
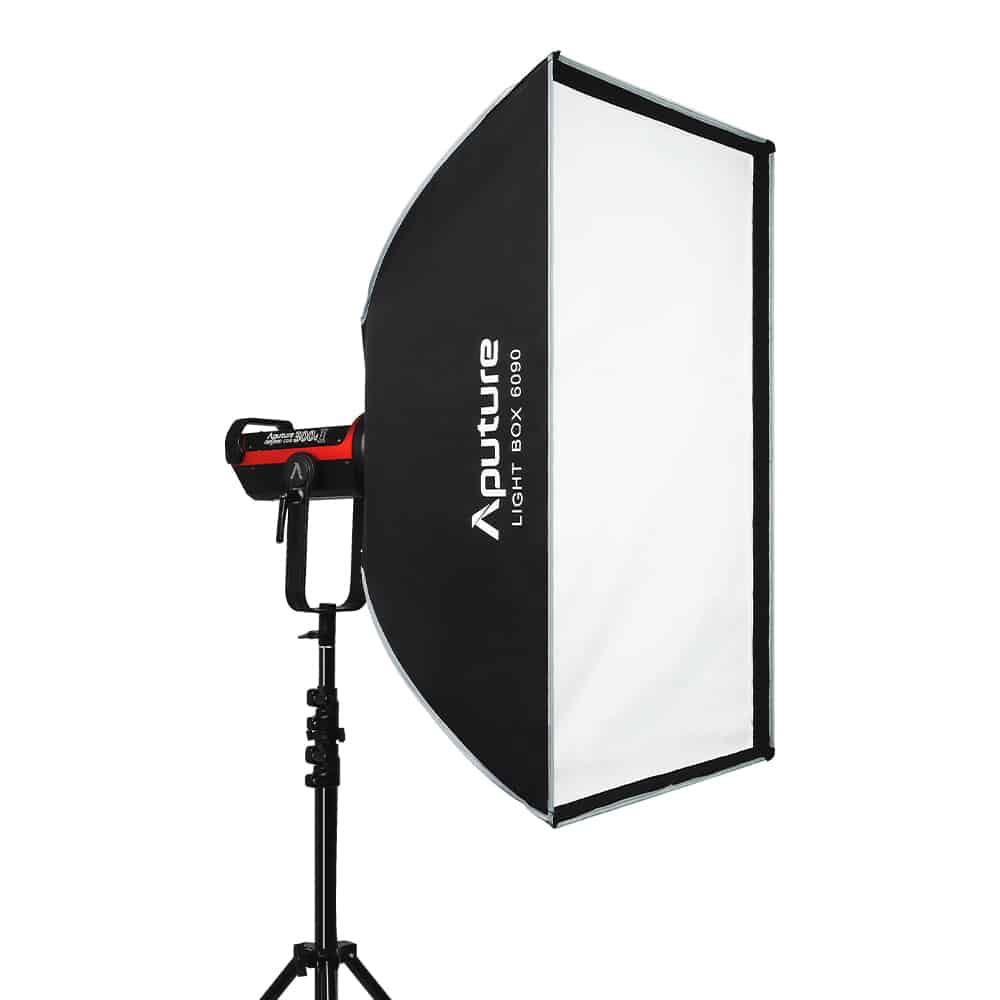
If speed and portability matter most to your workflow, complete multi-light kits offer matched color output and fast setup times out of the box. You can explore our full ranges of spot lights and LED panels to find fixtures scaled to your workspace.
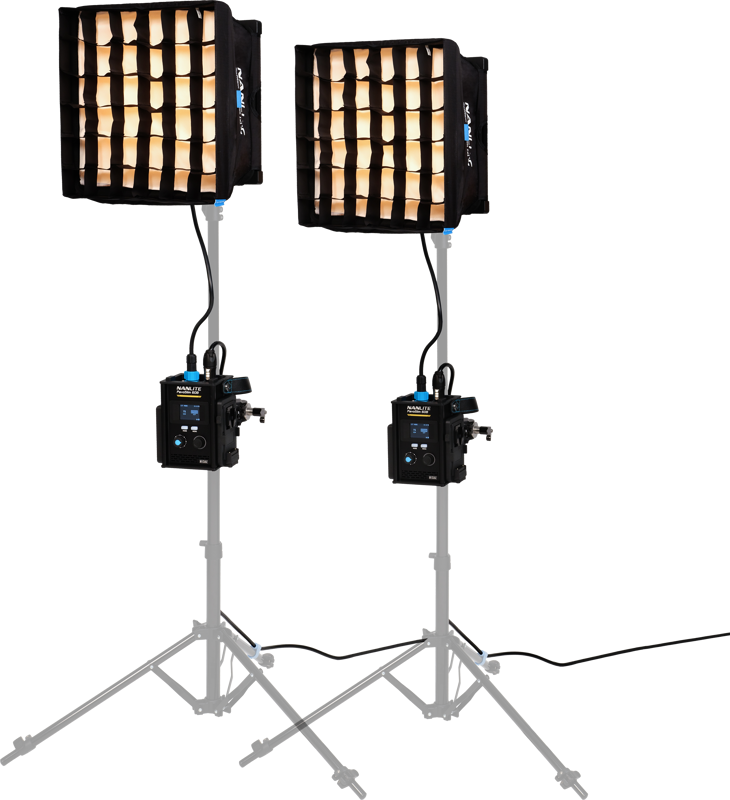
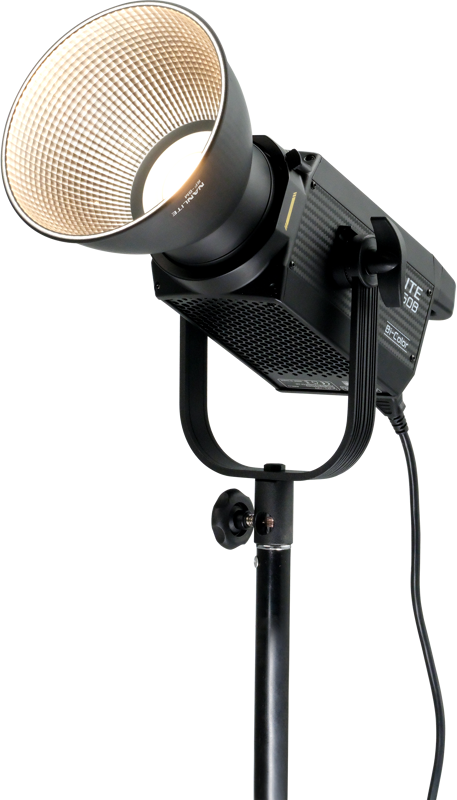
Safety on set is critical when positioning heavy modifiers over delicate items. Sturdy light stands keep your gear secure. When mounting heavy softboxes on boom arms, using a dedicated C-stand for video production provides the extra stability you need.
Step-by-Step Core Lighting Setup
If you are expanding beyond basic video lighting for beginners, establishing a standardized workflow saves hours of troubleshooting. Follow this sequential approach to build your scene light by light.
Step 1: Isolate the Set
Turn off uncalibrated overhead room lights and close window blinds. Mixed color temperatures introduce ugly color casts across product surfaces that are difficult to fix later. Place your product on a clean matte table or seamless backdrop paper.
Step 2: Position the Soft Key Light
Place your primary light source roughly 45 degrees to the side and slightly elevated above the product. Attach a softbox or pass the beam through a diffusion screen. Angle the light so it grazes across the surface texture rather than hitting the object head-on.
Step 3: Add Fill Light or Negative Fill
Examine the shadow side of your object. To lift deep shadows without flattening surface detail, place a secondary soft light or a white bounce board opposite your key light. Setting your fill output to about 50% of the key light brightness creates a balanced 2:1 contrast ratio that preserves depth.
Step 4: Create Separation with Rim and Background Light
To prevent dark products from merging into dark backdrops, position a small light behind the product aimed at its back edges. This creates a clean outline highlight that lifts the object off the background. You can also aim a secondary light at the backdrop itself to generate a soft gradient. Read our complete guide on background lighting for video to explore backdrop techniques.
To calculate how many fixtures your room setup requires, see our breakdown on how many lights for video production.
How to Light Specific Product Materials
Different surface materials interact with light in unique ways. Adjust your setup based on the product in front of your camera lens.
| Surface Material | Primary Challenge | Key Solution | Modifiers & Accessories |
|---|---|---|---|
| Matte / Fabric | Flat, textureless appearance | Directional grazing key light | Softbox with grid |
| Glossy Plastic / Metal | Blinding specular glare | Broad diffusion panels, black flags | Large softbox, cutter flags, CPL filter |
| Glass / Clear Liquids | Invisible edges, internal reflections | Backlighting, bright-field/dark-field setup | Translucent diffusion paper, black flags |
Matte Products
Matte plastics, fabrics, and cardboard absorb light evenly. Your primary goal is adding shape and dimension. Position a directional light with a grid attachment to control spill while carving out fine surface details. You can review detailed modifier techniques in our article on how to use light modifiers for video.
Glossy and Metallic Products
Polished metal and glossy plastic behave like mirrors, displaying whatever surrounds them. Aiming lights directly at them creates blinding hot spots. Instead, surround the product with large white surfaces and shine your lights onto or through those surfaces.
To define sharp edges on a shiny metal item, place solid black cards just outside the camera frame. The reflective surface will capture the dark reflection, creating clean dark contours along the metallic edges.
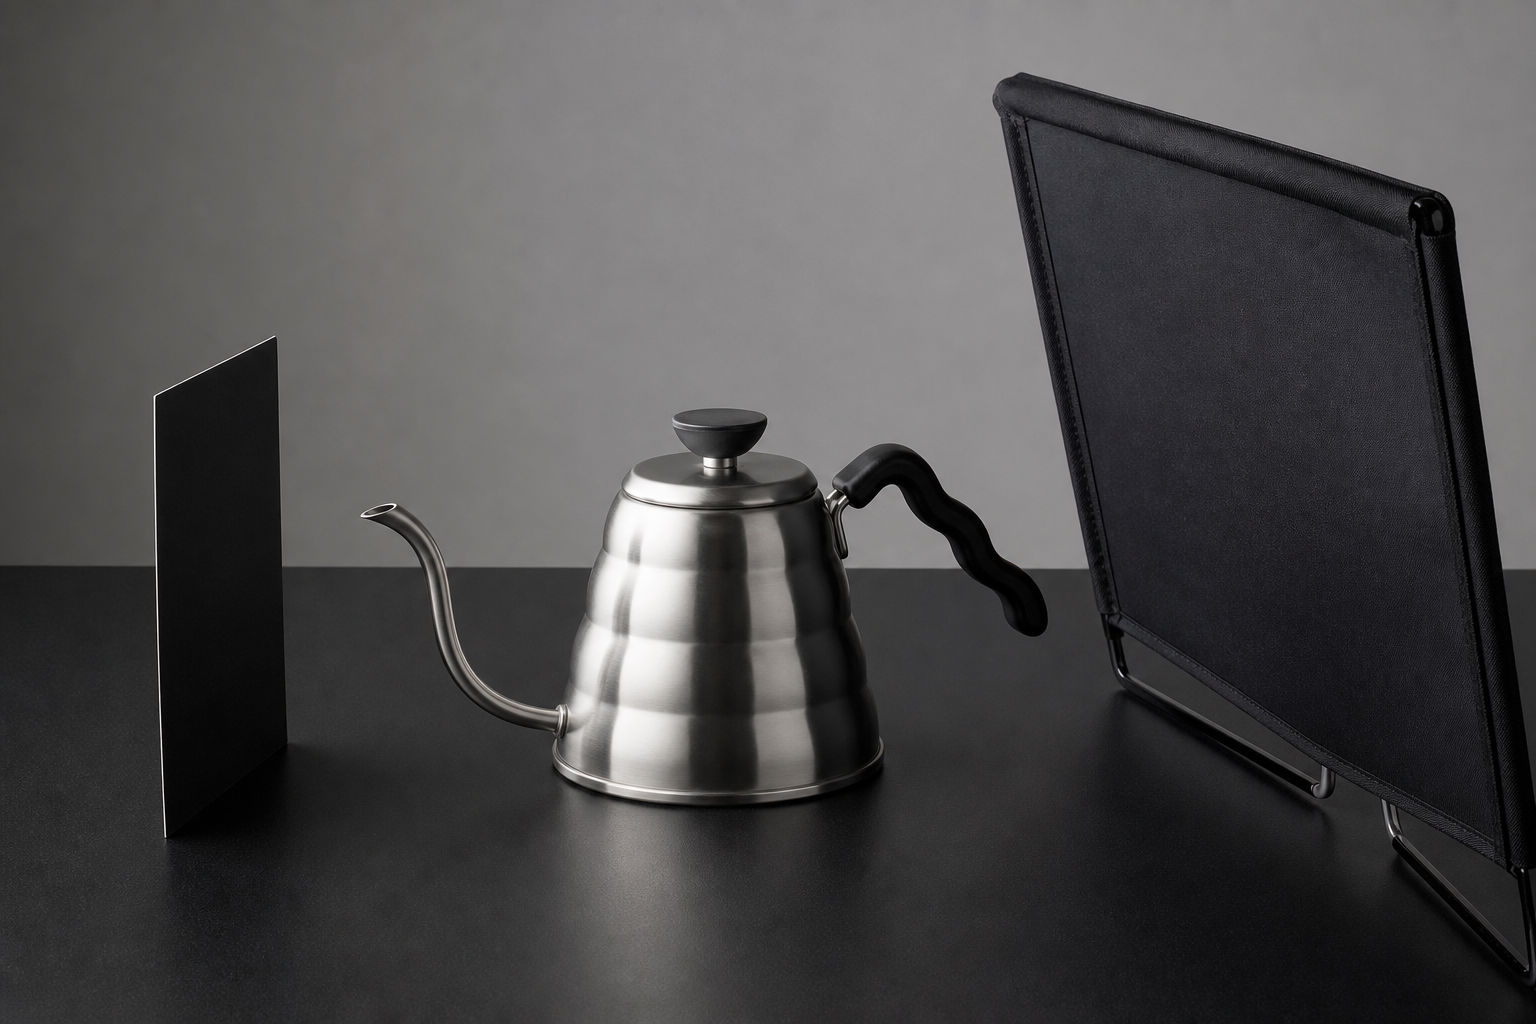
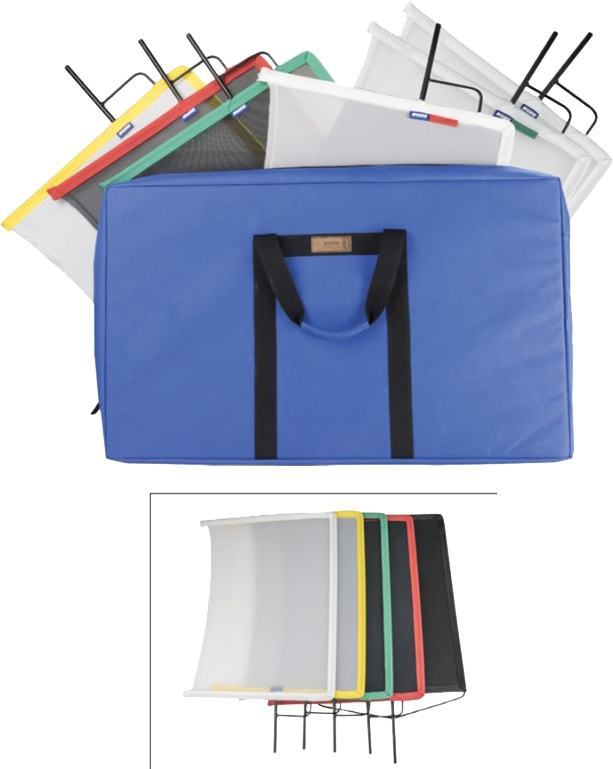
Glassware and Transparent Products
Lighting glass from the front creates messy internal reflections and buries bottle details. Instead, illuminate transparent items from behind using one of two techniques:
- Bright-field setup: Point your key light directly at a seamless white background behind the glass. The white background glows, illuminating the liquid and glass body, while black flags placed on both sides create crisp dark outlines around the bottle.
- Dark-field setup: Use a solid dark backdrop. Place soft backlights behind and to the sides of the product, angling them forward through the glass edges. This leaves the center dark while giving the bottle edges a brilliant glowing highlight.
To explore diffusion screens and control grids for these setups, browse our full catalog of light modifiers.
Eliminating Glare and Artifacts
Even with a strong lighting setup, unexpected surface reflections or video artifacts can appear on set.
Managing Lens Reflections
When glossy surfaces reflect ambient studio elements, attach a circular polarizing filter (CPL) to your camera lens. Rotating the filter cuts polarized reflections from non-metallic surfaces, clearing away surface sheen and revealing underlying colors.
Preventing Camera Flicker
High camera shutter speeds can interact with cheap LED power drivers, causing distracting flicker or horizontal banding across video footage. Ensure your LED fixtures utilize flicker-free pulse-width modulation drivers, especially when filming high-framerate slow-motion b-roll.
Choosing Softboxes Over Ring Lights
While ring lights work well for close-up vlogs, they cast unnatural circular ring reflections on glossy products. Rectangular softboxes provide natural, window-like reflections that enhance commercial appeal. Read our breakdown on ring light vs softbox for video for direct visual comparisons.
Standardizing Studio Workflows
We have seen creators spend hours perfecting a lighting design, only to lose the look when moving gear next week. Record your light stand positions, distances, tilt angles, power percentages, camera ISO, and white balance settings. Keeping a log sheet ensures consistent visual quality across your entire product catalog.
If you ever need to match artificial fixtures with ambient window daylight on location, see our practical guide to simulate natural light with artificial lighting.
Key Takeaways
- Size equals softness: Replace small bare lights with large softboxes or diffusion screens placed close to your product to transform harsh glare into smooth surface gradients.
- Build illumination systematically: Turn off ambient room lights, then position your key light, fill light, rim light, and background light one fixture at a time.
- Shape reflections intentionally: Use black flags for negative fill to draw sharp edges on metallic objects, and backlight transparent glassware to emphasize liquid clarity.
- Prioritize color and flicker stability: Select high-TLCI, flicker-free LED fixtures to guarantee accurate product colors and clean camera footage.
Need assistance outfitting your studio space with reliable production lighting? Explore our compact mini LED lights for tabletop accent placement, or contact our technical team at MediaGear for personalized setup recommendations.